
Ever found yourself stranded because of a flat tyre on your electric scooter? Whether you're a daily commuter or a weekend rider, knowing how to change an electric scooter tyre is a skill that can save you time, money, and frustration. This guide will take you through every step, from gathering the right tools to getting back on the road with confidence.
Why You Might Need to Change Your Electric Scooter Tyre
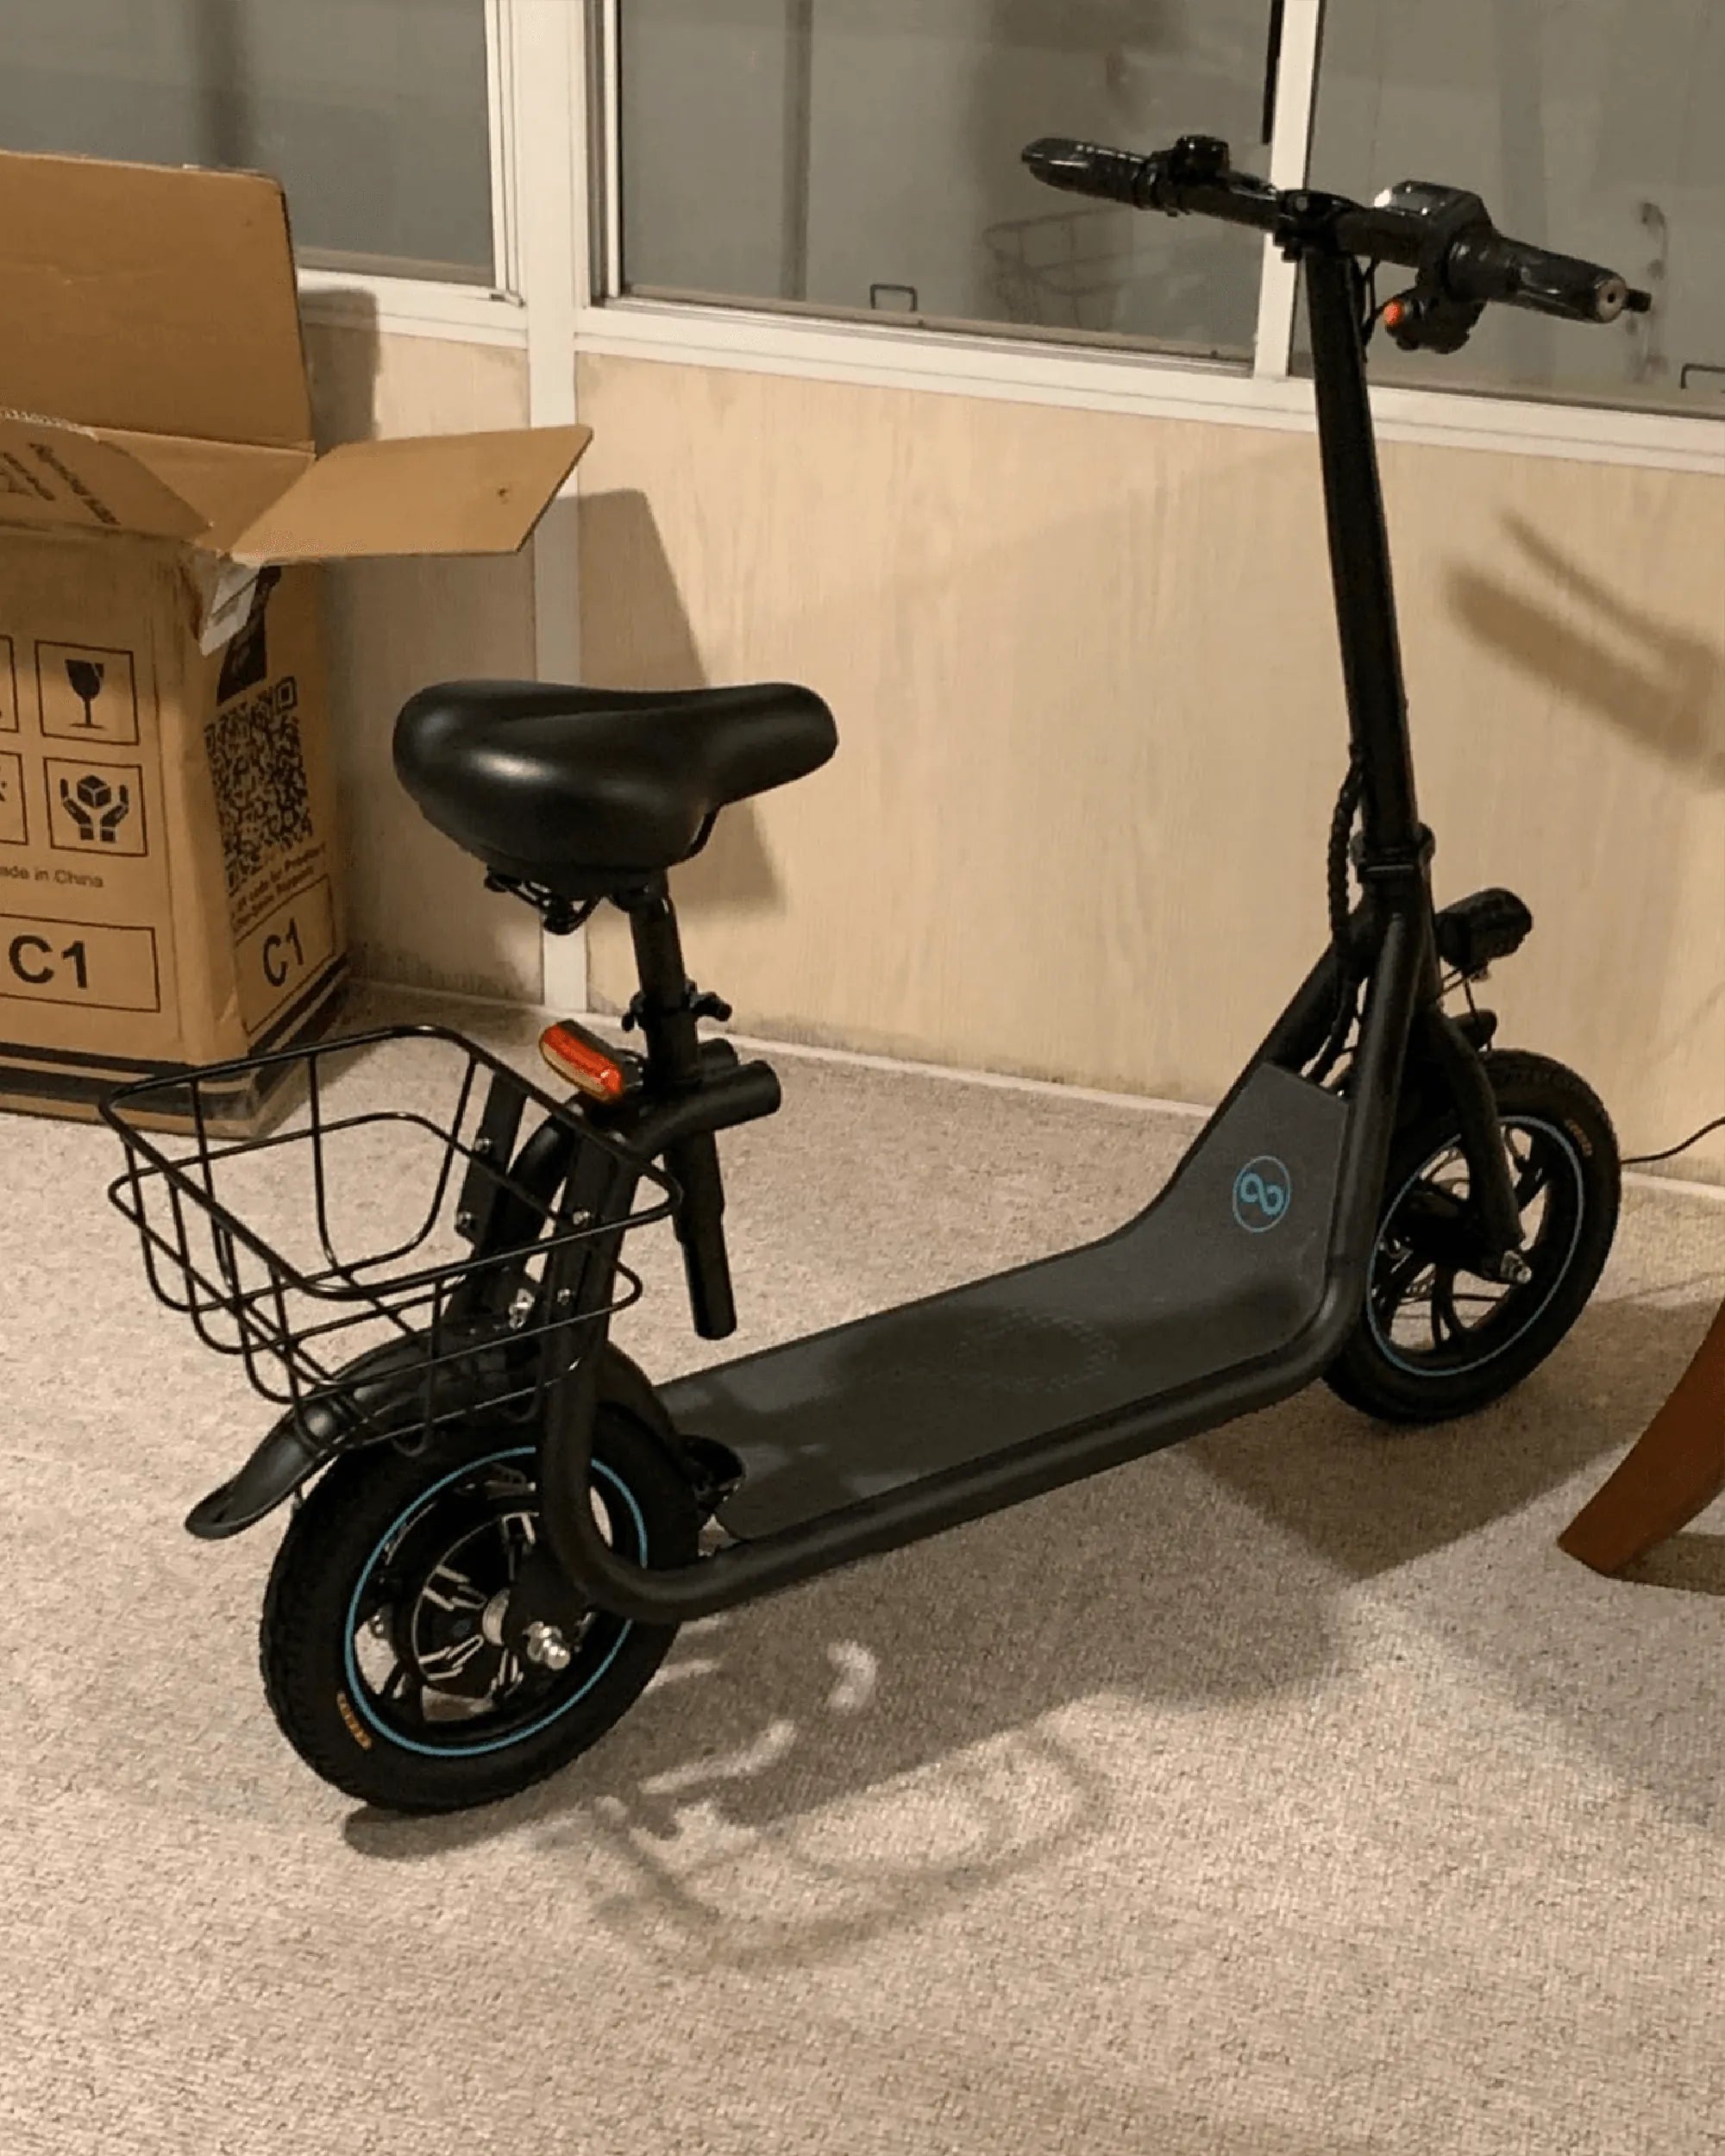
Electric scooter tyres endure a lot of wear and tear, especially if you ride frequently. Punctures from sharp objects, worn-out treads, or even a slow leak can make tyre replacement necessary. Ignoring these issues can lead to unsafe riding conditions, reduced battery efficiency, and even damage to your scooter's rims.
Tools You'll Need for the Job
Before diving into the process, gather these essential tools:
- A set of screwdrivers (flathead and Phillips)
- Wrenches or an adjustable spanner
- Tyre levers or a pry tool
- A new tyre (ensure it matches your scooter's specifications)
- A pump or air compressor
- Optional: Lubricant like soapy water to ease the tyre onto the rim
Step-by-Step Guide to Changing Your Electric Scooter Tyre
Step 1: Prepare Your Scooter
Start by turning off your scooter and placing it on a stable surface. If possible, elevate the wheel you're working on using a stand or a sturdy block. This gives you better access and makes the process smoother.
Step 2: Remove the Wheel
Loosen the bolts or nuts holding the wheel in place. Some scooters have quick-release mechanisms, while others require tools. Keep track of all hardware to avoid losing small parts. Once the wheel is free, deflate the tyre completely by pressing the valve stem.
Step 3: Take Off the Old Tyre
Using tyre levers, gently pry the tyre away from the rim. Work your way around the wheel until one side of the tyre is completely off. Remove the inner tube if your scooter uses one, and inspect it for damage. If the tube is salvageable, set it aside for reuse.
Step 4: Install the New Tyre
Place one edge of the new tyre onto the rim, then work your way around until it's seated properly. If you're reusing the inner tube, insert it carefully to avoid pinching. Use the tyre levers to fit the other side of the tyre onto the rim. Be patient—this step can be tricky but is crucial for a secure fit.
Step 5: Inflate and Reattach the Wheel
Inflate the tyre to the recommended pressure (check your scooter's manual for specifics). Once inflated, reattach the wheel to your scooter, ensuring all bolts are tightened securely. Give the wheel a spin to check for smooth rotation.
Tips for a Hassle-Free Tyre Change
- Work in a well-lit area to avoid missing small details.
- If the tyre feels too tight, a bit of lubricant can help it slide onto the rim.
- Always double-check the tyre pressure before riding.
- Consider keeping a spare tyre and tools handy for emergencies.
When to Seek Professional Help
If you're unsure about any step or encounter persistent issues (like a tyre that won't seat properly), it's best to consult a professional. Improperly installed tyres can lead to blowouts or accidents, so don't take risks with your safety.
Now that you've mastered the art of changing an electric scooter tyre, you're ready to tackle any flat with confidence. No more waiting for repairs or missing your commute—just grab your tools and get rolling!
Self-Balancing Scooter First Appearance: The Dawn of a New Era in Personal Transportation
Self-Balancing Scooter First Appearance: The Dawn of a New Era in Personal Transportation