
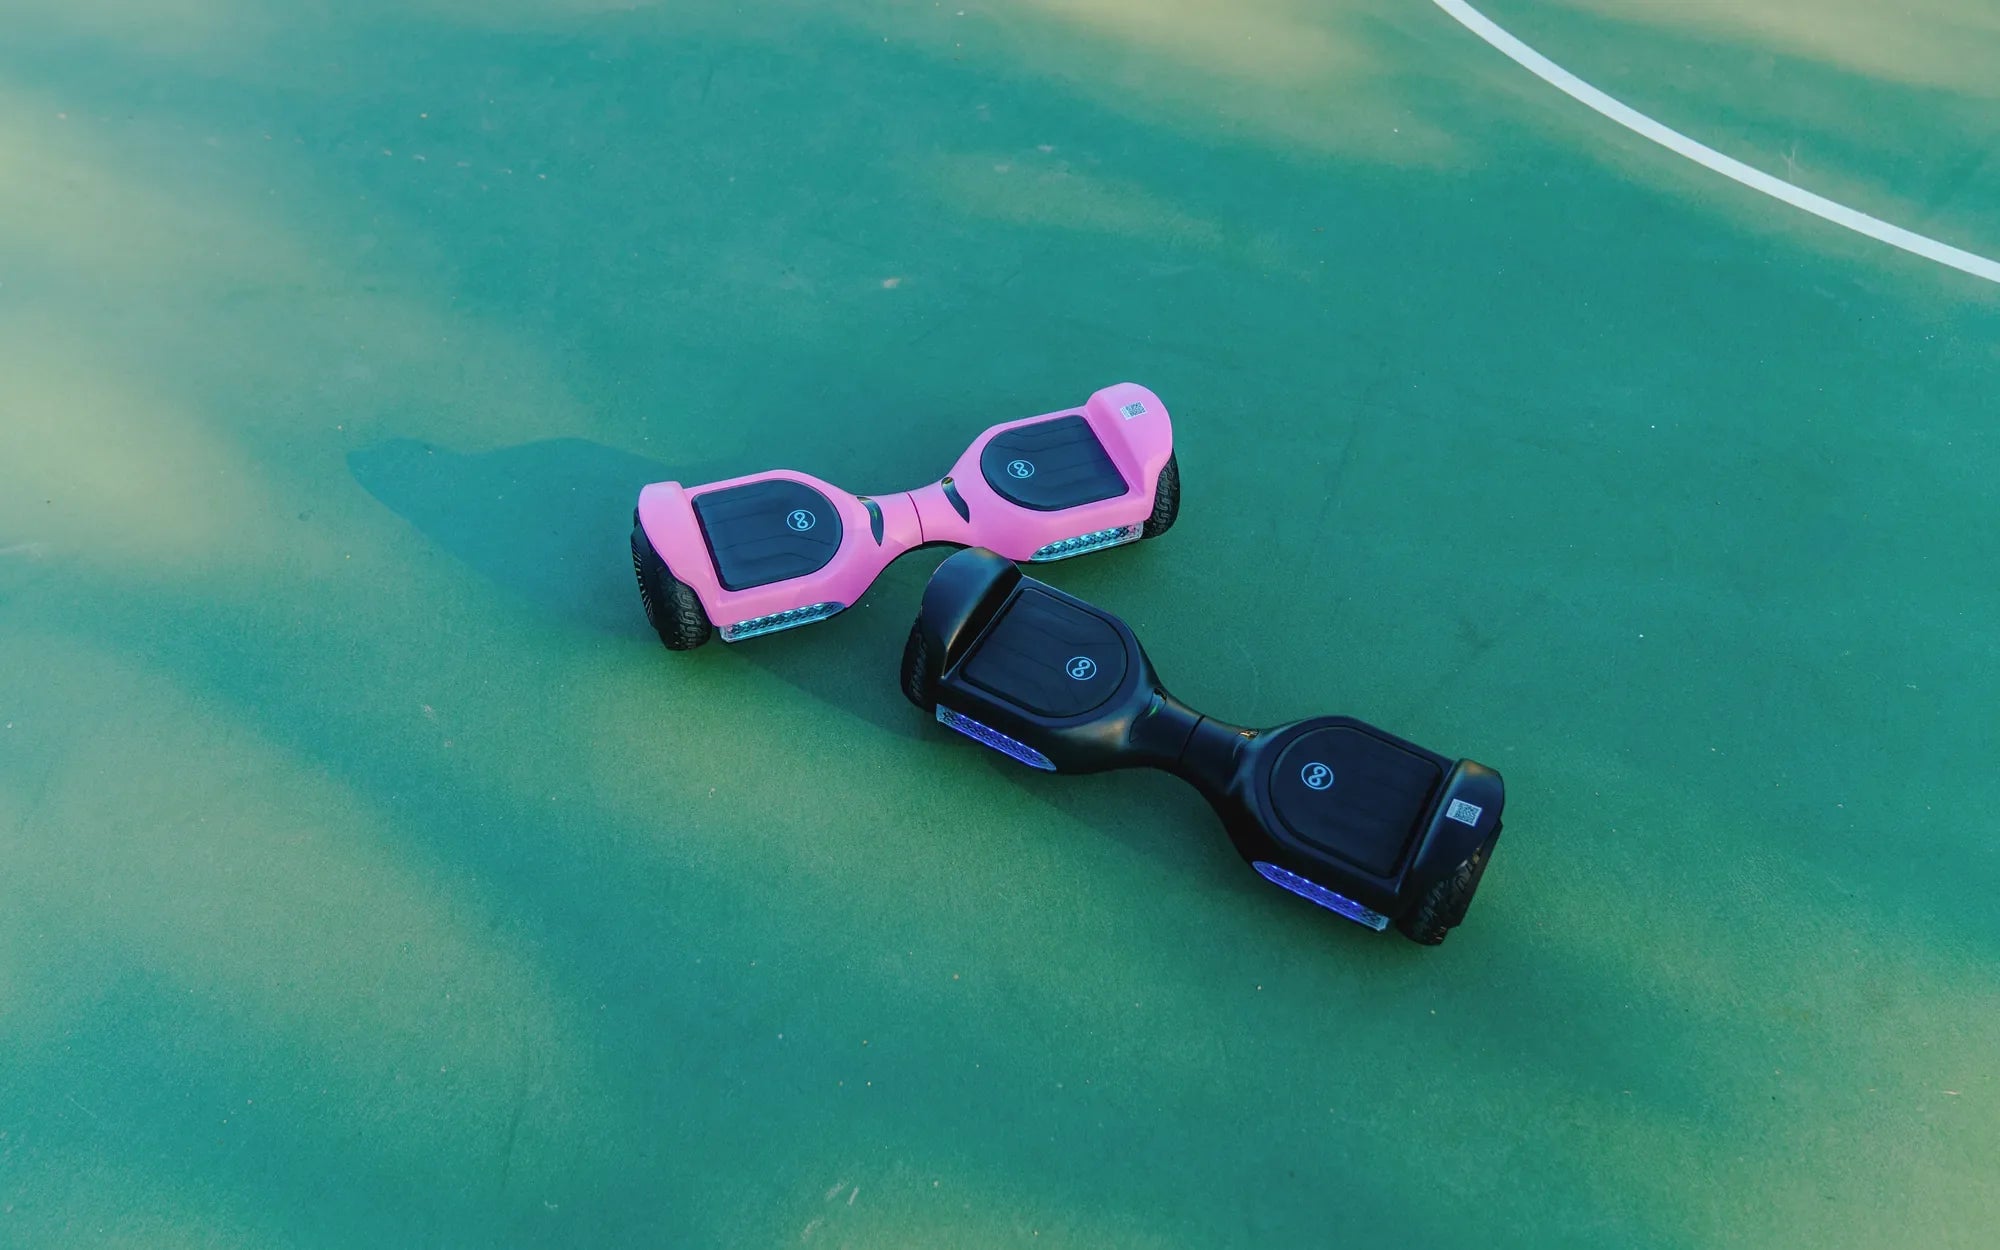
Accidents happen, and if your hoverboard got wet and won't turn on, panic might be your first reaction. But don’t worry—there are ways to salvage it and get it working again. Water damage is a common issue for electronic devices, and hoverboards are no exception. Whether it was a sudden rainstorm, a spilled drink, or an unfortunate pool incident, understanding how to handle water damage can save you time, money, and frustration.
Why Water Damages Your Hoverboard
Hoverboards, like most electronics, are not designed to handle water exposure. The internal components, including the battery, circuit boards, and motors, are highly sensitive to moisture. When water seeps in, it can cause short circuits, corrosion, or even permanent damage if not addressed promptly. Even if your hoverboard claims to be "water-resistant," prolonged exposure or submersion can still lead to malfunctions.
Immediate Steps to Take When Your Hoverboard Gets Wet
If your hoverboard got wet and won’t turn on, acting quickly is crucial. Follow these steps to minimize damage:
- Power It Off Immediately: If the hoverboard is still on, turn it off to prevent short circuits.
- Unplug the Charger: Disconnect any power source to avoid electrical hazards.
- Dry the Exterior: Use a soft, absorbent cloth to wipe away visible moisture.
- Remove the Battery (if possible): Some models allow battery removal, which can prevent further damage.
- Avoid Heat Sources: Do not use a hairdryer or direct heat, as this can warp components.
How to Dry Your Hoverboard Properly
After the initial steps, thorough drying is essential. Here’s how to do it safely:
- Disassemble (if comfortable): Open the hoverboard to expose internal parts for better drying.
- Use Silica Gel or Rice: Place the hoverboard in a bag with silica gel packets or uncooked rice to absorb moisture.
- Let It Sit: Allow at least 48–72 hours for complete drying before attempting to power it on.
- Check for Residual Moisture: Inspect the interior with a flashlight to ensure no damp spots remain.
Testing Your Hoverboard After Drying
Once you’re confident the hoverboard is dry, follow these steps to test it:
- Reassemble Carefully: Put all components back in place securely.
- Charge It: Plug in the charger and wait for the indicator light to confirm proper charging.
- Power On: Press the power button and listen for any unusual sounds.
- Test the Motors: Gently tilt the hoverboard to see if the wheels respond.
When to Seek Professional Help
If your hoverboard still won’t turn on after drying, it might need professional repair. Signs of serious damage include:
- Burning smells or smoke
- Visible corrosion on the circuit board
- No response from the power button or charger
Preventing Future Water Damage
To avoid repeating this ordeal, take these precautions:
- Avoid Wet Surfaces: Don’t ride your hoverboard in rain or near pools.
- Use Protective Covers: Invest in a waterproof case or cover for added protection.
- Store Properly: Keep your hoverboard in a dry, cool place when not in use.
Don’t let a little water ruin your hoverboard fun! With these tips, you can troubleshoot the issue and get back to riding safely. Remember, quick action and proper drying are key to saving your device—so don’t wait if disaster strikes.
Hard Reset Hoverboard: A Step-by-Step Guide to Troubleshooting and Restoring Functionality
How Much Is a Good Hoverboard: A Complete Pricing Guide