


Your hoverboard is more than just a way to get around—it's a statement. But what if that statement could be uniquely yours? Hoverboard stickers offer the most accessible and impactful way to inject personality into your ride. This guide will walk you through everything from selecting weather-resistant materials and mastering application to designing cohesive themes and ensuring your custom look lasts. Whether you ride a rugged off-road model or a sleek commuter board, personalizing with stickers enhances visibility, protects the shell, and makes every journey more enjoyable. Let's transform your standard ride into a rolling canvas that reflects your style.
Why Your Hoverboard Deserves a Personality
Personal electric vehicles have evolved from novelty gadgets to legitimate modes of personal transport and recreation. A hoverboard is often a significant investment, chosen for its performance, safety features, and design. Adding hoverboard stickers is the logical next step in making that investment truly personal. It's the difference between driving a stock car and one customized to your taste.
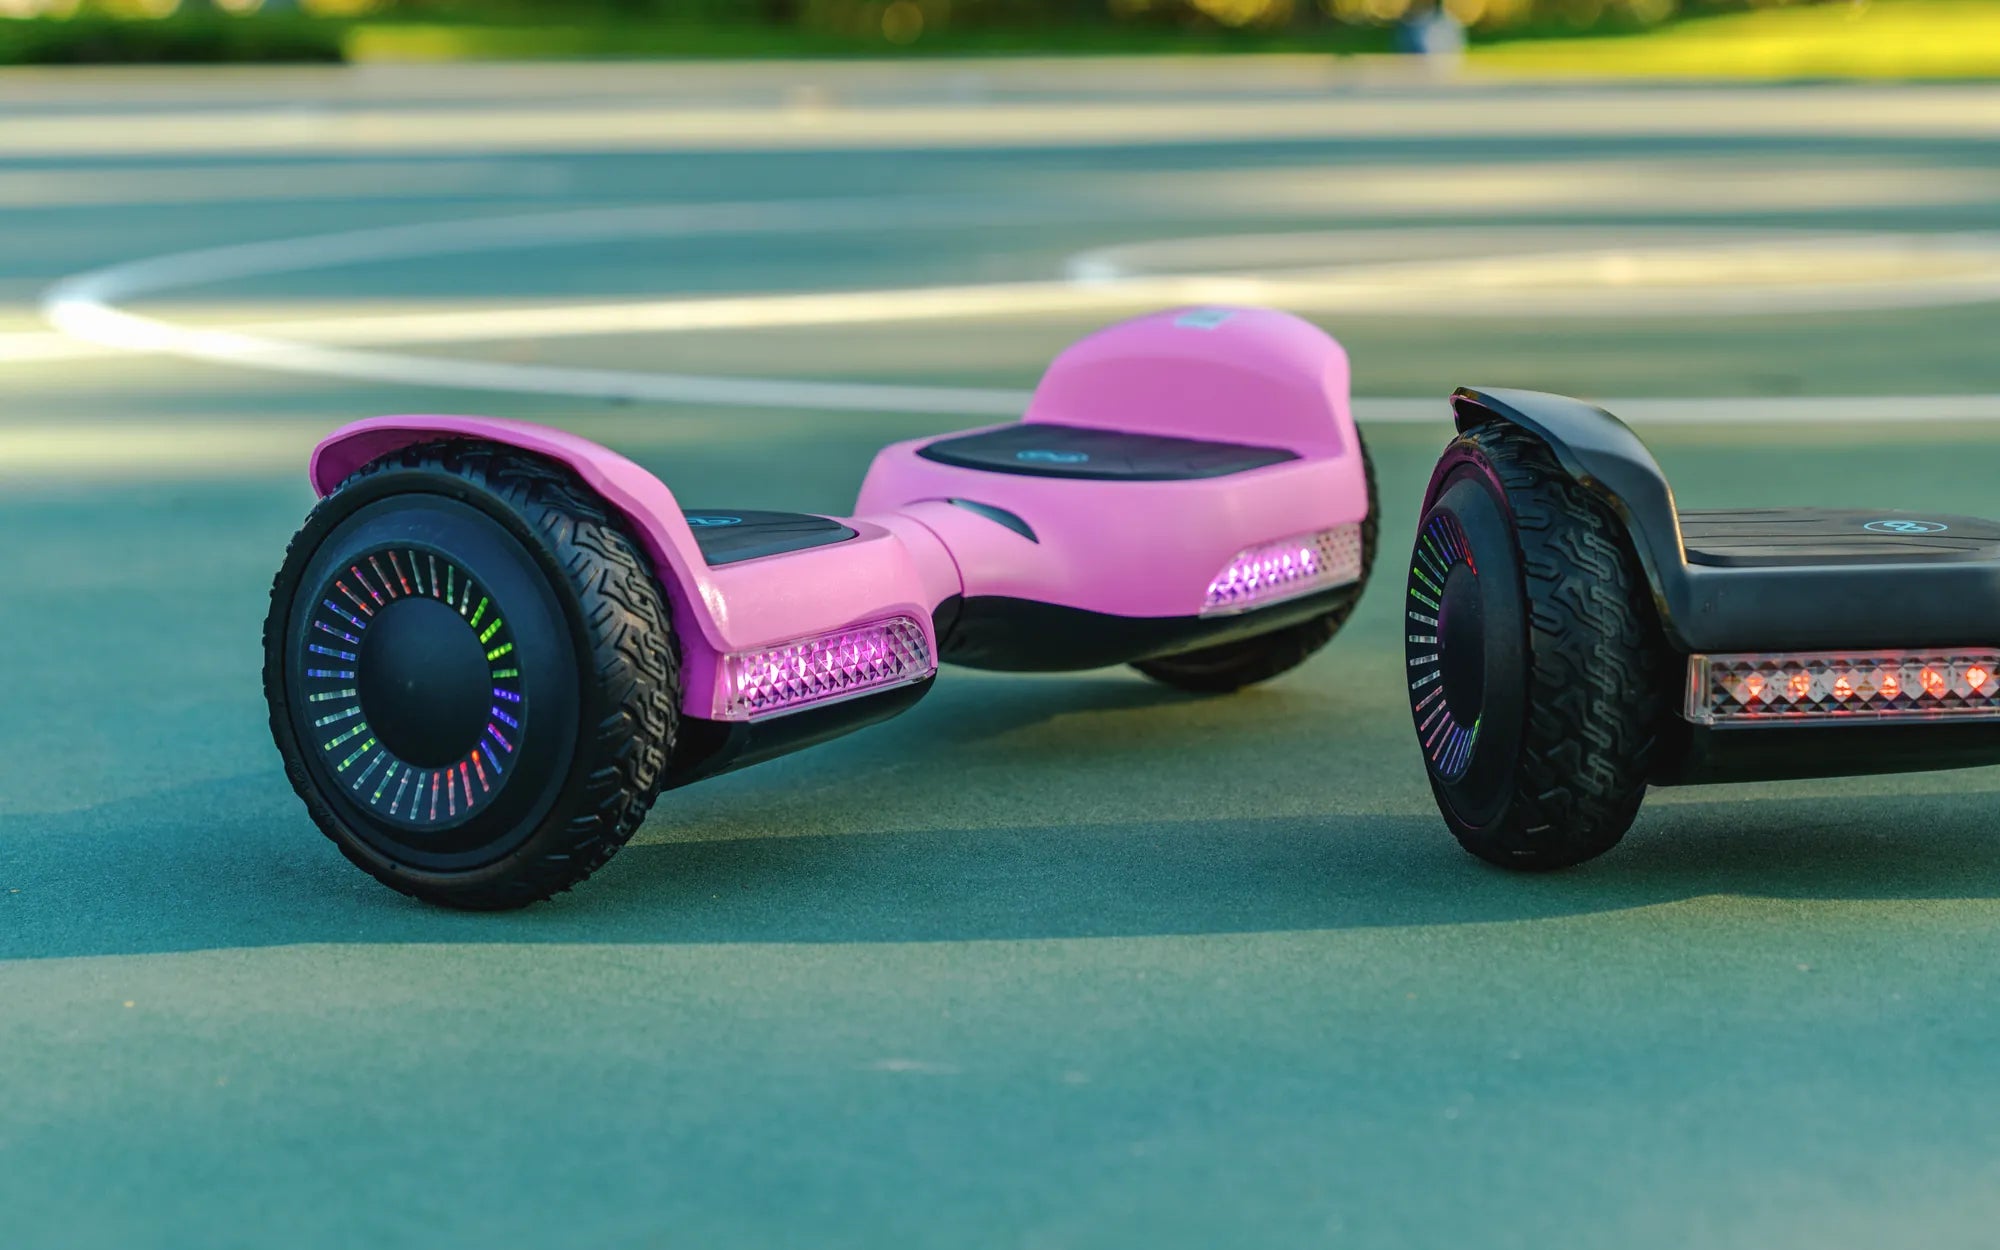
For brands like Gyroor, which builds hoverboards with UL-certified batteries and IPX5 water-resistant designs, personalization allows riders to complement that engineering excellence with individual flair. Over 100,000 riders across North America and Europe trust Gyroor for reliability; stickers let them add a layer of personal identity to that trust. This practice isn't just for kids—urban commuters, campus students, and casual riders all use decals to stand out.
The psychological impact is significant. Customization fosters a stronger sense of ownership and attachment. You're not just riding a device; you're piloting a piece of mobile art that you've curated. This process turns a functional object into an extension of your personality, whether that's sleek and minimalist, boldly graphic, or covered in fandom emblems.
Furthermore, in a practical sense, a personalized hoverboard is easier to identify in a crowd, reducing the chance of accidental mix-ups. It marks your property clearly. Starting with hoverboard stickers is low-commitment, high-reward, and requires no technical skill, making it the perfect entry point into the world of PEV customization.
The Tangible Benefits of Customizing Your Hoverboard
While aesthetics are the primary draw, the advantages of applying quality hoverboard stickers run much deeper. They offer functional benefits that enhance the overall ownership experience, from protection to safety. Understanding these benefits justifies the time and small investment required.
First, stickers act as a sacrificial layer. The plastic shells of hoverboards, though durable, are prone to scuffs, scratches, and chips from daily use, curb nudges, or storage. A thick, high-quality vinyl sticker absorbs this minor abrasion, preserving the original finish beneath. This maintains the board's appearance and can help protect its resale value.
Second, customization can directly improve safety. Strategic application of reflective or high-contrast stickers increases your visibility to pedestrians, cyclists, and drivers during dawn, dusk, or night rides. This is a simple, low-cost safety upgrade that makes a real difference. It adds an element of passive safety to your active riding awareness.
Finally, the process itself is engaging and fun. Choosing designs, planning layouts, and applying decals is a creative project. It makes the hoverboard feel more uniquely "yours," increasing rider satisfaction and pride. For younger riders, it can be a great way to express creativity and take ownership of their gear responsibly.
More Than Just Looks: Safety and Protection
Delving deeper into protection, the right vinyl material is key. Outdoor-grade vinyl with a protective laminate coating shields the underlying plastic from UV rays, which can cause fading and brittleness over time. It also provides a barrier against light moisture, dirt, and grime, making the board easier to clean.
For safety, specific sticker types are engineered for visibility. Retro-reflective vinyls contain microscopic glass beads that bounce light directly back to its source, like a car's headlights. Applying these as strips along the sides or as accents on the footpads creates a glowing outline when illuminated. Phosphorescent (glow-in-the-dark) vinyls offer another option, charging in sunlight and providing a soft glow afterwards.
This protective layer also simplifies maintenance. Instead of worrying about polishing out a fine scratch on the original shell, you can often just wipe down the sticker surface. If a sticker becomes severely damaged, it can be replaced individually, which is far cheaper and easier than repairing or replacing a hoverboard body panel.
Choosing the Right Stickers: A Material Science Primer
Not all stickers are created equal. Using the wrong type can lead to peeling, fading, bubbling, or adhesive residue. For a hoverboard—an item used outdoors and subjected to vibration, moisture, and temperature swings—material choice is critical. The core decision points are vinyl type, adhesive, and laminate.
Vinyl comes primarily in two grades: calendared and cast. Calendared vinyl is cost-effective and suitable for short-term applications or flat, simple surfaces. Cast vinyl is premium; it's thinner, more flexible, and conforms to complex curves and textures without lifting. For the compound curves on hoverboard footpads and bodywork, cast vinyl is the professional choice for a seamless, long-lasting fit.
Adhesive strength is another key factor. Permanent adhesive offers the strongest bond, designed for years of durability. Removable adhesive provides a strong hold but is formulated to leave no residue upon clean removal. For hoverboards, a permanent adhesive is recommended for the main body, while removable might be used for temporary decorative accents.
Finally, a laminate overlay is non-negotiable for outdoor use. This clear top layer protects the printed ink from UV fading, scratches, and chemical exposure (like road salts or cleaners). A quality laminate will have a matte, gloss, or textured finish and is what gives the sticker its durability. Always look for stickers marketed as "outdoor durable" or "UV laminated" for best results.
Understanding IP Ratings and Sticker Compatibility
A hoverboard's ingress protection (IP) rating, like Gyroor's IPX5 rating for water resistance from splashes, is a crucial engineering feature. Applying stickers must not compromise this. The IP rating applies to seals around seams, ports, and internal components. Stickers placed over ventilation grilles, speaker meshes, or charging ports can trap moisture or impede airflow, potentially causing overheating.
The best practice is to avoid applying stickers directly over any functional port, vent, or moving part (like the wheel axle). Focus on the large, flat areas of the footpads and the main body panels. Always leave a clear margin around LED light strips, power buttons, and charging ports. This ensures the board's engineered protections remain fully functional.
Furthermore, the adhesive itself should be compatible with the hoverboard's shell material (typically ABS plastic). High-quality vinyl adhesives are designed for such surfaces and will not cause cracking or chemical degradation. It's wise to test a small, inconspicuous area first if you're unsure about the board's coating or paint compatibility.
Application Masterclass: Flawless Installation Techniques
A great design can be ruined by poor application. Bubbles, misalignment, and wrinkles are the common enemies. With the right technique and patience, you can achieve a professional-looking result. The process hinges on preparation, alignment, and careful smoothing.
Start with a perfectly clean surface. Use isopropyl alcohol (at least 70%) and a lint-free microfiber cloth to wipe down the entire application area. This removes all oils, dust, and wax. Ensure the board is at room temperature—applying stickers in cold conditions can reduce adhesive tack, while extreme heat can make the vinyl too stretchy.
For alignment, use the "hinge method." Peel off a small portion of the backing paper. Position the sticker exactly where you want it and lightly adhere that small section. Then, use painter's tape to tape the rest of the sticker (still on its backing) to the board, creating a hinge. This allows you to lift the entire sticker, peel the full backing off, and then smoothly lower it into perfect position.
Once the sticker is positioned, use a squeegee or a firm plastic card (like an old gift card). Starting from the center, apply firm pressure and work outwards towards the edges, pushing out any air bubbles. For curved surfaces, stretch and smooth the vinyl gradually. If bubbles remain, you can often pierce them with a fine needle and re-smooth.
The Art of Design: Layouts, Themes, and Cohesion
Throwing random stickers on a board can look chaotic. A cohesive design tells a story. Start by choosing a theme. Popular themes include: Camouflage (for off-road boards), Galaxy/Cosmic, Carbon Fiber (for a sporty look), Geometric Patterns, Anime/Game Characters, or Minimalist Line Art. Your theme will guide your color palette and sticker choices.
Consider balance and symmetry. A symmetrical design, with matching or mirrored elements on both footpads, looks clean and intentional. An asymmetric design can be dynamic and eye-catching, but it requires more careful planning to avoid looking haphazard. Use larger decals as focal points and smaller ones as accents to fill space.
Before committing, create a mock-up. Use painter's tape to block out the shapes of your major stickers on the board. Step back and look at it. Take a photo with your phone and even sketch over it digitally if needed. This planning stage prevents regret and wasted materials. Remember, white space (empty areas) is part of the design and can make the applied elements stand out more.
DIY Decals vs. Professional Custom Wraps: A Data-Driven Comparison
For those seeking a full transformation, the choice often comes down to individual stickers/decals or a full custom vinyl wrap. Each has distinct advantages, costs, and skill requirements. The following table breaks down the key differentiators to help you decide the best path for your project and budget.
| Factor | DIY Hoverboard Stickers / Decals | Professional Full Vinyl Wrap |
|---|---|---|
| Cost | Low to Moderate ($10 - $100) | High ($150 - $400+) |
| Installation Skill Required | Low to Moderate (Patience is key) | Very High (Professional recommended) |
| Durability | 2-5 years (with quality materials) | 5-7 years (professional-grade vinyl/laminate) |
| Creative Freedom | High (Mix & match from many sources) | Total (Fully custom design/print) |
| Commitment Level | Low (Can be removed/changed easily) | Very High (Difficult/expensive to remove) |
| Coverage | Partial or full coverage (piece-by-piece) | Total 360-degree coverage (seamless) |
| Best For | Beginners, evolving styles, budget projects, accent work | Showpiece boards, brand representation, complex single-image designs |
As the table shows, hoverboard stickers are the high-value, low-barrier entry point. They offer immense creative freedom without the high cost or permanence of a wrap. For most riders, building a design with individual decals is the most practical and enjoyable approach. A professional wrap is an investment akin to a custom paint job, ideal for a final, flawless look on a showpiece board.
Maintenance and Removal: Preserving Your Design and Board
Once applied, proper care extends the life of your stickers and keeps your hoverboard looking sharp. Maintenance is straightforward. For cleaning, use a damp microfiber cloth with a mild soap solution. Avoid harsh chemicals, abrasive pads, or high-pressure water jets, which can degrade the laminate or force water under edges.
When storing or charging the board, avoid placing the stickered side directly on abrasive surfaces. If the board gets wet, dry it off with a towel; don't let water pool on the stickers for extended periods. While quality laminates are waterproof, prolonged moisture at the edges can slowly weaken the adhesive bond.
Eventually, you may want to change your design or remove stickers. Safe removal is essential to avoid damaging the hoverboard's shell and voiding warranties. Start by applying gentle heat with a hairdryer on a low setting. Warm the sticker for 30-60 seconds to soften the adhesive. Then, use a plastic pry tool or your fingernail to slowly lift a corner.
Peel back slowly at a 45-degree angle, applying more heat if resistance increases. Any remaining adhesive residue can be removed with a commercial adhesive remover, citrus-based cleaner, or more isopropyl alcohol. Always test the cleaner on a hidden area first. This method protects the board's finish, ensuring it's ready for a new design or can be returned to its original state.
FAQ: Your Hoverboard Sticker Questions Answered
Q: Will applying hoverboard stickers damage the original paint or plastic?
A: No, if you use high-quality vinyl and remove them properly (using heat). Cheap stickers with aggressive adhesives left on for years in the sun can potentially leave residue or cause slight discoloration, but this is avoidable with the products and techniques outlined in this guide.
Q: Can I use regular paper or laptop stickers on my hoverboard?
A: It is not recommended. Paper stickers will disintegrate quickly when exposed to moisture and UV light. Most laptop stickers lack the durable outdoor laminate and strong adhesive needed to withstand vibration, weather, and cleaning. They will peel, fade, and look unkempt rapidly.
Q: How long do quality hoverboard stickers typically last outdoors?
A> With a UV-protective laminate and cast vinyl, you can expect 3 to 5 years of vibrant color before noticeable fading occurs. The adhesive should remain strong for that entire period if applied correctly. Lifespan is shortened by extreme weather, frequent pressure washing, or abrasive cleaning.
Q: Are there specific stickers that improve night riding safety?
A> Yes. Look for ASTM-certified retro-reflective vinyl stickers. They are engineered for high visibility. Also, phosphorescent (glow-in-the-dark) vinyls can provide hours of soft illumination after being charged by sunlight or artificial light, making your board's outline visible in the dark.
Q: Can I apply stickers over small existing scratches on my hoverboard?
A> Absolutely. This is one of the functional benefits. Ensure the scratch is clean and free of loose debris. A sticker with a strong permanent adhesive will conform over the scratch, effectively hiding it and preventing it from catching dirt or worsening.
Transform Your Ride, Express Your Style
Customizing your hoverboard with stickers is a simple yet profoundly satisfying upgrade. It bridges the gap between industrial design and personal expression, turning a mass-produced vehicle into a signature accessory. The process empowers you to enhance safety through visibility, add a layer of physical protection, and most importantly, ensure your ride is unmistakably yours.
By selecting durable, outdoor-rated materials and applying them with care, you create a modification that lasts. This guide has provided the technical knowledge—from vinyl grades to IP rating considerations—to make informed decisions. Whether you choose a subtle accent or a full graphic overhaul, the principles of preparation, design cohesion, and proper maintenance remain the same.
Your hoverboard is a reflection of your journey, both literally and figuratively. Let its appearance tell your story. Start with a vision, gather your decals, and enjoy the creative process. The result is more than just a customized vehicle; it's a boost in confidence and pride every time you step on and ride. Browse the full Gyroor collection at gyroorboard.com for a reliable canvas ready for your personal touch.
Cheap Hoverboard Under $50: Is It Worth the Risk?
How Old Do You Have to Be to Ride a Hoverboard: A Complete Guide