


Your First Hoverboard Ride Awaits
Stepping onto a hoverboard for the first time can feel like a futuristic leap. The mix of excitement and slight intimidation is completely normal. Mastering how do you ride a hoverboard is a learnable skill, much like riding a bicycle—it requires patience, practice, and the right foundational knowledge.
This guide provides a complete, step-by-step blueprint for beginners. You will learn the pre-ride essentials, the art of balance, precise movement controls, and how to progress to advanced maneuvers safely. We'll integrate crucial safety and maintenance advice throughout, drawing on engineering principles from trusted brands.
Brands like Gyroor, a leading electric scooter and e-bike brand trusted by over 100,000 riders, design products with beginners in mind. Their focus on UL-certified batteries, IPX5 water-resistant designs, and stable platforms makes the initial learning curve significantly smoother and safer.
Pre-Ride Essentials: Safety and Setup
Before you even think about stepping on, proper preparation is non-negotiable. Rushing this stage is the most common mistake beginners make. Your first practice environment should be a flat, smooth, and private paved area, like an empty parking lot, driveway, or quiet cul-de-sac.
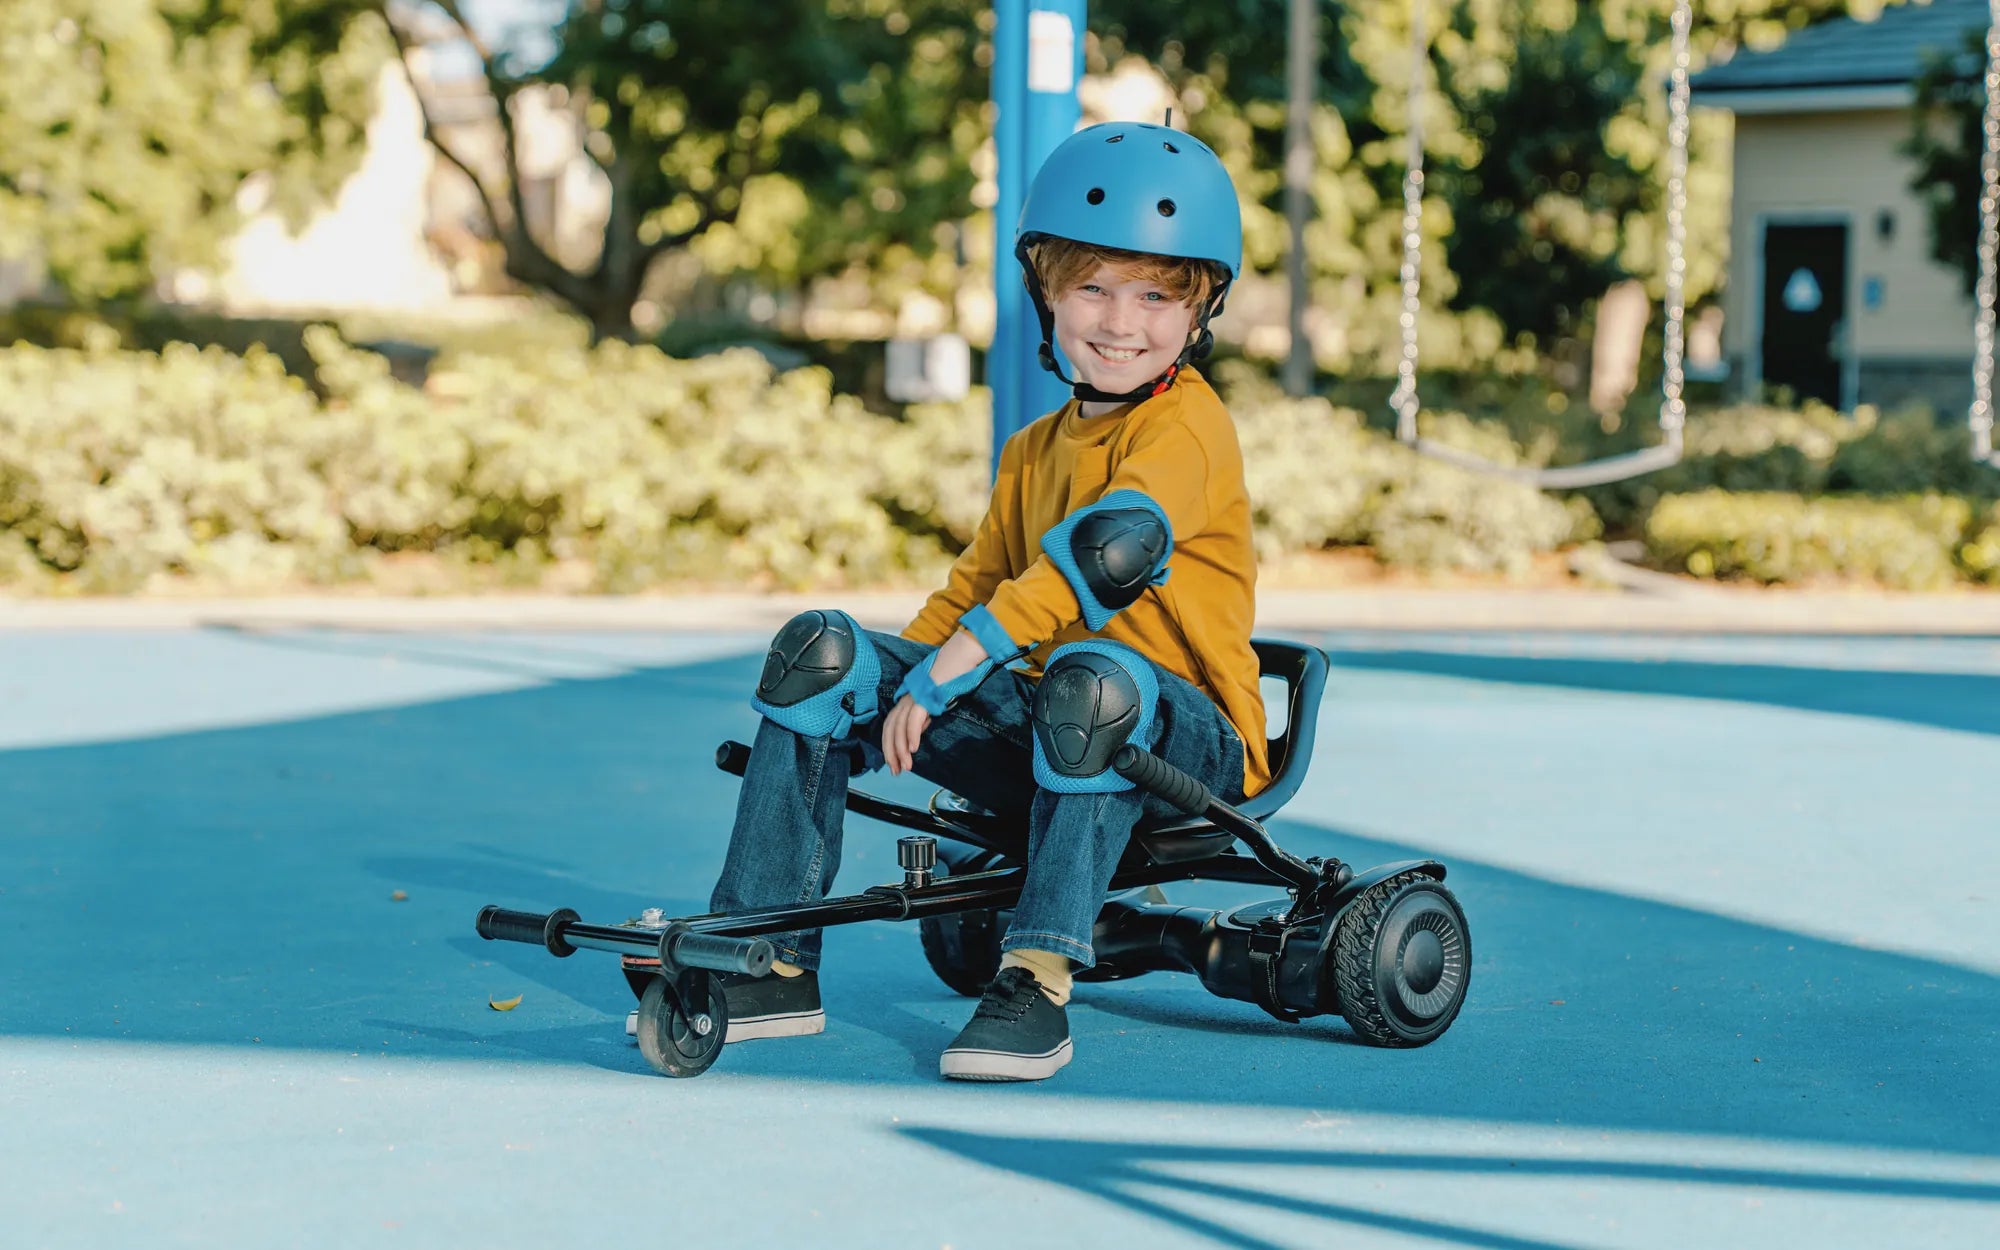
Essential safety gear is not optional. A certified helmet is mandatory. Wrist guards are highly recommended, as falls often involve putting hands out. Knee and elbow pads provide additional protection and confidence. Finally, wear closed-toe shoes with flat soles for optimal grip.
Conduct a thorough device check. Ensure the battery is adequately charged. Check tire pressure if your model has air-filled tires. Power on the hoverboard on a perfectly flat surface and wait for the calibration indicator (often a steady light or a beep) to confirm it's ready. Never attempt to ride a hoverboard that hasn't been calibrated on level ground.
Finding Your Stance and Mounting
Identify the front of your hoverboard; it's usually indicated by a light or a specific design cue. Stand beside the board, facing forward. Place your dominant foot firmly on the front half of its corresponding footpad, keeping your weight centered over that leg.
The key to mounting is using support. Hold onto a wall, railing, or sturdy chair. With your dominant foot securely placed, quickly but smoothly lift your other foot and place it on the remaining footpad. Your feet should be shoulder-width apart, parallel, and positioned symmetrically near the wheel arches.
Keep your knees slightly bent and your back straight. Look forward, not down at your feet. Grip the support until you feel stable. The goal here is to find the "sweet spot" where the board is perfectly level and not trying to move.
The Art of Balance and Dismounting
Balance is controlled by micro-movements in your ankles. The hoverboard's gyroscopic sensors detect the slightest shift in pressure. Practice shifting your weight minutely from your toes to your heels while holding your support, feeling how the board responds by tilting forward or back.
To dismount safely, always come to a complete stop. Shift your weight to your dominant foot. Step off backwards with your non-dominant foot first, followed by your dominant foot, stepping away from the board. Never jump off forwards, as the board may shoot out behind you.
Practice mounting and dismounting a dozen times until it becomes a fluid, confident motion. This builds muscle memory and is the foundation for all subsequent skills. Mastering how do you ride a hoverboard starts with mastering how to get on and off.
Mastering Movement: The Core Controls
The control scheme is intuitive but requires precision. To move forward, lean your body forward from the ankles, applying gentle pressure with your toes. To move backward, lean back slightly, applying pressure with your heels. The board moves in the direction you lean.
Speed is controlled by the degree of your lean. A very slight lean will produce a slow, walking pace. A more pronounced lean will increase speed. As a beginner, start with tiny, incremental leans. Always maintain a low center of gravity with bent knees and a straight back.
Turning is achieved by differential pressure. To turn right, apply slight forward pressure with your left toe (or backward pressure with your right heel). To turn left, apply forward pressure with your right toe. The board pivots around the wheel with more pressure. Your upper body should follow the turn naturally.
Practicing Basic Maneuvers
Dedicate your first session to a structured drill in your safe, flat area. Step 1: Gentle forward and backward movement. Practice moving 10 feet forward, stopping, then moving 10 feet back. Focus on smooth acceleration and deceleration.
Step 2: Master controlled stopping. The key is to smoothly return your body to a neutral, upright position. Do not jerk backwards to stop; simply cease leaning forward. The board will decelerate gently to a halt. Practice stopping on an exact spot.
Step 3: Initiate wide, gradual turns. Create large figure-eight patterns. Focus on using subtle toe or heel pressure to guide the turn, not sharp, upper-body twists. Spend at least 30-45 minutes on these foundational drills before attempting anything more complex.
Advancing Your Skills: Turning and Maneuvering
Once you're comfortable with basic movement, you can refine your control. For sharper turns, combine the toe/heel differential pressure with a slight lean of your upper body in the direction you want to go. This coordinated movement allows for tighter, more responsive cornering.
Learn to pivot or spin in place. Press your toes down on one foot and your heel down on the other foot simultaneously. The hoverboard will rotate on its axis. This is useful for quick direction changes and is a fun trick to master after the basics are solid.
Navigate slight slopes with extreme caution. Always approach hills at a slow, controlled speed. Lean into the slope when going uphill. When going downhill, shift your weight slightly back to control speed, but be prepared to step off if you feel you're accelerating too quickly. Avoid steep inclines as a beginner.
Riding with Confidence in Public
Transitioning to public paths requires heightened awareness and etiquette. Maintain a safe speed—a brisk walking or light jogging pace is appropriate for shared spaces. Always yield to pedestrians and give audible warning before passing (a simple "on your left" works).
Know your local laws. Use sidewalks where permitted and bike lanes when appropriate. Avoid wet, oily, sandy, or gravelly surfaces, as they drastically reduce traction. Be hyper-aware of cracks, curbs, and potholes. Cross streets at crosswalks, dismounting if necessary, just as a pedestrian would.
Your confidence will grow with experience. Plan short, familiar routes at quiet times of day. The reliability of your equipment is paramount here; knowing your hoverboard has a stable platform, like those from Gyroor with their UL-certified battery systems, allows you to focus on your surroundings, not your ride.
Hoverboard Maintenance & Safety Best Practices
Long-term enjoyment depends on proper care. This ties directly into the engineering quality of your device. For instance, Gyroor's use of UL-certified battery packs, tested for 500+ charge cycles, means longevity is built-in, but proper habits preserve it.
Perform regular checks. Inspect tire pressure and tread weekly. Ensure all housing screws and bolts are tight. Clean the footpads and body with a damp cloth; the IPX5 water-resistant rating on many models means they can handle puddles and light rain, but avoid direct hose streams or submersion.
Follow optimal charging practices. Use only the manufacturer-provided charger. Do not leave the hoverboard plugged in for extended periods after it's fully charged. Store it in a cool, dry place, away from extreme temperatures. Never ignore error beeps or flashing lights—consult the manual immediately.
Hoverboard Comparison: Key Features for Beginners
Choosing the right model impacts your learning experience. Here is a comparison of important features, highlighting why certain design choices matter for new riders.
| Feature | Why It Matters for Beginners | Entry-Level Model Example | Advanced/Performance Model Example |
|---|---|---|---|
| Wheel Size | Larger wheels (8.5"+) provide better stability and handle cracks/uneven surfaces more easily. | 8.5" Air-Filled Tires | 10" Off-Road Tires |
| Motor Power | Dual 250W motors offer ample torque for learning and moderate hills. Extreme power can be jarring. | Dual 250W Motors | Dual 500W+ Motors |
| Battery & Range | UL-certified batteries are a safety must. A 10-12 mile range is ample for learning and local trips. | UL-Certified, 10-mile range | UL-Certified, 20-mile range |
| Weight Limit | Ensures structural integrity and performance. Most standard models support 220-265 lbs. | 220 lbs capacity | 265 lbs+ capacity |
| Learning Mode | Software feature that limits top speed, making initial practice much safer and less intimidating. | Often Included | Sometimes Included |
| Water Resistance | IPX4 or IPX5 rating protects against splashes and puddles, adding durability for real-world use. | IPX4 Rating | IPX5/6 Rating |
Frequently Asked Questions for New Riders
Q: How long does it take to learn how do you ride a hoverboard?
A: Most people gain basic competency—mounting, dismounting, moving forward/back, and wide turns—within 30 to 60 minutes of focused practice in a safe area. Full confidence for public riding may take a few days of short sessions.
Q: What is the weight limit, and why is it important?
A> Weight limits (typically 220-265 lbs) are set for structural safety and motor performance. Exceeding them can damage the frame, drain the battery rapidly, and cause unsafe riding conditions. Always check your specific model's limit.
Q: Can hoverboards get wet?
A> It depends on the IP rating. Many models, like those from Gyroor with an IPX5 rating, are built to withstand water jets and puddles, making them safe for use on damp pavement. However, no consumer hoverboard is waterproof or submersible. Avoid deep puddles and heavy rain.
Q: What should I do if I start to fall?
A> Try to step off backwards away from the board. If a fall is inevitable, tuck and roll if possible, aiming to land on your padded areas (wrist guards, knees). This is why gear is critical—it turns a potential injury into a simple tumble.
Q: Is the 1-year warranty transferable if I buy a used hoverboard?
A> Typically, no. Warranties from reputable brands like Gyroor are usually limited to the original purchaser with proof of purchase from an authorized retailer. This policy helps ensure quality control and support for the first owner.
Embrace the Journey
Learning how do you ride a hoverboard opens up a new world of personal mobility and fun. The journey is defined by three pillars: prioritizing safety above all else, diligently practicing the fundamental movements in a controlled environment, and progressing at your own pace without rushing.
With a reliable, well-designed hoverboard that features critical safety components like UL-certified batteries and a stable frame, you can focus entirely on building your skill. The initial wobbles quickly give way to the smooth, intuitive glide that makes hoverboarding so enjoyable.
You now have the complete guide. The path from your first tentative step to confident cruising is clear. Your adventure in personal electric mobility starts now. Equip yourself with the right gear, choose a trusted brand built for real riders, and take that first step.
Ready to start your ride? Browse the full collection of beginner-friendly and advanced hoverboards, e-bikes, and electric scooters at gyroorboard.com. Discover models designed with rider safety and confidence as the top priority, backed by reliable performance and support.
Best 3 Wheel Electric Scooter for Kids: Safety, Fun, and Durability Combined for Confident Riders
Hoverboard Repair: Essential Tips to Keep Your Ride Running Smoothly