
Ever dreamed of cruising around on your very own hoverboard with a handle? Imagine the convenience and stability a handle adds to your ride, making it easier to control and transport. Building a hoverboard with a handle might sound complex, but with the right guidance, it’s a project you can tackle at home. Whether you’re a DIY enthusiast or just looking for a fun weekend project, this step-by-step guide will walk you through the process.
Materials You’ll Need
Before diving into the construction, gather all the necessary materials. Here’s what you’ll need:
- A standard hoverboard (without a handle)
- A sturdy handlebar or metal rod
- Mounting brackets or clamps
- Screws, bolts, and nuts
- Drill and drill bits
- Screwdriver set
- Measuring tape
- Safety gear (gloves, goggles)
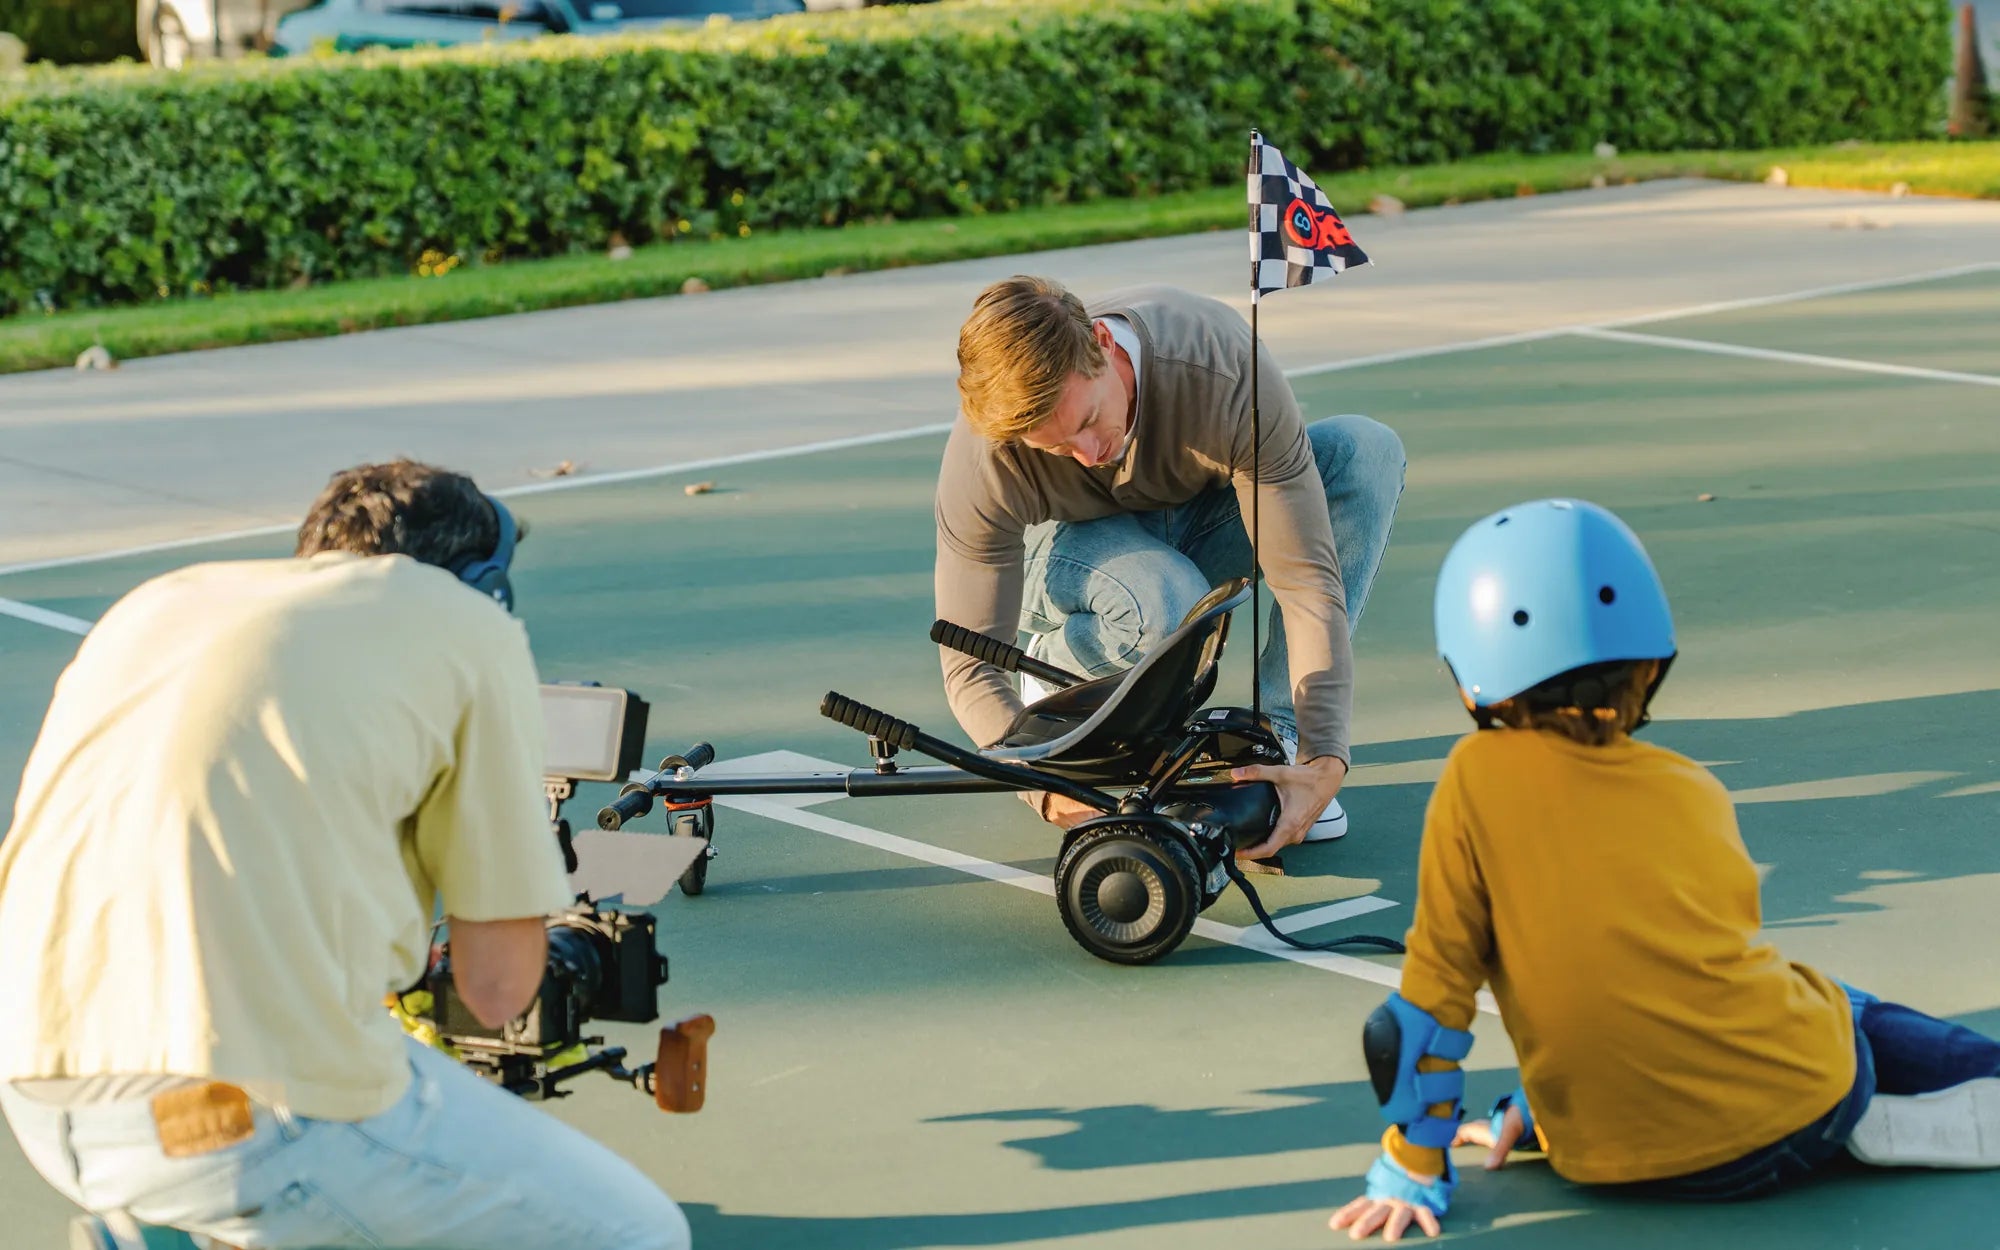
Step 1: Choose the Right Handle
The handle is a critical component of your hoverboard. It should be sturdy enough to support your weight and comfortable to grip. Consider using a metal rod or a repurposed handlebar from another device. Measure the length to ensure it’s tall enough for your height but not too long to affect balance.
Step 2: Prepare the Hoverboard
Turn off the hoverboard and remove the battery if possible. This ensures safety while working on the modifications. Locate a suitable spot on the hoverboard’s frame to attach the handle. The ideal position is near the center for balanced weight distribution.
Step 3: Attach the Mounting Brackets
Using the drill, create holes in the hoverboard’s frame where the mounting brackets will be secured. Place the brackets over the holes and fasten them with screws and bolts. Ensure the brackets are tightly secured to prevent wobbling during use.
Step 4: Secure the Handle
Slide the handle into the mounting brackets and tighten the clamps or screws to hold it in place. Double-check the stability by gently shaking the handle. If it moves, tighten the screws further or add additional support.
Step 5: Test the Hoverboard
Reinsert the battery and turn on the hoverboard. Test the handle’s stability by holding it and taking a few slow rides. Adjust the handle’s position or tightness if needed. Once satisfied, your hoverboard with a handle is ready to use!
Safety Tips
Always wear protective gear while riding your hoverboard, especially when using a handle for the first time. Start in a safe, open area to get used to the new balance and control. Regularly inspect the handle and mounting brackets for any signs of wear or loosening.
Now that you’ve built your own hoverboard with a handle, you’re ready to enjoy a smoother, more controlled ride. Whether for commuting or fun, this DIY project adds a personal touch to your hoverboard experience. Happy riding!
Best First Hoverboard: A Complete Guide for Beginners
Gifts Similar to a Hoverboard: 10 Exciting Alternatives for Tech Lovers