

Introduction to Hoverboard Operation
Learning how to operate a hoverboard opens up a world of fun, efficient personal mobility. These self-balancing scooters are intuitive once you understand their mechanics, but mastering them requires knowledge of basic controls and a strong emphasis on safety. This step-by-step guide for beginners will walk you through the entire process, from your first wobbly attempt to smooth, confident riding.
We’ll incorporate fundamental principles of physics and balance that govern all hoverboards, alongside specific insights drawn from the engineering standards of leading brands. Brands like Gyroor, a trusted name in personal electric transport, design their boards with user-friendly features that support the learning curve. By following this structured approach, you’ll build a solid foundation for safe and enjoyable riding.
Essential Pre-Ride Safety and Setup
Your first ride begins long before you step onto the footpads. Proper preparation is the single most important factor in preventing accidents and ensuring a positive experience. This phase involves gearing up, inspecting your equipment, and choosing the right environment.
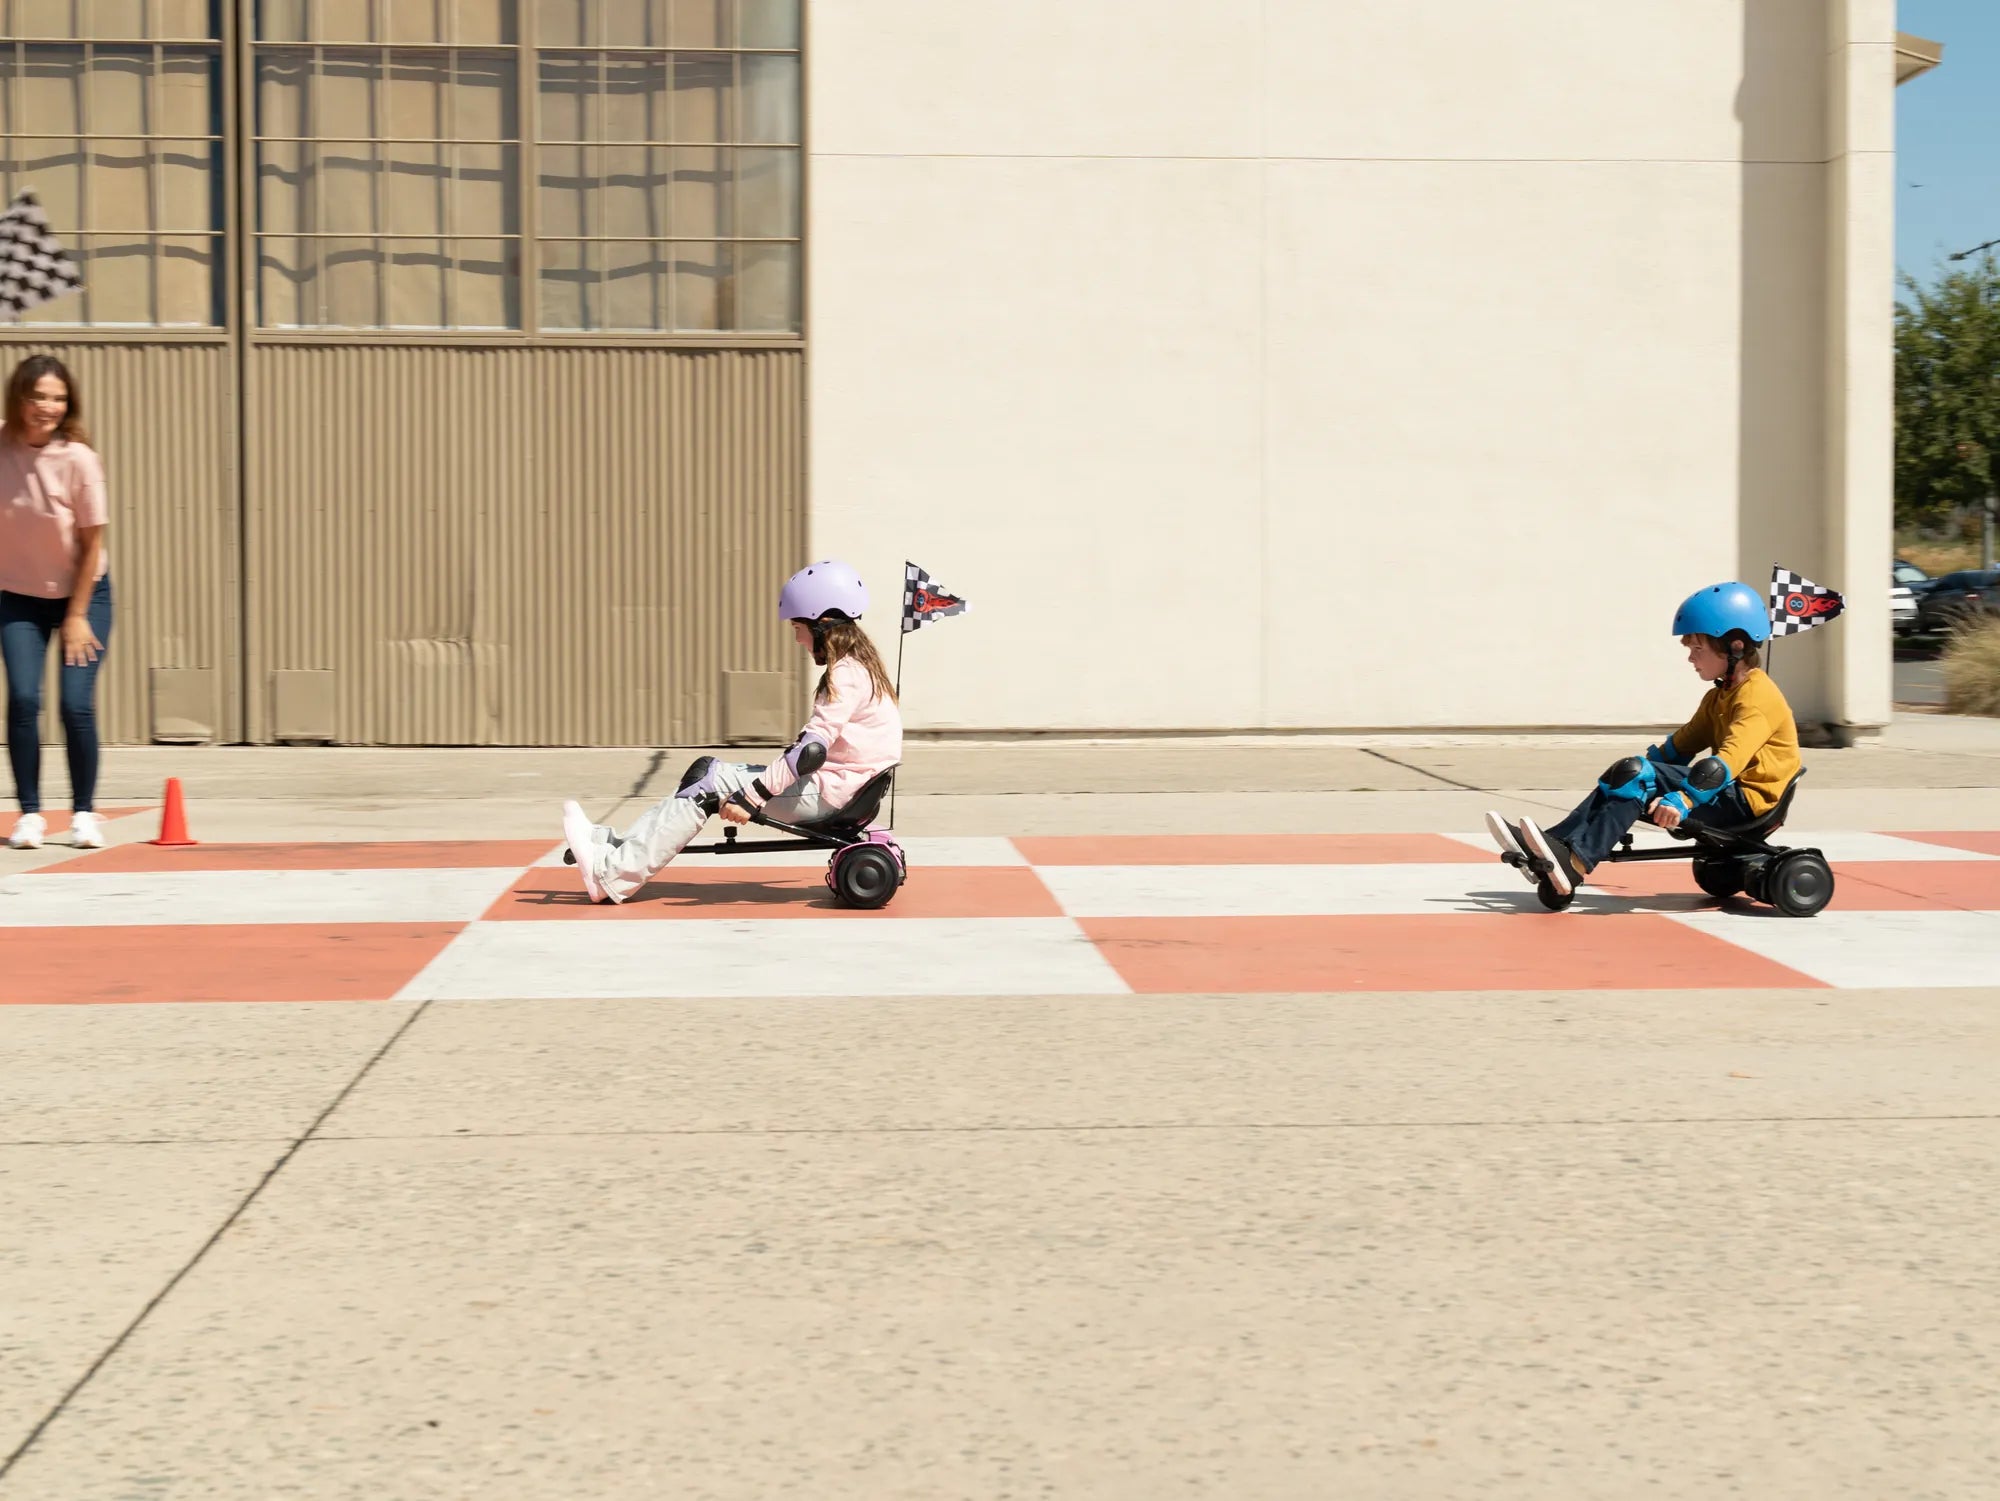
Always wear appropriate safety gear. A certified helmet is non-negotiable. Complement this with knee pads, elbow pads, and wrist guards. These items protect you during the inevitable stumbles while learning how to operate a hoverboard.
Conduct a thorough pre-ride inspection. Check the tire pressure for proper inflation, ensure the footpads are clean and dry, and verify the battery has sufficient charge. For models like those from Gyroor, a full initial charge activates the battery management system and ensures optimal performance from their UL-certified battery packs.
Select a safe, controlled practice area. An empty parking lot, a smooth stretch of pavement in a park, or a quiet cul-de-sac are ideal. The surface must be flat, dry, and free of debris, cracks, or significant slopes. Avoid public roads, crowded areas, and uneven terrain until you have advanced skills.
Mastering the Basics: Mounting, Stance, and Dismounting
The fundamental skills of getting on, standing still, and getting off are the bedrock of hoverboard operation. Rushing this stage leads to frustration. Practice these steps repeatedly until they feel natural and controlled.
Finding Your Balance and Proper Stance
Place the hoverboard on a level, stable surface and power it on. The board will enter self-balancing mode, indicated by a steady light or sound. Stand beside the board, holding onto a wall, railing, or a friend’s shoulder for support.
Step onto the board one foot at a time. Place your dominant foot firmly on the footpad, positioning it as close to the wheel as possible for maximum control. Keep your weight on your grounded foot. Once stable, smoothly bring your other foot onto the second footpad.
Adopt a proper riding stance. Your feet should be shoulder-width apart, parallel, and positioned symmetrically near the wheels. Keep your knees slightly bent to act as natural shock absorbers. Look forward, not down at your feet. Your body should be relaxed; tension makes balancing harder.
How to Dismount Safely
Dismounting correctly is as crucial as mounting. Always come to a complete, controlled stop. Look down to confirm your footing. Shift your weight slightly to your dominant foot.
Step off backwards, one foot at a time. Stepping forward can cause the board to shoot out from under you. Step your non-dominant foot off first, placing it firmly on the ground behind you. Then, step your dominant foot off. Maintain a hand on your support until you are completely off the board.
Core Movement Controls: Going Forward, Backward, and Turning
Hoverboards are controlled entirely through subtle weight shifts and pressure applied by your feet on the sensitive footpads. There are no buttons or throttles for acceleration. Mastering this pressure control is the key to smooth operation.
Moving Forward and Backward
To move forward, lean your body forward slightly. Apply gentle, even pressure on the balls of your feet (your toes). The board will respond by rolling forward. The more you lean, the faster you will go. Start with tiny, incremental leans to understand the sensitivity.
To move backward, lean your body back slightly. Apply gentle, even pressure on your heels. The board will roll in reverse. Again, start with minimal movement. The goal is to make the board’s movement feel like an extension of your body’s natural lean.
Steering and Making Turns
Turning is achieved through differential pressure. To turn left, press forward with your right toes while keeping your left foot flat or applying slight pressure on the left heel. This causes the right wheel to spin faster than the left, pivoting you left.
To turn right, press forward with your left toes. For sharp, on-the-spot spins (useful for changing direction in tight spaces), press your right toes forward and your left heel back simultaneously, or vice-versa. Practice wide, gradual turns at slow speed before attempting tighter maneuvers.
Advanced Maneuvering and Riding Best Practices
Once you are comfortable with basic movement, you can progress to more complex skills and adopt habits that will make you a proficient, safe rider in various environments.
Practice controlled stopping. To stop, simply straighten your posture to a neutral, balanced stance. The board will decelerate smoothly to a halt. Avoid jumping off or making abrupt leans backward to stop, as this can throw you off balance.
Learn to navigate gentle slopes. Approach slopes at a slow, steady speed. Lean slightly into the incline when going up, and lean back slightly when going down, using your bent knees to maintain stability. Avoid steep hills until you are an expert.
Adopt key riding best practices. Always keep your gaze ahead in the direction you want to travel, not at your feet. This improves balance and situational awareness. Start at the slowest speed setting if your model has one. Avoid sudden, jerky movements. Be hyper-aware of your surroundings, including pedestrians, vehicles, and terrain changes.
Hoverboard Comparison: Key Features for Beginners
Choosing the right hoverboard can significantly impact your learning experience. Beginner-friendly models prioritize stability, smooth acceleration, and safety features. The table below compares important attributes for new riders.
| Feature | Why It Matters for Beginners | Entry-Level Standard | Enhanced Beginner Feature (e.g., Gyroor Focus) |
|---|---|---|---|
| Wheel Size | Larger wheels provide better stability and handle cracks/rough pavement more easily. | 6.5 inches | 8.5 - 10 inches for a smoother, more confident ride. |
| Max Speed & Modes | Lower top speeds and beginner modes prevent overwhelming acceleration. | Single speed (~7-10 mph) | Multiple speed modes (e.g., 5 mph beginner mode). |
| Weight Limit | Ensures the motor and frame can safely support the rider for stable performance. | Up to 220 lbs | Up to 265 lbs for wider compatibility and durability. |
| Battery & Range | Affects practice session length. UL-certification is critical for safety. | Standard lithium-ion | UL 2272 certified battery packs (500+ charge cycles). |
| Learning Features | Features that directly aid the initial learning phase. | Basic balancing | Beginner/learning mode, smoother pedal response, IPX5 water resistance for puddle safety. |
Maintenance and Care for Longevity
Proper maintenance ensures your hoverboard remains safe, reliable, and fun to ride for years. Regular checks are simple but vital.
Battery care is paramount. Always use the manufacturer-provided charger. Avoid draining the battery completely before recharging. Store the board in a cool, dry place, and do not leave it plugged in for extended periods after a full charge. Gyroor’s UL-certified batteries are built for over 500 charge cycles with proper care.
Perform routine physical inspections. Regularly check tire pressure and inflate to the PSI specified in the manual. Inspect the wheels for wear or embedded debris. Wipe down the footpads and body with a damp cloth; avoid high-pressure water jets. For IPX5 water-resistant models, this protects against splashes but not submersion.
Listen to your hoverboard. Unusual sounds, vibrations, or error beeps can indicate an issue. Consult the user manual for error codes. If the board fails to balance properly on a level surface, it may require recalibration (a process detailed in the manual).
Troubleshooting Common Beginner Issues & FAQ
New riders often encounter similar hurdles. Here are solutions to frequent problems and answers to common questions.
Q1: Why does my hoverboard beep and refuse to move when I step on?
A: This is often a self-balancing calibration issue. Ensure you are on a perfectly flat, hard surface. Step off, turn the board off, and then back on. Place it flat without touching the footpads and wait for the balancing indicator. If problems persist, consult the manual for a recalibration procedure.
Q2: I’m afraid of falling. How can I overcome this?
A> This is normal. Maximize your safety gear to reduce injury fear. Practice mounting and dismounting for 10 minutes before even trying to move. Start on a soft surface like short grass, which provides more resistance and softer falls, then graduate to pavement.
Q3: Can I ride my hoverboard on wet surfaces or in the rain?
A: It is not recommended. While some models, like those from Gyroor with an IPX5 rating, are protected against water splashes and light rain, wet conditions drastically reduce tire traction and increase the risk of slipping. Avoid puddles and wet roads.
Q4: How long does the battery last on a single charge, and how can I extend its life?
A> Beginner practice sessions typically use less power. A standard model may offer 10-15 miles, which translates to several hours of intermittent practice. To extend battery life, avoid extreme temperatures, don’t overcharge, and store with a 50-80% charge if not used for weeks.
Q5: What is the difference between a hoverboard and an electric scooter for a beginner?
A> Hoverboards require learning balance and weight-based control, offering a more immersive, compact ride. Electric scooters have handlebars for steering and brake levers, which can feel more intuitive initially. Hoverboards are more portable, while scooters often have higher speeds and range.
Conclusion: Embark on Your Riding Journey with Confidence
Learning how to operate a hoverboard is a rewarding skill that combines balance, coordination, and mindful practice. By prioritizing safety gear, mastering the basics of mounting and pressure control, and progressing gradually, you will quickly build confidence. Remember that consistent, short practice sessions in a safe area are more effective than infrequent, risky attempts.
Choosing a reliable hoverboard from a brand that prioritizes safety engineering, like Gyroor with its UL-certified batteries and robust warranties, provides a trustworthy foundation for your experience. Respect your limits and your board’s capabilities, and you’ll unlock a fun and efficient way to navigate your world.
Ready to start your journey? Explore a range of beginner-friendly and advanced models designed for safety and performance. Browse the full Gyroor collection at gyroorboard.com to find the perfect hoverboard for your adventure.
Kids Electric Scooter Accessories: Must-Have Add-Ons for Safety and Fun
Smart Scooter for Kids: The Ultimate Guide to Safe and Fun Riding