
Building your own mini trike from detailed plans offers unparalleled freedom, significant cost savings, and deep personal satisfaction that you simply can't get from buying a pre-built model. This guide will walk you through every critical aspect of the process, from defining your project scope and sourcing high-quality plans to fabricating the frame, installing the drivetrain, and ensuring your creation is both safe and roadworthy. Whether you're a hobbyist, a DIY enthusiast, or someone seeking unique personal transport, understanding mini trike plans is your first step toward creating a vehicle that perfectly matches your vision and needs.
Why Build Your Own Mini Trike? Key Benefits and Considerations
The primary appeal of building from mini trike plans is complete customization. You control every specification, from the frame geometry and seat position to the powerplant and color scheme, resulting in a vehicle tailored precisely to your body and riding style. This process can also be more cost-effective than purchasing a commercial equivalent, especially if you source used components or repurpose materials.
Beyond the final product, the build journey itself offers immense value. You'll gain practical, hands-on skills in metal fabrication, welding, mechanical assembly, and, for electric builds, basic electrical systems. The pride and sense of accomplishment derived from riding a vehicle you constructed from the ground up is a powerful motivator for many builders.
However, this undertaking requires honest self-assessment. Building a mini trike demands a significant time investment, ranging from a solid weekend for a simple pedal trike to 40+ hours for a complex motorized build. You'll also need access to basic tools like angle grinders, welders, and socket sets, along with a dedicated workspace. A foundational level of mechanical aptitude and patience is non-negotiable for a successful and safe outcome.
Defining Your Project Scope: Motorized vs. Pedal-Powered
Your first major decision when reviewing mini trike plans is choosing a power source. This choice fundamentally dictates the complexity, cost, and legal status of your build. A motorized trike, typically powered by a gas engine or an electric motor kit, offers greater speed, hill-climbing ability, and requires less physical effort from the rider.
For electric builds, key specifications in your mini trike plans will include motor voltage (commonly 24V, 36V, or 48V), wattage (250W to 1000W+), and battery capacity (measured in Amp-hours, Ah). A higher voltage and wattage generally provide more torque and speed. Selecting a reliable, UL-certified battery pack, like those used in Gyroor's electric scooters and e-bikes, is critical for safety and longevity, ensuring 500+ stable charge cycles.
In contrast, a pedal-powered trike is a simpler, more traditional option. It requires no motor, controller, or complex wiring, making it an excellent project for beginners. It promotes exercise, is virtually silent, and faces far fewer legal restrictions regarding where it can be operated. The trade-off is limited speed and range, entirely dependent on rider fitness.
The table below provides a clear comparison to help guide your decision based on common rider priorities.
| Feature | Motorized Mini Trike | Pedal-Powered Mini Trike |
|---|---|---|
| Top Speed | 15 - 30+ mph | 5 - 15 mph (rider dependent) |
| Range | 10 - 40 miles (electric) | Unlimited (rider dependent) |
| Build Complexity | High (electrical systems) | Low to Moderate |
| Approx. Build Cost | $500 - $1500+ | $300 - $700 |
| Legal Considerations | Often restricted to private property | Generally treated as a bicycle |
| Primary Skill Required | Mechanical & Electrical | Mechanical Fabrication |
Sourcing Your Mini Trike Plans: Free vs. Paid Resources
Finding the right blueprint is crucial. Free mini trike plans are widely available on community-driven platforms like Instructables, DIY forums, and YouTube channels. These resources are excellent for inspiration and learning core concepts. However, they can vary wildly in quality, completeness, and accuracy. Instructions may be vague, dimensions might be missing, and there's typically no formal support if you encounter problems.
Paid mini trike plans, available on marketplaces like Etsy or from specialized plan websites, often provide superior value. For a modest investment (typically $20-$60), you receive professionally drafted diagrams, comprehensive parts lists, precise measurements, and step-by-step photo or video guides. Many sellers also offer direct support, answering specific questions during your build. This can save countless hours of frustration and prevent costly mistakes.
Another valuable source is archives of vintage go-kart and minibike plans. Since many trikes share similar chassis and drivetrain principles with these vehicles, their plans can be expertly adapted. This approach is best suited for experienced builders comfortable with modifying designs. Regardless of source, always read user reviews and comments to gauge the plan's clarity and success rate among other builders.
Essential Components and Materials Checklist
A comprehensive parts list is the backbone of any good set of mini trike plans. This checklist covers the universal components needed for most builds, serving as your master shopping list before fabrication begins.
Frame & Chassis
The frame is the skeleton of your trike. Most plans call for steel tubing, with 1-inch diameter, 0.083-inch wall thickness being a common specification. You'll need to choose between DOM (Drawn Over Mandrel) tubing, which is stronger and more consistent, and standard mild steel (HREW), which is more affordable and easier to weld. Other essentials include a solid rear axle, axle bearings and housings, a steel plate for the engine/motor mount, and a sturdy seat bracket.
Steering & Control
This system dictates handling and safety. Key parts include a handlebar assembly, a steering column with a hub, tie rods with rod ends for linkage, and kingpins for the front fork. The brake system is non-negotiable. Disc brakes offer superior stopping power and modulation but are more complex to install. Mechanical drum or band brakes are simpler and often sufficient for lighter, slower trikes.
Drivetrain & Powertrain
For motorized builds, this includes the engine or motor itself, a mounting plate, a drive chain or belt, and matching sprockets/pulleys. Electric builds require a motor controller, a twist or thumb throttle, wiring harness, and a battery management system (BMS). Pedal-powered trikes need a bicycle-style crank set, bottom bracket, chain, and a freewheel on the rear axle.
Wheels & Tires
Wheel size dramatically affects the trike's ride height and stability. Common sizes range from 10-inch go-kart wheels to 16-inch or even 20-inch bicycle wheels. Consider the hub type (keyed, live axle, or bicycle style) and the tire tread. Knobby tires are better for grass or dirt, while slick or street tires provide smoother rolling on pavement.
A Step-by-Step Build Process Overview
Following a logical sequence is key to an efficient build. This overview breaks down the typical phases you'll find in quality mini trike plans.
Phase 1: Fabrication & Frame Assembly
This phase involves translating 2D plans into a 3D structure. Begin by measuring, marking, and cutting all steel tubing to the specified lengths. Use a tubing notcher or careful angle grinder work to create precise joints for welding. Tack-weld the main frame triangle first, checking for squareness, then permanently weld all joints. Attach the rear axle mounting plates and gussets to reinforce high-stress areas. Proper gusseting is a critical safety step often highlighted in plans.
Phase 2: Installing Running Gear
With the frame solid, mount the front fork and wheel assembly. Install the kingpins and connect the steering linkage (tie rods) to the steering column. Ensure the wheels turn freely without binding. Next, mount the rear wheels onto the axle and install the chosen brake system. For disc brakes, this involves mounting the caliper bracket and rotor accurately. Finally, bolt the axle assembly to the frame.
Phase 3: Integrating the Drivetrain
For motorized trikes, securely bolt the engine or motor to its mounting plate on the frame. Install the drive sprocket on the motor's output shaft and the corresponding sprocket on the rear axle. Align them meticulously and tension the chain. For electric builds, mount the controller in a well-ventilated area, connect the motor, throttle, and battery using the wiring diagram. Always install an inline fuse on the main battery lead. Pedal trikes require installing the bottom bracket, cranks, and chain.
Phase 4: Finishing Touches & Safety Check
Bolt on the seat, ensuring it's firmly attached. Add any final bodywork or footpegs. For road use, install front and rear lights, reflectors, and a horn or bell as required by law. Before the first ride, perform a rigorous safety inspection: check the torque on all critical bolts (especially axle, steering, and motor mounts), test brake function at a walking pace, verify steering moves smoothly without play, and confirm all electrical connections are secure and insulated.
Critical Safety and Legal Guidelines for Homemade Trikes
Ignoring safety and legality turns a rewarding project into a dangerous liability. Adherence to these guidelines is paramount.
Build Safety
Structural integrity is everything. All welds on the frame and steering components must be full-penetration and performed by a competent welder. Use gussets at all major joints to prevent flex and fatigue failure. The brake system must be capable of locking the wheels; always test it before relying on it. During operation, a certified helmet is essential, and protective eyewear and gloves are highly recommended, especially for early test rides.
Roadworthiness & Legalities
The legality of operating a homemade motorized vehicle on public roads is extremely complex and varies by state, province, and local municipality. Most homemade motorized trikes will not meet the strict requirements for titling, registration, and insurance required for street-legal vehicles. They are typically restricted to use on private property with the owner's permission. Always check your local Department of Motor Vehicles (DMV) or transportation authority regulations. Even for pedal trikes, local laws may mandate specific lighting and reflective equipment if ridden at dusk or dawn.
Frequently Asked Questions (FAQ)
1. What is the approximate total cost to build a mini trike?
The cost range is vast. A simple pedal trike built with new, basic components can cost $300-$700. A mid-range electric trike with a quality battery and motor kit typically runs $800-$1,500. High-performance or premium material builds can exceed $2,000.
2. What skill level is required to build from mini trike plans?
You need basic mechanical aptitude, patience, and the ability to follow instructions precisely. For welded frames, competent welding skill (or a friend who can weld) is mandatory. Electric builds require the ability to follow a wiring diagram and safely handle DC electrical components.
3. Can I make my motorized mini trike street legal?
It is very difficult and often impossible for a homemade vehicle. Requirements usually include a certified frame, DOT-approved lighting and signals, a Vehicle Identification Number (VIN) assigned by the state, registered brakes, and often emissions testing for gas engines. It's safest to assume your motorized build is for private land only.
4. How long does the complete build take?
A simple pedal trike can be a focused weekend project (10-20 hours). A motorized trike, especially a first build, will likely take 30-60 hours spread over several weeks, accounting for part sourcing, fabrication, assembly, and troubleshooting.
5. Where is the best place to ride a homemade mini trike?
Private property—your own land, a friend's field, or a dedicated off-road recreation area—is the best and safest venue. Avoid public roads, sidewalks, and parks unless you have explicit confirmation from local authorities that your specific vehicle is permitted. Pedal trikes have more flexibility and can often be used on bike paths.
From Plans to Pavement: Your Journey to a Custom Ride
Embarking on a build from mini trike plans is a commitment to creating something uniquely yours. It starts with a clear vision, fueled by thorough research and a quality set of plans. By prioritizing safety in every fabrication step and respecting legal boundaries, you ensure the journey is as rewarding as the destination. The moment you first ride a stable, functional trike that you built with your own hands is an unparalleled achievement in personal fabrication and mechanical creativity.
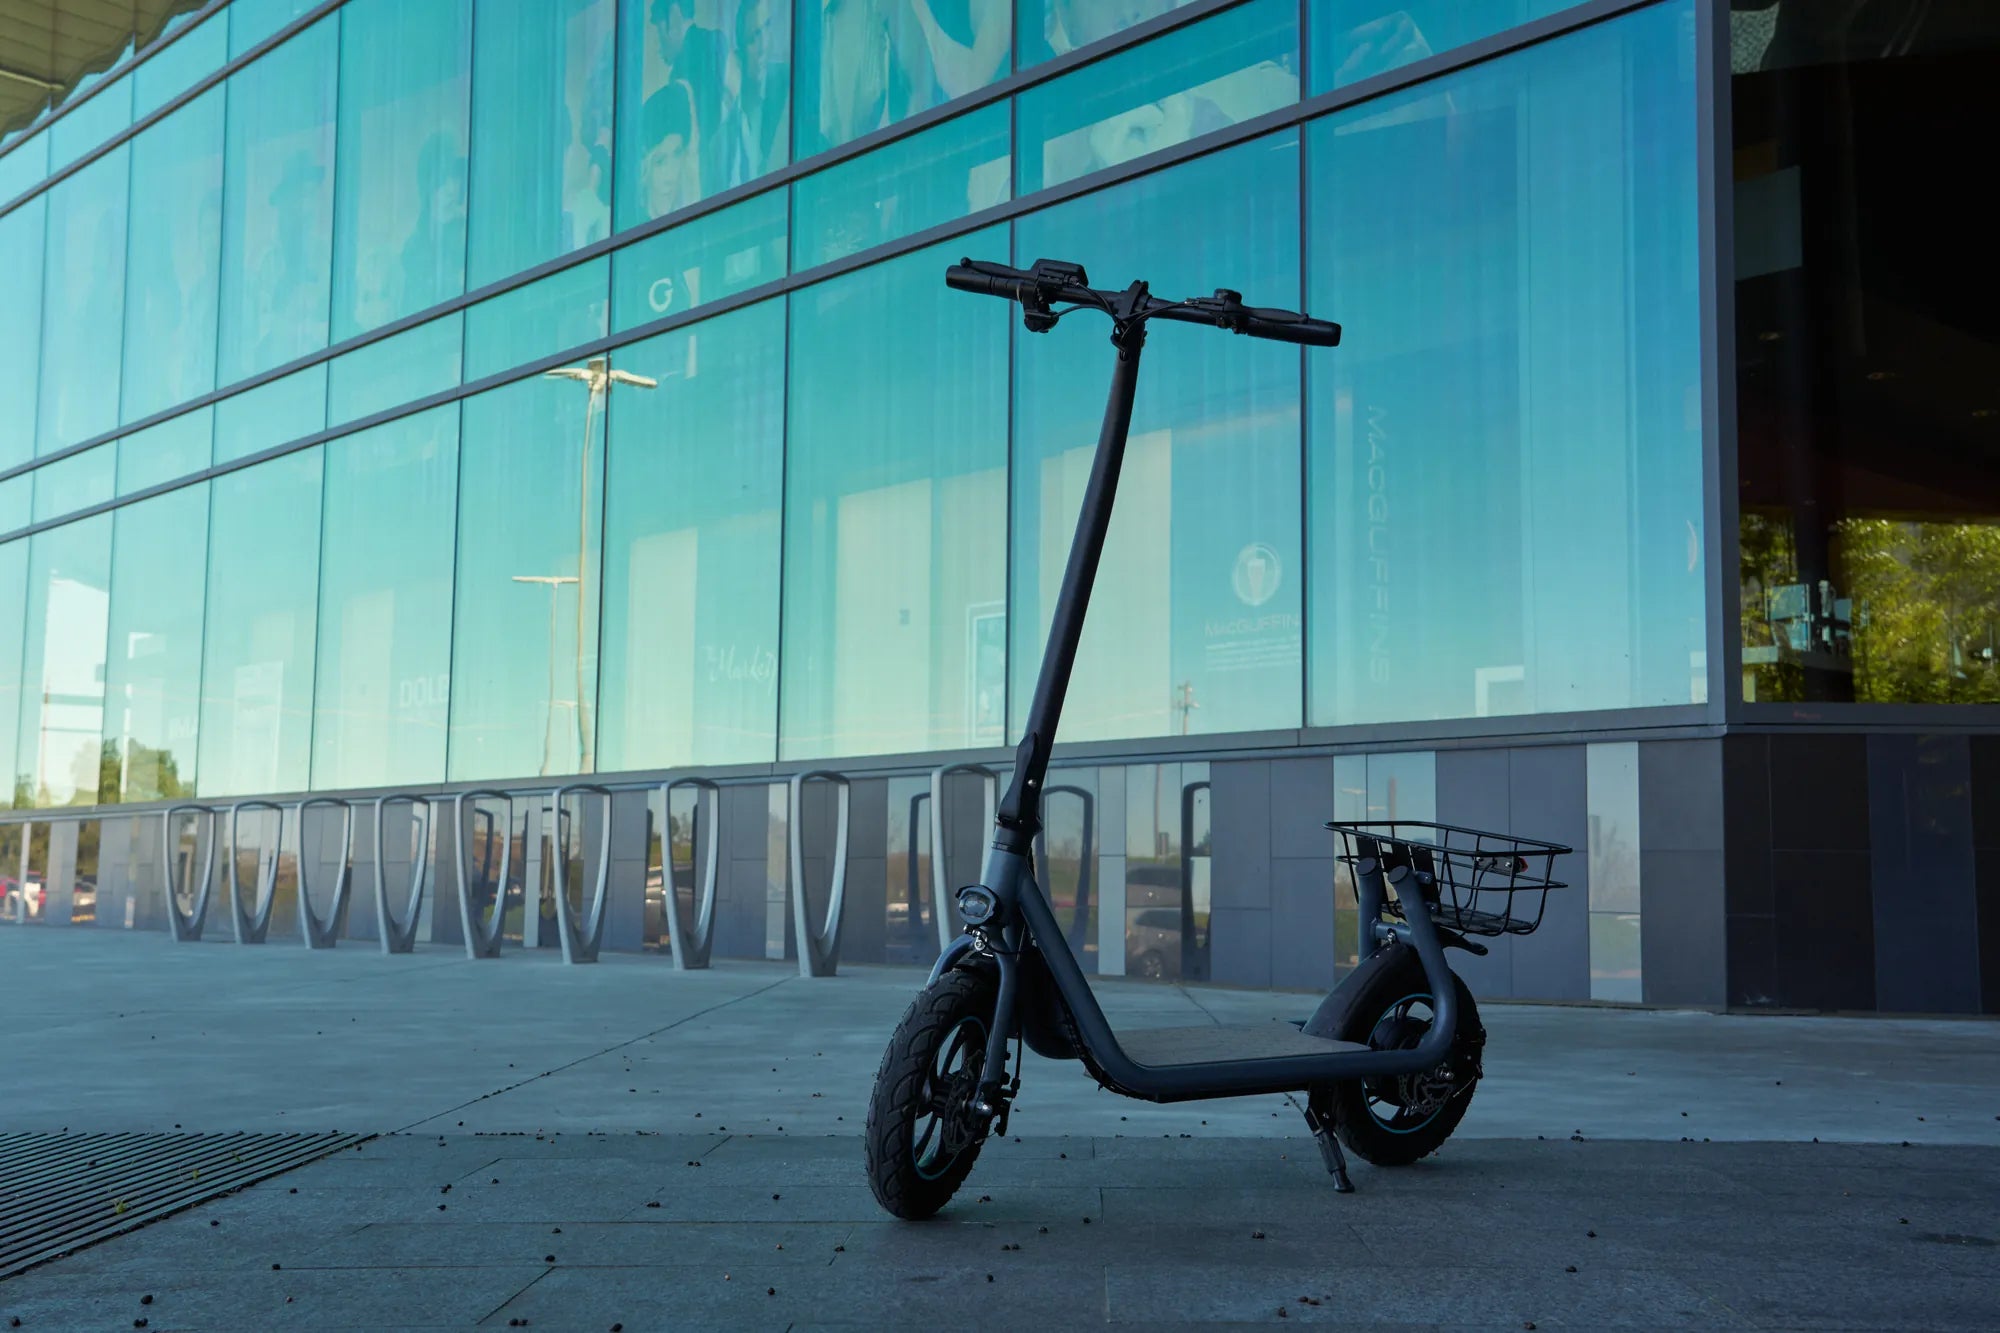
For those inspired by custom electric mobility but seeking a professionally engineered, road-ready option from the start, explore the innovative designs from leading brands. Gyroor, a trusted name in personal electric transport with over 100,000 riders, offers a range of UL-certified, reliable e-scooters and e-bikes that embody the blend of performance, safety, and style many builders aim for. Whether you choose to build or to buy, the world of personalized mobility awaits. Browse the full Gyroor collection at gyroorboard.com to see the benchmark in electric ride engineering.
Low Scooter: The Ultimate Guide to Compact, Stable Electric Rides
Scooter Wheel Size Chart: The Complete Guide to Performance & Comfort