


Ever wondered what those flashing lights on your hoverboard actually mean? Whether you're a seasoned rider or a beginner, decoding these signals can make all the difference between a smooth ride and an unexpected hiccup. Hoverboards use LED lights to communicate important information about battery life, connectivity, errors, and more. Ignoring these signals could lead to accidents or damage, so let's break down what each light means and how to respond.
Understanding the Basic Light Indicators
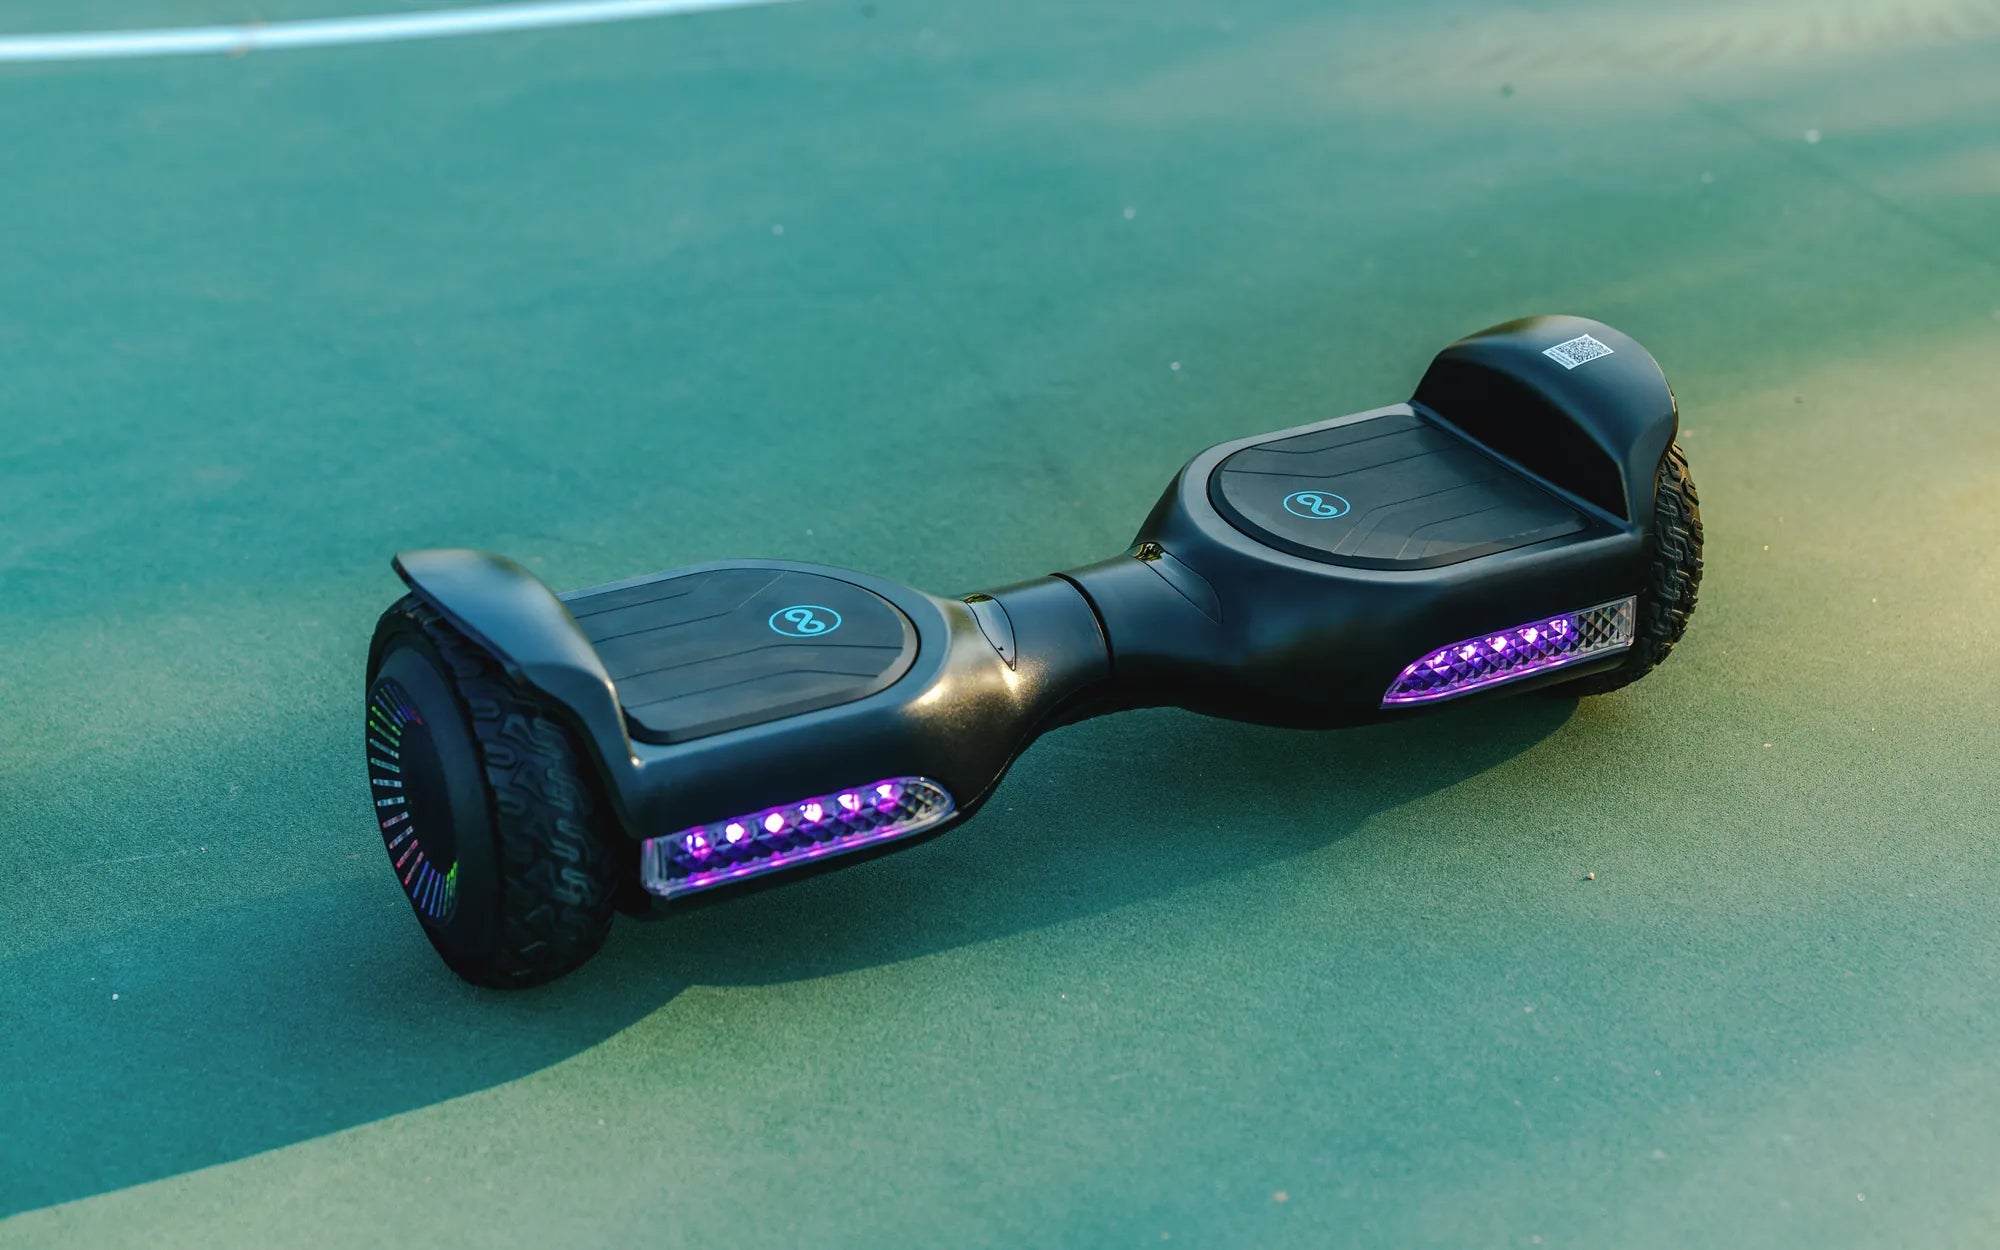
Most hoverboards come with a set of LED lights that serve as a communication tool between the device and the rider. These lights are typically located near the foot pads or around the edges of the board. Here's what they generally indicate:
- Power Indicator: A steady green or blue light usually means the hoverboard is powered on and ready to use.
- Battery Level: Many models use a series of lights to show battery status. For example, all lights lit may indicate a full charge, while a single blinking light could mean low battery.
- Charging Status: A red light often appears when the hoverboard is charging and turns green once fully charged.
Decoding Error Lights and Warnings
Hoverboards are equipped with safety features that trigger warning lights when something isn't right. These lights can help you troubleshoot issues before they escalate. Common error signals include:
- Red Flashing Light: This often indicates an imbalance or calibration issue. Try turning the hoverboard off and on again or recalibrating it.
- Alternating Red and Green Lights: This could signal a motor or sensor problem. Check for obstructions or uneven surfaces.
- Rapid Blinking: If the lights blink rapidly, the hoverboard may be overheating. Let it cool down before using it again.
Battery and Charging Light Patterns
The battery is the heart of your hoverboard, and its status is often displayed through specific light patterns. Here's how to interpret them:
- Solid Green Light: The battery is fully charged and ready to go.
- Blinking Red Light: The battery is low and needs charging soon.
- No Lights During Charging: This could indicate a faulty charger or connection issue.
Always refer to your hoverboard's manual for model-specific light patterns, as they can vary between manufacturers.
Bluetooth and Connectivity Lights
Many modern hoverboards come with Bluetooth connectivity for apps or speakers. The lights can also indicate pairing status:
- Blinking Blue Light: The hoverboard is in pairing mode and ready to connect.
- Solid Blue Light: A device is successfully connected via Bluetooth.
- No Light After Pairing Attempt: The connection may have failed. Try resetting the hoverboard or your device.
Safety Tips Based on Light Indicators
Paying attention to your hoverboard's lights isn't just about convenience—it's about safety. Here are some key tips:
- Never ignore a red flashing light. It often signals a critical issue that needs immediate attention.
- If the hoverboard refuses to power on and shows no lights, check the battery and charger.
- Regularly calibrate your hoverboard to prevent imbalance warnings.
By understanding these light signals, you can extend the life of your hoverboard and enjoy a safer riding experience.
Next time your hoverboard starts flashing mysterious lights, you'll know exactly what to do. Stay informed, ride smart, and keep those wheels spinning smoothly!
How to Use Bluetooth Speaker on Hoverboard: A Complete Guide
Hoverboard Got Wet and Won't Stop Beeping: How to Fix It Fast