

Is your hoverboard acting up, leaving you stranded mid-ride? Before you toss it out and spend hundreds on a new one, consider a cheap hoverboard motherboard replacement. This guide will walk you through everything you need to know to bring your hoverboard back to life without draining your wallet.
Why Replace the Motherboard?
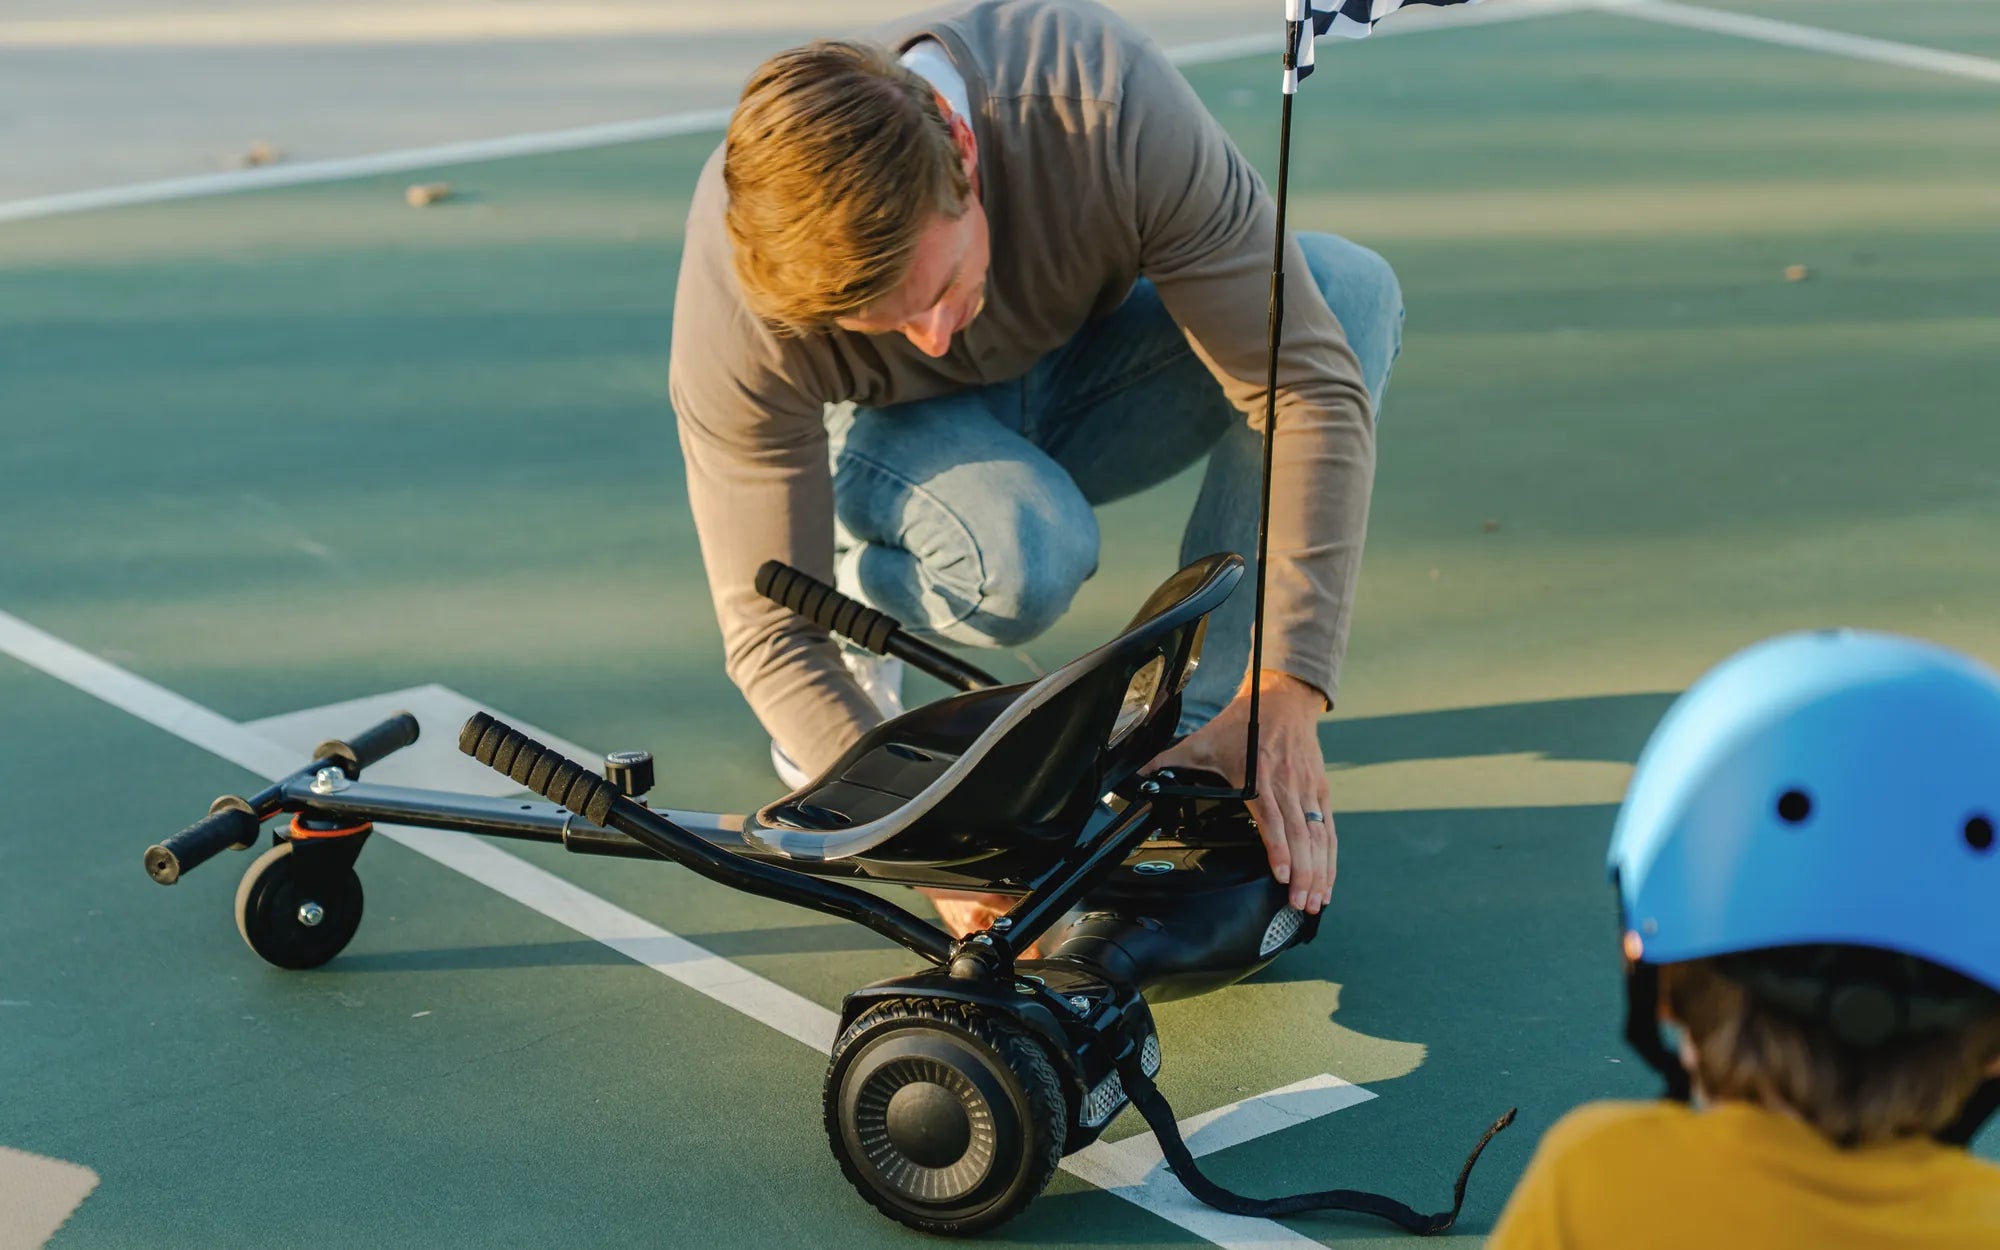
The motherboard is the brain of your hoverboard. It controls everything from balance and speed to battery management. When it fails, your hoverboard might stop working altogether or exhibit erratic behavior. Common signs of a faulty motherboard include:
- Unresponsive power buttons
- Random shutdowns
- Inconsistent speed or balance issues
- Battery not charging properly
Replacing the motherboard is often more cost-effective than buying a new hoverboard, especially if the rest of the components are in good condition.
Finding a Cheap Replacement
When searching for a cheap hoverboard motherboard replacement, keep these tips in mind:
- Check compatibility: Ensure the replacement board matches your hoverboard's model and specifications.
- Compare prices: Look for deals online, but avoid suspiciously low prices that might indicate poor quality.
- Read reviews: Customer feedback can help you identify reliable sellers and products.
Many online marketplaces offer affordable options, but always verify the seller's reputation before purchasing.
Step-by-Step Replacement Guide
Replacing the motherboard might seem daunting, but with the right tools and patience, it’s manageable. Here’s how to do it:
- Disconnect the battery: Safety first! Unplug the battery to avoid any electrical hazards.
- Remove the outer shell: Use a screwdriver to open the hoverboard’s casing carefully.
- Locate the motherboard: It’s usually positioned near the center, connected to wires and sensors.
- Disconnect the old motherboard: Gently unplug all wires and remove any screws holding it in place.
- Install the new motherboard: Secure the replacement board and reconnect all wires as they were on the old one.
- Reassemble the hoverboard: Put the casing back together and test the hoverboard to ensure everything works.
If you’re unsure about any step, consult online tutorials or seek professional help.
Cost-Saving Tips
Want to save even more on your cheap hoverboard motherboard replacement? Try these strategies:
- DIY repairs: Avoid labor costs by doing the replacement yourself.
- Buy used or refurbished: Some sellers offer lightly used motherboards at a fraction of the price.
- Look for warranties: Some replacement parts come with warranties, saving you money if issues arise.
With a little effort, you can keep your hoverboard running smoothly without overspending.
Common Pitfalls to Avoid
While replacing a hoverboard motherboard is straightforward, mistakes can happen. Here’s what to watch out for:
- Incorrect wiring: Double-check all connections to avoid short circuits or damage.
- Poor-quality parts: Cheap doesn’t always mean good—opt for reputable sellers.
- Ignoring safety: Always disconnect the battery before working on the hoverboard.
Taking your time and following instructions carefully will help you avoid costly errors.
Final Thoughts
A cheap hoverboard motherboard replacement can breathe new life into your favorite ride. Whether you’re a DIY enthusiast or just looking to save money, this guide provides the knowledge you need to get back on the road. Don’t let a faulty motherboard stop you—take action today and enjoy the thrill of hoverboarding again!
Cheap Electric Hoverboard UK: The Ultimate Guide to Affordable Rides
Best Hoverboard Sites: Top Picks for Safe and Stylish Rides