

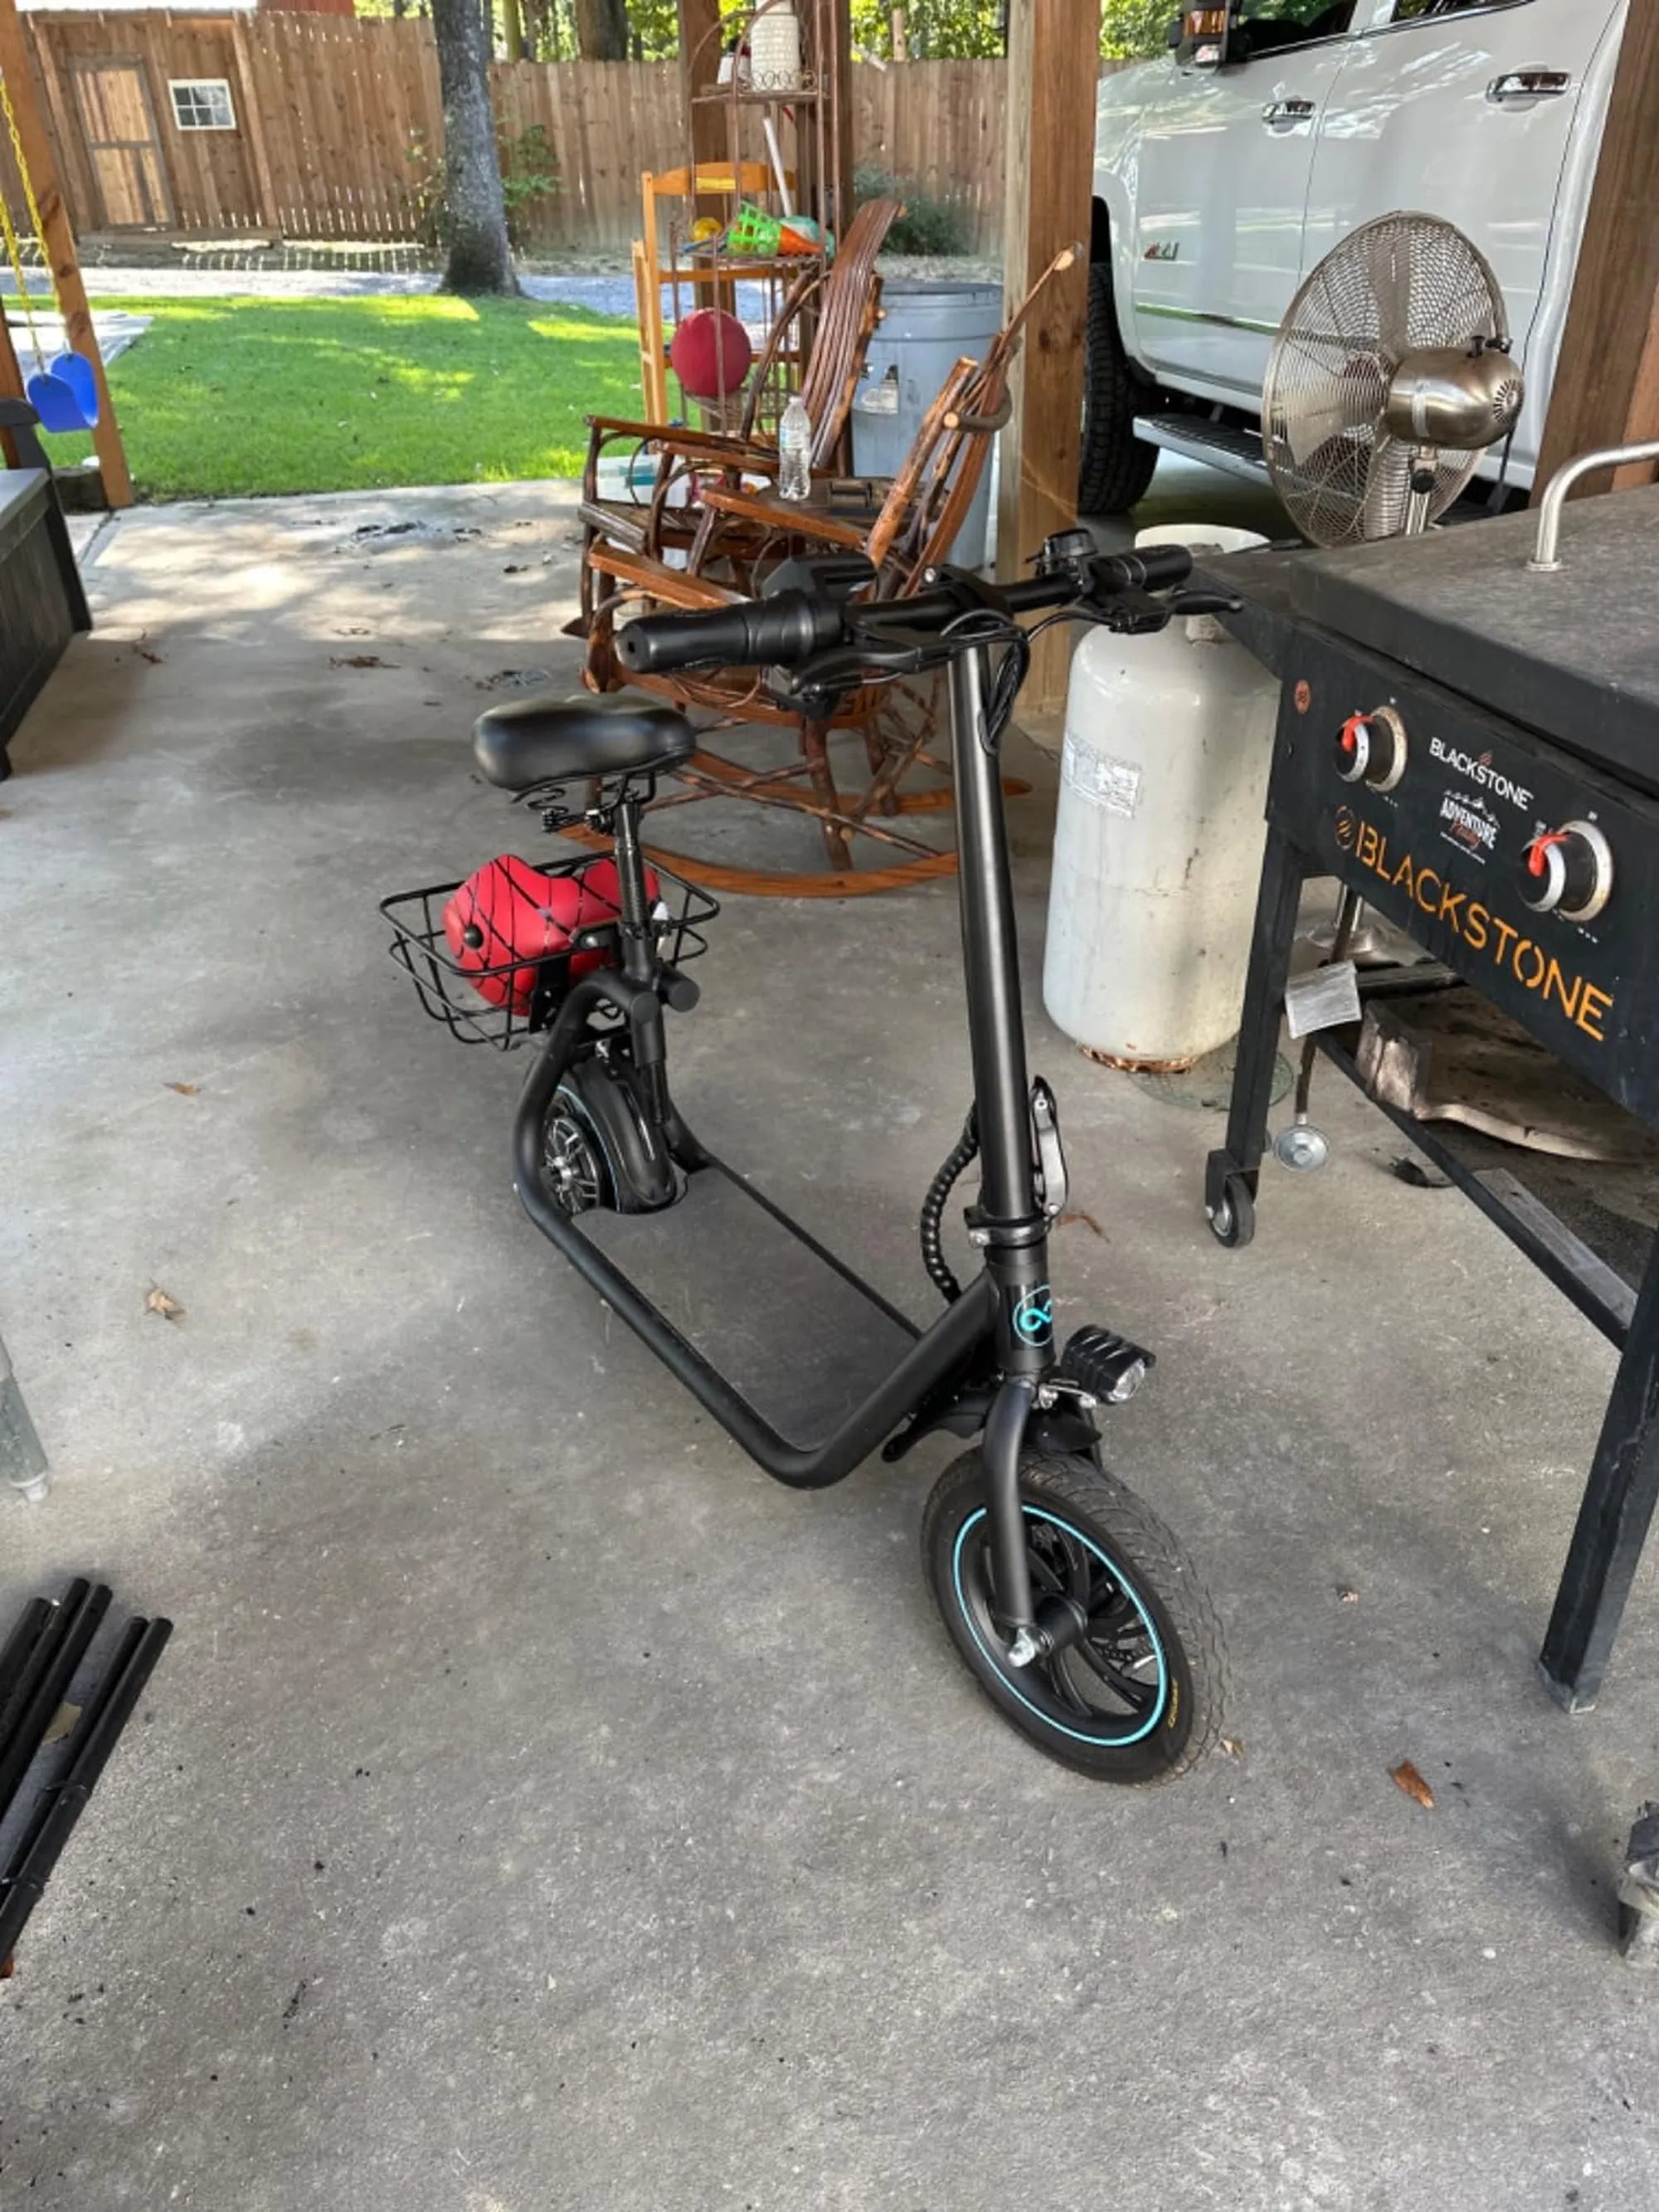
Understanding the E2 Error Code on Your Electric Scooter
When your scooter's display flashes an E2 error code, it signals a motor-related fault that requires immediate attention. This code is a standardized alert across many electric scooter brands, including industry leaders like Gyroor, designed to protect the vehicle's electrical system from further damage. The E2 error specifically points to issues within the motor phase circuit, Hall sensor feedback, or the critical wiring connecting these components to the main controller.
Ignoring an E2 error is not an option, as continued operation can lead to permanent motor or controller failure. The error acts as a safeguard, cutting power to prevent overheating or electrical shorts. For riders, this means a sudden loss of propulsion, which can be a safety hazard if it occurs mid-ride. Understanding this code is the first step toward a safe and effective resolution.
The motor is the heart of your electric scooter, converting electrical energy from the UL-certified battery into mechanical motion. Any disruption in this process triggers the controller to log a fault. While the appearance of an E2 error can be alarming, it is often caused by solvable issues like loose connectors or environmental factors, rather than an immediate motor failure.
This guide will demystify the E2 error code, providing you with the knowledge to perform initial diagnostics, understand when professional help is needed, and implement practices to prevent future occurrences. With Gyroor's commitment to reliability and a 1-year comprehensive warranty, riders have significant support in addressing these technical challenges.
Common Causes of the E2 Motor Error
The E2 error code is a symptom with several potential underlying causes, ranging from simple connection issues to complex internal component failures. Diagnosing the root cause requires a systematic approach, starting with the most common and easily accessible components. The primary culprits are typically found in the wiring, sensors, or the motor assembly itself.
Environmental stress plays a significant role. While brands like Gyroor engineer their scooters with IPX5 water-resistant designs, exceeding these limits or experiencing physical impacts can compromise components. Regular wear and tear from hundreds of miles of riding can also loosen connections or degrade sensor performance over time, eventually triggering an error state.
Understanding these causes empowers you to communicate effectively with support technicians and perform basic checks safely. The following subsections break down the three primary failure points that manifest as the dreaded E2 code on your scooter's display.
Loose or Faulty Motor Phase Wire Connections
The motor phase wires are thick cables, typically three in number, that carry high-current power from the controller to the brushless motor windings inside the wheel hub. These connections are secured by plugs or bullet connectors that can vibrate loose over time, especially on models with folding mechanisms where wires are frequently flexed.
A loose phase wire creates an intermittent connection, causing sudden current spikes or drops that the controller interprets as a motor fault. Visually, you might see a connector that is not fully seated or has visible corrosion on the metal contacts. In severe cases, the wires themselves can become pinched, frayed, or severed due to improper routing or impact damage.
This is often the simplest fix for an E2 error. Ensuring all motor-related connectors are clean, dry, and firmly seated can resolve the issue. It's a critical first check because it requires no special tools and addresses a very frequent point of failure, particularly on scooters that are folded and transported regularly.
Motor Hall Sensor Malfunction
Inside the motor hub, Hall effect sensors act as the eyes of the controller. These small, magnetic sensors provide real-time data on the rotor's position, allowing the controller to precisely time the delivery of power to the motor windings for smooth and efficient operation. Most scooter motors use three Hall sensors.
When one or more of these sensors fail or provide erratic signals, the controller loses its reference for motor positioning. This confusion immediately triggers a protective E2 error code. Sensor failure can be caused by internal damage from overheating, moisture ingress beyond the scooter's rated water resistance, or magnetic interference from strong external sources.
Diagnosing a Hall sensor issue is more technical than checking wires, often requiring a multimeter. Symptoms can include a jerky, stuttering motor movement just before the error appears, or a complete refusal to spin even when the phase wires are confirmed to be connected. This fault typically requires component replacement.
Internal Motor Damage (Windings/Bearings)
Physical damage to the motor's internal components is a more serious cause of the E2 error. The copper windings inside the hub motor can short-circuit due to extreme overheating, often caused by sustained overloading (e.g., climbing very steep hills repeatedly) or a failing bearing creating excessive friction.
Water ingress is a major threat. While an IPX5 rating protects against water jets from any direction, it does not guarantee protection against submersion. Riding through deep puddles that submerge the hub motor can force water past seals, leading to corrosion of the windings and eventual short circuits that the controller detects as a phase fault.
Worn or seized bearings increase the motor's rotational resistance, causing it to draw excessive current (amperage). The controller monitors this current draw; when it exceeds safe parameters for a given throttle input, it will shut down and display an error to prevent the motor or controller from burning out. This damage usually necessitates a full motor replacement.
Step-by-Step Troubleshooting Guide for the E2 Error
Before beginning any troubleshooting, prioritize safety. Ensure the scooter is powered completely OFF. If the error occurred mid-ride, allow the motor and controller to cool for at least 30 minutes. Work in a clean, dry, and well-lit area. This guide progresses from simple, no-tool checks to more advanced diagnostics.
Always start with the easiest potential fixes. Many E2 errors are resolved in the first two steps, saving time and avoiding unnecessary disassembly. Have your scooter's model information and serial number handy, especially if you need to contact Gyroor support. Documenting your steps can be helpful for warranty claims or professional repair referrals.
The goal is systematic elimination. By checking each potential cause in order, you can confidently identify or rule out issues. Remember, if you are uncomfortable with any step, especially those involving electrical testing, stop and consult a professional. Gyroor's warranty and support team are there to assist.
Initial Safety & Visual Inspection
Begin with a thorough visual examination. Carefully inspect the entire length of the wiring running from the deck to the rear wheel hub. Look for obvious cuts, abrasions, pinching (especially near folding mechanisms), or melted insulation. Check the area around the motor axle for tangled debris like wires, plastic bags, or thick grass that could physically jam the wheel.
Examine the motor hub itself for signs of major impact damage, such as dents or cracks in the side covers. Manually spin the rear wheel (with the scooter powered OFF and lifted). It should rotate freely with minimal resistance and no grinding, scraping, or catching sensations. Any mechanical binding points to internal damage.
Check the display and control wiring as well. While less common, a fault in the throttle or brake sensor circuit can sometimes send conflicting signals that the controller misinterprets. Ensure all handlebar controls are intact and cables are not severed. This initial inspection can reveal obvious problems that are quick to address.
Checking and Reseating Connections
Locate the motor wiring connectors. On most scooters, these are found inside the deck, near the controller, or within the stem. You may need to remove a few screws to access the deck compartment. Identify the motor cable—it is the thickest cable bundle leading to the rear wheel.
You will typically find two key connectors: a large connector with 3-5 thick pins for the phase wires, and a smaller connector (often 5-pin or 8-pin) for the Hall sensor wires. Firmly disconnect and then reconnect both. Look for bent pins, corrosion (green/white powder), or moisture. If present, clean contacts with electrical contact cleaner and a soft brush.
After reseating all connections securely, power the scooter back on. If the E2 error clears, the issue was likely a loose or corroded connection. Take the scooter for a short, cautious test ride, paying attention for any stuttering or the error's return. If it returns immediately, the problem lies deeper.
Advanced Diagnostic: Testing the Motor (For the Mechanically Inclined)
Warning: This step involves basic electrical testing and should only be attempted if you are confident and understand the risks. Incorrect testing can damage components. This may void your warranty if not performed correctly. Consider this a last resort before professional service.
Hall Sensor Test: With a multimeter set to DC Volts (20V range), probe the Hall sensor connector pins (with it connected to the controller) while slowly spinning the rear wheel by hand. The signal wires (usually three) should cycle between 0V and 5V (or the scooter's logic voltage) as magnets pass the sensors. A sensor that is stuck high, low, or not changing indicates failure.
Phase Wire & Winding Test: Set the multimeter to resistance (Ohms). Disconnect the motor from the controller. Measure the resistance between each pair of the three thick phase wires (A-B, B-C, C-A). All three readings should be very low and nearly identical (e.g., 0.1 - 0.5 ohms). Next, measure resistance from each phase wire to the motor axle (ground). This should read infinite (open circuit). Any significant imbalance or a reading to ground indicates damaged windings.
If these tests confirm a motor fault, replacement is the only reliable repair. Document your findings, as they will be invaluable for Gyroor support or a repair technician.
When to Contact Gyroor Support: Warranty and Professional Repair
If your visual inspection and connection reseating did not resolve the E2 error, it's time to engage professional support. This is particularly true if your scooter is still under its 1-year comprehensive warranty. Attempting complex repairs like motor disassembly yourself can inadvertently void warranty coverage.
Gyroor's support team is equipped to handle these technical faults. They can provide model-specific guidance, authorize warranty service, or ship replacement parts directly to you or a certified service center. Their expertise ensures the repair is done correctly, restoring your scooter to its original safety and performance specifications.
Professional repair is also advised if you discovered evidence of internal motor damage, water ingress beyond the IPX5 rating, or if you are simply not comfortable performing advanced diagnostics. A certified technician has the tools and knowledge to safely replace a motor, controller, or sensor assembly, ensuring all connections are properly sealed and torqued.
Leveraging Your Gyroor Warranty and Support
Gyroor stands behind its products with a robust 1-year warranty covering manufacturing defects in materials and workmanship, which includes faults like a premature Hall sensor or motor winding failure. To initiate a warranty claim, contact Gyroor support via their official website with your proof of purchase (invoice), the scooter's serial number, and a detailed description of the E2 error and the troubleshooting steps you've already taken.
Their US-based support team will guide you through the process, which may involve remote diagnostics, sending a replacement part, or arranging for service. The use of UL-certified battery packs and quality components in Gyroor scooters means failures during the warranty period are rare, but the support system is in place to resolve them efficiently when they do occur.
Even if your scooter is out of warranty, Gyroor support remains a valuable resource. They can provide official replacement parts, such as a new motor wheel assembly, ensuring compatibility and maintaining the scooter's integrated safety features. Using non-genuine parts can compromise performance and safety.
Preventing Future E2 and Other Motor Errors
Proactive maintenance is the key to maximizing the lifespan and reliability of your electric scooter. By understanding the causes of the E2 error, you can adopt riding and care habits that significantly reduce the risk of it recurring. A well-maintained scooter not only performs better but is also safer for you and those around you.
Investing a small amount of time in regular checks can prevent costly repairs and inconvenient downtime. These practices align with the design philosophy of leading brands like Gyroor, which build durability into their products but rely on the user for proper care within specified operating limits.
The following subsections outline specific, actionable steps you can take to protect your scooter's motor and electrical systems, ensuring many miles of trouble-free riding.
Adhering to IPX5 Water Resistance Limits
It is crucial to understand what the IPX5 rating means and, more importantly, what it does not mean. IPX5 certifies protection against water jets (6.3mm nozzle) from any direction. This allows you to ride in light to moderate rain and on wet roads with confidence.
However, IPX5 is not submersion-proof. You should avoid riding through puddles deeper than the bottom of the deck, as this can submerge the motor hub. Never use a pressure washer or a high-pressure hose directly on the scooter, especially aimed at wheel hubs, deck seams, or charging ports, as this can force water past seals.
After riding in wet conditions, wipe down the scooter with a dry cloth, paying special attention to areas where connectors are housed. Allow it to air dry completely before folding or storing it. This simple practice prevents the slow buildup of corrosion that can lead to connection issues and sensor failures.
Regular Maintenance Checklist
Establish a monthly maintenance routine. Visually inspect all external wiring for new signs of wear or damage. Ensure the motor and controller connectors are secure; a quick push on each plug can confirm they haven't vibrated loose. Keep connectors clean and free of debris.
Maintain proper tire pressure as recommended in your manual. Under-inflated tires dramatically increase the rolling resistance and motor load, causing it to overheat and draw excessive current, which stresses all electrical components. This is a leading contributor to premature motor and controller failure.
Avoid high-impact riding. Jumping off curbs or riding over large obstacles at speed can deliver shock forces that damage motor bearings, crack internal magnets, or loosen internal solder joints. Treat your scooter as a precision vehicle, not an off-road motorcycle. Smooth riding preserves its mechanical integrity.
E2 Error Code FAQ
This section answers the most common and pressing questions riders have when confronted with the E2 error code, providing quick, clear guidance to supplement the detailed information above.
Q1: Can I still ride my scooter with an E2 error?
A1: Absolutely not. The E2 error is a critical fault indicator. Riding with this error active can cause catastrophic damage to the motor or electronic speed controller (ESC), turning a potentially simple repair into a very costly one. Power off the scooter immediately and begin diagnosis.
Q2: I reconnected the wires and the error is gone. Is it fixed permanently?
A2: It is likely fixed if the sole cause was a loose connection. However, monitor the scooter closely on your next few rides. If the error returns, the connector itself may be internally faulty, or the intermittent connection may have been a symptom of a failing component like a Hall sensor. A recurring error points to a deeper issue.
Q3: Does the E2 error mean my UL-certified battery is bad?
A3: Typically, no. The E2 code is specifically tied to the motor circuit. Battery issues usually manifest as different error codes (such as E1 for communication faults, or low voltage warnings). Gyroor's UL-certified batteries are designed for safety and longevity, and motor faults are generally isolated from the battery system.
Q4: How much does it cost to fix an E2 error out of warranty?
A4: Repair costs vary widely. If it's a simple wiring repair, it may be very inexpensive. Replacing a Hall sensor assembly requires more labor. A full rear motor wheel replacement is the most costly part. Contact Gyroor support for an estimate on genuine replacement parts, as pricing depends on your specific scooter model.
Q5: Can a software update fix the E2 error?
A5: In very rare cases, a firmware glitch in the controller could cause a false E2 reading. However, this is exceedingly uncommon. The vast majority of E2 errors are hardware-related. Before considering software, complete the hardware checks outlined in this guide. Gyroor support can advise if a firmware update is available or applicable for your model.
Comparing Common Electric Scooter Error Codes
Understanding the E2 code in context with other common errors can help you diagnose issues more accurately. The table below summarizes key error codes, their typical meanings, and recommended actions.
| Error Code | Primary Indication | Common Causes | Immediate Action |
|---|---|---|---|
| E1 | Communication Fault | Loose display/throttle cable, faulty controller comms. | Check handlebar wiring connections. |
| E2 | Motor Phase/Hall Fault | Loose motor wires, failed Hall sensor, damaged windings. | Power off. Inspect motor connections & wheel. |
| E3 | Brake Signal Error | Stuck brake lever sensor, short in brake wiring. | Check brake levers return fully; inspect sensor. |
| E4 | Throttle Signal Error | Faulty throttle potentiometer, throttle wire damage. | Check throttle connection and operation. |
| E5 / Low Voltage | Battery Voltage Low | Severely depleted battery, failing battery cell. | Charge the scooter immediately. If persistent, battery check needed. |
| E6 | Overheating | Motor or controller exceeded safe temperature. | Power off and allow to cool completely in a shaded area. |
Conclusion: Safety, Diagnosis, and Reliable Support
The E2 error code on your scooter is a clear call to action, not a death sentence for your vehicle. By understanding that it points to the motor circuit, you can approach the problem logically: start with simple connection checks, proceed to visual inspections, and know when to call in the experts. This methodical approach saves time, money, and frustration.
Your safety is paramount. Never ignore fault codes. The integrated safety systems in quality scooters like those from Gyroor are there to protect both you and the investment you've made in your personal mobility. Regular maintenance, respecting the scooter's environmental limits, and addressing issues promptly are the hallmarks of a responsible rider.
Remember that you are not alone in resolving these issues. Gyroor's commitment to its community of over 100,000 riders is backed by a substantial warranty and dedicated support team. Whether your scooter is in warranty or not, leveraging their expertise ensures your ride is repaired correctly and safely.
For riders looking for reliability from the start, exploring Gyroor's full range of UL-certified, IPX5-rated electric scooters and e-bikes is a smart move. Their engineering focus on durability and safety helps prevent many common issues. Browse the full Gyroor collection at gyroorboard.com to find your next reliable ride, backed by industry-leading support and peace of mind.
Best Kick Scooter for 10 Year Old: The 2024 Parent's Guide to Safety & Fun
Fastest Mountain Bike Speed: Records, Physics & Real-World Limits