


Ever dreamed of turning your hoverboard into a high-speed go-kart? With the right tools and a bit of creativity, you can build a thrilling ride that combines the agility of a hoverboard with the excitement of a go-kart. This guide will walk you through everything you need to know about creating a go kart connection for hoverboard, from essential components to safety precautions.
Why Build a Hoverboard Go-Kart?
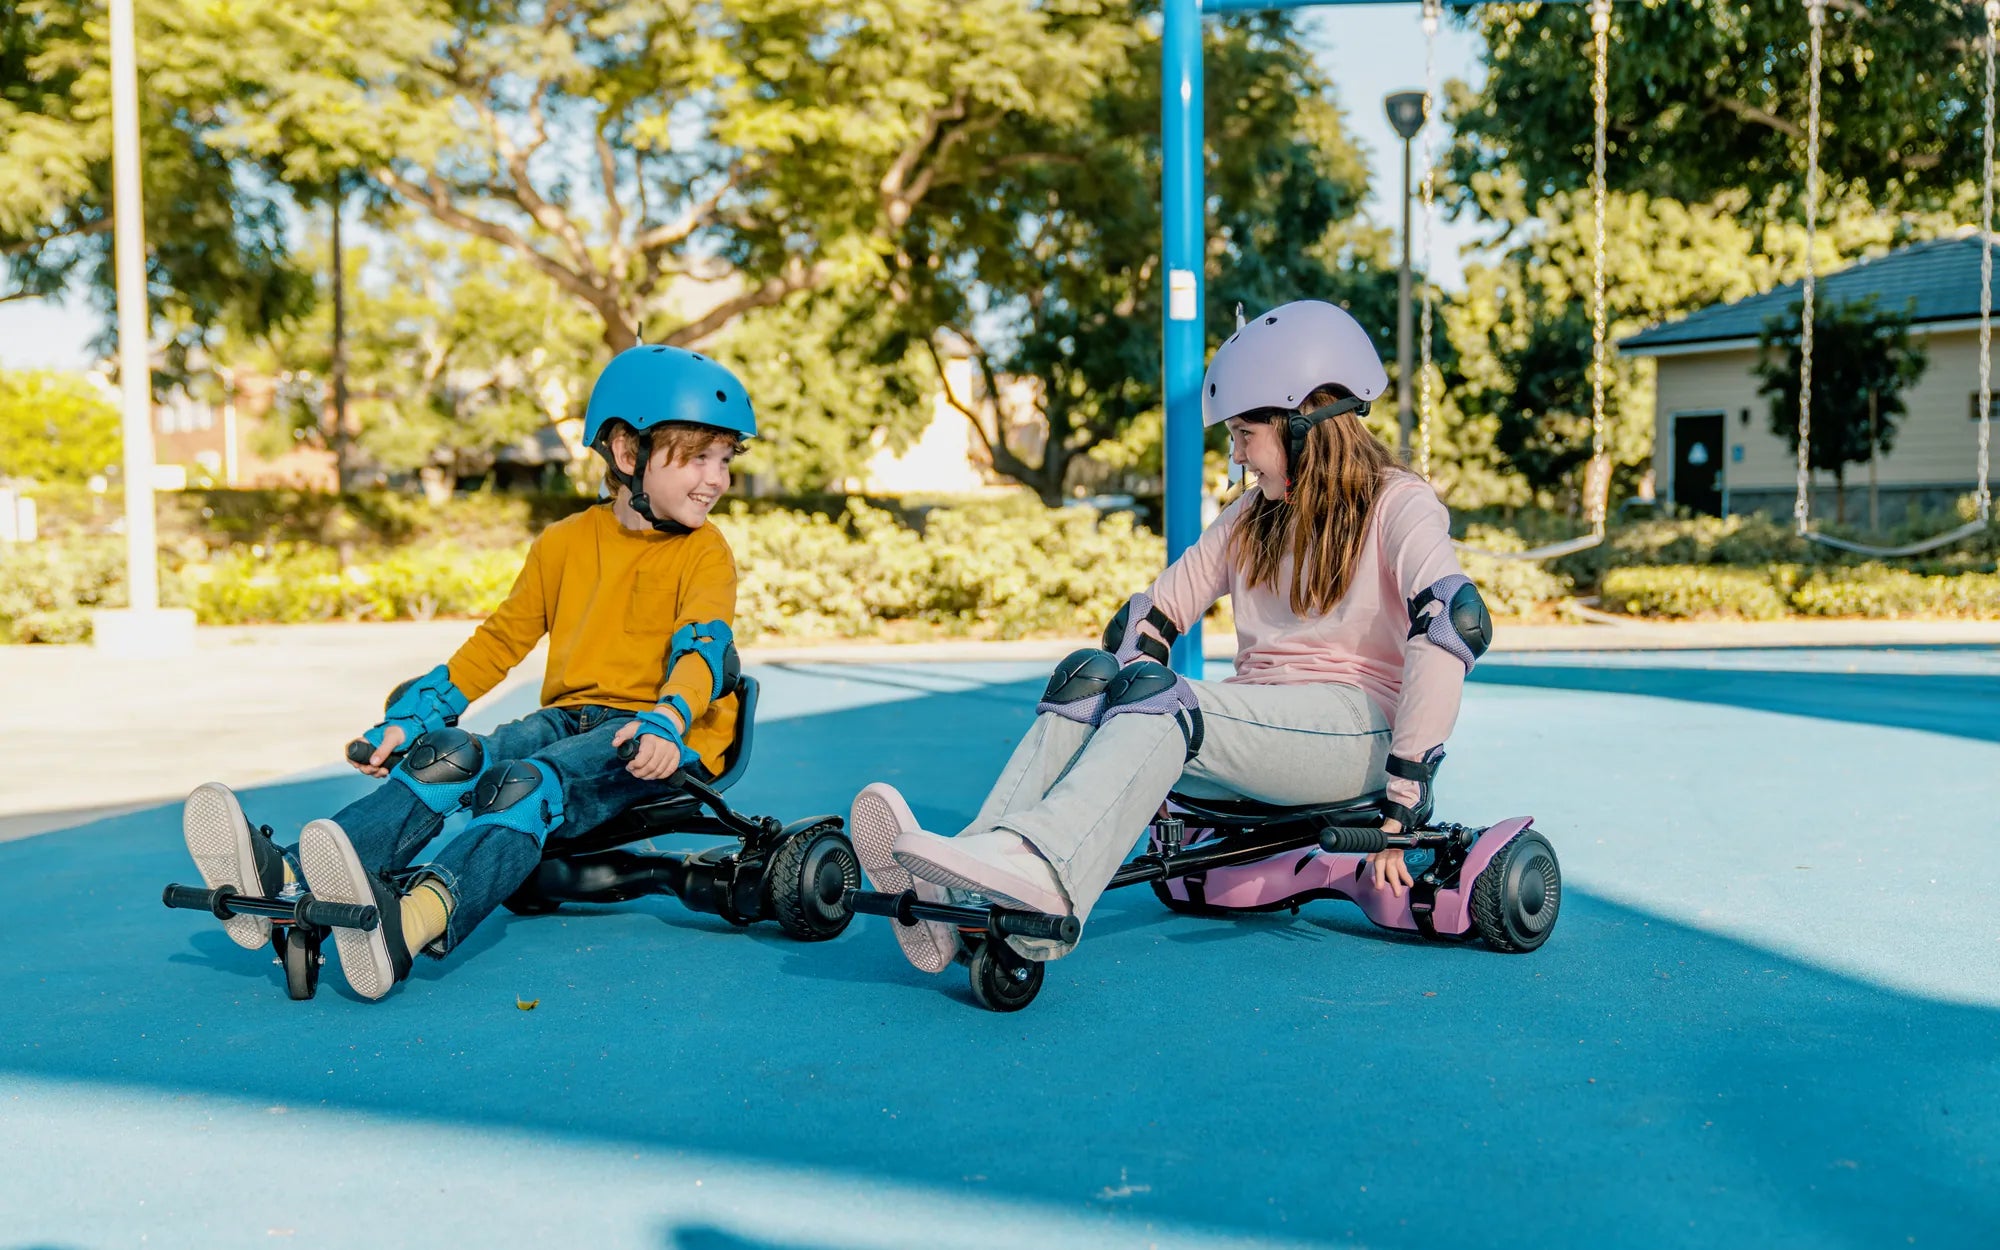
Combining a hoverboard with a go-kart frame unlocks a world of possibilities. Not only does it provide a unique riding experience, but it also offers better stability and control compared to standing on a hoverboard alone. Whether you're looking for a fun DIY project or a cost-effective alternative to traditional go-karts, this setup is perfect for enthusiasts of all ages.
Essential Components for Your Build
To create a functional hoverboard go-kart, you'll need a few key components:
- Hoverboard: The core of your build, providing the motor and balance system.
- Go-Kart Frame: A sturdy frame to mount the hoverboard and seat.
- Connection Kit: Adapters or brackets to secure the hoverboard to the frame.
- Seat and Safety Harness: For comfort and security while riding.
- Steering Mechanism: Handlebars or a wheel to control direction.
Step-by-Step Assembly Guide
Follow these steps to assemble your hoverboard go-kart:
- Disassemble the Hoverboard: Remove the outer casing to access the motors and wiring.
- Mount the Hoverboard: Secure it to the go-kart frame using brackets or a connection kit.
- Install the Seat: Attach a comfortable seat and ensure it's firmly bolted.
- Add Steering Controls: Connect handlebars or a steering wheel to the front axle.
- Test and Adjust: Power on the hoverboard and test the setup on a flat surface.
Safety Tips for Riding
While hoverboard go-karts are incredibly fun, safety should always come first:
- Wear a helmet and protective gear at all times.
- Start at low speeds to get accustomed to the controls.
- Avoid steep hills or uneven terrain until you're confident in your skills.
- Regularly inspect the frame and connections for wear and tear.
Creative Customization Ideas
Once your basic build is complete, consider these upgrades:
- LED Lights: Add underglow or headlights for a sleek nighttime look.
- Custom Paint Job: Personalize your go-kart with unique colors and designs.
- Storage Compartment: Attach a small basket or box for carrying items.
- Speed Modifications: Upgrade the hoverboard's firmware for increased speed (if supported).
Ready to hit the road with your custom hoverboard go-kart? This innovative project blends cutting-edge technology with classic fun, offering endless hours of entertainment. Whether you're racing friends or cruising around the neighborhood, your DIY creation is sure to turn heads and spark conversations.
8 Inch Self Balancing Hoverboard: The Ultimate Guide to Fun and Mobility
Magical Hoverboard: The Future of Personal Transportation Unveiled