

Introduction to Hoverboard Charging
Knowing precisely when your hoverboard is fully charged is not just about convenience—it's a critical safety practice that directly impacts battery health, riding range, and long-term device reliability. An improperly charged battery can lead to reduced performance, shorter lifespan, or in rare cases, safety hazards. This guide provides clear, actionable methods to eliminate guesswork, applicable to most major brands including those with UL-certified systems like Gyroor.
We will explore the universal language of LED indicators, the precision of smart app connectivity, and even advanced verification techniques. You'll learn the complete, safe charging protocol and how to troubleshoot confusing signals. By the end, you'll have the confidence to charge correctly every time, ensuring your hoverboard delivers optimal performance ride after ride. Let's start with the fundamental question: How to know when hoverboard is fully charged.
Understanding Your Hoverboard's Charging Indicators
Manufacturers communicate charge status through a combination of visual and electronic signals. While specific patterns can vary, the underlying principles are consistent across quality brands. Understanding these indicators is the first step to mastering the charging process.
The primary signals come from the hoverboard itself and the power adapter (charger brick). A secondary, more precise layer of information is available through Bluetooth apps on connected models. Interpreting these cues correctly prevents both undercharging, which limits your ride, and the stress on the battery from being left plugged in unnecessarily after reaching 100%.
LED Light Patterns: The Universal Language
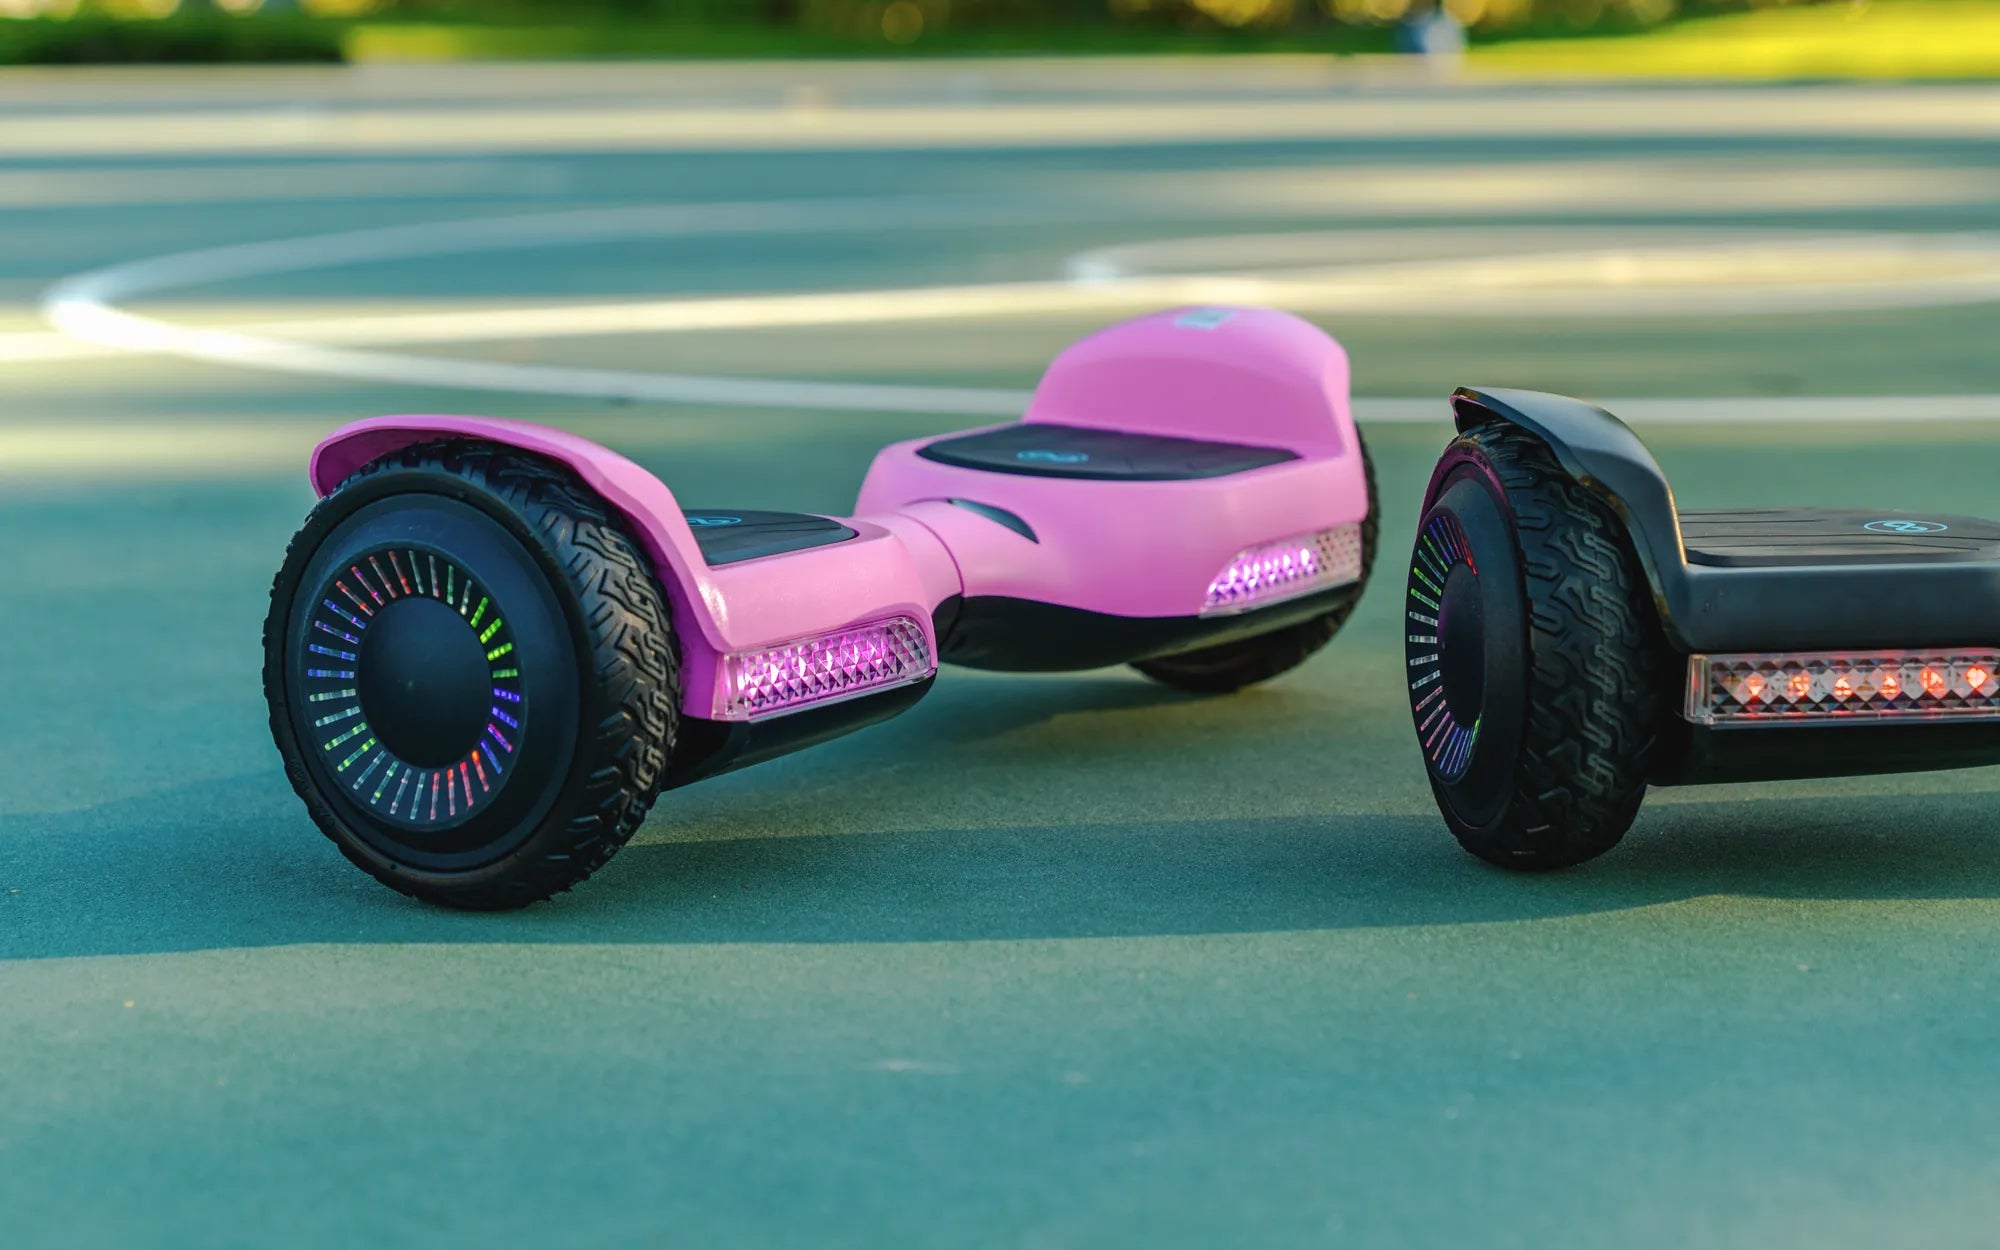
The LED lights on your hoverboard and charger are the most common and immediate way to gauge charging progress. A typical sequence involves the hoverboard's power or battery indicator lights flashing in a pattern while charging, then becoming solid or changing color once full.
For the charger brick itself, a red LED usually indicates active charging, while a green LED signals a full charge or standby mode. For instance, on many Gyroor hoverboards, the charger light will be solid red during charging and switch to solid green when the battery is full. Simultaneously, the hoverboard's LED lights may stop flashing and become a steady color, often white or blue.
It is crucial to consult your specific user manual, as patterns can differ. Some models may use a series of beeps or have lights that turn off completely when charged. The universal takeaway is that a change in the light pattern—from flashing to solid, or from red to green on the charger—is the key visual cue that the cycle is complete.
App Connectivity and Battery Percentage (For Smart Models)
Modern, app-connected hoverboards remove all ambiguity. Brands like Gyroor offer models with Bluetooth connectivity that pair with a smartphone app, providing a real-time, precise battery percentage readout.
This method is the most accurate for knowing exactly when your hoverboard is fully charged. Instead of interpreting lights, you see a digital gauge climb to 100%. The app may also send a notification when charging is complete. This feature allows for superior battery management, enabling you to unplug the device as soon as it reaches full capacity, which is a best practice for lithium-ion longevity.
If your hoverboard has this capability, it is the definitive source of truth. Rely on the app's percentage over any secondary light indicators, as it communicates directly with the battery management system (BMS).
Step-by-Step: The Reliable Charging Process
Following a consistent, safe procedure ensures not only a complete charge but also protects your investment. This step-by-step guide outlines the best practices from plug-in to unplug.
Always begin by ensuring the hoverboard is powered off before connecting the charger. Plug the charger into a wall outlet first, then connect the DC output plug to the charging port on the hoverboard. This sequence helps prevent voltage spikes. The standard charge time for most models is between 2 to 4 hours, but always refer to your manual for the exact duration.
Pre-Charge Checklist: Safety First
Safety is paramount. Before every charge, perform this quick checklist:
- Inspect the Charger and Port: Look for any frayed wires, bent pins, or damage to the charger brick or the hoverboard's charging port. Never use a damaged charger.
- Choose the Right Surface: Charge on a hard, non-flammable surface like a tile floor or countertop, away from carpets, beds, or sofas. Ensure the area is dry and well-ventilated.
- Use a Proper Outlet: Plug directly into a wall outlet. Avoid power strips, extension cords, or outlets that are loose or feel warm to the touch.
- Check Environment: Charge at room temperature. Avoid extreme cold (below 50°F/10°C) or heat (above 95°F/35°C).
Adhering to these steps mitigates risk and is a hallmark of responsible ownership, especially for brands like Gyroor that prioritize safety with UL-certified battery packs.
The Charging Timeline: What to Expect
A full charge cycle duration depends primarily on battery capacity (measured in Watt-hours or Ah) and how depleted it was when you started. A completely dead 36V, 4.0Ah battery may take up to 4 hours, while a half-depleted one might take only 2.
During this time, you can expect the charger to feel slightly warm to the touch—this is normal. However, it should never be hot. The hoverboard's indicator lights will typically flash in a sequence. As the battery approaches full capacity, the charging current tapers off. This is when the indicator lights will change to their "full" state, and the charger light will switch from red to green.
Do not leave your hoverboard plugged in for excessively long periods (e.g., multiple days) after it is fully charged, as this can place slight but continuous stress on the battery's management system.
Advanced Methods & Troubleshooting
When standard indicators are ambiguous or malfunctioning, advanced methods can provide definitive answers. This section also addresses common charging problems and their solutions.
Using a Multimeter to Check Battery Voltage
For the technically inclined, a multimeter offers the most definitive way to check battery state of charge. This method measures the voltage at the battery terminals.
Warning: Only attempt this if you are comfortable with basic electronics. Always ensure the hoverboard is off and disconnected from the charger.
- Set your multimeter to DC voltage (usually marked V with a straight line).
- Locate the main battery pack terminals (often accessible via a small panel). Refer to your manual for location and safety.
- Touch the multimeter's red probe to the positive (+) terminal and the black probe to the negative (-) terminal.
- Read the voltage. Compare it to the battery's rated voltage. A common 36V lithium-ion battery pack is fully charged at around 42V. A 24V pack is full at ~29V.
If the voltage reads at or very near the full-charge specification, your battery is charged, regardless of what the LEDs show.
What to Do If Lights Don't Change or Behave Erratically
If your charger light stays red indefinitely, or the hoverboard lights don't illuminate, follow this troubleshooting sequence:
- Check Connections: Unplug and firmly reseat both the wall plug and the DC connector.
- Try a Different Outlet: Test with a known-working outlet to rule out a circuit problem.
- Feel for Temperature: After 30 minutes, the battery compartment should be slightly warm if it's accepting a charge. If it's stone cold, charging may not be initiating.
- Listen for Sounds: A faint hum from the charger is normal. Clicking or buzzing may indicate a fault.
If problems persist, stop using the charger and hoverboard immediately. Continuing to use a faulty charging system can damage the battery. Contact the manufacturer's support. For Gyroor hoverboards, this is where the reliable 1-year warranty provides peace of mind, covering defects in materials and workmanship.
Maximizing Your Hoverboard Battery Life
Proper charging is the cornerstone of battery longevity. Lithium-ion batteries, like those in quality hoverboards, have a finite number of charge cycles (often 500+ for UL-certified packs). How you charge directly impacts how many of those cycles you get.
The 80/20 Rule and Overnight Charging
A key best practice is the 80/20 rule: avoid routinely draining the battery below 20% and, for long-term health, try not to keep it constantly at 100%. Ideally, unplug it once the indicator shows full. This reduces stress on the battery chemistry.
Regarding overnight charging: modern smart chargers and the internal Battery Management System (BMS) in brands like Gyroor are designed to prevent overcharging by cutting off the current when full. This makes overnight charging generally safe from an overcharge perspective. However, for optimal battery lifespan, charging while awake and unplugging at 100% is slightly better. The convenience vs. longevity trade-off is minimal with a quality BMS.
Proper Storage and Long-Term Care
If you won't be using your hoverboard for several weeks or months, proper storage is essential. Do not store it fully charged or completely dead.
- Ideal Storage Charge: Charge (or discharge) the battery to approximately 50-60%.
- Environment: Store in a cool, dry place. Avoid garages or sheds where temperatures can fluctuate wildly. Gyroor's IPX5 water-resistant design helps protect against humidity.
- Maintenance Charging: For very long storage, check the battery level every 2-3 months and give it a small charge if it has dropped below 20%.
Following these steps can preserve your battery's capacity for years, ensuring your hoverboard is always ready for a ride.
Hoverboard Charging & Performance Comparison
Charging behavior and battery performance can vary based on model and brand quality. The table below outlines key differences between generic/entry-level hoverboards and premium, safety-focused models like those from Gyroor.
| Feature / Aspect | Generic / Entry-Level Hoverboard | Gyroor & Premium UL-Certified Models |
|---|---|---|
| Battery Certification | Often uncertified or with unknown standards | UL 2272 certified battery packs; tested for safety & 500+ cycles |
| Charger Indicator Clarity | Basic red/green lights; may be inconsistent | Clear, reliable LED patterns; smart chargers with auto-shutoff |
| Charge Verification Methods | Relies solely on charger/hoverboard LEDs | LEDs + Bluetooth app for precise battery % (on smart models) |
| Battery Management System (BMS) | Basic or minimal protection | Advanced BMS for overcharge, over-discharge, and temperature protection |
| Expected Full Charge Time | 2-5 hours (less consistent) | 2-4 hours (consistent due to stable power delivery) |
| Long-Term Battery Health | Faster capacity degradation likely | Optimized charging algorithms prolong battery life |
Frequently Asked Questions (FAQ)
Can I overcharge my hoverboard with a Gyroor smart charger?
No, you cannot overcharge it under normal circumstances. Gyroor hoverboards use smart chargers and an internal Battery Management System (BMS) that automatically stops the current flow when the battery reaches 100%. This makes it safe to leave plugged in for a short while after a full charge, though unplugging it is still a best practice for long-term battery care.
How long should a full charge last during a ride?
Riding time, or range, depends on battery capacity, rider weight, terrain, and speed. A standard 36V, 4.0Ah battery typically provides 7-12 miles (11-19 km) of range on a single charge. Larger capacity batteries, like those in some Gyroor all-terrain models, can extend this to 12-15 miles or more.
My charger is warm. Is that normal?
Yes, it is normal for the charger brick to become slightly warm to the touch during operation due to electrical conversion efficiency losses. However, it should never become uncomfortably hot. If it's too hot to hold, unplug it immediately and discontinue use, as this could indicate a faulty charger.
What does it mean if the hoverboard won't turn on even after charging?
If it won't power on after an apparent full charge, several issues could be at play: a faulty charger not delivering power, a depleted battery that can no longer hold a charge, a tripped BMS due to deep discharge, or an internal connection problem. Try a different outlet first. If that fails, contact customer support. For Gyroor models, this is a warranty-covered scenario if the product is defective.
Is it bad to charge my hoverboard after every short ride?
Not at all. For lithium-ion batteries, partial charges are actually better than consistently doing full 0-100% cycles. Charging after a short ride that leaves the battery at, say, 60% is perfectly fine and puts less cumulative stress on the battery than waiting for it to fully deplete each time.
Conclusion: Charge with Confidence
Determining when your hoverboard is fully charged is a simple yet vital skill. By mastering the universal LED indicators, utilizing app connectivity where available, and following the safe step-by-step charging process, you ensure optimal performance and safety every time. Remember the core principles: a change in light pattern from flashing to solid (or red to green on the charger) is your primary visual cue, and a smart app provides the most precise data.
Investing in a hoverboard from a brand that prioritizes safety, like Gyroor with its UL-certified batteries and robust 1-year warranty, provides an added layer of confidence. Their advanced Battery Management Systems and reliable chargers take much of the guesswork out of the process. Always consult your official user manual as the primary source for model-specific instructions. By adopting these practices, you'll maximize your battery's lifespan, enjoy consistent riding range, and get the most value from your electric ride.
Ready for a reliable ride with clear, safe charging? Explore the full range of high-performance, UL-certified electric scooters, e-bikes, and hoverboards designed for longevity. Browse the full Gyroor collection at gyroorboard.com.
Christmas Gift Ideas for Young Girls: Creative and Thoughtful Presents
Christmas Gift Ideas for Young Girls: Creative and Thoughtful Presents