


Ever dreamed of gliding effortlessly like Marty McFly in Back to the Future? Building a homemade hoverboard might seem like science fiction, but with the right tools and a bit of patience, you can create your very own levitating ride. Whether you're a hobbyist or an aspiring engineer, this step-by-step guide will help you bring your hoverboard vision to life.
Understanding How a Hoverboard Works
Before diving into construction, it's essential to grasp the basic principles behind hoverboard technology. Unlike traditional skateboards, hoverboards rely on magnetic levitation or air pressure to hover above the ground. While commercial models use advanced electronics, a homemade version can achieve similar effects with simpler mechanisms.
Key Components of a Homemade Hoverboard
- Base Platform: A sturdy, lightweight material like plywood or carbon fiber.
- Propulsion System: Electric motors or fans to generate lift.
- Power Source: Rechargeable batteries to keep your hoverboard running.
- Control Mechanism: Handheld remote or weight-sensitive sensors for balance.
- Safety Features: Padding, non-slip surfaces, and emergency shut-off switches.
Step 1: Gather Your Materials
To build a functional hoverboard, you'll need the following materials:
- Lightweight board (plywood, acrylic, or carbon fiber)
- High-powered electric motors or ducted fans
- Lithium-ion batteries (12V or higher)
- Speed controller and wiring
- On/off switch and remote control (optional)
- Protective gear (helmet, knee pads)
Step 2: Design Your Hoverboard
Sketch your hoverboard design before assembly. Consider weight distribution, aerodynamics, and ease of use. A symmetrical layout with evenly spaced motors ensures stability. If using fans, position them to direct airflow downward for maximum lift.
Step 3: Assemble the Base
Cut your chosen material into a deck shape (typically 30-40 inches long). Sand the edges for safety, then attach the motors or fans securely using brackets. Ensure they are aligned to avoid uneven thrust.
Step 4: Install the Power System
Connect the motors to the speed controller and batteries. Use insulated wiring to prevent short circuits. Test the system briefly to confirm everything works before finalizing the setup.
Step 5: Add Control Features
For a basic model, a simple on/off switch suffices. For advanced control, integrate a wireless remote or gyroscopic sensors that adjust motor speed based on your stance.
Step 6: Test and Refine
Start with low power in a safe, open area. Gradually increase speed as you gain confidence. Adjust motor angles or weight distribution if the hoverboard feels unstable.
Safety Tips for Homemade Hoverboards
- Always wear protective gear during testing.
- Avoid wet or uneven surfaces to prevent accidents.
- Regularly check wiring and battery conditions.
- Start with short sessions to avoid overheating components.
Ready to defy gravity? With creativity and careful execution, your homemade hoverboard could be the envy of the neighborhood. Whether you're cruising the sidewalk or perfecting your balance, this DIY project promises endless fun—just remember to stay safe while you hover into the future!
Hoverboard Price Under 500: Affordable and Reliable Options for Every Rider
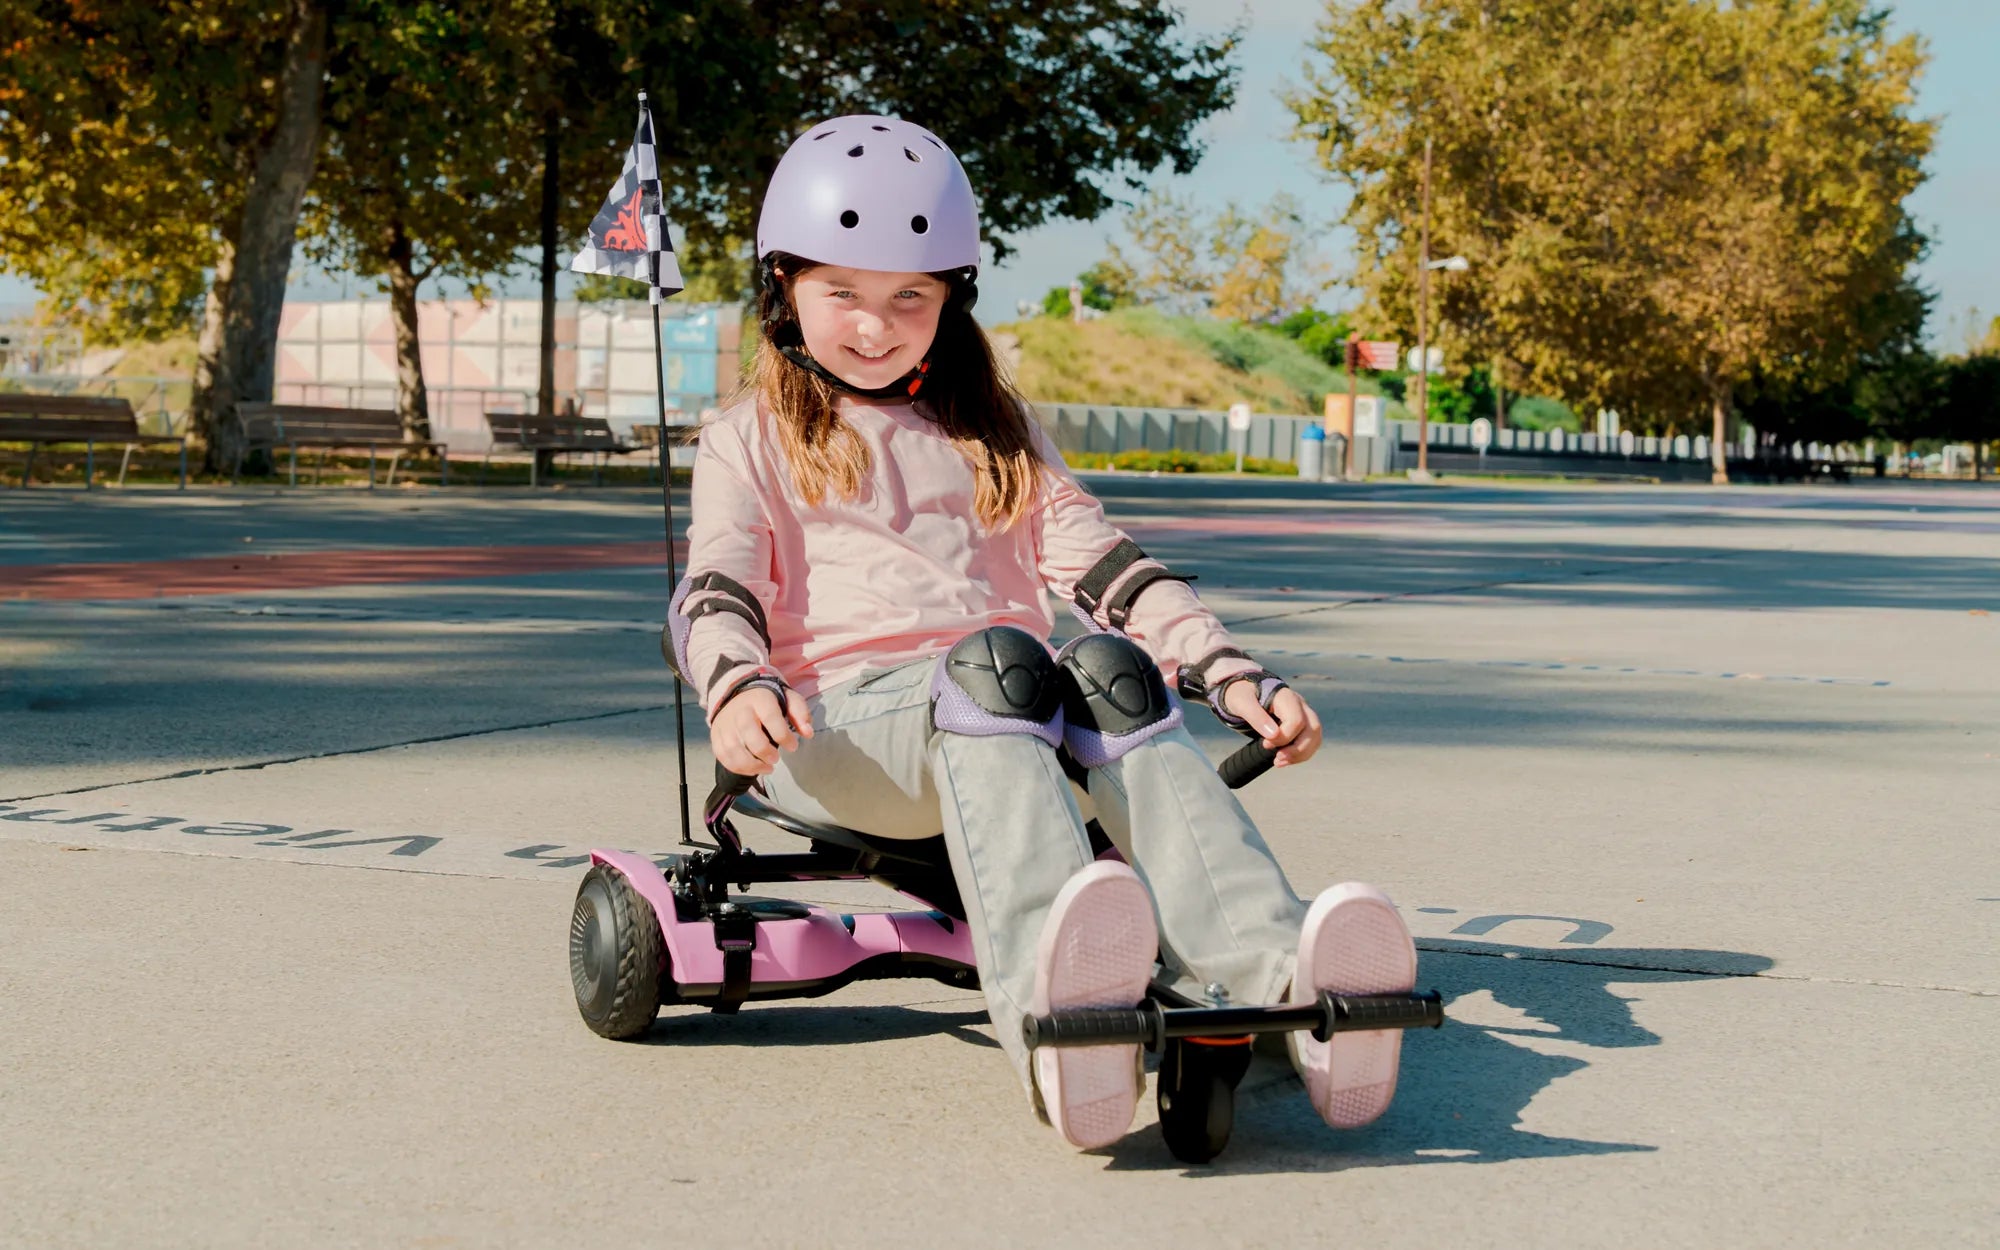
Hoverboard Go Kart Attachment: The Ultimate Target for Fun and Adventure