


Introduction: The Importance of Properly Adjusted E-Bike Brakes
Your e-bike's brakes are its most critical safety system. A properly adjusted braking system ensures you can stop confidently, control your speed on descents, and navigate traffic safely. Learning how to adjust ebike brakes is a fundamental skill for any rider, preventing wear, reducing noise, and maintaining optimal performance. This guide will walk you through the process for both mechanical and hydraulic disc brakes, the two most common types on modern electric bicycles.
Whether you ride a commuter model or a performance-oriented e-bike, brake maintenance is non-negotiable. E-bikes are heavier and travel faster than traditional bicycles, placing greater demand on their braking components. Regular adjustment not only enhances safety but also extends the life of expensive parts like rotors and calipers. We'll provide the knowledge to perform these adjustments yourself, saving time and money while ensuring your rides are secure.
Understanding Your E-Bike Brake System: Types and Components
Before making any adjustments, you must identify your brake type. The two primary systems are mechanical (cable-actuated) disc brakes and hydraulic disc brakes. Both use a caliper to squeeze brake pads against a metal rotor attached to the wheel hub, but they differ significantly in how that force is transmitted from the lever to the caliper.
Mechanical disc brakes use a steel brake cable, similar to traditional rim brakes. When you pull the lever, it tensions the cable, which in turn pulls a lever on the brake caliper, forcing the pads against the rotor. Hydraulic disc brakes use a sealed system filled with mineral oil or DOT fluid. Pulling the lever pushes fluid through a hose, which directly actuates pistons in the caliper to squeeze the pads.
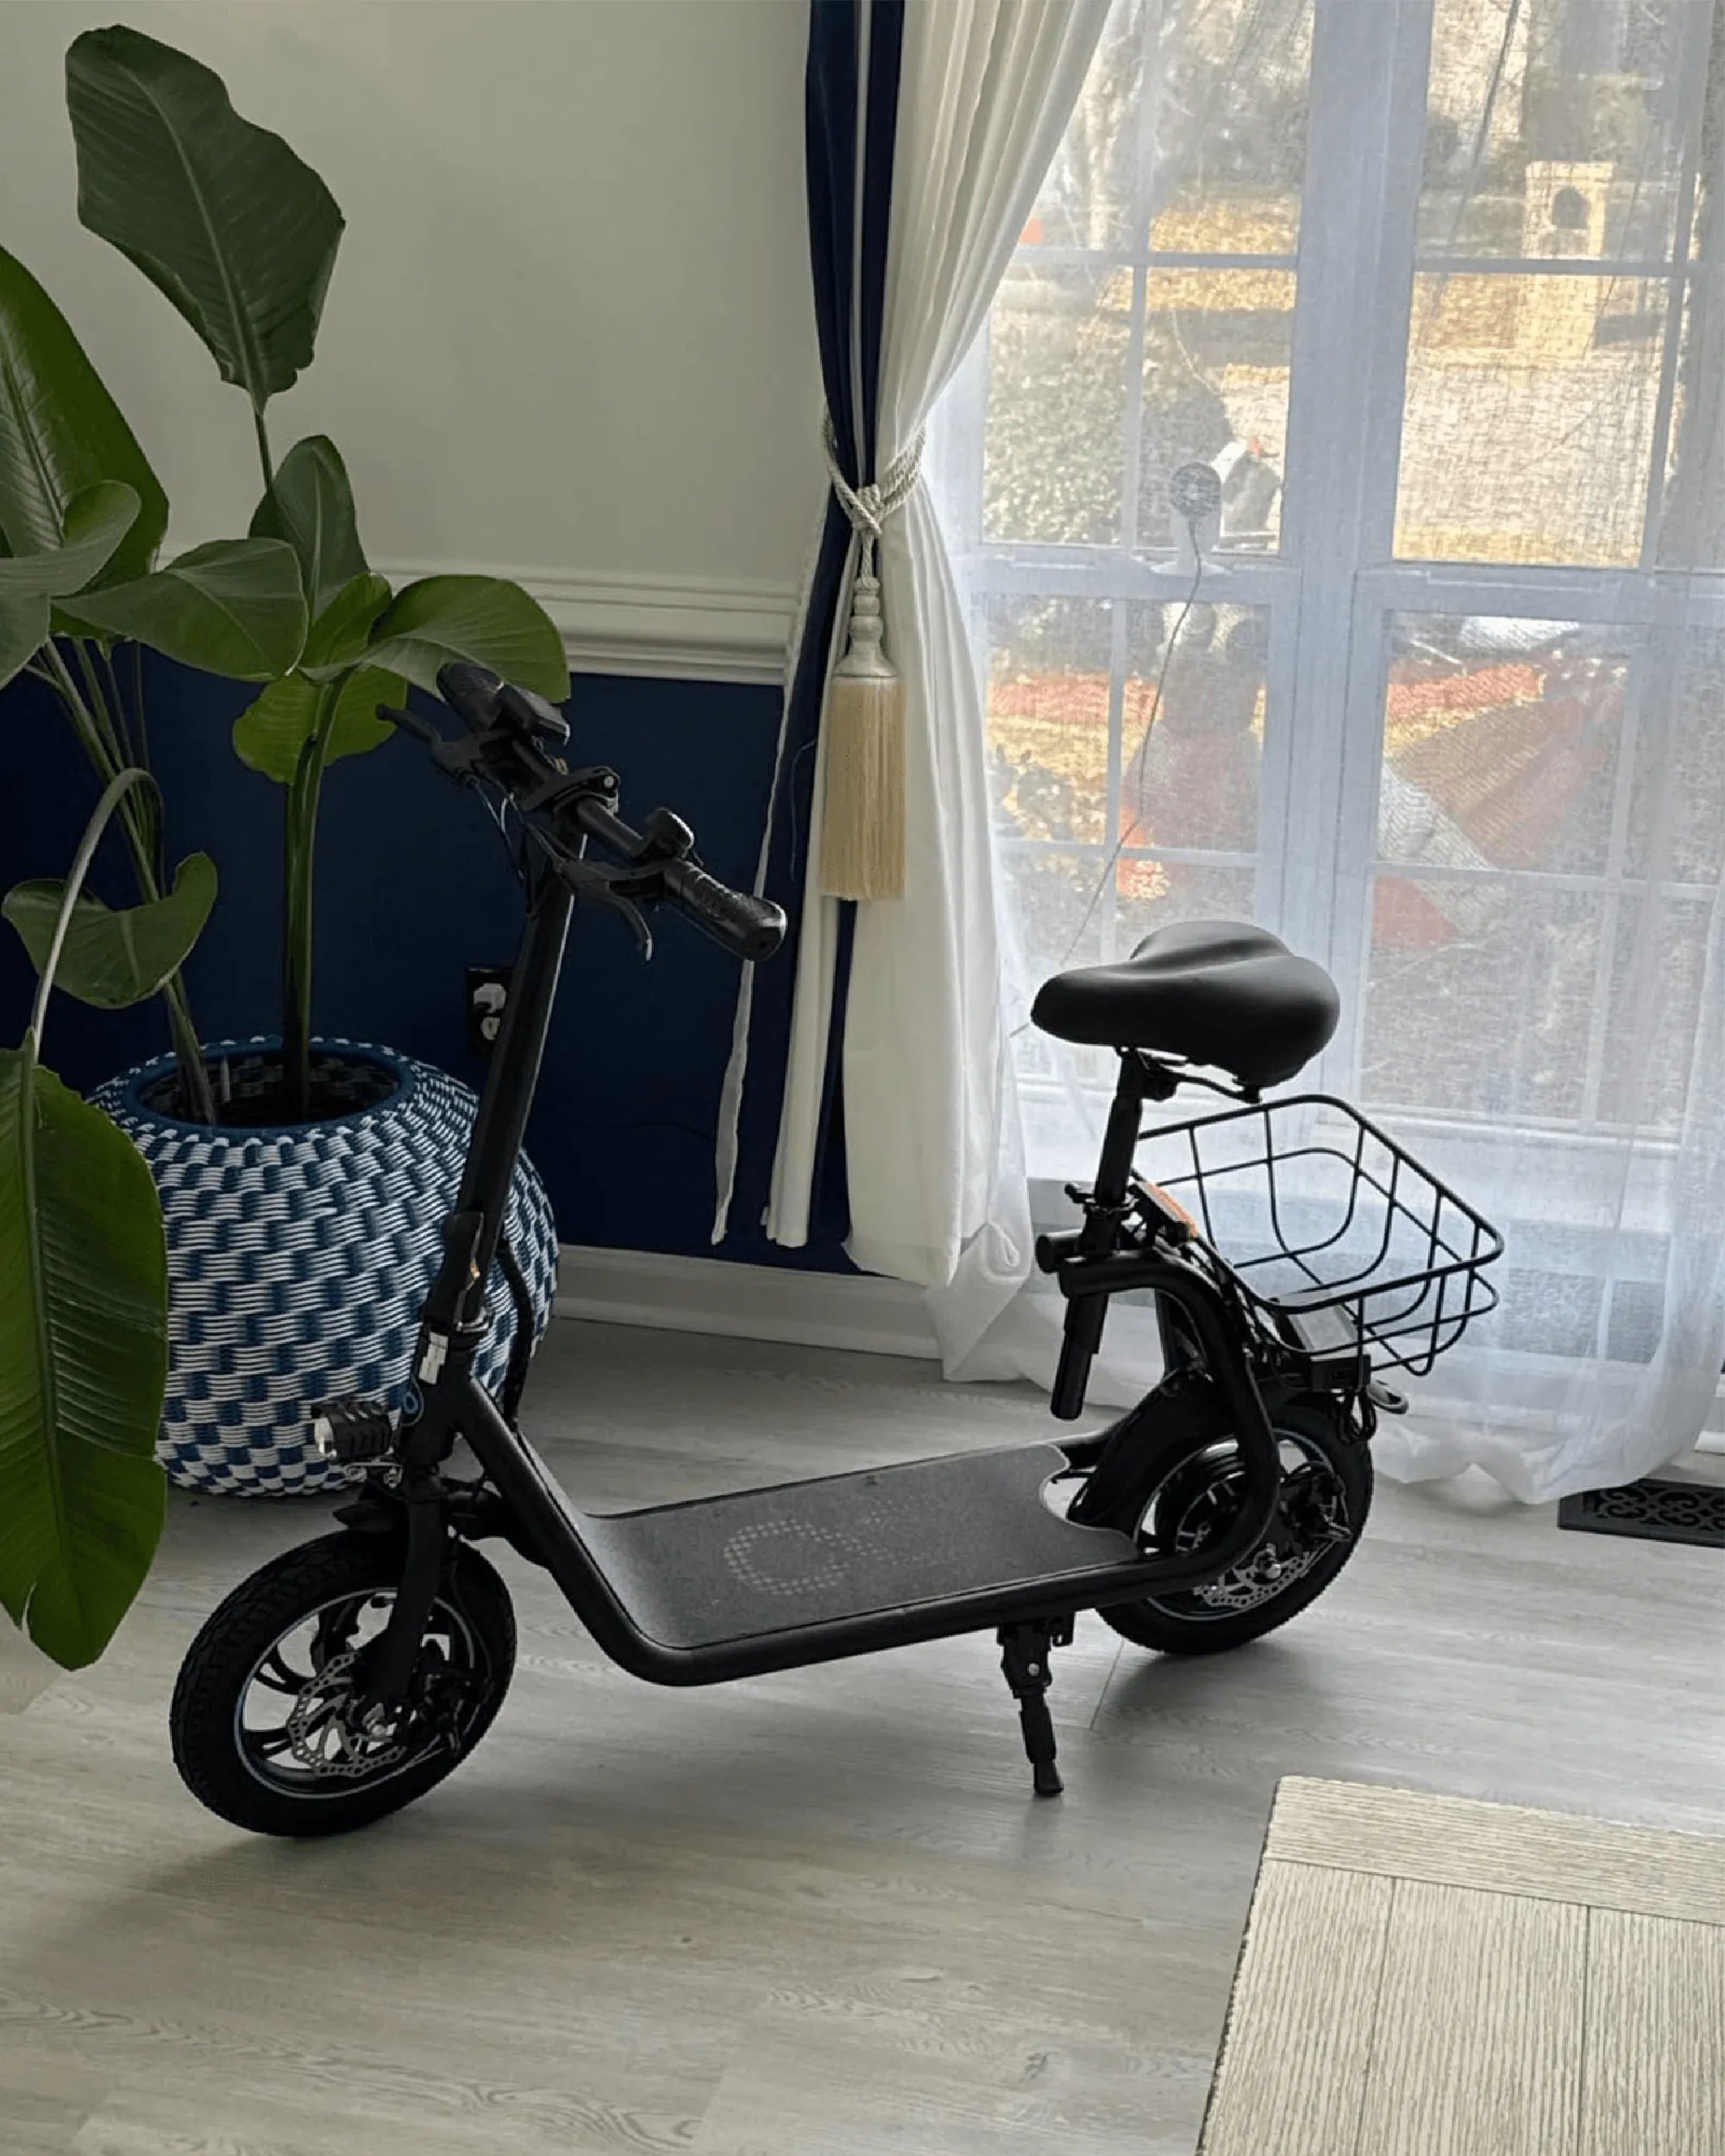
Key components you'll interact with include the brake lever, the cable or hydraulic hose, the brake caliper (which houses the pads), the brake pads themselves, and the rotor. Brands like Gyroor utilize both reliable systems across their e-bike and electric scooter lineup, ensuring models are equipped with brakes appropriate for their intended use and performance level.
Mechanical vs. Hydraulic Disc Brakes: A Quick Comparison
Choosing between these systems often comes down to maintenance preference, riding style, and budget. The following table provides a clear, data-driven comparison to help you understand which system you have and its characteristics.
| Feature | Mechanical Disc Brakes | Hydraulic Disc Brakes |
|---|---|---|
| Actuation | Steel brake cable | Sealed fluid system |
| Adjustment Frequency | Higher (cable stretch, pad wear) | Lower (self-adjusting for pad wear) |
| Maintenance Complexity | Lower (simple tools, cable replacement) | Higher (bleeding kits, specialized knowledge) |
| Modulation & Feel | Good, can feel grainy | Excellent, smooth and powerful |
| Typical Use Case | Commuting, leisure, entry-level e-bikes | Performance, mountain e-biking, high-speed models |
| Cost | Generally more affordable | Higher initial and maintenance cost |
Gyroor equips its commuter-focused e-bikes with robust mechanical brakes for easy user maintenance, while its performance models often feature hydraulic systems for maximum stopping power and control, reflecting a commitment to matching technology with rider needs.
Pre-Adjustment Checklist: Tools and Safety
Gathering the right tools and creating a safe workspace is the first step in learning how to adjust ebike brakes. You will need a set of hex keys (Allen wrenches, typically 4mm, 5mm, and 6mm), a Torx T25 wrench (common for rotor bolts), a Phillips-head screwdriver, clean rags, and isopropyl alcohol for cleaning. For hydraulic brake bleeding (advanced), you would need a specific bleed kit, but that is not covered in basic adjustment.
Safety is paramount. Always turn your e-bike completely off and, if possible, remove the battery to prevent accidental throttle engagement. Lift the wheel you are working on off the ground using a repair stand or by carefully inverting the bike. Work in a clean, well-lit area where small parts won't get lost. Wear safety glasses if you are cleaning rotors or handling brake fluid.
Before adjusting, perform a visual inspection. Check the brake pads for wear—if they are less than 1mm thick, they must be replaced. Look for oil or grease on the rotor or pads, which will contaminate them and cause poor performance. Spin the wheel to see if the rotor is bent or rubbing consistently in one spot. This initial diagnosis will guide your adjustment process.
Step-by-Step: Adjusting Mechanical Disc Brakes
Adjusting mechanical disc brakes involves three main goals: centering the caliper over the rotor, setting the correct pad clearance, and ensuring proper cable tension. Start by loosening the two bolts that mount the caliper to the frame or fork. Just loosen them enough so the caliper can be moved by hand; do not remove them completely.
Now, squeeze the corresponding brake lever firmly and hold it. While holding the lever, carefully re-tighten the two mounting bolts in a cross pattern, alternating between them to ensure the caliper is evenly secured. This process centers the caliper over the rotor. Release the lever and spin the wheel. If you hear consistent rubbing, the caliper may still be slightly off-center; loosen the bolts marginally and manually nudge the caliper away from the rubbing side before re-tightening.
The next step is cable tension. Locate the barrel adjuster where the cable meets the brake lever. Turning it counterclockwise will increase tension, bringing the pads closer to the rotor. If the barrel adjuster is fully unscrewed, you will need to loosen the cable anchor bolt on the caliper, pull the cable tighter by hand, and re-tighten the bolt. Aim for a lever feel where the brakes engage solidly about halfway through the lever's pull.
Finally, many mechanical disc calipers have a static pad adjustment dial (usually on the inside of the caliper). Use this to fine-tune the position of the inner brake pad. Turn it clockwise to move the pad closer to the rotor, which can help achieve a more immediate bite and better lever feel. The goal is even pad wear and a centered rotor with minimal drag.
Troubleshooting Common Mechanical Brake Issues
Even after adjustment, you might encounter problems. Persistent brake rub is often caused by a slightly bent rotor. You can attempt to true it with a rotor truing tool or a clean adjustable wrench, but this requires patience. If the rotor is severely warped, replacement is the safest option.
Brake squeal or squeaking is typically due to contamination or glazed pads. Remove the pads and lightly sand their surface with fine-grit sandpaper. Thoroughly clean the rotor with isopropyl alcohol. When reinstalling, ensure the pads are properly aligned in the caliper. A soft or spongy lever that pulls to the handlebar usually indicates excessive cable stretch or housing friction. Re-tension the cable at the anchor bolt. If the problem persists, the inner cable housing may be worn and require replacement—a service covered under Gyroor's 1-year warranty if the issue is due to a manufacturing defect.
Step-by-Step: Adjusting Hydraulic Disc Brakes
Hydraulic brake adjustment is generally simpler for pad alignment but more complex for system maintenance. The primary adjustment is recentering the caliper, as the system self-adjusts for pad wear. Start by loosening the two caliper mounting bolts, just as with mechanical brakes.
Squeeze the corresponding brake lever firmly and hold it. This pushes the pistons and pads out to clamp the rotor. While holding the lever, re-tighten the mounting bolts in a cross pattern. This centers the caliper over the rotor based on the pads' actual position. Release the lever and spin the wheel. It should spin freely with no rubbing. If there is light, consistent rub, you can sometimes correct it by manually pushing the pistons back slightly using a plastic tire lever or specific piston press tool, then repeating the centering process.
Pad inspection is crucial. Worn hydraulic pads are replaced as a set. To check, look through the caliper from the top; many pads have wear indicators. If the pad material is very thin (less than 1mm), replacement is necessary. To replace, remove the retention pin or clip, slide out the old pads, gently push the pistons fully back into the caliper bores (using a flat tool), and insert the new pads. Never pull the brake lever when the pads are removed, as this will force the pistons out.
A critical warning: If your brake lever feels spongy or sinks to the bar, the system likely has air in it and needs bleeding. Bleeding hydraulic brakes is a precise procedure that requires a specific kit, the correct fluid type (mineral oil or DOT), and careful attention to avoid introducing contaminants or air. For most riders, this is a task best left to a professional bike mechanic or Gyroor's US-based technical support team, who can guide you through warranty-covered service.
When to Seek Professional Help: Leveraging Your Gyroor Warranty
Knowing the limits of DIY maintenance is as important as knowing how to adjust ebike brakes. Seek professional assistance for persistent hydraulic system problems like a spongy lever after attempted bleeding, visible fluid leaks from hoses or fittings, or a complete loss of braking power. These indicate issues with the sealed system that require expert repair.
Other scenarios warranting professional service include a severely warped rotor that cannot be straightened, deep gouges in the rotor surface, or if you suspect the brake fluid is contaminated or old (fluid should be clear, not dark). Attempting complex repairs without proper tools and knowledge can compromise safety.
This is where your Gyroor warranty provides significant value. Gyroor offers a comprehensive 1-year warranty covering defects in materials and workmanship, including braking components. If you experience issues like a leaking hydraulic seal, a persistently bent rotor, or faulty lever mechanism under normal use, contacting Gyroor support is your first step. Their US-based team can diagnose the issue and arrange for repair or replacement of warranted parts, ensuring your e-bike meets its original safety specifications.
Maintenance Tips to Minimize Future Adjustments
Proactive care drastically reduces the frequency of major adjustments. Regularly clean your brake rotors with isopropyl alcohol and a clean rag, especially after riding in wet or dirty conditions. Avoid touching the rotor surface with bare fingers, as skin oils can contaminate it and reduce braking power.
Check pad wear monthly. Most brake pads have wear lines or indicators; replace them before they are completely worn down to prevent scoring the rotor. Keep all lubricants, including chain lube, far away from your brake rotors and pads. A single drop can cause severe contamination leading to noise and poor performance.
When storing your e-bike, avoid leaving the brakes engaged (i.e., don't leave a brake lever tied down), as this can cause the pads to stick to the rotors. Store the bike in a dry place to prevent corrosion on cables and caliper components. Following these simple habits will keep your Gyroor e-bike's brakes—and its UL-certified battery and IPX5 water-resistant electrical systems—functioning reliably for years.
FAQ: Quick Answers on E-Bike Brake Adjustment
Q1: How often should I adjust my e-bike brakes?
A: For mechanical brakes, check cable tension and pad alignment every 1-2 months or if you notice lever travel increasing. Hydraulic brakes rarely need pad alignment adjustments but should be inspected for pad wear and lever feel every 3-6 months. Always check brakes before a long ride.
Q2: Why are my new Gyroor e-bike brakes squeaking?
A: Light squeaking during the initial "bed-in" period (first 20-30 stops) is normal as pads and rotors mate. Persistent squeaking is often due to contamination or glazed pads. Clean the rotor with isopropyl alcohol and lightly sand the pad surfaces. Ensure the caliper is perfectly aligned.
Q3: Can I adjust the brake lever reach?
A: Yes, most brake levers have a small reach adjustment screw near the pivot. Turning this screw changes how far the lever sits from the handlebar, allowing customization for different hand sizes. Consult your e-bike's manual for the specific location.
Q4: Is brake noise covered under the Gyroor warranty?
A: Noise itself is not a defect, but if it is caused by a defective component (e.g., a warped rotor or faulty pad material), it would be covered. Gyroor's 1-year warranty protects against manufacturing defects in materials and workmanship.
Q5: My brake lever feels soft. Did I do something wrong?
A> For mechanical brakes, a soft lever usually means low cable tension—re-tension at the anchor bolt. For hydraulic brakes, a soft or spongy lever typically indicates air in the system, requiring a bleed. This is a more advanced procedure where professional help is recommended.
Ride with Confidence on Well-Maintained Brakes
Mastering how to adjust ebike brakes empowers you to maintain peak safety and performance. Regular checks and simple adjustments for mechanical systems, combined with understanding when to seek help for hydraulic issues, form the foundation of responsible e-bike ownership. Your brakes are the direct link between your riding enjoyment and your safety; giving them the attention they deserve is non-negotiable.
Gyroor designs its e-bikes and electric scooters with rider safety as the top priority, featuring reliable braking systems, UL-certified batteries for peace of mind, and durable IPX5 water-resistant designs. Remember, your 1-year comprehensive warranty and accessible US-based support team are always there to back you up. For riders looking to upgrade or explore models built with this commitment to quality and safety, browse the full Gyroor collection at gyroorboard.com. Ride safe, ride smart, and enjoy the journey with confidence.
Pink Enclosed Mobility Scooter Guide: Independence Meets Personal Style
Electric Scooter for Sale: The 2024 Buyer's Guide to Performance & Safety