


Ever dreamed of gliding effortlessly on your own hoverboard? While commercial models dominate the market, building one yourself can be an exciting and rewarding project. This guide breaks down how to make a hoverboard easy, even if you're a beginner. Follow these steps to create a functional and fun personal transporter.
Understanding the Basics of a Hoverboard
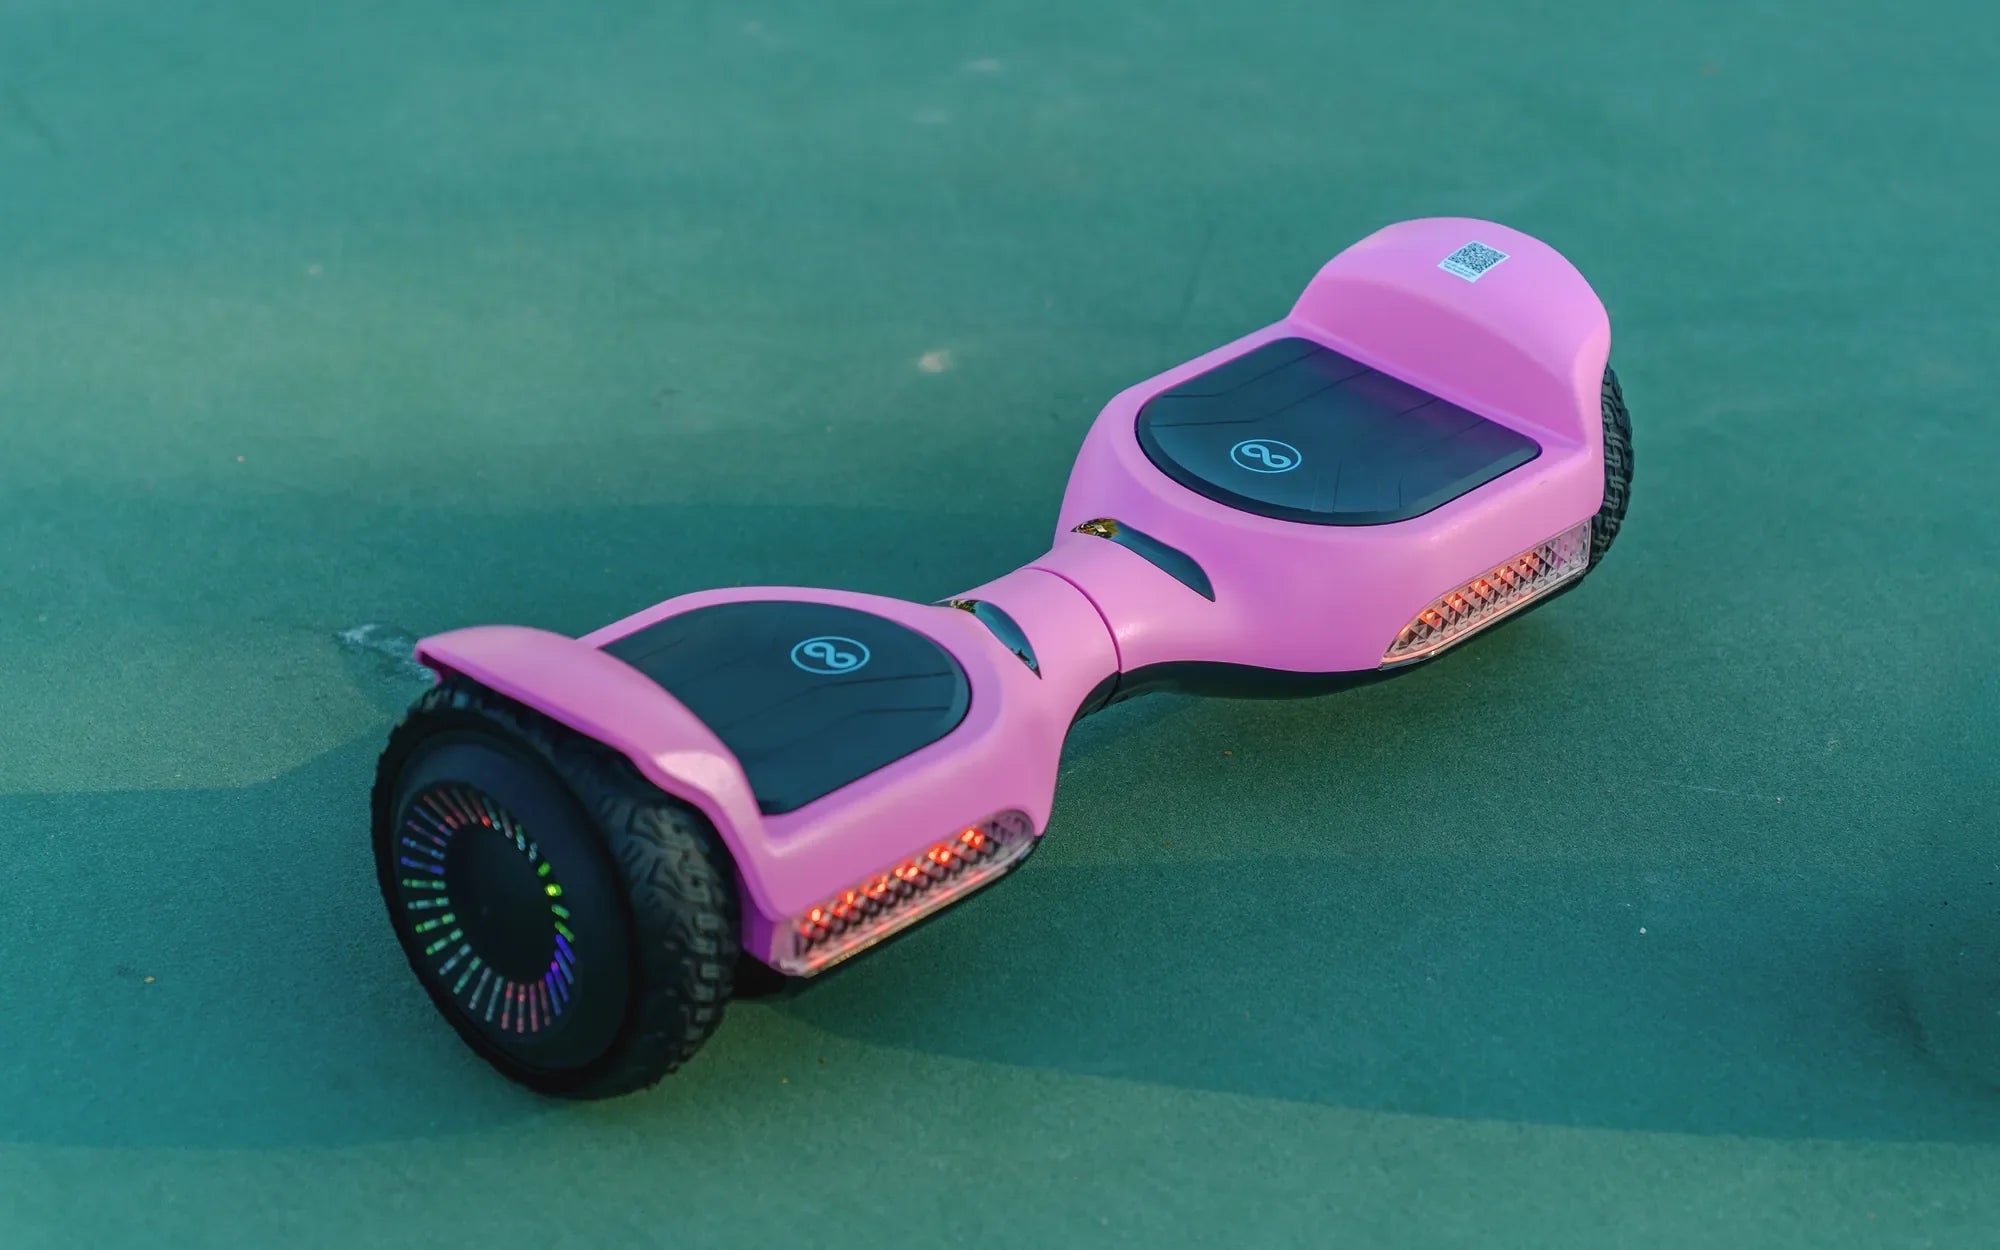
Before diving into construction, it's crucial to understand how hoverboards work. These self-balancing scooters rely on gyroscopic sensors, electric motors, and a battery system to maintain stability. The rider's subtle weight shifts control speed and direction, making the device intuitive once mastered.
Essential Components You'll Need
Gathering the right materials is your first step in learning how to make a hoverboard easy. You'll need:
- Two electric motors (one for each wheel)
- Gyroscopic sensors for balance control
- Lithium-ion battery pack
- Microcontroller board
- Pressure-sensitive foot pads
- Durable frame material (aluminum or strong plastic)
- Wheels with good traction
- Wiring and connectors
Step 1: Building the Frame
The frame serves as your hoverboard's foundation. Cut your chosen material into two symmetrical platforms that will support your feet. Ensure they're wide enough for comfortable standing but not so large that they become unwieldy. Connect the two platforms with a central pivot that allows slight independent movement.
Step 2: Installing the Motors and Wheels
Mount one motor beneath each foot platform, ensuring they're perfectly aligned. Attach the wheels securely, making sure they rotate freely without wobbling. The motors should have enough torque to support your weight and provide adequate acceleration.
Step 3: Adding the Control System
This is where the magic happens in learning how to make a hoverboard easy. Connect the gyroscopic sensors to your microcontroller board. These will detect tilt and movement, sending signals to the motors to maintain balance. Program the microcontroller with basic balancing algorithms - many open-source options are available online.
Step 4: Powering Your Creation
Install your battery pack in a central location for balanced weight distribution. Ensure all connections are secure and insulated. Include an accessible power switch and charging port. Consider adding a battery level indicator for convenience.
Step 5: Testing and Calibration
Before your first ride, perform thorough testing in a safe area. Start by powering on the device and checking that all systems initialize properly. Gradually apply weight to test the balance response. Calibrate the sensors as needed to ensure smooth operation.
Safety Considerations
When learning how to make a hoverboard easy, never overlook safety. Always wear protective gear during testing. Include fail-safes in your design like automatic shutoff if the board tilts too far. Regularly inspect all components for wear or damage.
Troubleshooting Common Issues
If your hoverboard wobbles or doesn't balance properly, check sensor alignment and calibration. Poor battery life might indicate insufficient capacity or power-hungry components. Jerky movements could signal motor control issues or programming flaws.
Enhancing Your Design
Once you've mastered the basics of how to make a hoverboard easy, consider upgrades like Bluetooth connectivity for app control, LED lighting for visibility, or regenerative braking to extend battery life. These additions can make your DIY project even more impressive.
Building your own hoverboard isn't just about saving money - it's about the satisfaction of creating something functional with your own hands. With this guide, you've learned how to make a hoverboard easy, opening doors to endless customization and innovation. Why settle for store-bought when you can ride something uniquely yours?
Best Electric Scooter for 10-12 Year Old: A Parent's Guide to Safe and Fun Rides
Best Electric Scooter for 10-12 Year Old: A Parent's Guide to Safe and Fun Rides