

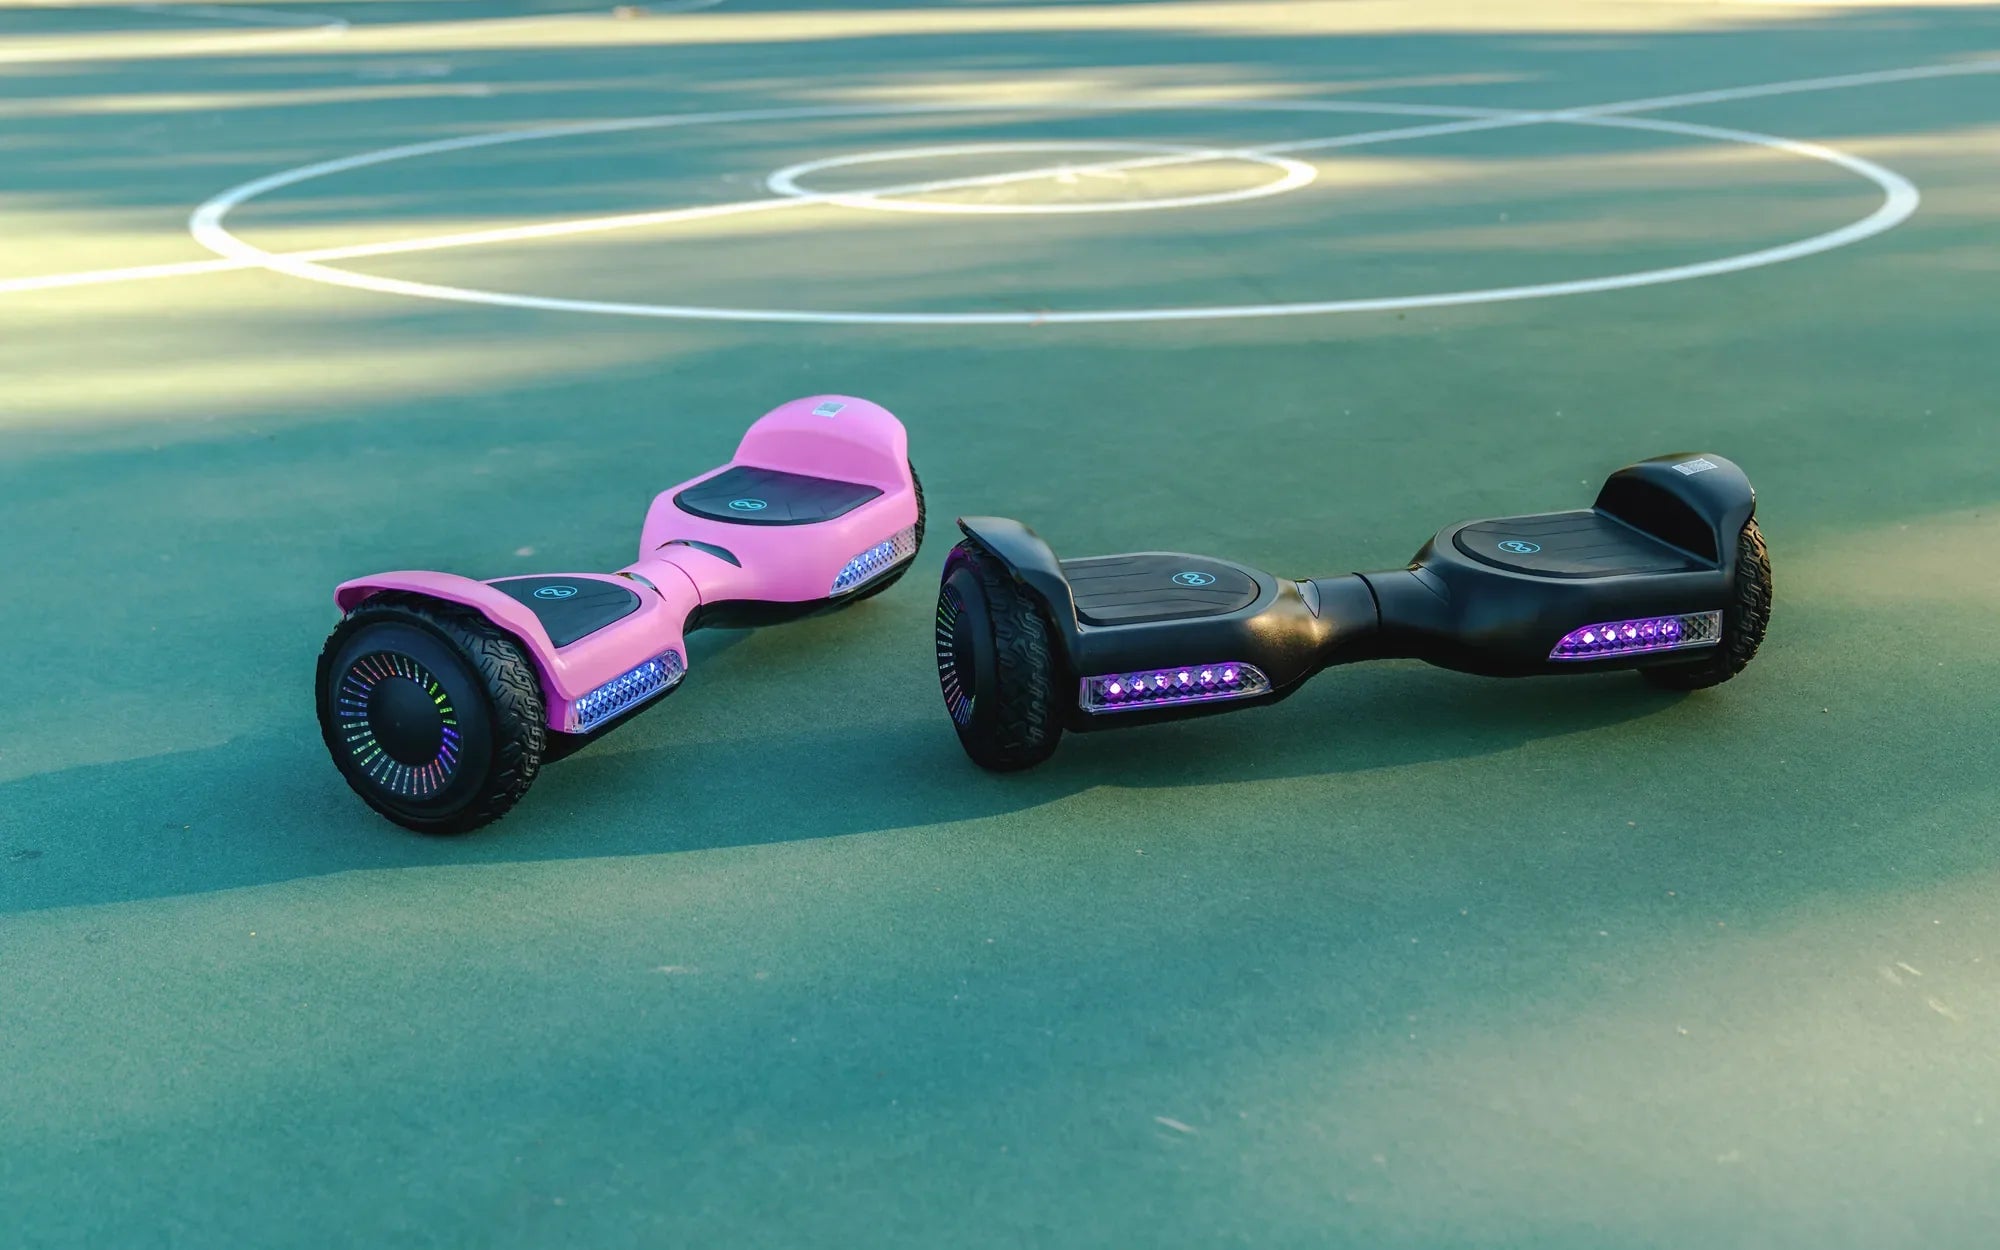
Is your hoverboard refusing to power on or losing charge too quickly? The battery might be the culprit. Before you toss it out and buy a new one, consider repairing it yourself. This guide will walk you through how to repair a hoverboard battery safely and effectively, saving you time and money.
Understanding Hoverboard Battery Issues
Hoverboard batteries can fail for several reasons. Common issues include overcharging, physical damage, or simply aging cells. Identifying the problem is the first step toward fixing it. If your hoverboard won't turn on, holds little charge, or shuts off unexpectedly, the battery likely needs attention.
Tools You'll Need
Before diving into repairs, gather these essential tools:
- Multimeter
- Screwdrivers (Phillips and flathead)
- Soldering iron and solder
- Heat shrink tubing
- Replacement battery cells (if needed)
- Insulating gloves and safety glasses
Safety Precautions
Working with lithium-ion batteries can be dangerous if not handled properly. Follow these safety tips:
- Work in a well-ventilated area away from flammable materials.
- Wear insulating gloves and safety glasses.
- Disconnect the battery before performing any repairs.
- Avoid puncturing or bending the battery cells.
Step-by-Step Repair Process
Step 1: Open the Hoverboard
Use a screwdriver to remove the screws holding the hoverboard's casing together. Carefully separate the top and bottom halves to expose the battery compartment.
Step 2: Locate the Battery
The battery is usually housed in a rectangular pack near the center of the hoverboard. Disconnect it from the mainboard by unplugging the connector.
Step 3: Test the Battery Voltage
Use a multimeter to check the battery's voltage. A fully charged hoverboard battery should read around 36V. If the voltage is significantly lower, the battery may need recharging or replacing.
Step 4: Inspect for Physical Damage
Look for swollen cells, burnt wires, or loose connections. Damaged cells must be replaced, while loose wires can be re-soldered.
Step 5: Replace Faulty Cells
If individual cells are dead or damaged, carefully desolder them and replace them with new ones of the same specifications. Ensure proper polarity when soldering.
Step 6: Reassemble the Hoverboard
Once repairs are complete, reconnect the battery and reassemble the hoverboard. Test it to ensure it powers on and holds a charge.
Preventing Future Battery Issues
To extend your hoverboard battery's lifespan:
- Avoid overcharging—unplug it once fully charged.
- Store the hoverboard in a cool, dry place.
- Use only the manufacturer-recommended charger.
Repairing a hoverboard battery might seem daunting, but with the right tools and precautions, it's entirely doable. Follow this guide, and you'll be back to gliding smoothly in no time—without spending a fortune on a replacement!
Hoverboard Won't Charge When Plugged In: Causes and Solutions
Hoverboard Plug: The Essential Guide to Safe and Efficient Charging