


Learning how to start an ebike journey involves more than just pressing a button. It's about understanding a new category of personal transportation that blends human power with electric assist, transforming commutes, errands, and recreational rides. An electric bicycle, or e-bike, integrates a motor, a battery pack, and a controller to provide pedal assistance (and sometimes a throttle), making cycling accessible to more people and practical for longer distances. This guide will walk you through the entire process: selecting the right e-bike for your needs, performing crucial pre-ride setup, mastering safe riding techniques, and maintaining your bike for long-term reliability. We'll ground this advice in the principles of safety and durability exemplified by brands like Gyroor, a leading electric mobility brand trusted by over 100,000 riders, known for its UL-certified batteries and IPX5 water-resistant designs.
Introduction to E-Bikes and Getting Started
An e-bike is fundamentally a bicycle enhanced with an electric drive system. The core components are the motor, which provides power; the battery, which stores energy; and the controller, which manages the flow of electricity between them based on your input. This system offers several compelling benefits. For commuting, it reduces sweat and effort, making a suit-and-tie or professional attire ride feasible. For recreation, it allows groups of varying fitness levels to ride together comfortably. For fitness, it enables riders to go further and tackle hills they might otherwise avoid, with the option to dial down assistance for a harder workout.
The appeal is clear, but starting correctly is paramount. A successful beginning hinges on choosing a well-built machine from a reputable manufacturer. Brands that prioritize safety certifications, like UL for batteries, and build quality, like IPX5 ratings for water resistance, provide a foundation of reliability. This ensures your focus remains on the joy of riding, not on troubleshooting premature failures. Gyroor, for instance, builds its e-bikes and scooters with these principles, supporting riders with a comprehensive 1-year warranty.
This guide is structured to take you from a complete novice to a confident e-bike rider. We will dissect the key considerations before purchase, detail the unboxing and setup process, provide hands-on riding techniques, and outline a simple maintenance routine. By the end, you will possess the knowledge to not only start your e-bike but to integrate it seamlessly and safely into your lifestyle.
Choosing Your First E-Bike: Key Considerations
Your first decision in learning how to start an ebike lifestyle is selecting the right machine. This choice impacts where you can ride, how the bike feels, and how far you can go. The market offers a wide array of options, from sleek commuters to rugged mountain e-bikes. Focusing on a few core specifications will help you narrow down the perfect model for your primary use case, whether it's city streets, park paths, or mixed-terrain adventures.
Begin by assessing your primary use. Is it for a daily work commute on paved roads? Weekend fitness rides on bike trails? Carrying groceries or children? Your answer will guide your choices in motor power, battery capacity, frame style, and accessory compatibility. A commuter will prioritize integrated lights, fenders, and a rack. A recreational rider might value comfort and a more natural riding position. Understanding your 'why' is the first step to a satisfying purchase.
Budget is, of course, a factor. E-bikes range from entry-level to premium prices. While it's tempting to seek the lowest cost, investing in a bike from an established brand with proven safety standards and customer support often saves money and frustration in the long run. Consider the total cost of ownership, including potential accessories, maintenance, and the peace of mind that comes with a reliable warranty.
Understanding E-Bike Classes (1, 2, and 3)
In North America, e-bikes are generally categorized into three classes, a system crucial for understanding where you can legally ride. Class 1 e-bikes are pedal-assist only. The motor provides assistance only when you are pedaling and ceases at 20 mph (32 km/h). These are typically allowed anywhere a traditional bicycle is permitted, including most bike lanes and multi-use trails.
Class 2 e-bikes are equipped with a throttle that can propel the bike without pedaling, up to 20 mph. The motor assistance also cuts off at this speed. The presence of a throttle offers flexibility, especially for starting from a stop or taking a break from pedaling. Regulations for Class 2 bikes can vary more by locality, so checking local laws is essential.
Class 3 e-bikes are speed pedelecs. They are pedal-assist only (like Class 1) but provide assistance up to a higher speed of 28 mph (45 km/h). Due to their higher speed, they are often restricted from bike paths and trails and may be required to use roadways. Some jurisdictions may have age, helmet, or even licensing requirements for Class 3 bikes.
Knowing the class of your e-bike is the first step to responsible, legal riding. Most beginner-friendly and commuter-oriented models, including many from Gyroor's lineup, fall into Class 1 or 2, offering a balance of performance and broad accessibility.
Motor Placement: Hub vs. Mid-Drive
The location and type of motor significantly influence the riding experience, performance, and maintenance. The two primary configurations are hub motors and mid-drive motors. A hub motor is located in the center of either the front or rear wheel. It directly drives the wheel itself. Hub motors are known for their simplicity, reliability, and often lower cost. They require minimal maintenance as they are a self-contained unit separate from the bike's drivetrain.
Hub motors provide a consistent push, which feels intuitive for many new riders. They are excellent for flat to moderately hilly terrain and are the standard for many commuter and cruiser e-bikes. Brands like Gyroor often utilize robust rear-hub motors in their models, providing a smooth and dependable assist perfect for daily urban use.
A mid-drive motor is positioned at the bike's crank and bottom bracket, driving the chainring. This central, low placement improves weight distribution and handling. The key advantage is that it leverages the bike's gears. When you shift to a lower gear for a steep hill, the motor also works more efficiently, providing superior hill-climbing torque and a more natural, bicycle-like feel where the assist matches your pedaling effort through the gears.
Mid-drives are often found on higher-performance e-mountain bikes and touring e-bikes. They tend to be more expensive and can put more wear on the chain and cassette. For a beginner whose primary use is commuting or light recreation on varied terrain, a quality hub-drive system offers a fantastic balance of performance, reliability, and value.
Battery and Range: What to Expect
The battery is the fuel tank of your e-bike, and understanding its specifications is key to managing range anxiety. Capacity is measured in watt-hours (Wh), which is voltage (V) multiplied by amp-hours (Ah). A higher Wh number generally indicates a larger capacity and longer potential range. For example, a common battery might be 36V and 10Ah, equating to 360Wh.
Manufacturer range estimates are best-case scenarios. Real-world range depends heavily on several variables: rider weight and cargo, terrain (hills drastically reduce range), wind resistance, tire pressure, ambient temperature, and most importantly, the level of pedal assist (PAS) used. Using the highest assist level or throttle frequently will deplete the battery much faster than moderate PAS levels.
As a realistic guideline, a 400-500Wh battery might provide 20-40 miles of range for an average rider using mixed assist levels on urban terrain. Planning for a range of about 60-70% of the maximum claim is a safe practice for beginners. It's also crucial to consider battery safety. Always opt for batteries from reputable brands that use certified cells and protection systems. Gyroor's use of UL-certified battery packs, tested for over 500 charge cycles, is a benchmark for safety and longevity that every new rider should look for in a brand.
| Consideration | Hub Motor E-Bike | Mid-Drive E-Bike |
|---|---|---|
| Best For | Commuting, flat/moderate terrain, value-focused buyers | Hilly terrain, off-road, performance-oriented riding |
| Ride Feel | Consistent push; can feel detached from pedaling | Natural, integrated feel; power responds to gear changes |
| Maintenance | Low; motor is separate from drivetrain | Higher; puts more strain on chain and gears |
| Typical Cost | More affordable | Premium price point |
| Weight Distribution | Can be rear or front-heavy | Central and low, improving handling |
Pre-Ride Setup and Safety Essentials
Once your new e-bike arrives, proper setup is the critical bridge between an exciting unboxing and a safe first ride. Most e-bikes arrive 85-90% assembled, requiring some final touches. Rushing this process can lead to unsafe conditions. Dedicate time to a meticulous assembly and inspection, treating it as an integral part of learning how to start an ebike properly. This phase ensures all mechanical and electrical systems are functional and secure.
Begin by carefully unpacking in a spacious area, saving all packaging and manuals. The assembly typically involves attaching the handlebars to the stem, installing the front wheel, securing the pedals (remember, left pedal is reverse-threaded), and possibly mounting the seat post. Use the correct tools, usually provided, and tighten all bolts to the manufacturer's specified torque if possible. Avoid over-tightening, which can strip threads or damage components.
Before connecting the battery, perform a full mechanical check. Ensure the wheels are true and spin freely without rubbing the brake pads. Check that the brakes engage firmly and the levers don't pull to the handlebar. Verify the gears shift smoothly across the entire cassette. This foundational check is non-negotiable for safety.
Assembly and Initial Inspection
The electrical system requires its own inspection. First, ensure the battery charge port and the bike's connector are clean and dry. Insert the battery fully until it clicks or locks securely into place. A loose battery connection can cause power cutouts while riding. Turn on the bike using the power button, usually located on the battery or the display. The control panel should illuminate.
Test all electronic functions sequentially. Check the display for clear readouts of battery level, assist mode, and speed. Cycle through the pedal assist levels to ensure they engage. If your bike has a throttle, test its function (with the bike lifted so the wheel spins freely). Activate the front and rear lights, both integrated and any additional ones. Listen for any unusual sounds from the motor when it engages.
Finally, perform a static safety check. Confirm the quick-release levers on the wheels and seat post are fully closed and tight. Check tire pressure against the recommended PSI printed on the tire sidewall; properly inflated tires roll easier and prevent flats. Do a final visual scan for any loose wires, cables, or parts. This thorough inspection might take 30 minutes, but it is the most important time you'll invest in your e-bike's life.
Essential Gear and Accessories
E-biking safely requires more than just the bike. Your first purchases should be protective gear. A high-quality helmet is non-negotiable. Consider models with MIPS (Multi-directional Impact Protection System) technology, which provides added protection against rotational forces in a crash. Ensure it fits snugly and is certified for bicycle use.
Visibility is critical. Even if your e-bike has integrated lights, adding a brighter, flashing front light and a solid or flashing rear light significantly increases your visibility to drivers, especially at dawn, dusk, or night. Consider wearing reflective clothing or a vest. A loud bell or horn is also a valuable tool for alerting pedestrians and other cyclists on shared paths.
A robust lock is mandatory for any urban riding. A hardened steel U-lock or a heavy-duty folding lock is recommended. Use it to secure both the frame and a wheel to a fixed, immovable object. Other highly recommended accessories include fenders to keep you clean on wet roads, a rear rack for carrying bags (keeping your back sweat-free), a water bottle cage, and a basic tire repair kit with levers, a patch kit, and a portable pump or CO2 inflator.
Understanding Your E-Bike's Controls
Familiarize yourself with the control interface before moving. The central hub is usually a display unit mounted on the handlebars. Common buttons include a power button, mode or '+'/'-' buttons to change the pedal assist level (PAS), and sometimes a dedicated light button. The display will show your current speed, battery level (often in segments or a percentage), PAS level, and sometimes trip distance or odometer.
The pedal assist system (PAS) is the core of the e-bike experience. Levels typically range from 0 (no assist) to 5 or sometimes 9. Level 1 provides a gentle boost, ideal for extending range or getting light exercise. Higher levels provide more power for hills or faster cruising. For your first ride, start in PAS 1 or 2 to acclimate to the feeling of the motor engaging.
If your bike has a throttle, it's usually a thumb lever or twist grip on the handlebar. It provides instant power without pedaling, useful for starting from a complete stop, especially on an incline, or for a quick boost. However, relying solely on the throttle will drastically reduce your range. Understand that the brake levers are equipped with motor cutoff sensors. Squeezing either brake lever will instantly cut power to the motor, a vital safety feature. Practice finding these controls by feel without looking down.
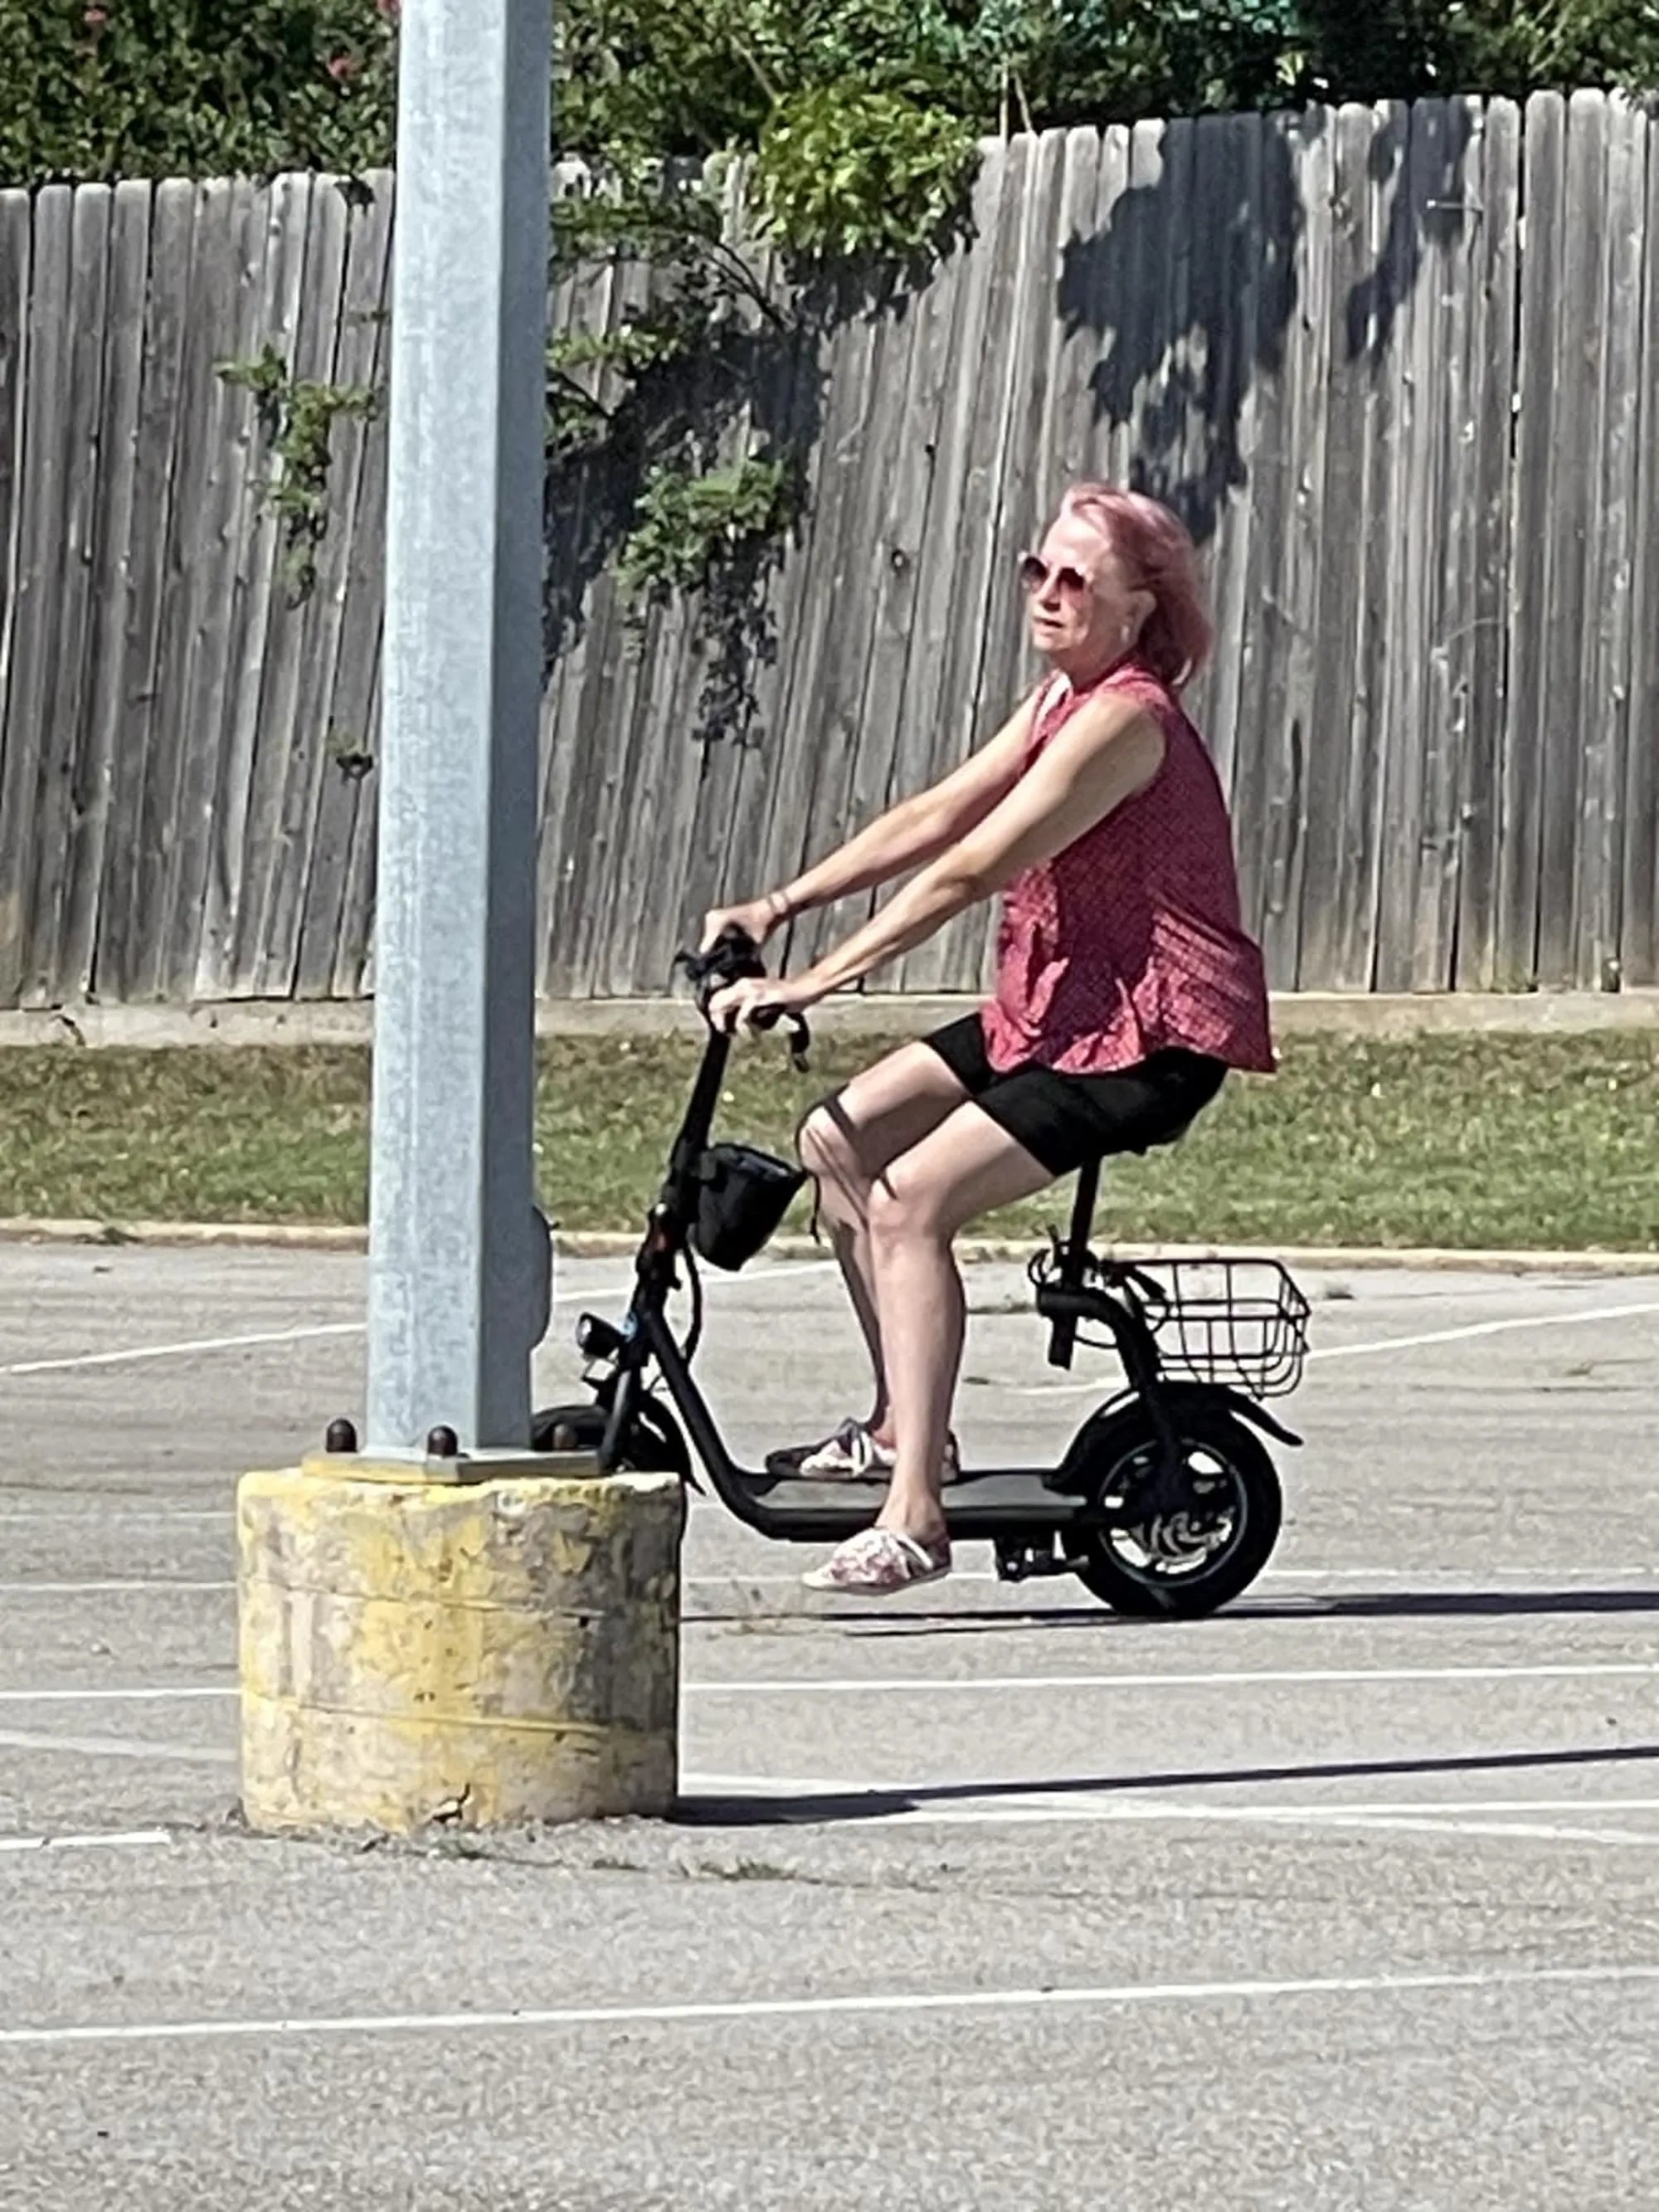
Your First Ride: Techniques and Best Practices
Now, with your bike checked and gear on, it's time for the inaugural ride. Choose a safe, open, and low-traffic area for your first session—an empty parking lot, a quiet residential street, or a wide path. Your goal is to build muscle memory for the unique dynamics of an e-bike, which is heavier and more powerful than a traditional bicycle. Focus on smoothness and control over speed.
Begin by mounting the bike and getting a feel for its weight and balance while stationary. Practice using the kickstand. Get comfortable with the seating position and the reach to the handlebars and brakes. The added weight, often 50-70 pounds, is most noticeable at low speeds and when dismounting. Always be mindful of this when leaning the bike or walking it.
Start with the bike powered off or in PAS 0. Pedal around to get a baseline feel for the bike's geometry and gearing. Then, stop, power on the system, and set it to PAS 1. Begin pedaling gently; you should feel the motor smoothly engage after a half or full pedal rotation. This sensation is the heart of the e-bike experience—a silent, steady push that amplifies your effort.
Starting, Stopping, and Using Pedal Assist
For a smooth and stable start, especially from a stop, use a combination of pedaling and motor power. The best technique is to begin pedaling lightly first, then gently increase pressure as the motor engages. If you have a throttle, you can use a slight touch to get moving before you start pedaling, which is very helpful on hills. Avoid "jackrabbit" starts by mashing the pedals or jamming the throttle at full power, as this can strain the drivetrain and cause wheel slip.
Stopping requires more foresight due to the increased weight and speed potential. Begin braking earlier and more gradually than on a regular bike. Apply even pressure to both front and rear brakes, with slightly more emphasis on the front for maximum stopping power (as the weight shifts forward). Remember, the motor cut-off sensors will disengage the assist as soon as you pull the brake levers.
Practice shifting through the PAS levels while riding at a steady pace. Feel how the assist changes. Learn to anticipate hills: shift to a lower bicycle gear *and* increase your PAS level *before* the incline begins, maintaining your cadence. Conversely, on descents or when you want to conserve battery, lower the PAS level or turn it off. Smooth modulation of both your gears and assist level is the mark of an experienced e-bike rider.
Mastering Braking and Managing Weight
E-bike braking systems are heavy-duty, but physics is physics. The combined weight of the bike, rider, and any cargo requires greater stopping distance. Practice controlled braking in your safe area. Squeeze the levers progressively rather than grabbing them suddenly. If you feel the wheels begin to lock up or skid (a risk more on wet surfaces), release slightly and re-apply pressure.
The weight also affects low-speed handling and maneuvering. When making tight turns at very low speeds, be deliberate with your steering and keep your body centered. When dismounting, especially if you have a step-through frame, swing your leg back and over with awareness of the bike's top tube or rear rack. Always try to park on level ground and use the kickstand carefully, as a falling e-bike can cause significant damage to itself and nearby objects.
If you plan to carry cargo on a rear rack, practice riding with a loaded bag. The added weight high and at the back changes the bike's handling, making it feel more sluggish to turn and requiring even more careful braking. Distribute weight evenly and secure it tightly to prevent shifting. Start with lighter loads to build confidence.
Planning Routes and Conserving Battery
For your first real trips, use dedicated cycling apps like Google Maps (set to "Bicycling"), Komoot, or Ride with GPS to plan routes that prioritize bike lanes, trails, and quieter streets. Avoid roads with high-speed traffic until you are completely comfortable with your bike's handling and acceleration.
To maximize your range and reduce anxiety, adopt battery-conserving habits. Use the lowest PAS level that feels comfortable for the terrain. On flat sections with a tailwind, try PAS 1 or 2. Pedal actively—the motor is an *assist*, not a replacement. Your own effort significantly extends range. Maintain proper tire pressure, as under-inflated tires create more rolling resistance. Reduce aerodynamic drag by sitting more upright if possible, rather than crouching low (unless you have drop bars).
Plan your route to include a midpoint where you could stop and recharge if needed, like a café with an outdoor outlet. Monitor your battery percentage on the display. As a rule, lithium-ion batteries perform best and last longest if you avoid regularly draining them to 0% or charging to 100% for daily use. Keeping them between 20% and 80% is ideal for longevity. For a long trip, a full charge is fine, but try not to leave the battery at 100% for days on end.
Maintenance and Care for Longevity
Regular maintenance is simpler than many new riders fear and is essential for safety, performance, and protecting your investment. An e-bike has all the maintenance needs of a traditional bicycle plus a few specific electrical checks. Establishing a simple routine will keep your bike running smoothly for thousands of miles. Gyroor's 1-year comprehensive warranty provides support, but proper care is the first line of defense.
The foundation of bicycle maintenance is the "ABC Quick Check": Air, Brakes, Chain. Before every ride, make this a habit. For e-bikes, we add a "D" for "Drive System (Electric)." This 60-second inspection can prevent most common roadside issues. It also keeps you intimately familiar with your bike's normal condition, so you'll notice when something is amiss.
Beyond the pre-ride check, establish a basic cleaning and lubrication schedule. Wiping down the frame and cleaning the chain every few weeks (or after riding in wet/dirty conditions) prevents corrosion and wear. Keep the electrical contacts for the battery and display clean and dry. A well-maintained e-bike is not only more reliable but also retains more of its value over time.
Routine Checks: The ABC Quick Check
A is for Air. Check tire pressure weekly with a gauge. Proper inflation is critical for efficiency, handling, and preventing pinch flats. Use the PSI range on the tire sidewall as a guide, leaning toward the higher end for smoother rides on pavement.
B is for Brakes. Squeeze the brake levers. They should feel firm and stop well before hitting the handlebar. Visually inspect the brake pads for wear; most have wear indicators. If the pads are thin or the braking feels spongy, they need adjustment or replacement. Listen for any grinding or squealing noises.
C is for Chain and Drivetrain. Check that the chain is clean and lightly lubricated. A dry, rusty, or gunky chain increases wear and reduces efficiency. Shift through the gears to ensure smooth transitions. Also, check that the cranks and pedals are tight and that the wheels are secure (quick-releases or thru-axles are locked).
D is for Drive System. For your e-bike, verify the battery is securely locked in place and charged to an appropriate level. Ensure the display powers on and shows no error codes. Listen for any unusual clicks, whines, or grinding from the motor when it engages. A quick visual check of wiring for any obvious damage or disconnections is also wise.
Cleaning and Storage Best Practices
Never use a high-pressure washer or hose directly on your e-bike, especially around the motor, battery, display, or bearings. The force can drive water past seals, leading to corrosion and electrical failure. Instead, use a damp cloth, a soft brush, and a bucket of soapy water. Focus on the frame, wheels, and drivetrain. For the chain, use a dedicated chain cleaner and degreaser, then apply a bicycle-specific lubricant sparingly, wiping off excess.
When cleaning, avoid directing water at the battery compartment, display, or motor housing. While brands like Gyroor design their e-bikes with IPX5 water resistance (protected against water jets from any direction), it's best practice to be cautious. After washing or riding in the rain, dry the bike with a towel, paying special attention to electrical contacts.
For storage, keep the bike in a cool, dry place, away from direct sunlight and extreme temperatures. If storing for more than a few weeks, the battery should be charged to about 50-60% and removed from the bike. Check the battery charge every month or two and give it a partial top-up if it drops below 20%. Store the battery separately in a climate-controlled environment. This practice significantly extends the overall lifespan of the lithium-ion cells.
Leveraging Your Warranty and Support
Upon purchase, immediately register your e-bike with the manufacturer. This is often required to activate the warranty. Gyroor, for example, offers a 1-year warranty covering the frame, motor, battery, and other components against manufacturing defects. Keep your original receipt and any warranty documentation in a safe place.
Understand what your warranty covers and, just as importantly, what it does not. Wear-and-tear items like brake pads, tires, chains, and grips are typically considered consumables and are not covered. Damage from accidents, misuse, neglect, or unauthorized modifications will void the warranty.
If you encounter an issue, contact the manufacturer's customer support first. Reputable brands like Gyroor have US-based support teams to help with troubleshooting. They can often diagnose a problem over the phone or email and may authorize a repair at a local shop or send a replacement part directly. Attempting a complex repair yourself or taking it to a non-authorized shop for electrical work can void your warranty. A good warranty is a safety net, but proper maintenance is your daily shield.
Frequently Asked Questions (FAQ)
Do I need a license or insurance for an e-bike?
In most jurisdictions in the United States and Canada, a driver's license, vehicle registration, or insurance is not required for Class 1, 2, or 3 e-bikes, as they are legally defined as bicycles. However, laws vary by state, province, and even city, especially for Class 3 e-bikes. Some areas may have age restrictions (e.g., must be 16+ for Class 3) or require a helmet. It is the rider's responsibility to check and comply with local regulations. While not legally required, personal liability insurance or checking if your homeowner's/renter's policy covers e-bike-related incidents is a prudent consideration.
How far can I really go on a single charge?
Real-world range is highly variable. While a bike advertised with a 500Wh battery might claim a 50-mile range, a more practical expectation for mixed-use (some hills, varying assist levels) is 25-40 miles. A lightweight rider using only PAS 1 on flat ground could exceed estimates. A heavier rider using PAS 5 and the throttle on hilly terrain might get only 15-20 miles. Use the manufacturer's claim as a maximum benchmark and plan your trips around a conservative 60-70% of that figure until you learn your specific bike's and riding style's performance.
Can I ride my e-bike in the rain?
Yes, most modern e-bikes are designed to withstand light to moderate rain. The key specification is the IP (Ingress Protection) rating. An IPX5 rating, common on quality e-bikes like those from Gyroor, means the electrical components are protected against water jets from any direction. This makes them suitable for riding in the rain and through puddles. However, they are not submersible. Avoid deep standing water that could submerge the motor or battery. After riding in wet conditions, dry the bike as described earlier. Consistent exposure to heavy rain or pressure washing can eventually compromise seals.
Is it difficult to pedal if the battery dies?
Pedaling an e-bike with a dead battery is more challenging than a standard bike due to the added weight (typically 15-25 lbs heavier) and the drag from the motor's internal gears, especially in a hub motor. It is not impossible, but it will feel like riding a very heavy bicycle, and hills will be strenuous. Mid-drive motors often have a clutch that disengages the motor, reducing drag. The best practice is to monitor your battery and avoid completely draining it. If you do run out of power, shift into a low gear and be prepared for a slow, effortful ride home.
How often should I service my e-bike?
For a casual rider, a professional tune-up once a year is a good rule of thumb. This service should include a full safety check, brake adjustment, gear indexing, bearing checks, and torque checks on critical bolts. If you ride frequently (daily commuting) or in harsh conditions (mud, dust, rain), consider a check every 6 months. You should perform the ABC Quick Check before every ride and clean/lubricate the chain every 100-200 miles or whenever it looks dirty or sounds dry. Regular attention to tire pressure and brake pad wear is something you can and should do yourself.
Conclusion: Embracing the E-Bike Lifestyle
Learning how to start an ebike is the beginning of a transformative journey in personal mobility. It begins with informed selection, prioritizing safety through proper gear and pre-ride checks, and developing confident riding techniques that respect the bike's unique power and weight. Committing to simple, regular maintenance ensures this investment delivers reliable service and joy for years. The combination of human effort and electric assist opens up new possibilities for commuting, exploration, and fitness, all while reducing your environmental footprint.
The peace of mind that comes from choosing a brand built on safety fundamentals cannot be overstated. Starting with an e-bike equipped with a UL-certified battery, a robust water-resistant design, and backed by a strong warranty—like those offered by Gyroor—allows you to focus purely on the ride. With over 100,000 riders trusting their technology, it's a proven path to a successful start.
Your e-bike is a key to a more active, connected, and efficient lifestyle. Wear your helmet, follow the rules of the road and trail, be courteous to other path users, and enjoy the ride. The world looks different from the seat of a bicycle, and with electric assist, you can see more of it with less strain. Now, you're equipped not just to start your e-bike, but to start a new adventure.
Ready to begin? Browse the full collection of UL-certified, reliable e-bikes and scooters designed for every rider at gyroorboard.com.
How Fast Does a 72V Ebike Go: Speed, Power & Real-World Performance
Best Dirt Bike Parts Website: The 2024 Guide to Top Online Retailers