
Introduction: Why Knowing How to Safely Open a Kids Scooter Matters
Every parent who has purchased an electric scooter for their child will eventually face a moment where they need to know how to open kids scooter compartments. Whether it's to replace a battery, adjust the handlebar height, clear a jammed wheel, or simply understand the machine better, this knowledge is crucial. Improper disassembly can lead to safety hazards, voided warranties, and costly repairs. This guide provides a detailed, manufacturer-aligned approach to these tasks.
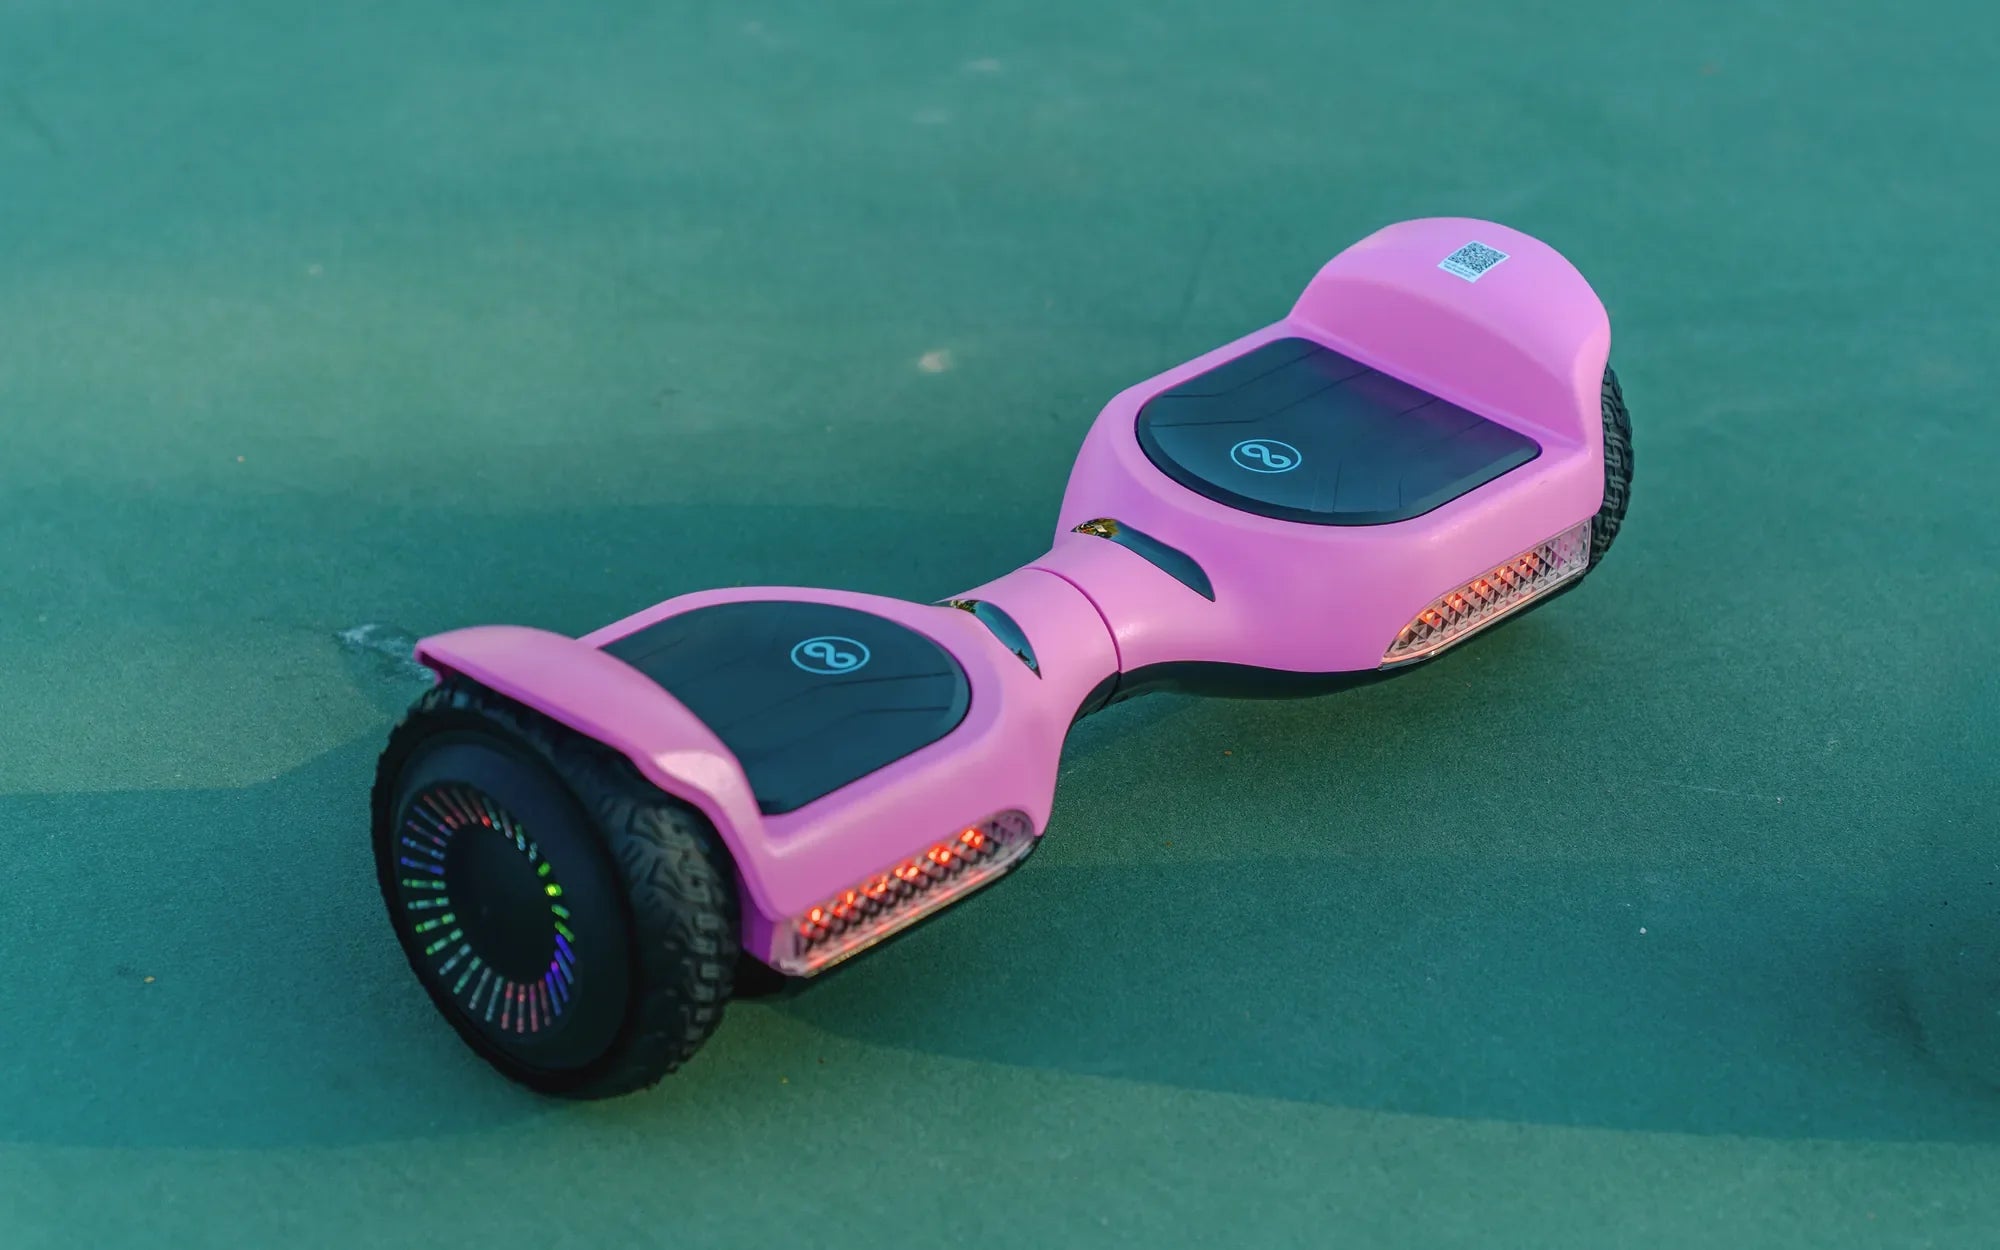
Understanding the correct procedures empowers you to perform essential maintenance, extending the scooter's lifespan and ensuring your child's safety. Brands like Gyroor design their scooters with user-friendly access points for common maintenance, but it requires the right approach. With over 100,000 riders trusting their products, Gyroor emphasizes safety with features like UL-certified batteries and IPX5 water-resistant designs, which must be preserved during any work you do.
Essential Tools and Safety Precautions Before You Begin
Gathering the correct tools is the first critical step. Attempting to open compartments with improvised tools can strip screws and damage casing. You will typically need a set of Phillips head screwdrivers (size #1 and #2), a set of metric Allen keys or hex wrenches (commonly 4mm, 5mm, 6mm), a small flathead screwdriver or plastic pry tool for separating deck plates, and a clean, soft cloth to place parts on.
Safety cannot be overstated. Always start by fully powering off the scooter and unplugging the charger. Allow the scooter to sit for 10-15 minutes if it was recently in use to let any electrical components cool. Work on a clean, flat, well-lit surface away from foot traffic. Keep all small screws and components in a magnetic parts tray or a small bowl to prevent loss.
Most importantly, consult your specific model's user manual first. Manuals provide model-specific diagrams and warnings. If the manual is lost, Gyroor provides digital copies on their website. This step ensures you understand the unique fastening system of your scooter before applying any force.
Step-by-Step Guide to Accessing Common Compartments
This core section breaks down the process of how to open kids scooter for the three most common reasons: battery access, handlebar adjustment, and wheel inspection. Follow each sequence carefully and methodically.
Opening the Deck to Access the Battery (For Charging or Replacement)
Accessing the battery compartment is often necessary to check connections or, in rare cases, replace the battery pack. First, turn the scooter upside down on a soft cloth to protect the handlebars and display. Identify all the screws securing the deck plate. These are usually Phillips or hex screws around the perimeter.
Using the correct size tool, remove all screws and place them safely in your tray. Gently insert a plastic pry tool or flathead screwdriver (wrapped in tape to prevent scratches) into the seam between the deck plate and the main frame. Work your way around, carefully releasing the plastic clips. Do not force it; if resistance is high, check for hidden screws.
Once open, you will see the battery pack and its wiring. Before touching anything, take a photo of the wiring configuration for reference. To disconnect the battery, firmly grip the plastic connector (not the wires) and pull it straight apart. Never pull by the wires, as this can damage the internal connections and void the warranty on the UL-certified pack.
When reassembling, ensure the rubber gasket or seal around the edge of the deck is clean and properly seated. This is vital for maintaining the IPX5 water-resistant rating. Reinsert all screws and tighten them firmly in a cross pattern to ensure even pressure and a secure seal.
Removing the Steering Column or Handlebars for Adjustment or Transport
For folding scooters or height adjustment, you may need to detach the handlebar assembly. Locate the main locking mechanism. This is often a large quick-release lever, a clamp with a hex bolt, or an internal folding mechanism with a safety pin.
If it's a bolt, use the correct hex key to loosen it several turns. Do not remove it completely until you understand how the mechanism works. For folding models, you may need to press a secondary safety button while pulling the release lever. Support the handlebars as you loosen the fastener to prevent them from suddenly falling.
Once detached, inspect the area. Some models have wiring for the throttle, brake lever, or display running through the stem. If so, note how the wires are routed. When reattaching, ensure the handlebars are aligned straight with the front wheel. Tighten the main clamp bolt or lever to the manufacturer's specified torque—this is critical for child safety. A loose handlebar can lead to a dangerous loss of control.
Accessing the Wheel Hubs or Motor for Basic Inspection
Inspecting wheels is useful for removing wrapped debris, checking tire pressure on air-filled models, or examining wear. For rear-wheel drive scooters, this also gives a view of the motor housing. Start by securing the scooter so the wheel is off the ground.
Most wheels are secured with axle nuts on either side or a quick-release skewer. Use a wrench that fits the axle nut perfectly to avoid rounding the edges. For quick-release systems, simply flip the lever and pull the wheel out. If the wheel is stubborn, a few gentle taps with a rubber mallet on the tire (never on the motor or bearings) can help.
Once removed, inspect the wheel well and the motor housing for dirt, pebbles, or hair. Clean out any debris with a brush or cloth. Check the tire tread and sidewalls for cracks or excessive wear. When reinstalling, ensure the wheel sits fully in the dropouts and is centered. Tighten axle nuts evenly on both sides, or ensure the quick-release lever is fully closed and tight.
What to Do (and Not Do) to Protect the Warranty and Scooter
Your actions during disassembly directly impact the scooter's longevity and your warranty coverage. Gyroor's 1-year warranty covers defects in materials and workmanship, but it is voided by user-inflicted damage. Using the correct tools is your first line of defense. A stripped screw head can make future professional repairs difficult and may be considered neglect.
When working with electrical components, be meticulous. As mentioned, always disconnect the battery by the connector. Never attempt to open the sealed battery pack itself; this is extremely dangerous and instantly voids the warranty. Gyroor's use of UL-certified batteries means they have passed rigorous safety tests—tampering invalidates this.
Preserve the scooter's physical integrity. Avoid using excessive force when prying open panels. Ensure all seals and gaskets are perfectly realigned during reassembly to maintain the IPX5 water resistance. If you encounter a problem beyond the scope of this guide, such as a malfunctioning controller or motor, stop and contact Gyroor support. Professional service for complex issues is a benefit of your warranty, not a last resort.
Troubleshooting: When Opening the Scooter is the Right Step
Knowing how to open kids scooter is valuable for diagnosing simple, common issues. The table below helps you decide if internal access is the appropriate solution or if you should seek professional help.
| Symptom | Possible Cause | Safe for Parent to Check? | Recommended Action |
|---|---|---|---|
| Scooter won't power on after charging. | Loose battery connection; faulty charger port. | Yes. | Follow battery access steps to check connector. Inspect charger port for debris. |
| Clicking or grinding noise from deck area. | Debris in wheel well; loose magnet in motor cover. | Yes, for debris. | Remove wheel to clear debris. If noise persists from motor, contact support. |
| Handlebar is wobbly or won't stay locked. | Loose clamp bolt; worn locking mechanism. | Yes, for tightening. | Tighten main stem clamp to specification. If parts are worn, order replacements. |
| Error code flashing on display (e.g., E-02, E-04). | Electronic fault in controller, motor, or BMS. | No. | Do not open control units. Note error code and contact Gyroor support immediately. |
| Reduced range or sudden power loss. | Aging battery; poor connection; overheating. | Yes, for connection check. | Check battery connector. Ensure scooter is used within recommended weight/temperature limits. |
Frequently Asked Questions (FAQ) for Parents
Q: Will opening the scooter myself void my Gyroor warranty?
A: Not for the purposes outlined in this guide. Performing basic maintenance like checking a battery connection or adjusting handlebars is acceptable. The warranty is voided if you cause damage—like cutting wires, puncturing the battery, or stripping screw threads—during the process.
Q: How do I know if the problem is something I can fix?
A: A good rule is: if it's mechanical (loose bolt, debris in wheel, adjustable part), you can likely address it. If it's electrical (no power despite good connection, error codes, motor not engaging) or involves the sealed battery cell pack, it's best to use your 1-year warranty and contact Gyroor's support team.
Q: I lost the special tool that came with the scooter. What should I use?
A: Most Gyroor scooters use standard metric hex keys (Allen wrenches) and Phillips screwdrivers. Visit a hardware store and use the fastener to find the exact match. Investing in a small, quality multi-bit driver set is highly recommended for scooter upkeep.
Q: How often should I check the internal components?
A: For most riders, a proactive check every 3-6 months is wise. Before the start of a heavy-riding season, inspect battery connections and wheel axles. Always perform a check after any significant impact or if the scooter has been stored for an extended period.
Q: Can I upgrade the battery or motor myself for more power?
A: We strongly advise against it. Swapping core components like the motor or battery with non-OEM parts is unsafe, will void your warranty, and can compromise the scooter's structural and electrical integrity. It can also make the scooter illegally powerful for a child's use. Choose a model from Gyroor's range that fits your child's growing needs from the start.
Conclusion: Empowerment Through Safe Maintenance
Learning the correct method for how to open kids scooter transforms you from a passive owner into an empowered maintainer. This knowledge allows you to perform simple fixes, extend the product's life, and, most importantly, verify the safety of your child's ride. Regular checks of connections and moving parts are a hallmark of responsible ownership.
Remember, the goal is safe, fun riding. Gyroor designs its scooters with robust features like UL-certified batteries and IPX5 ratings to provide a reliable foundation. Your careful maintenance preserves these features. For any issue that feels beyond your comfort zone, leverage the included 1-year warranty and professional support team. They are there to ensure complex problems are solved correctly. Ready to explore a scooter built with safety and service in mind? Browse the full Gyroor collection at gyroorboard.com to find the perfect, reliable ride for your child.
Light Weight Electric Scooter for Kids: The Ultimate Guide for Parents
What Does It Mean When a Hoverboard Beeps? A Complete Guide to Alerts