


Introduction to Mobility Scooter Resets
Knowing how to reset a mobility scooter is a fundamental troubleshooting skill for any owner. A reset, in this context, refers to a soft reboot of the scooter's electronic control unit (ECU) or controller, the brain that manages power delivery, speed, and safety features. This process clears temporary errors and corrupted data from the controller's memory, much like restarting a frozen computer.
Common symptoms that indicate a reset might be necessary include an unresponsive throttle, unexpected error codes flashing on the display, the scooter failing to power on despite a charged battery, or erratic behavior like sudden stops or jerky acceleration. It's a first-line diagnostic step for electronic glitches, not a fix for mechanical failures like a flat tire or worn brake pads.
Before proceeding, the most critical rule is to consult your specific owner's manual. Manufacturers may have model-specific instructions. This guide provides the universal principles that apply to most brands, including reliable manufacturers like Gyroor, whose models are engineered with user-friendly maintenance in mind.
This article will walk you through the complete process, from safety preparation to the reset procedure and advanced troubleshooting, ensuring you can confidently address common electronic issues.
Essential Pre-Reset Safety and Preparation
Safety is paramount when performing any maintenance on an electric vehicle. A mobility scooter is heavy and contains a powerful battery and electrical system. Ignoring safety can lead to personal injury or further damage to the scooter.
First, ensure the scooter is on a flat, stable, and level surface. Engage the parking brake if your model has one. Turn the ignition key to the "OFF" position and remove it. This is the non-negotiable starting point for any electrical work.
Conduct a visual inspection before attempting a reset. Check for any obvious issues: loose wires, disconnected plugs, or a tripped circuit breaker (often located near the battery). Ensure the battery charger is unplugged from both the wall and the scooter.
It is crucial to understand what a reset can and cannot do. This procedure addresses software glitches and temporary controller faults. It will not fix a physically damaged component, a completely dead battery, or a broken motor. Proper preparation sets the stage for an effective and safe reset process.
Step-by-Step: The Universal Hard Reset Method
The most effective reset for persistent electronic issues is a hard reset, also known as a power cycle. This method involves physically disconnecting the main power source to force the controller to fully clear its memory. It is the single most important procedure to learn when figuring out how to reset a mobility scooter.
Step 1: Power Down Completely. Turn the scooter's power switch to OFF and remove the key. Unplug any charging cables. Ensure the scooter is not in freewheel mode.
Step 2: Locate and Disconnect the Main Battery. You will need to access the battery compartment. Using the appropriate tools (often a Phillips head screwdriver), carefully disconnect the main battery terminals. Always disconnect the NEGATIVE (black, usually labeled "-") terminal first, followed by the POSITIVE (red, "+") terminal. This sequence prevents short circuits.
Step 3: The Critical Waiting Period. Once disconnected, you must wait. Leave the battery disconnected for a full 5 to 10 minutes. This waiting period allows any residual electrical charge in the capacitors within the controller and wiring to dissipate completely, ensuring a true reset.
Step 4: Reconnect the Battery. Reconnect the battery terminals in the REVERSE order: POSITIVE (red) terminal first, then the NEGATIVE (black) terminal. Ensure connections are tight and secure. Loose connections are a common source of power problems.
Step 5: Power On and Test. Replace any compartment covers securely. Re-insert the ignition key and turn the scooter to the "ON" position. Listen for the diagnostic beep (if your model has one) and check the display. Test the throttle gently in a safe, open area. This process resolves the majority of unexplained electronic faults.
Brand-Specific Reset Considerations and Sequences
While the universal hard reset works for most scooters, some brands and advanced models incorporate specific reset or calibration sequences initiated through the dashboard controls. These are often detailed in the manufacturer's manual.
For example, some models may require holding the "Mode" and "Power" buttons together for 10 seconds while the scooter is on. Others might have a dedicated, recessed reset button on the controller itself, accessible with a paperclip. These sequences can recalibrate the throttle or clear specific error codes without a full battery disconnect.
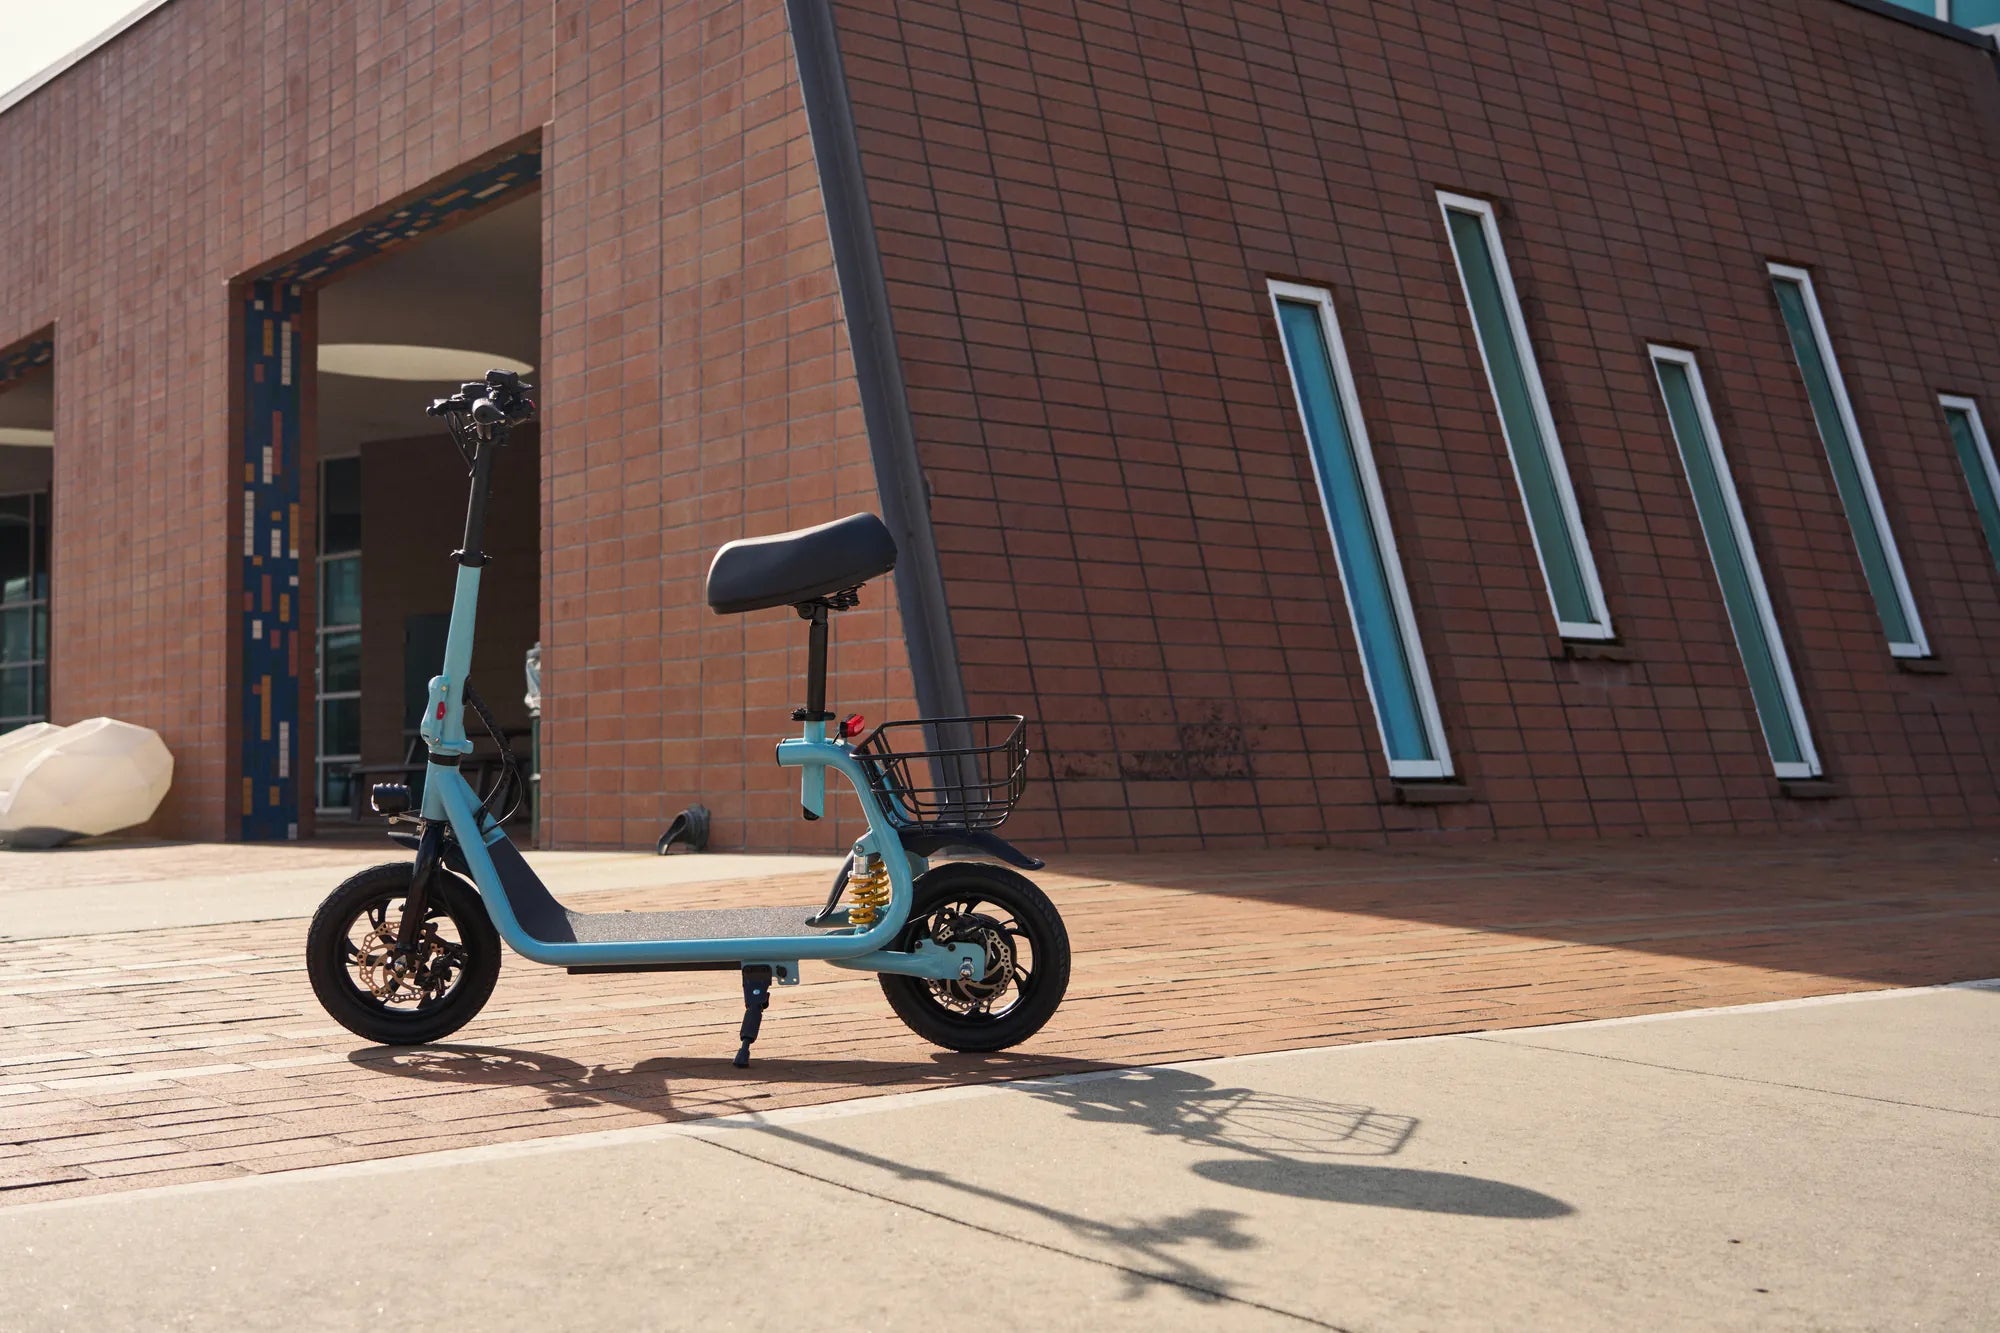
As a leading brand trusted by over 100,000 riders, Gyroor designs its electric scooters and mobility aids with clarity in mind. Owners should always refer to their Gyroor manual first. If the manual is unavailable, Gyroor's US-based customer support team can provide model-specific guidance, a key benefit of their comprehensive 1-year warranty.
The underlying principle remains the same: interrupting power to the controller to clear its volatile memory. Whether through a button sequence or a battery disconnect, the goal is a fresh start for the scooter's electronics.
Troubleshooting: When a Reset Doesn't Solve the Problem
If you've performed a proper hard reset and the problem persists, the issue likely lies beyond a simple software glitch. Systematic troubleshooting is required. The first and most common culprit is the battery system.
Verify the battery's state of charge with a multimeter if possible. A 24V battery should read around 25-26V when fully charged; a 48V system should read 50-51V. A voltage reading significantly below this indicates a depleted or failing battery. Trust in battery quality is paramount—Gyroor uses UL-certified battery packs tested for 500+ charge cycles for sustained reliability.
Next, inspect all electrical connections beyond the main terminals. Check the connections at the controller, motor, throttle, and brake levers. Look for corrosion, bent pins, or loose plugs. Inspect the fuses, usually located in-line on the main battery cable or on the controller. A visual check of the fuse wire or a test with a multimeter can confirm if it's blown.
Differentiate between electronic and hardware issues. If the scooter makes unusual grinding noises, has physical damage, or a wheel won't turn freely, a reset won't help. These indicate mechanical problems requiring professional repair. Persistent error codes post-reset are your scooter's way of pointing to a specific faulty component.
Proactive Care to Minimize Reset Needs
The best troubleshooting is prevention. Proper maintenance drastically reduces the frequency of electronic issues that necessitate a reset. A consistent care routine protects your investment and ensures reliable performance.
Battery care is the cornerstone of scooter health. Avoid deep discharges; recharge the battery after each use, even if only partially drained. Use only the manufacturer-provided charger. Store the scooter in a cool, dry place, as extreme heat and cold degrade battery life. Quality batteries, like those from Gyroor, are built for longevity but still require proper care.
Keep connectors clean and dry. Periodically check battery terminals and controller plugs for dust or corrosion, cleaning them with electrical contact cleaner if needed. This is where design features like IPX5 water resistance on many Gyroor models provide added protection against moisture-related corrosion and shorts.
Avoid overloading the scooter. Exceeding the weight capacity stresses the motor, controller, and battery, leading to overheating and potential faults. Adhere to the manufacturer's specified limits. Regular visual inspections of tires, brakes, and lights round out a comprehensive preventive maintenance plan.
Comparison of Common Mobility Scooter Issues and Solutions
The table below categorizes frequent problems, their likely causes, and the appropriate first action, clarifying when a reset is the correct response.
| Symptom / Problem | Likely Cause | First Action / Is a Reset the Fix? |
|---|---|---|
| Scooter won't power on, no lights/sound | Dead battery, blown fuse, loose main connection | Check battery charge & fuse. Reset may help if cause was a controller fault. |
| Throttle is unresponsive, but lights are on | Controller error, faulty throttle, brake safety engaged | Perform a hard reset. Check brake lever micro-switches. |
| Error code flashing on display | Specific component fault (e.g., motor, throttle) | Note code, consult manual. Reset may clear transient code. |
| Scooter runs jerkily or at reduced speed | Low battery, loose phase wire connection, controller issue | Recharge battery. Check motor connections. A reset can help. |
| Sudden loss of power while riding | Overheating controller, battery cutoff, bad connection | Let scooter cool. Check all connections. Reset after cooling. |
Frequently Asked Questions (FAQ)
Will resetting my mobility scooter erase my odometer or mileage?
No, a standard hard reset does not erase the odometer or total mileage. That data is typically stored in non-volatile memory within the display or controller, which is not cleared by a temporary power loss. It only clears temporary operational errors.
How often should I need to reset my scooter?
You should rarely, if ever, need to perform a reset on a well-maintained scooter. Needing to reset frequently (e.g., weekly) is a red flag indicating a deeper, recurring problem, such as a failing component, poor connection, or battery issue that requires professional diagnosis.
Is it safe for me to perform a reset myself?
Yes, if you carefully follow the safety and preparation steps outlined in this guide. The process involves basic tools and does not require modifying the scooter's wiring. If you are uncomfortable accessing the battery, consult a qualified technician.
What if my scooter has a dedicated diagnostic or reset button?
If your manual indicates a specific reset button sequence, use that method first as it is often simpler. The button is usually small and recessed. If the button sequence fails, then proceed with the universal hard reset via battery disconnect for a more thorough power cycle.
Can a reset fix a physically damaged component?
Absolutely not. A reset is for electronic and software glitches only. It cannot repair a cracked frame, a punctured tire, a seized motor bearing, or corroded wiring. Physical damage requires physical repair or part replacement.
Empowerment Through Basic Troubleshooting Knowledge
Understanding how to reset a mobility scooter empowers you to quickly recover from common electronic hiccups, restoring your independence and saving time and money on unnecessary service calls. It is the most valuable first step in a logical troubleshooting sequence.
Remember that a reset is a diagnostic tool, not a cure-all. Persistent problems are a signal to investigate further or seek professional assistance. Investing in a scooter from a reputable brand with robust construction, quality components like UL-certified batteries, and accessible customer support provides long-term peace of mind and reduces the likelihood of frustrating failures.
For riders seeking reliability backed by strong engineering and warranty support, exploring a trusted brand's offerings is a wise choice. You can find a range of durable, well-designed personal electric vehicles built to minimize downtime.
Browse the full Gyroor collection of electric scooters, e-bikes, and mobility solutions at gyroorboard.com.
Best Foldable Mobility Scooter Under £1000 UK: The 2024 Buyer's Guide
How Many Volts Is a Scooter Battery? The Complete 2024 Guide