
You press the power button. Nothing happens. Or maybe it lights up, beeps angrily, and refuses to move. The frustration is real when your primary mode of fun or short-distance travel suddenly stops working. Before you consider it a lost cause or an expensive paperweight, know this: the vast majority of hoverboard failures have identifiable, often fixable causes. This guide is your systematic manual to answer the pressing question, "Why isn't my hoverboard working?" We'll move from simple power checks to complex diagnostics, empowering you to solve common issues safely and efficiently, and get you rolling again.
Essential Safety First: Non-Negotiable Precautions
Hoverboards contain lithium-ion battery packs and complex electronics. Your first step before any troubleshooting is to ensure a safe environment. Always power the hoverboard completely off and unplug it from any charger. If the unit was recently used or feels warm, allow it to cool down in a dry, open area away from flammable materials.
Work on a clean, stable, non-conductive surface. Never attempt to open the battery compartment or modify internal wiring unless you are a qualified technician. Water damage or physical impact can create hidden hazards. Always have your manufacturer's user manual on hand; brands like Gyroor provide specific safety warnings and procedures that are crucial to follow. These precautions protect both you and the device from further damage.
Power & Charging Pathway: Diagnosing the Heart of the Issue
Over 60% of hoverboard problems originate in the power and charging system. A methodical check of this pathway—from the wall outlet to the battery—solves most "won't turn on" scenarios. Start with the simplest possibilities before assuming a major component has failed.
Step 1: Verify Your Power Source and Charger
Begin with the basics. Is the wall outlet functioning? Test it with another device like a lamp or phone charger. Next, inspect the charger itself. Ensure the cable is firmly plugged into both the outlet and the hoverboard's charging port. Look for any visible damage to the cable, such as fraying, cuts, or bent pins.
Critical Tip: Always use the manufacturer's original charger. Third-party or generic chargers may not deliver the correct voltage or amperage, which can fail to charge the battery or, worse, cause overheating or a fire hazard. Reputable brands like Gyroor supply UL-certified chargers designed specifically for their battery management systems.
Step 2: Inspect the Charging Port and Battery Health
The charging port is a common failure point. Use a flashlight to look inside for lint, dirt, or debris that could block connection. Check for any bent or misaligned metal pins. Gently clean the port with compressed air or a dry toothbrush—never insert metal objects.
Signs of a failing battery include: the hoverboard not holding a charge, dying quickly under load (e.g., on an incline), or the charger indicator never switching from red (charging) to green (full). A healthy battery from a quality brand should provide consistent runtime. Gyroor models, for instance, use UL-certified battery packs rated for 500+ charge cycles, but even the best batteries degrade with time and improper care.
Step 3: Understanding and Resetting the BMS
The Battery Management System (BMS) is a protective circuit board inside the battery pack. Its job is to prevent over-charging, over-discharging, and short circuits. If a hoverboard is left uncharged for months, the BMS may put the battery into a deep "sleep" or lockout mode to protect it from damaging, deep discharge.
A common fix for a completely unresponsive board is a BMS reset. Leave the hoverboard plugged into its official charger for a full 24-48 hours, even if the charger light shows no immediate change. This slow trickle of power can sometimes revive the BMS and allow normal charging to resume. This is often the solution when asking "why isn't my hoverboard working" after long-term storage.
Motor and Mechanical Diagnostics: When It Powers On But Won't Go
If your hoverboard turns on and lights up but doesn't move, or moves erratically, the issue likely lies in the motors, wheels, or balance sensors. These are physical components subject to wear, impact, and environmental factors.
Diagnosing Gyroscope and Balance Sensor Failure
The gyroscope and tilt sensors are what allow the hoverboard to balance and translate your lean into movement. Symptoms of failure include: only one side (one wheel) responding, the board spinning in circles, an inability to calibrate, or constant error beeps upon startup.
The first remedy is a calibration reset. The exact method varies by model but typically involves placing the board on a perfectly level surface, powering it on, and pressing and holding the power button for 5-10 seconds until you hear a series of beeps or see lights flash. Always consult your manual. If calibration repeatedly fails, the sensor itself may be faulty.
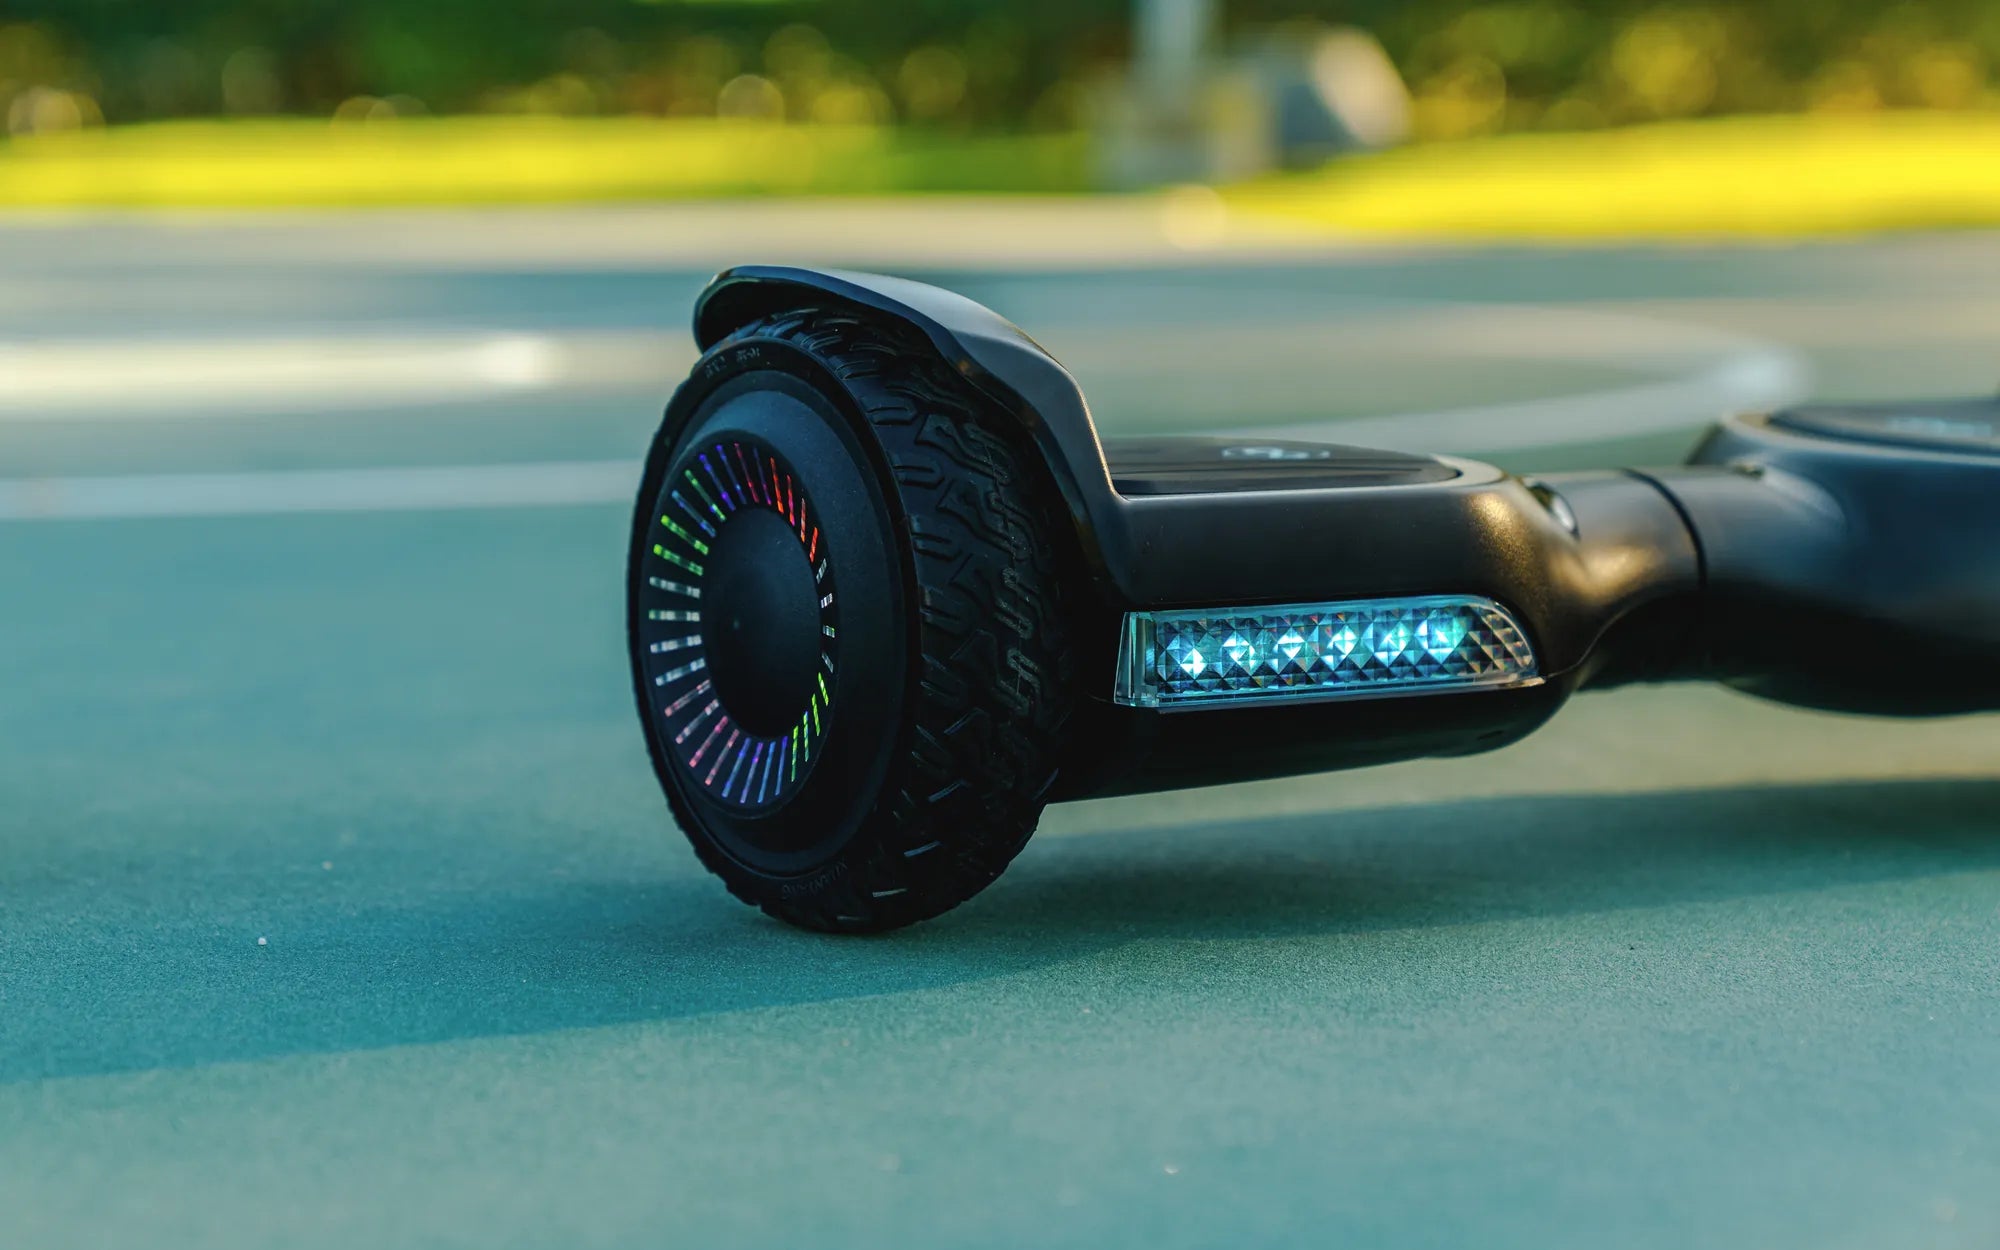
Identifying Wheel, Tire, and Motor Issues
Lift the hoverboard and spin each wheel by hand. They should spin freely with minimal resistance and a soft whirring sound. Grinding, scraping, or a completely seized wheel indicates a problem. Check for physical obstructions like wrapped hair, string, or rocks lodged between the wheel and chassis.
A wobbly wheel suggests a bent axle or damaged bearing. For models with pneumatic (air-filled) tires, check the pressure; a flat tire can cause drag and sensor misinterpretation. If a wheel is stiff or noisy, the hub motor's internal bearings or magnets may be damaged, requiring professional replacement.
Decoding Error Signals: Beeps, Lights, and Control Glitches
Modern hoverboards communicate problems through error codes. These beeps and flashing LED patterns are your key to diagnosing specific electronic faults. Don't ignore them—they're pointing you directly to the issue.
Interpreting Common Error Beep Patterns
Count the beeps. A common pattern is 3 beeps, which often indicates the platform is not level during startup (gyroscope error). Five beeps can signal a communication failure between the foot pads and the mainboard. Continuous beeping while riding often points to an overloaded motor or a hall sensor fault inside the motor.
Flashing red lights, especially near the power button or charging port, typically indicate a battery or charger error. Your user manual is the definitive decoder. Gyroor's manuals, for example, include a clear error code chart to help users quickly identify issues like low voltage or sensor disconnections.
Performing a Control Board Hard Reset
The main control board is the hoverboard's brain. Like any computer, it can experience software glitches. A hard reset can clear these temporary faults. To perform a hard reset: ensure the hoverboard is off. Press and hold the power button down for 30-60 seconds. Release, then wait 10 seconds. Press the power button normally to turn it on.
This process drains any residual power from the capacitors on the control board, effectively rebooting the system. It can resolve unexplained freezes, connectivity issues with companion apps, and random error codes that appear without a clear mechanical cause.
When DIY Stops: Recognizing Limits and Seeking Professional Help
Some problems are too dangerous or complex for home repair. Knowing when to stop is a critical part of responsible troubleshooting. If you encounter any of the following red flags, cease all DIY efforts immediately.
Critical Red Flags: The smell of burning electronics or smoke; a battery pack that is visibly swollen, leaking, or hot to the touch; any signs of melting or charring on plastic components or wires; or persistent electrical issues after all basic troubleshooting. Attempting to repair a damaged lithium-ion battery is extremely hazardous.
Leveraging Your Manufacturer's Warranty and Support
Before opening any sealed compartments, check your warranty status. Most reputable brands offer at least a 1-year warranty on major components like the battery, control board, and motors. Invasive repairs or using non-OEM parts will almost certainly void this coverage.
As an example, Gyroor offers a comprehensive 1-year warranty and has a dedicated U.S.-based customer support team. When contacting support, have your proof of purchase and the product's serial number ready. A good warranty is your most cost-effective path to repair for manufacturing defects or premature component failure.
Proactive Maintenance: The Best Fix is Prevention
Consistent, simple care drastically reduces the chances of facing a non-working hoverboard. Implementing these routines extends the lifespan of all components and ensures reliable performance.
Battery Care for Maximum Longevity
Lithium-ion batteries thrive on partial, not full, charge cycles. Avoid draining the battery to 0% regularly. For long-term storage (over a month), charge the hoverboard to 50-80% and store it in a cool, dry place, topping it up every 2-3 months. Never expose the battery to extreme heat (like a car trunk in summer) or freezing temperatures.
Always use the official charger and unplug the board once it's fully charged. While modern BMS systems prevent overcharging, minimizing time at 100% charge reduces long-term stress on the battery cells.
Routine Physical Inspection and Cleaning
After rides, especially on dusty or wet paths, wipe down the chassis with a dry cloth. Regularly check tire pressure if your model has pneumatics. Inspect wheels for debris and wear. Keep the charging port covered when not in use to prevent dust ingress.
Understand your hoverboard's IP (Ingress Protection) rating. A model with an IPX5 rating, like many in Gyroor's lineup, is protected against low-pressure water jets from any direction, making it suitable for puddles and light rain. However, no consumer hoverboard is waterproof or submersible. Riding through deep water can cause immediate and catastrophic failure.
Comparison of Common Hoverboard Issues and Solutions
| Symptom | Most Likely Cause | Immediate Action | Complexity |
|---|---|---|---|
| Won't turn on, no lights | Dead battery, faulty charger, BMS lockout | Test outlet/charger, attempt 24-48hr charge | Low |
| Turns on, beeps, won't move | Gyro/sensor error, wheel obstruction | Calibrate on level surface, check wheels | Low |
| Charger light stays red | Battery not accepting charge, bad charger | Try different outlet, inspect charging port | Medium |
| One side works, other doesn't | Failed motor or motor cable on one side | Swap motor cables (if possible) to test | High |
| Dies quickly under load | Aging battery, high rider weight, incline | Check battery specs, reduce load | Medium |
| Wobbly or shaky ride | Bent rim, flat tire, damaged bearing | Inflate tire, inspect wheel for damage | Medium-High |
Frequently Asked Questions (FAQ)
Q: My hoverboard turns on but beeps and won't move. Why?
A: This is most commonly a gyroscope/sensor calibration error or a wheel obstruction. Perform a calibration reset on a level surface and physically inspect both wheels for debris like hair, string, or rocks stuck in the mechanism.
Q: How long should a hoverboard battery last on a full charge?
A: Average runtime is 1-2 hours of continuous riding, but this varies significantly by battery capacity (Wh), rider weight, terrain, and speed. Always refer to the manufacturer's stated range. High-quality models with larger batteries can achieve 10-12 miles per charge.
Q: Can I leave my hoverboard charging overnight?
A: It is not recommended as a regular practice. While UL-certified systems (like those from Gyroor) have overcharge protection, unplugging the board once the charger light turns green is the best practice for maximizing long-term battery health and safety.
Q: Is it safe to ride my hoverboard in the rain?
A> Check your model's IP rating. An IPX4 rating offers splash resistance from any direction. IPX5 (like many Gyroor models) can handle water jets. However, no hoverboard is waterproof. Avoid deep puddles, standing water, and heavy downpours, as water can damage electronics and motors, voiding the warranty.
Q: What does it mean if my hoverboard battery is swollen?
A: A swollen battery is a serious failure and potential fire hazard. Do not charge, use, or puncture it. Discontinue use immediately. Place the hoverboard in a safe, fire-resistant area outdoors and contact the manufacturer or a professional battery disposal service. This is a definitive sign you need a professional battery replacement.
Get Back to Smooth, Reliable Riding
Answering "why isn't my hoverboard working" is a process of elimination. Start with the fundamentals: safety, then power. Move step-by-step through the charging system, mechanical components, and error codes. Most issues have logical solutions, from a simple calibration to a BMS reset. However, for serious electrical faults or physical damage, leveraging a strong manufacturer's warranty is the smartest and safest choice. Investing in a hoverboard from a brand that prioritizes safety certifications, durable components, and accessible support—like Gyroor with its UL-certified batteries and 1-year warranty—is the ultimate form of preventative troubleshooting. Now that you're equipped with this knowledge, you can diagnose with confidence and get back to the ride.
Ready for a hoverboard built to last with clear support when you need it? Explore the full range of reliable, high-performance electric scooters and hoverboards designed with safety and durability in mind. Browse the full Gyroor collection at gyroorboard.com.
Kids Boys Electric Scooter: The Ultimate Guide for Parents
Personal Hoverboard: The Future of Urban Mobility and Fun