

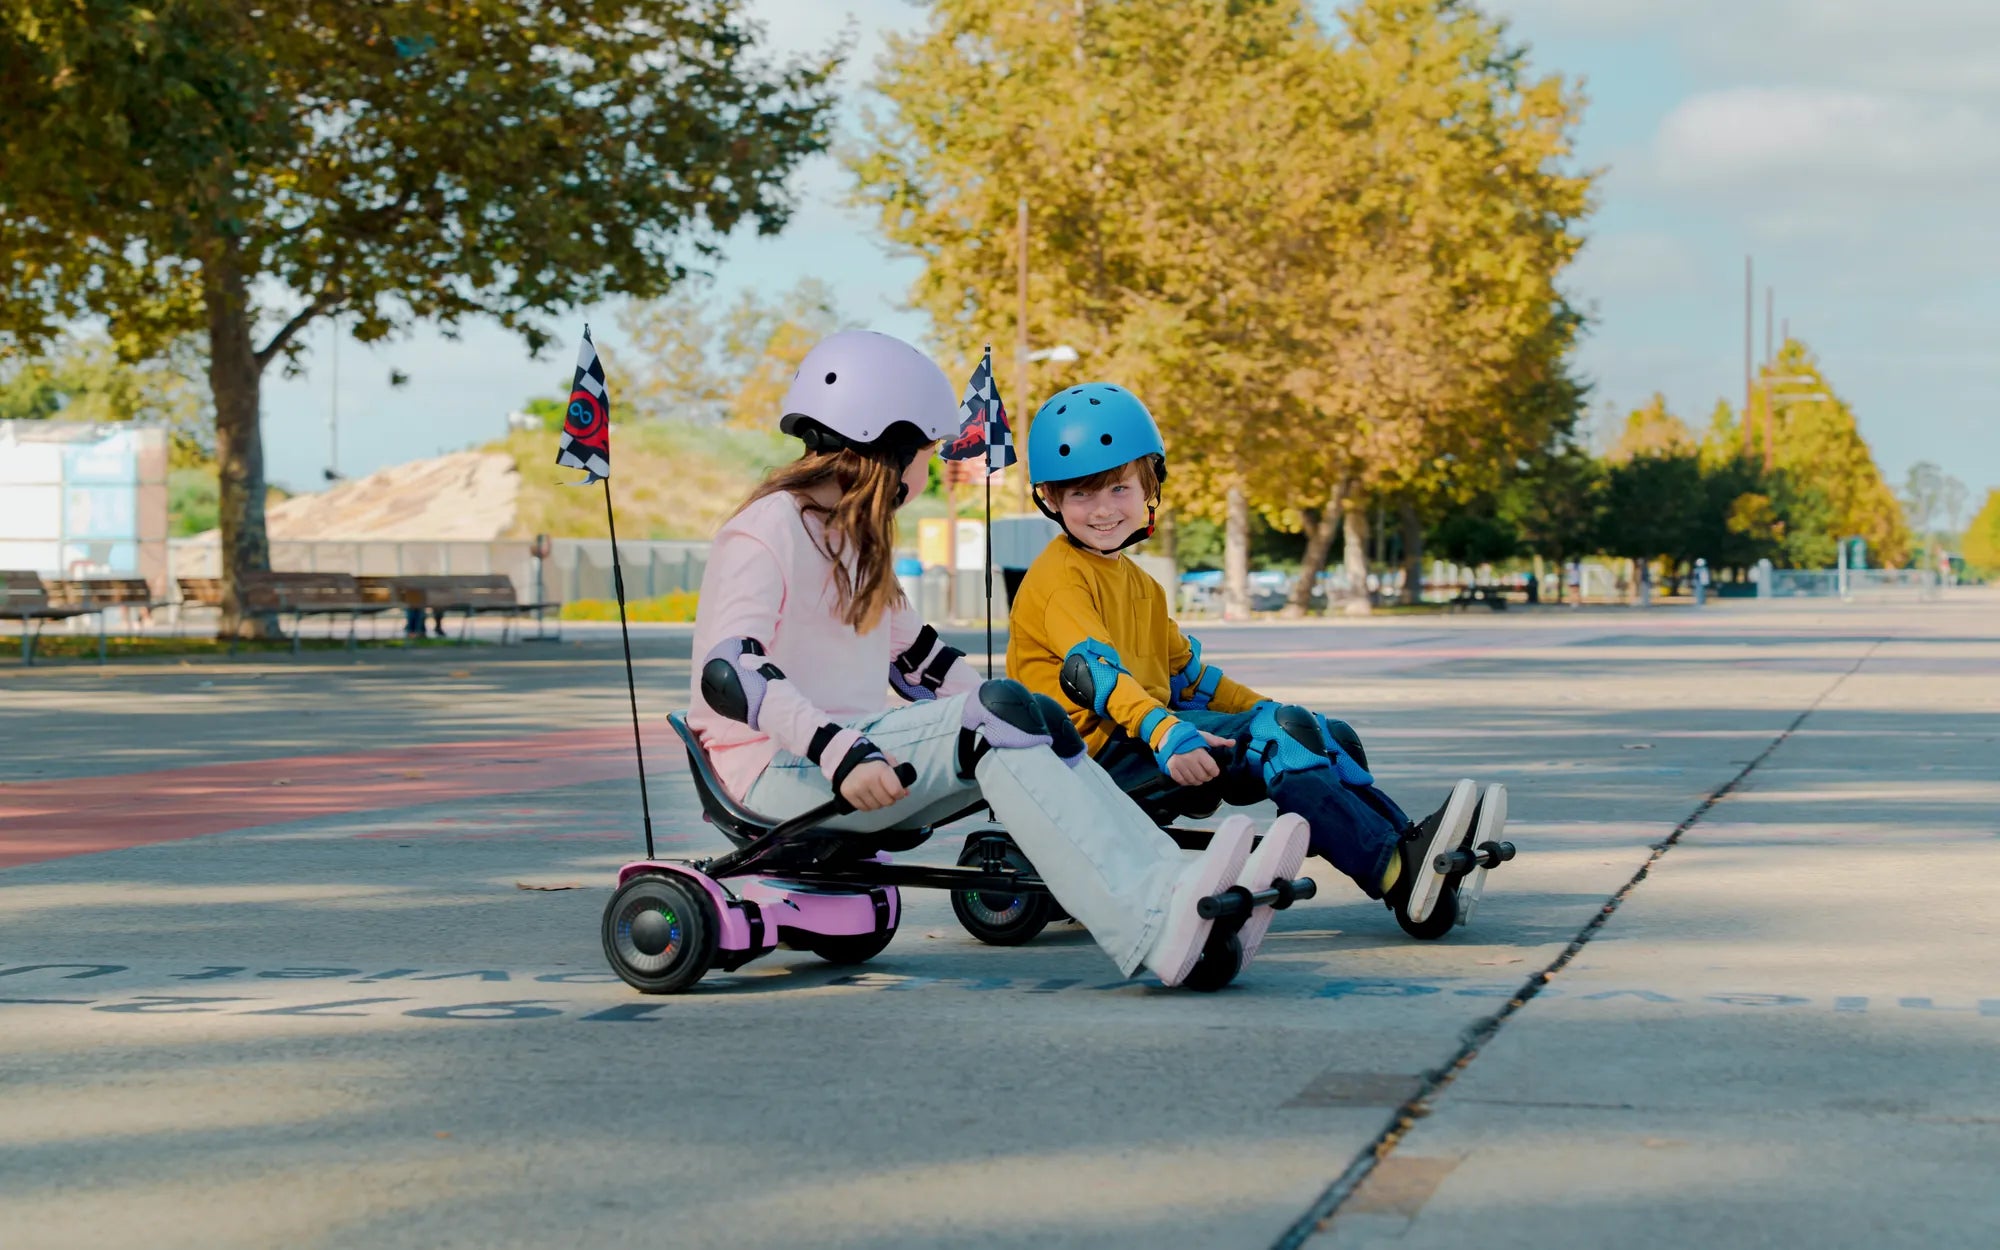
Ever dreamed of cruising around town in a custom-built cart powered by your hoverboard? With a little creativity and some basic tools, you can turn that dream into reality. Building your own cart for hoverboard isn't just a fun project—it's a practical way to enhance your personal mobility while showcasing your DIY skills. Whether you're looking for a stylish way to transport groceries or a unique ride for weekend adventures, this guide will walk you through everything you need to know.
Why Build Your Own Cart for Hoverboard?
Building a custom cart for your hoverboard offers several advantages over pre-made options. First, you can design it to perfectly match your style and functional needs. Second, DIY projects are often more cost-effective than buying ready-made solutions. Finally, the satisfaction of riding something you built yourself is unbeatable.
Materials You'll Need
- Lightweight but sturdy frame material (aluminum or PVC pipes work well)
- Wheels (ensure they're compatible with your hoverboard's weight capacity)
- Fasteners (bolts, nuts, and washers)
- Plywood or plastic sheeting for the base
- Foam padding or cushioning for comfort
- Basic tools (screwdriver, wrenches, saw, measuring tape)
- Safety gear (gloves, goggles)
Step-by-Step Construction Guide
Step 1: Design Your Cart
Sketch your design on paper first, considering factors like weight distribution, turning radius, and storage needs. Measure your hoverboard to ensure proper fitment.
Step 2: Build the Frame
Cut your frame material to size and assemble using appropriate fasteners. Create a secure mounting point for your hoverboard that allows easy access to the power button.
Step 3: Add the Base and Seating
Attach your chosen base material to the frame. If including seating, ensure it's positioned for optimal balance and comfort.
Step 4: Install Wheels and Stabilizers
Add wheels to the front of your cart (if designing a three or four-wheel configuration). Consider adding small stabilizer wheels to prevent tipping.
Step 5: Test and Refine
Start with slow test rides in a safe area. Make adjustments to improve stability and handling as needed.
Safety Considerations
Always wear protective gear when riding your custom cart. Ensure all connections are secure before each use, and never exceed your hoverboard's weight limit. Practice in open areas before attempting crowded spaces or inclines.
Customization Ideas
- Add LED lights for nighttime visibility and style
- Include storage compartments or baskets
- Paint or decorate to match your personal aesthetic
- Install a phone holder or cup holder for convenience
Imagine the looks you'll get rolling through your neighborhood in a one-of-a-kind hoverboard cart you built yourself. Not only will you enjoy enhanced mobility, but you'll also have the pride of knowing you created something truly unique. With the right approach and attention to safety, your DIY hoverboard cart could become your favorite way to get around town.
Can You Charge a Hoverboard Longer Than 2 Hours? The Truth Revealed
Double Hoverboard Kart: The Ultimate Guide to Next-Gen Personal Transportation