
Imagine cruising down the street on a sleek, powerful electric bike you built with your own hands. Building your own ebike isn't just a rewarding DIY project—it's a chance to create a ride that perfectly fits your style, budget, and performance needs. Whether you're a cycling enthusiast or a tech tinkerer, this guide will walk you through everything you need to know to build your own ebike from scratch.
Why Build Your Own Ebike?
Building your own ebike offers several advantages over buying a pre-made model. First, you have complete control over the components, allowing you to prioritize speed, range, or affordability. Second, it's often more cost-effective, especially if you already own a bike you can convert. Finally, the satisfaction of riding something you built yourself is unmatched.
Essential Components for Your DIY Ebike
Before you start, you'll need to gather the key components:
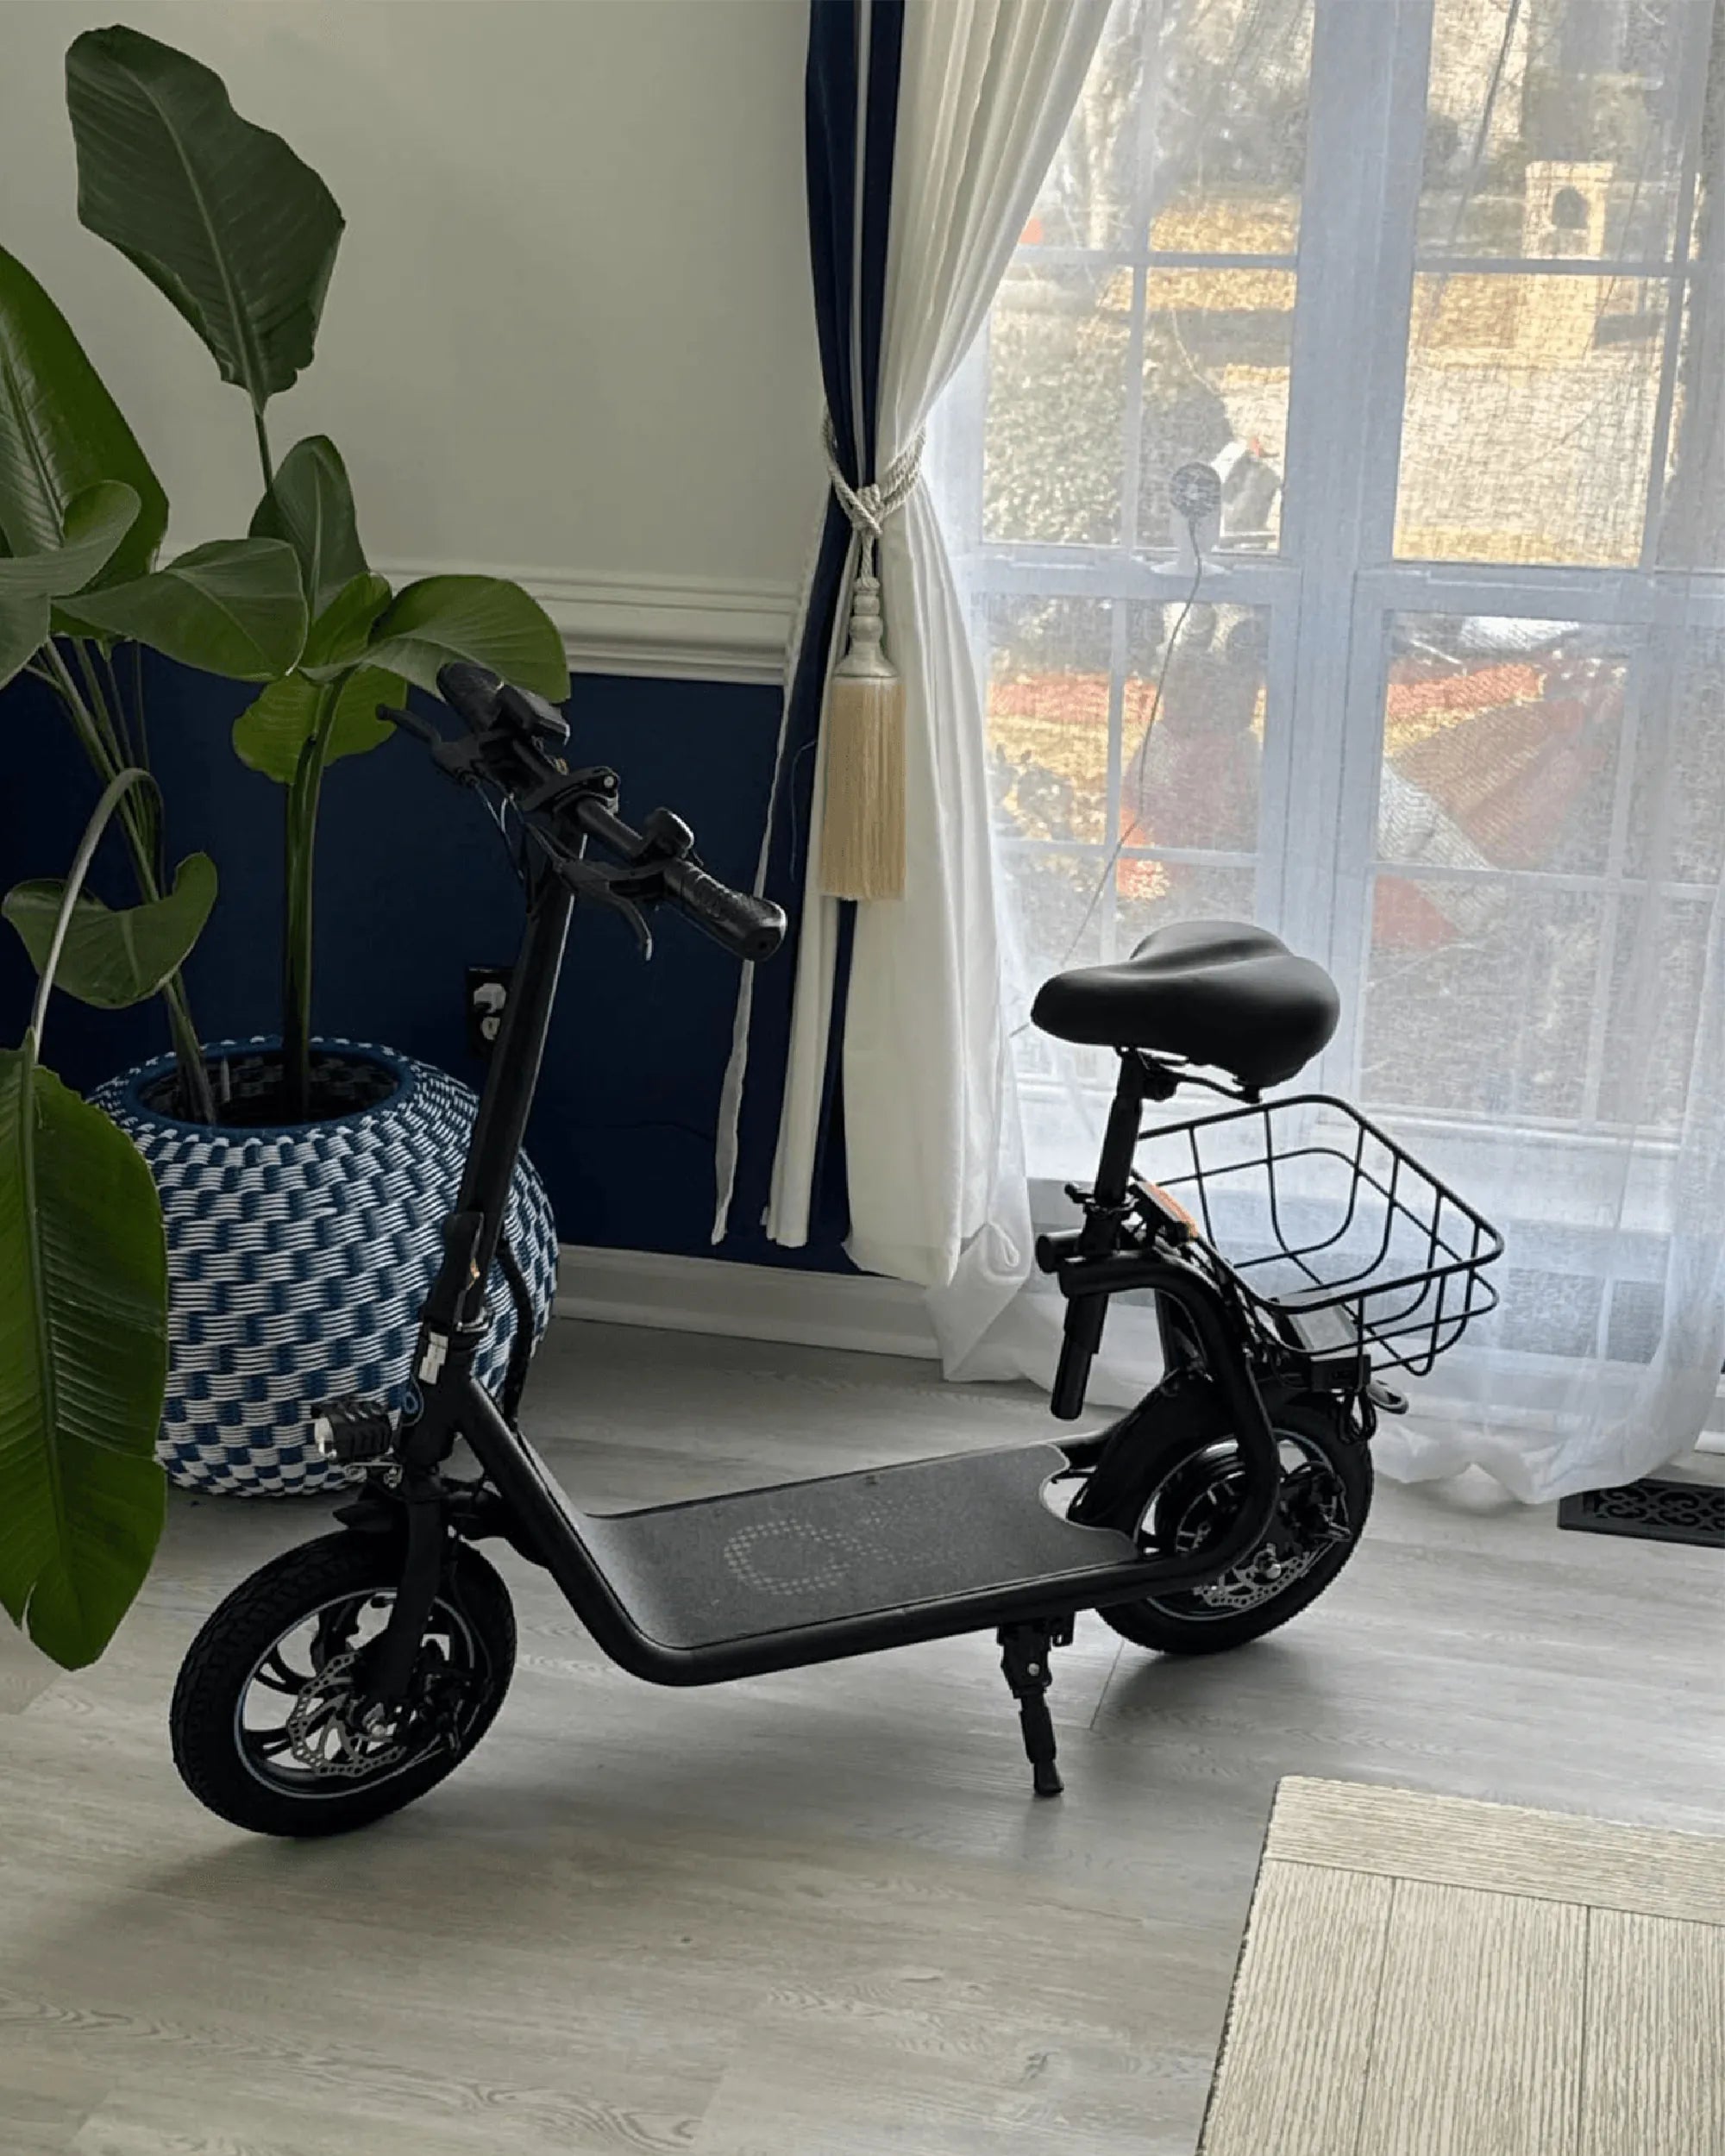
- Bike Frame: Choose a sturdy, compatible frame—mountain bikes or hybrids work well.
- Motor: Decide between hub motors (easier to install) or mid-drive motors (better for hills).
- Battery: Lithium-ion batteries are lightweight and offer good range.
- Controller: This regulates power between the battery and motor.
- Throttle or Pedal Assist System: Pick your preferred method of control.
- Display: Optional but useful for monitoring speed and battery life.
Tools You'll Need
Assemble these tools before starting your build:
- Wrenches and screwdrivers
- Wire cutters and strippers
- Multimeter for testing connections
- Zip ties and electrical tape
- Bike stand (optional but helpful)
Step-by-Step Guide to Building Your Ebike
1. Choose Your Base Bike
Start with a reliable bike that fits your riding style. Ensure the frame can support the added weight of the motor and battery.
2. Install the Motor
For hub motors, replace the front or rear wheel. For mid-drive motors, mount the unit near the bike's bottom bracket.
3. Mount the Battery
Secure the battery to the frame, ideally near the center for balance. Use sturdy mounts to prevent rattling.
4. Connect the Controller
Wire the controller between the battery and motor, following the manufacturer's instructions. Use waterproof connectors if riding in wet conditions.
5. Add the Throttle or Pedal Assist
Mount the throttle on the handlebars or install the pedal assist sensor on the crank.
6. Test and Troubleshoot
Double-check all connections, then power on the system. Test the brakes, throttle, and assist features in a safe area.
Safety Tips for Your DIY Ebike
- Wear a helmet and protective gear.
- Check local laws for ebike speed and power limits.
- Regularly inspect wiring and battery connections.
- Start with lower speeds until you're comfortable with the bike's handling.
Maintenance and Upgrades
Keep your ebike running smoothly with these tips:
- Charge the battery before it fully drains.
- Clean and lubricate the chain regularly.
- Check tire pressure before each ride.
- Consider upgrading components like brakes for better performance.
Building your own ebike is an exciting journey that blends creativity, engineering, and adventure. With the right parts, tools, and patience, you'll soon be zipping around on a one-of-a-kind electric bike that reflects your personality and meets your exact needs. The open road—and the satisfaction of a job well done—awaits!
E Bike Hub Motor Market: Trends, Growth, and Future Outlook
Dirt Bike Snow Conversion Kit Price: Everything You Need to Know