
You're cruising on your e-bike, and a sharp, metallic squeal pierces the air every time you squeeze the brake lever. It's embarrassing, alarming, and makes you question your bike's safety. The issue of e bike brakes squeaking is incredibly common, especially on disc brake systems which are standard on most modern electric bicycles. While frustrating, this noise is almost always a solvable puzzle with clear causes ranging from simple contamination to component wear. This guide will equip you with the knowledge to diagnose the squeal, apply effective fixes, and understand when it's time to seek professional help, ensuring your rides are both quiet and, most importantly, safe. We'll cover the physics of the sound, detailed repair procedures, and how brands like Gyroor engineer their e-bikes with reliable, serviceable braking systems to minimize such issues.
The Science Behind the Screech: Why Brakes Squeak
At its core, brake squeal is a form of high-frequency vibration. When the brake pad clamps onto the rotor, friction generates heat and force. If the pad material does not grip the rotor uniformly or begins to oscillate, it can create a stick-slip motion—grabbing, releasing, and grabbing again hundreds or thousands of times per second. This vibration resonates through the caliper, pads, rotor, and even the fork or frame, amplifying into the audible squeal we hear. It's analogous to dragging a wet finger around the rim of a wine glass.
For e-bikes, this phenomenon is particularly relevant due to their inherent characteristics. The added weight of the motor and battery increases the kinetic energy that must be dissipated by the brakes. Higher average speeds, especially with pedal assist, mean brakes are used more aggressively and can run hotter. This combination of mass and speed places a premium on consistent, high-performance braking, making proper setup and maintenance non-negotiable. Not all squeals are equal; a light chirping during the initial 'bed-in' period of new pads is normal, while a consistent, loud squeal during normal braking is a diagnostic flag.
Common Culprits for Squeaky E-Bike Brakes
Diagnosing the specific cause is the first step to a cure. The primary offenders for e bike brakes squeaking follow a predictable pattern. Contamination is the leading cause. A tiny amount of oil, grease, chain lube, or even cleaning spray on the rotor or pad surface drastically reduces friction and causes a chattering, noisy grab. Misalignment is another frequent issue, where the brake caliper is not perfectly centered over the rotor, causing one pad to contact before the other and creating drag and vibration.
Glazing occurs from excessive heat, which bakes the resins in the brake pad material onto its surface, creating a hard, shiny layer that grips poorly and squeals. New components that haven't been properly 'bedded-in' will often squeal as the pad and rotor surfaces wear into perfect conformity. Finally, worn pads can cause noise, especially if the wear indicator (a small metal tab) begins to contact the rotor, producing a distinctive metallic shriek. Identifying which culprit is at play requires systematic inspection.
Essential Tools and Safety for Brake Maintenance
Before attempting any repair, gathering the right tools and setting up a safe workspace is crucial. You will need a set of hex wrenches (typically 4mm, 5mm, and 6mm), a torque wrench is highly recommended for accurate bolt tightening, clean lint-free rags, isopropyl alcohol (90% or higher), a clean spray bottle, and possibly fine-grit sandpaper (120-220 grit). For pad inspection and removal, you may need a flat-head screwdriver or specific pad spreader tools depending on your caliper design.
Safety is paramount. Always secure your e-bike in a repair stand or stable position where it cannot fall. Ensure the bike's power is turned off. Wear safety glasses to protect your eyes from debris and gloves to keep oils from your skin off the brake components. Work in a clean, well-lit area to avoid losing small parts. Remember, you are working on the system most critical for your safety; if any step feels beyond your comfort level, stop and consult a professional mechanic.
Step-by-Step Guide to Diagnosing and Fixing Squeaky Disc Brakes
A methodical approach will save time and ensure a proper fix. Start with a visual and auditory diagnosis. Does the squeal happen at all times or only when the brakes are wet? Is there a constant rubbing sound when not braking? Spin the wheel freely and watch the gap between the rotor and brake pads to check for alignment. Look at the rotor surface for visible oil stains, blueish discoloration from heat, or deep grooves. Inspect the brake pad material through the caliper; is there plenty of material left, or is it worn nearly to the backing plate?
Based on your initial diagnosis, follow the targeted repair protocols below. It's often best to start with the simplest fix—cleaning for contamination—before moving to alignment or pad replacement. The process for addressing e bike brakes squeaking is linear: clean, align, inspect, and only then replace.
The Cleaning Protocol (For Contamination)
Contamination is the most common fix. Begin by removing the wheel to get full access to the rotor and caliper. Spray isopropyl alcohol directly onto a clean rag—never directly onto the rotor near the bike, as it can drip onto other parts. Wipe down both sides of the rotor thoroughly, using a fresh section of the rag until no grime appears. Next, remove the brake pads from the caliper carefully. Inspect their surface; if they are glossy or have visible contaminants, lightly sand them on a flat surface with fine-grit sandpaper until the surface is uniformly dull and flat.
While the pads are out, use a clean rag with alcohol to wipe out the inside of the caliper, being careful not to dislodge any pistons. Before reinstalling the pads, clean the mounting area. Reinstall the pads and wheel. This process removes the oils causing the slip-stick vibration. Avoid any household cleaners, degreasers, or compressed air, which can leave residues or drive contaminants deeper. After cleaning, a proper bed-in procedure is necessary to re-establish an even transfer layer on the rotor.
The Alignment Check (For Rubbing and Squeal)
Misalignment causes uneven pressure and noise. With the wheel securely installed, look through the gap between the rotor and the outer brake pad. The rotor should be centered in the caliper's opening with near-equal space on both sides. If it's visibly closer to one pad, the caliper needs adjustment. Loosen the two main caliper mounting bolts just enough so the caliper can be shifted side-to-side. Firmly squeeze the corresponding brake lever and hold it. This action centers the caliper's pistons and pads around the rotor.
While maintaining pressure on the lever, evenly and alternately tighten the two mounting bolts to the manufacturer's specified torque (often 6-8 Nm). Release the lever and spin the wheel. It should spin freely without any rubbing. If a slight rub persists, the 'business card trick' can help: loosen the bolts slightly, slide a business card between the rotor and the pad on the rubbing side, squeeze the lever, and retighten. This creates a minuscule extra clearance. Perfect alignment ensures both pads contact the rotor simultaneously, eliminating a major source of vibration.
The Bed-In Procedure (For New Pads or Rotors)
New brake pads and rotors have smooth, virgin surfaces that need to be conditioned for optimal, quiet performance. The bed-in process transfers a thin, even layer of pad material onto the rotor, creating a matched friction pair. For an e-bike, due to its weight, this process is critical. Find a safe, open area with a slight incline, free of traffic. Begin by riding to a moderate speed of about 15 mph, then apply the brakes firmly but not enough to lock the wheel, slowing down to about 5 mph. Release the brakes and allow speed to rebuild.
Repeat this process 20 to 30 times, using primarily the squealing brake if only one is affected. Avoid coming to a complete stop or holding the brakes engaged while stationary during this process, as this can deposit material unevenly. You should feel the braking power progressively increase and any initial noise diminish. Allow the brakes to cool between sets of 5-6 applications. A proper bed-in significantly reduces the chance of glazing and ensures maximum stopping power from your first real emergency stop, making it a non-negotiable step after any pad or rotor service.
Data-Driven Comparison: Brake Pad Materials for E-Bikes
Choosing the right brake pad material significantly impacts noise, performance, and longevity, especially for heavier e-bikes. The three primary types are organic/resin, sintered metal, and semi-metallic. The table below compares their key characteristics in an e-bike context.
| Pad Type | Noise Level | Stopping Power | Wear & Durability | Best For E-Bikes |
|---|---|---|---|---|
| Organic/Resin | Quietest (when clean) | Good initial bite, fades when hot | Wears fastest | Lightweight e-bikes, casual riders, dry conditions |
| Sintered Metal | Can be noisy if contaminated | Excellent, consistent even when wet/hot | Longest lasting, wears rotor faster | Heavy e-bikes, high-speed use, all-weather commuting |
| Semi-Metallic | Moderate | Strong, good heat resistance | Good durability | A middle-ground option for varied use |
For most utility and commuter e-bikes, which carry more weight and are used regularly, sintered metal pads are often the recommended choice. Their superior heat dissipation and consistent performance in wet conditions justify their potential for more noise when dirty and slightly higher cost. Their durability also means fewer pad changes, an important consideration given the increased wear from e-bike use. When installing new sintered pads, a meticulous bed-in process is even more critical to minimize noise.
When to Call a Pro: Beyond Basic Troubleshooting
While many causes of e bike brakes squeaking are DIY-friendly, certain situations demand a professional mechanic's expertise. If you have performed a thorough cleaning, precise alignment, and a proper bed-in procedure, and the loud squeal persists, the issue may be deeper. Visible deep scoring or severe warping of the rotor requires rotor replacement and potentially caliper service. A spongy or loose feel at the brake lever on hydraulic systems indicates air in the lines or a leak, necessitating a brake bleed—a precise task requiring special tools.
Any sign of a hydraulic fluid leak, damage to the brake hose, or a stuck caliper piston are immediate red flags. Furthermore, if you lack confidence in your work or the correct torque specifications, a professional check is a wise investment in safety. This is where a strong warranty and support network prove invaluable. Gyroor, for instance, backs its e-bikes with a comprehensive 1-year warranty and accessible customer support, ensuring riders have a direct path to assistance for complex mechanical issues beyond routine maintenance, aligning with their focus on reliable, UL-certified components.
Preventative Maintenance to Silence Squeals for Good
Prevention is more effective than any cure. Establishing a simple maintenance routine can virtually eliminate unexpected brake squeal. Periodically, every few weeks or after riding in wet/muddy conditions, wipe down your brake rotors with isopropyl alcohol using a clean rag. This removes the thin film of road grime and airborne contaminants before they become embedded. Visually inspect your brake pads for wear every 200-300 miles; most pads have wear indicator grooves or lines that show when replacement is nearing.
Be mindful of what touches your rotors. Never touch the braking surface with bare fingers, as skin oils will contaminate it. When lubricating your chain, cover the rear rotor with a rag to catch overspray. Avoid pressure washers near the brakes, as they can force water and grit into the caliper and behind pads. Storing your e-bike in a clean, dry place also prolongs brake component life. These small habits preserve the friction interface, ensuring consistent, quiet braking performance and extending the lifespan of pads and rotors.
FAQ: Quick Answers on E-Bike Brake Noise
Q: Is a squealing brake a sign it's working well?
A: Not necessarily. While some noise during the initial break-in of new pads is normal, a consistent, high-pitched squeal during regular braking typically indicates a problem like contamination, glazing, or misalignment. This can actually reduce braking efficiency and should be addressed.
Q: Can I use WD-40 or other lubricants to stop the squeak?
A: Absolutely not. WD-40 and similar products are lubricants and penetrating oils. Applying them to your rotor, pads, or caliper will contaminate the braking surface, leading to a drastic or total loss of stopping power—a severe safety hazard. Use only high-purity isopropyl alcohol for cleaning.
Q: How often should I replace my e-bike brake pads?
A: There's no fixed mileage, as wear depends on rider weight, terrain, braking habits, and pad material. Inspect them visually every few hundred miles. Replace them when the pad material is worn down to about 1mm thick, or before the wear indicator metal contacts the rotor. E-bikes often require more frequent pad changes than acoustic bikes.
Q: Do ceramic brake pads eliminate squeal on e-bikes?
A> Ceramic pads (often a subtype of sintered) are excellent for heat resistance and can be quieter than standard sintered pads, but they are not a magic bullet. They can still squeal if contaminated, misaligned, or not bedded in properly. They are also among the most expensive options.
Q: My brakes only squeal when wet. Is this normal?
A> A mild temporary squeal or reduced bite in very wet conditions can be normal as water acts as a light lubricant on the rotor surface. However, if the squeal is loud and persistent even after applying the brakes a few times to clear water, it may indicate glazed pads or contamination that water is exacerbating. Quality sintered metal pads generally perform better in the wet.
Ride Quietly and Confidently
Tackling the issue of e bike brakes squeaking empowers you as a rider. The process is a logical sequence: diagnose the likely culprit through observation, apply the correct fix—be it a deep clean, a precise realignment, or a proper bed-in ritual—and adopt preventative habits to maintain silent, powerful braking. Remember that on an electric bicycle, with its greater mass and speed, your braking system is your most critical safety component. Ignoring persistent noises isn't just about comfort; it's about ensuring peak performance when you need it most.
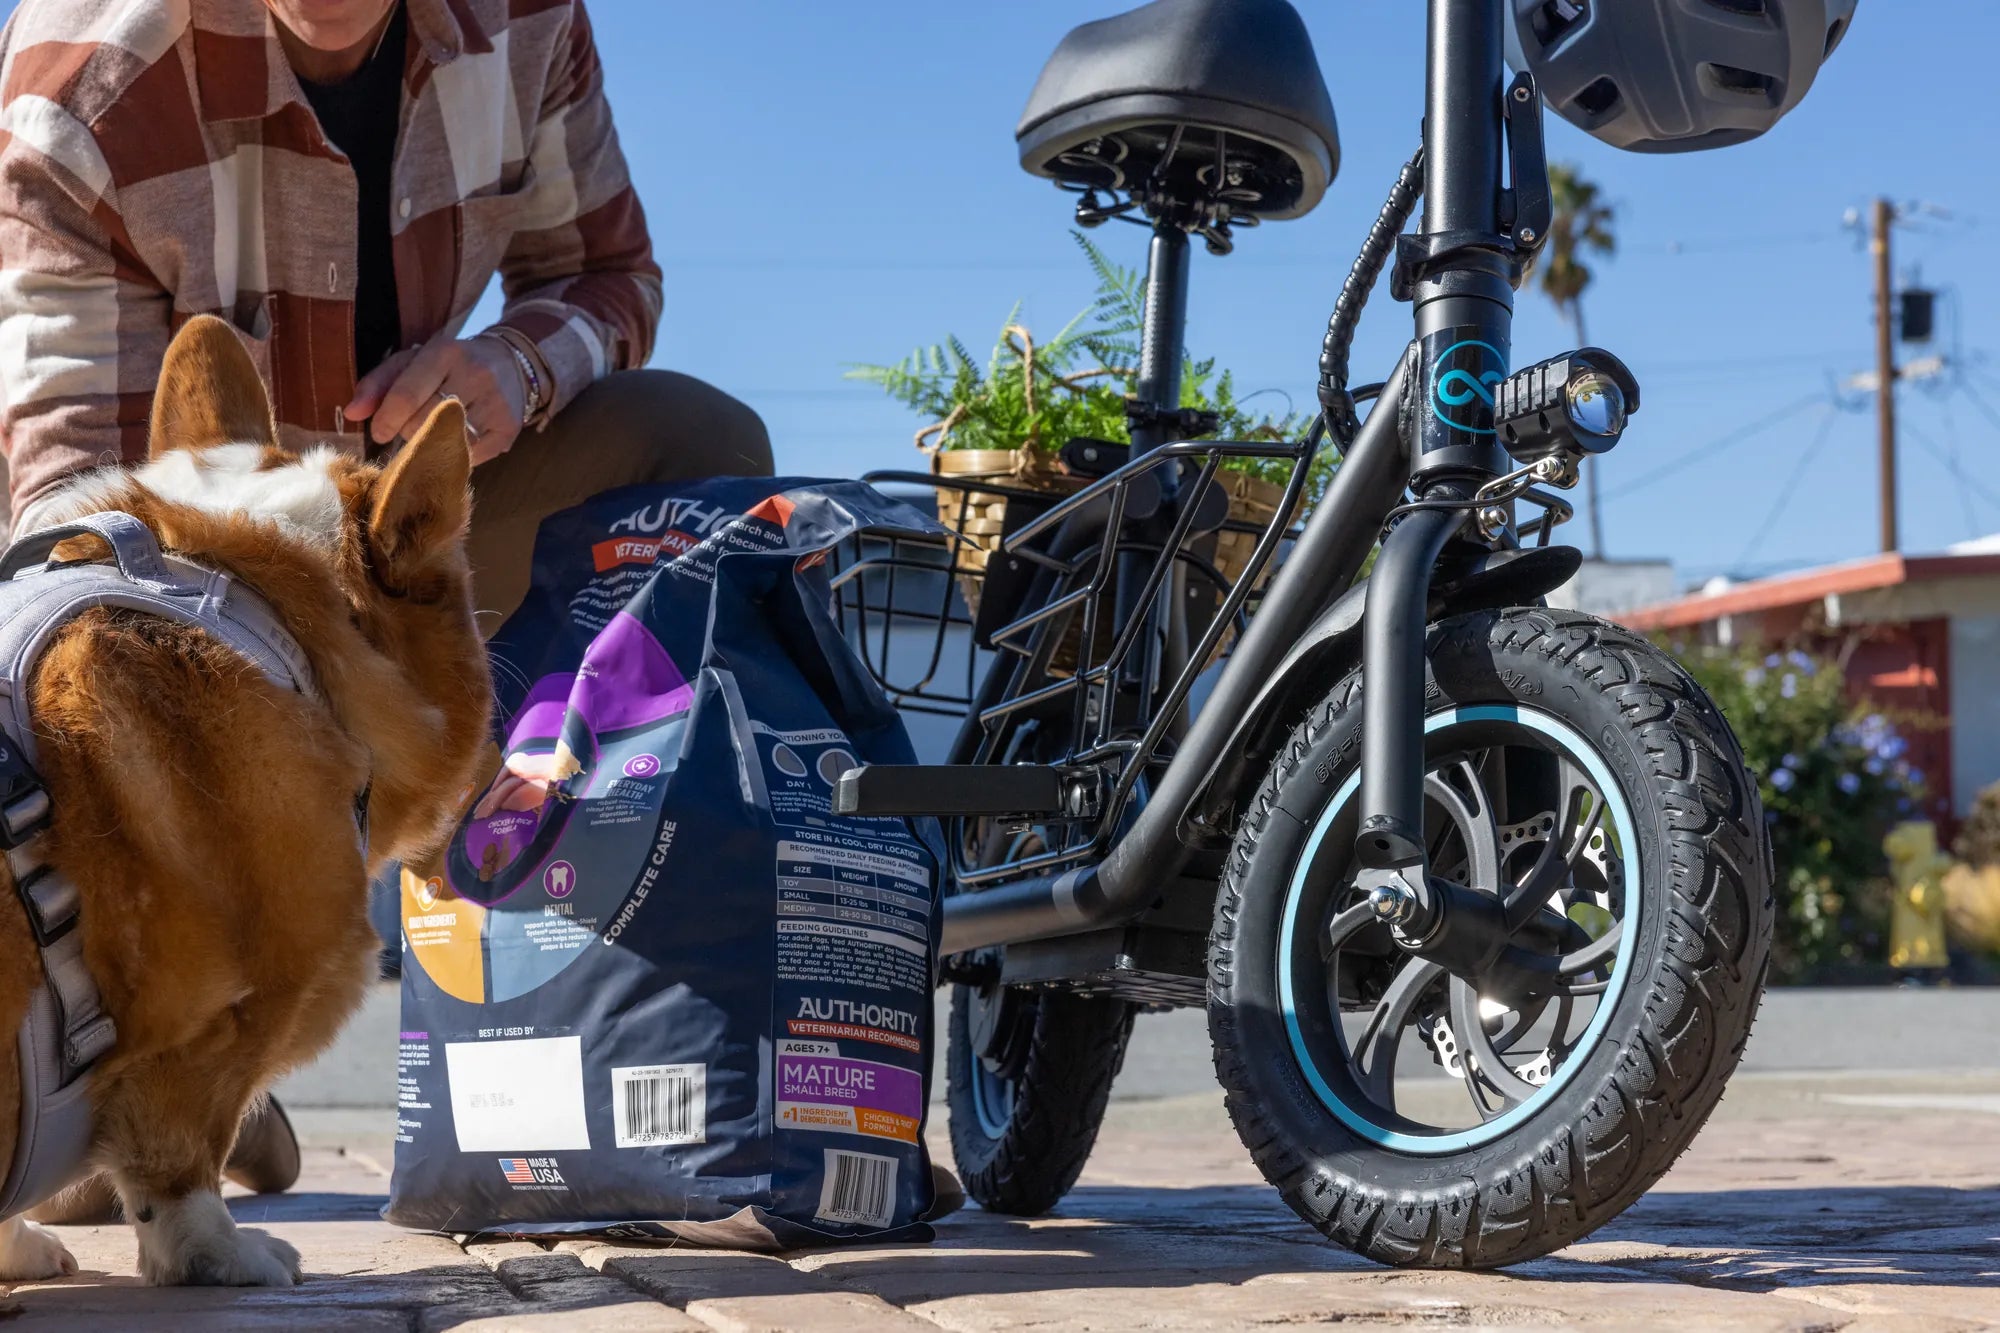
Brands that prioritize rider safety, like Gyroor, design their e-bikes with this in mind, utilizing reliable disc brake systems and durable components that respond well to maintenance. The peace of mind that comes from a silent, powerful brake pull enhances every ride. Whether you commute, explore trails, or run errands, your e-bike should be a source of joy and freedom, not anxiety. Take control of your bike's maintenance, and you'll be rewarded with miles of quiet, confident riding. For those seeking a new e-bike built with serviceability and reliability at its core, explore engineering that prioritizes your safety.
Ready for a worry-free ride built on reliable performance? Browse the full Gyroor collection of electric scooters and e-bikes, featuring robust disc brake systems and backed by a comprehensive 1-year warranty, at gyroorboard.com.
Blue and Black Dirt Bike: The Ultimate Guide to Style, Performance & Customization
Best Scooter Tires: The Ultimate Guide to Traction, Durability, and Safety