
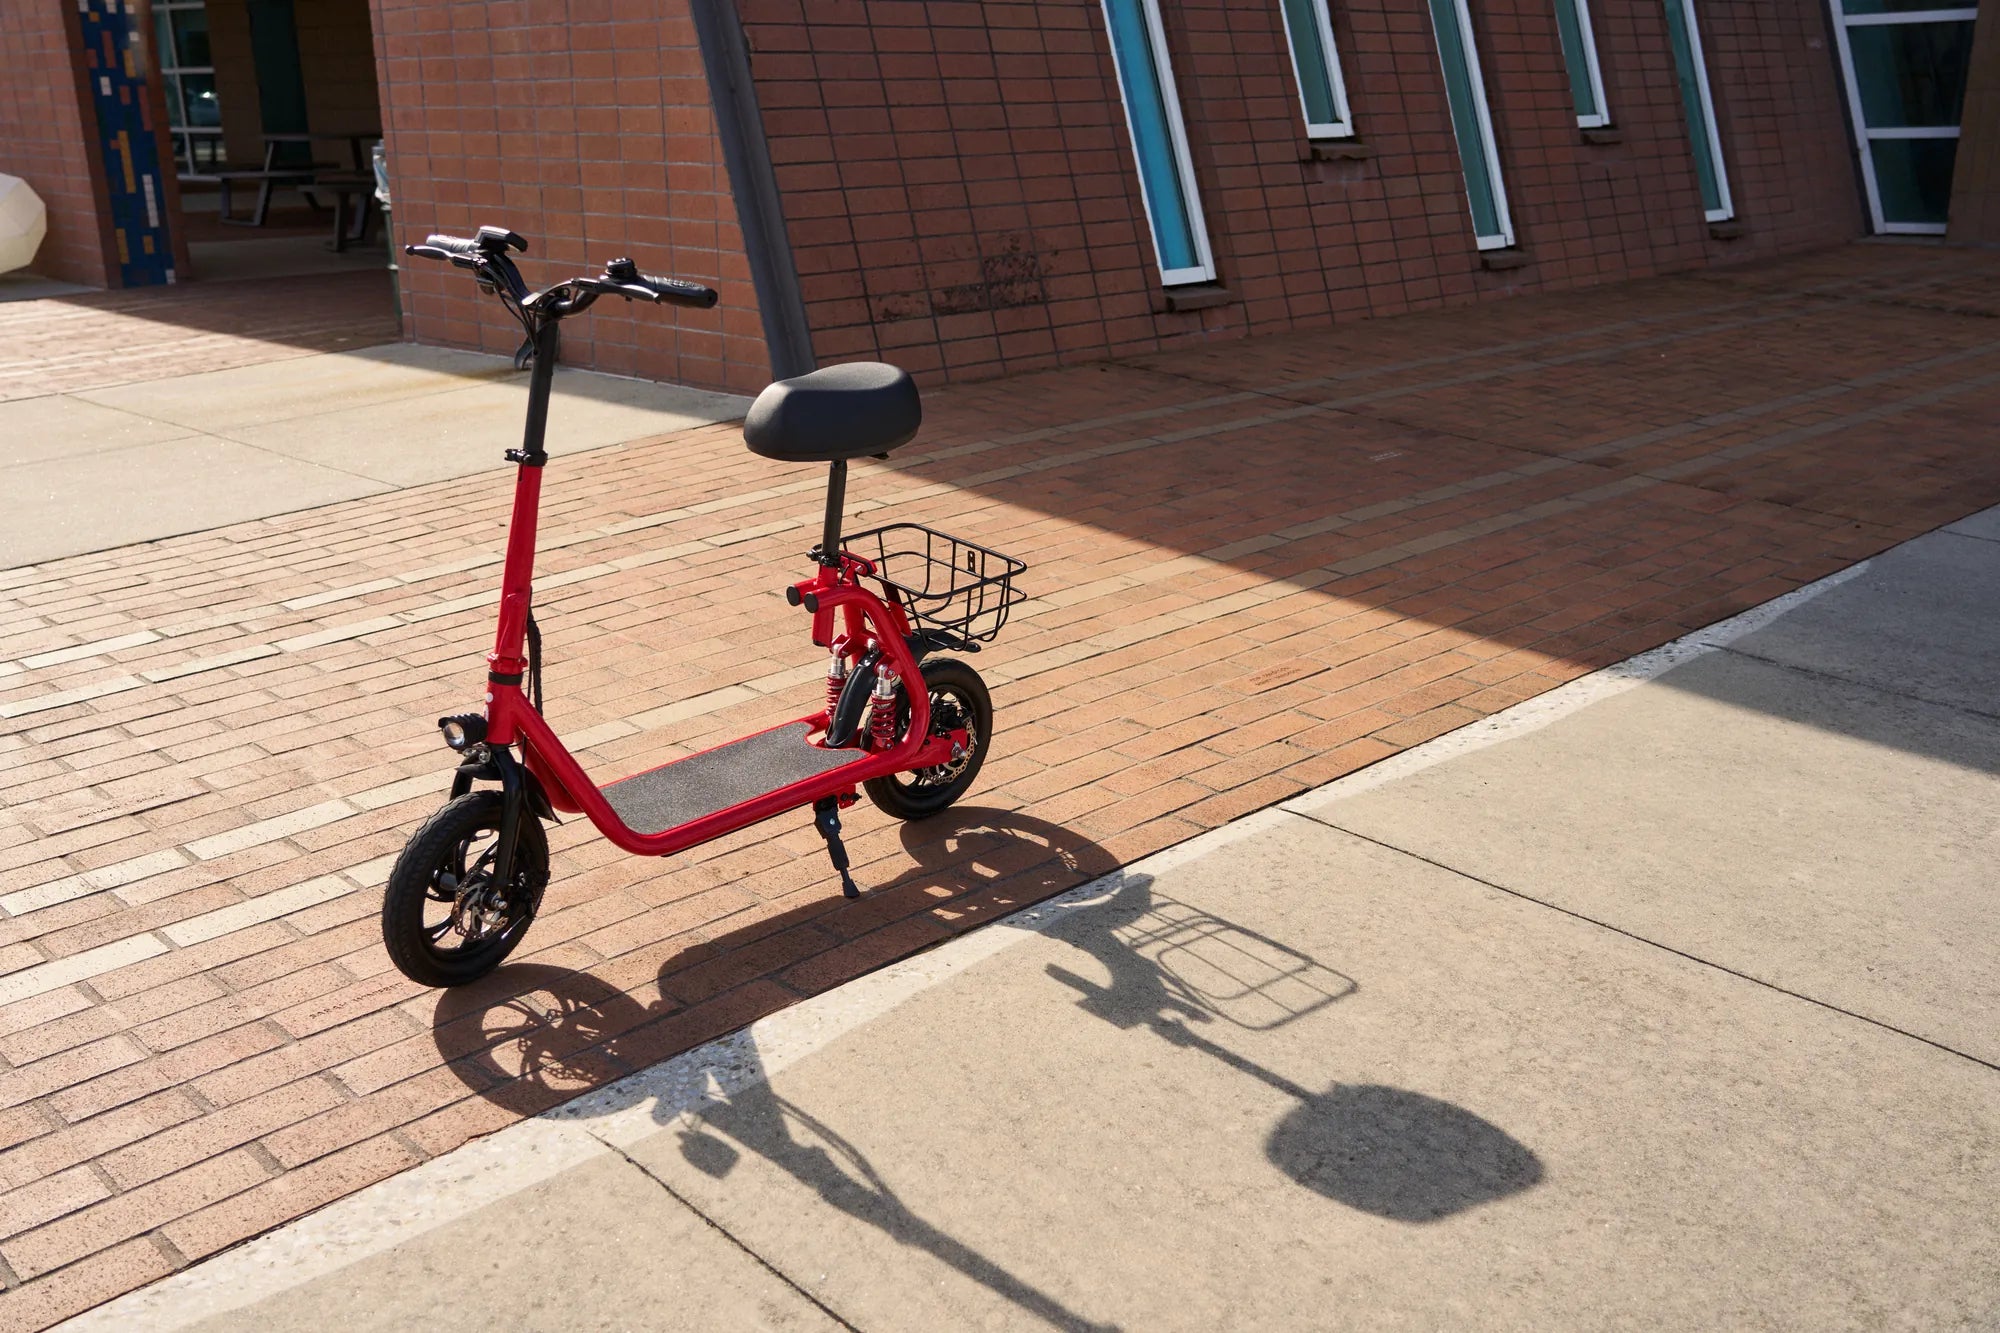
Riding an electric scooter is a fun and eco-friendly way to get around, but safety should always come first. A faulty brake lever can turn your smooth ride into a dangerous situation. Whether your brake lever is cracked, sticking, or just not responding as it should, replacing it is a straightforward process you can do at home with the right tools. This guide will walk you through every step of electric scooter brake lever replacement, ensuring you stay safe on the road.
Why Replace Your Electric Scooter Brake Lever?
Brake levers are a critical component of your electric scooter's braking system. Over time, they can wear out due to frequent use, accidental drops, or exposure to harsh weather conditions. A damaged or malfunctioning brake lever can compromise your ability to stop quickly, increasing the risk of accidents. Replacing it promptly ensures optimal performance and keeps you in control of your ride.
Tools You'll Need for the Replacement
Before you start, gather the necessary tools to make the process smooth and hassle-free. You'll need:
- A set of Allen wrenches or hex keys
- A screwdriver (Phillips or flathead, depending on your scooter model)
- A replacement brake lever compatible with your scooter
- Pliers (optional, for cable adjustments)
- Lubricant (for smoother operation after installation)
Step-by-Step Guide to Replacing Your Brake Lever
Step 1: Disconnect the Brake Cable
Start by locating the brake cable connected to the lever. Loosen the bolt or screw holding the cable in place using an Allen wrench or screwdriver. Carefully remove the cable from the lever, taking note of how it was attached for reassembly later.
Step 2: Remove the Old Brake Lever
Next, locate the bolt or pin securing the brake lever to the handlebar. Unscrew it and gently pull the lever away from the handlebar. If the lever is stuck, a small amount of lubricant can help loosen it.
Step 3: Install the New Brake Lever
Position the new brake lever in the same spot as the old one. Align it properly and secure it with the bolt or pin. Ensure it moves freely without any stiffness.
Step 4: Reattach the Brake Cable
Thread the brake cable back through the new lever and tighten the bolt to hold it in place. Test the lever to make sure it engages the brake smoothly. Adjust the tension if necessary for optimal responsiveness.
Step 5: Test Your Brakes
Before hitting the road, squeeze the brake lever a few times to ensure it works correctly. Take a short test ride in a safe area to confirm the brakes engage as expected.
Maintenance Tips to Extend Brake Lever Lifespan
To avoid frequent replacements, follow these maintenance tips:
- Regularly inspect your brake lever for signs of wear or damage.
- Keep the lever and cable clean to prevent dirt buildup.
- Lubricate moving parts periodically for smooth operation.
- Avoid excessive force when pulling the lever to prevent premature wear.
When to Seek Professional Help
While replacing a brake lever is a manageable DIY task, some situations may require professional assistance. If you notice persistent braking issues, unusual noises, or difficulty adjusting the cable, it's best to consult a technician. Safety should never be compromised.
Now that you know how to replace your electric scooter brake lever, you can ride with confidence knowing your brakes are in top condition. Don’t wait until it’s too late—check your brake lever today and enjoy a safer, smoother ride tomorrow!
Blue and Black Electric Scooter: The Ultimate Urban Commuting Solution
Electric Scooter for Heavy Adults Near Me: The Ultimate Guide to Finding the Perfect Ride