


Introduction to DIY Bicycle Trike Conversions
The desire for stable, practical cycling is driving a surge in homemade bicycle trike conversion kits. These kits offer a clever, cost-effective path to three-wheeled freedom, transforming a standard two-wheeler into a stable tricycle. This trend appeals strongly to seniors, cargo haulers, urban commuters, and riders with balance concerns.
A homemade bicycle trike conversion kit provides a customizable alternative to buying a new adult trike. It allows you to upcycle a familiar, trusted bicycle frame. This guide will dissect the process, components, and considerations to empower your decision-making for this rewarding project.
What is a Bicycle Trike Conversion Kit? Core Components Explained
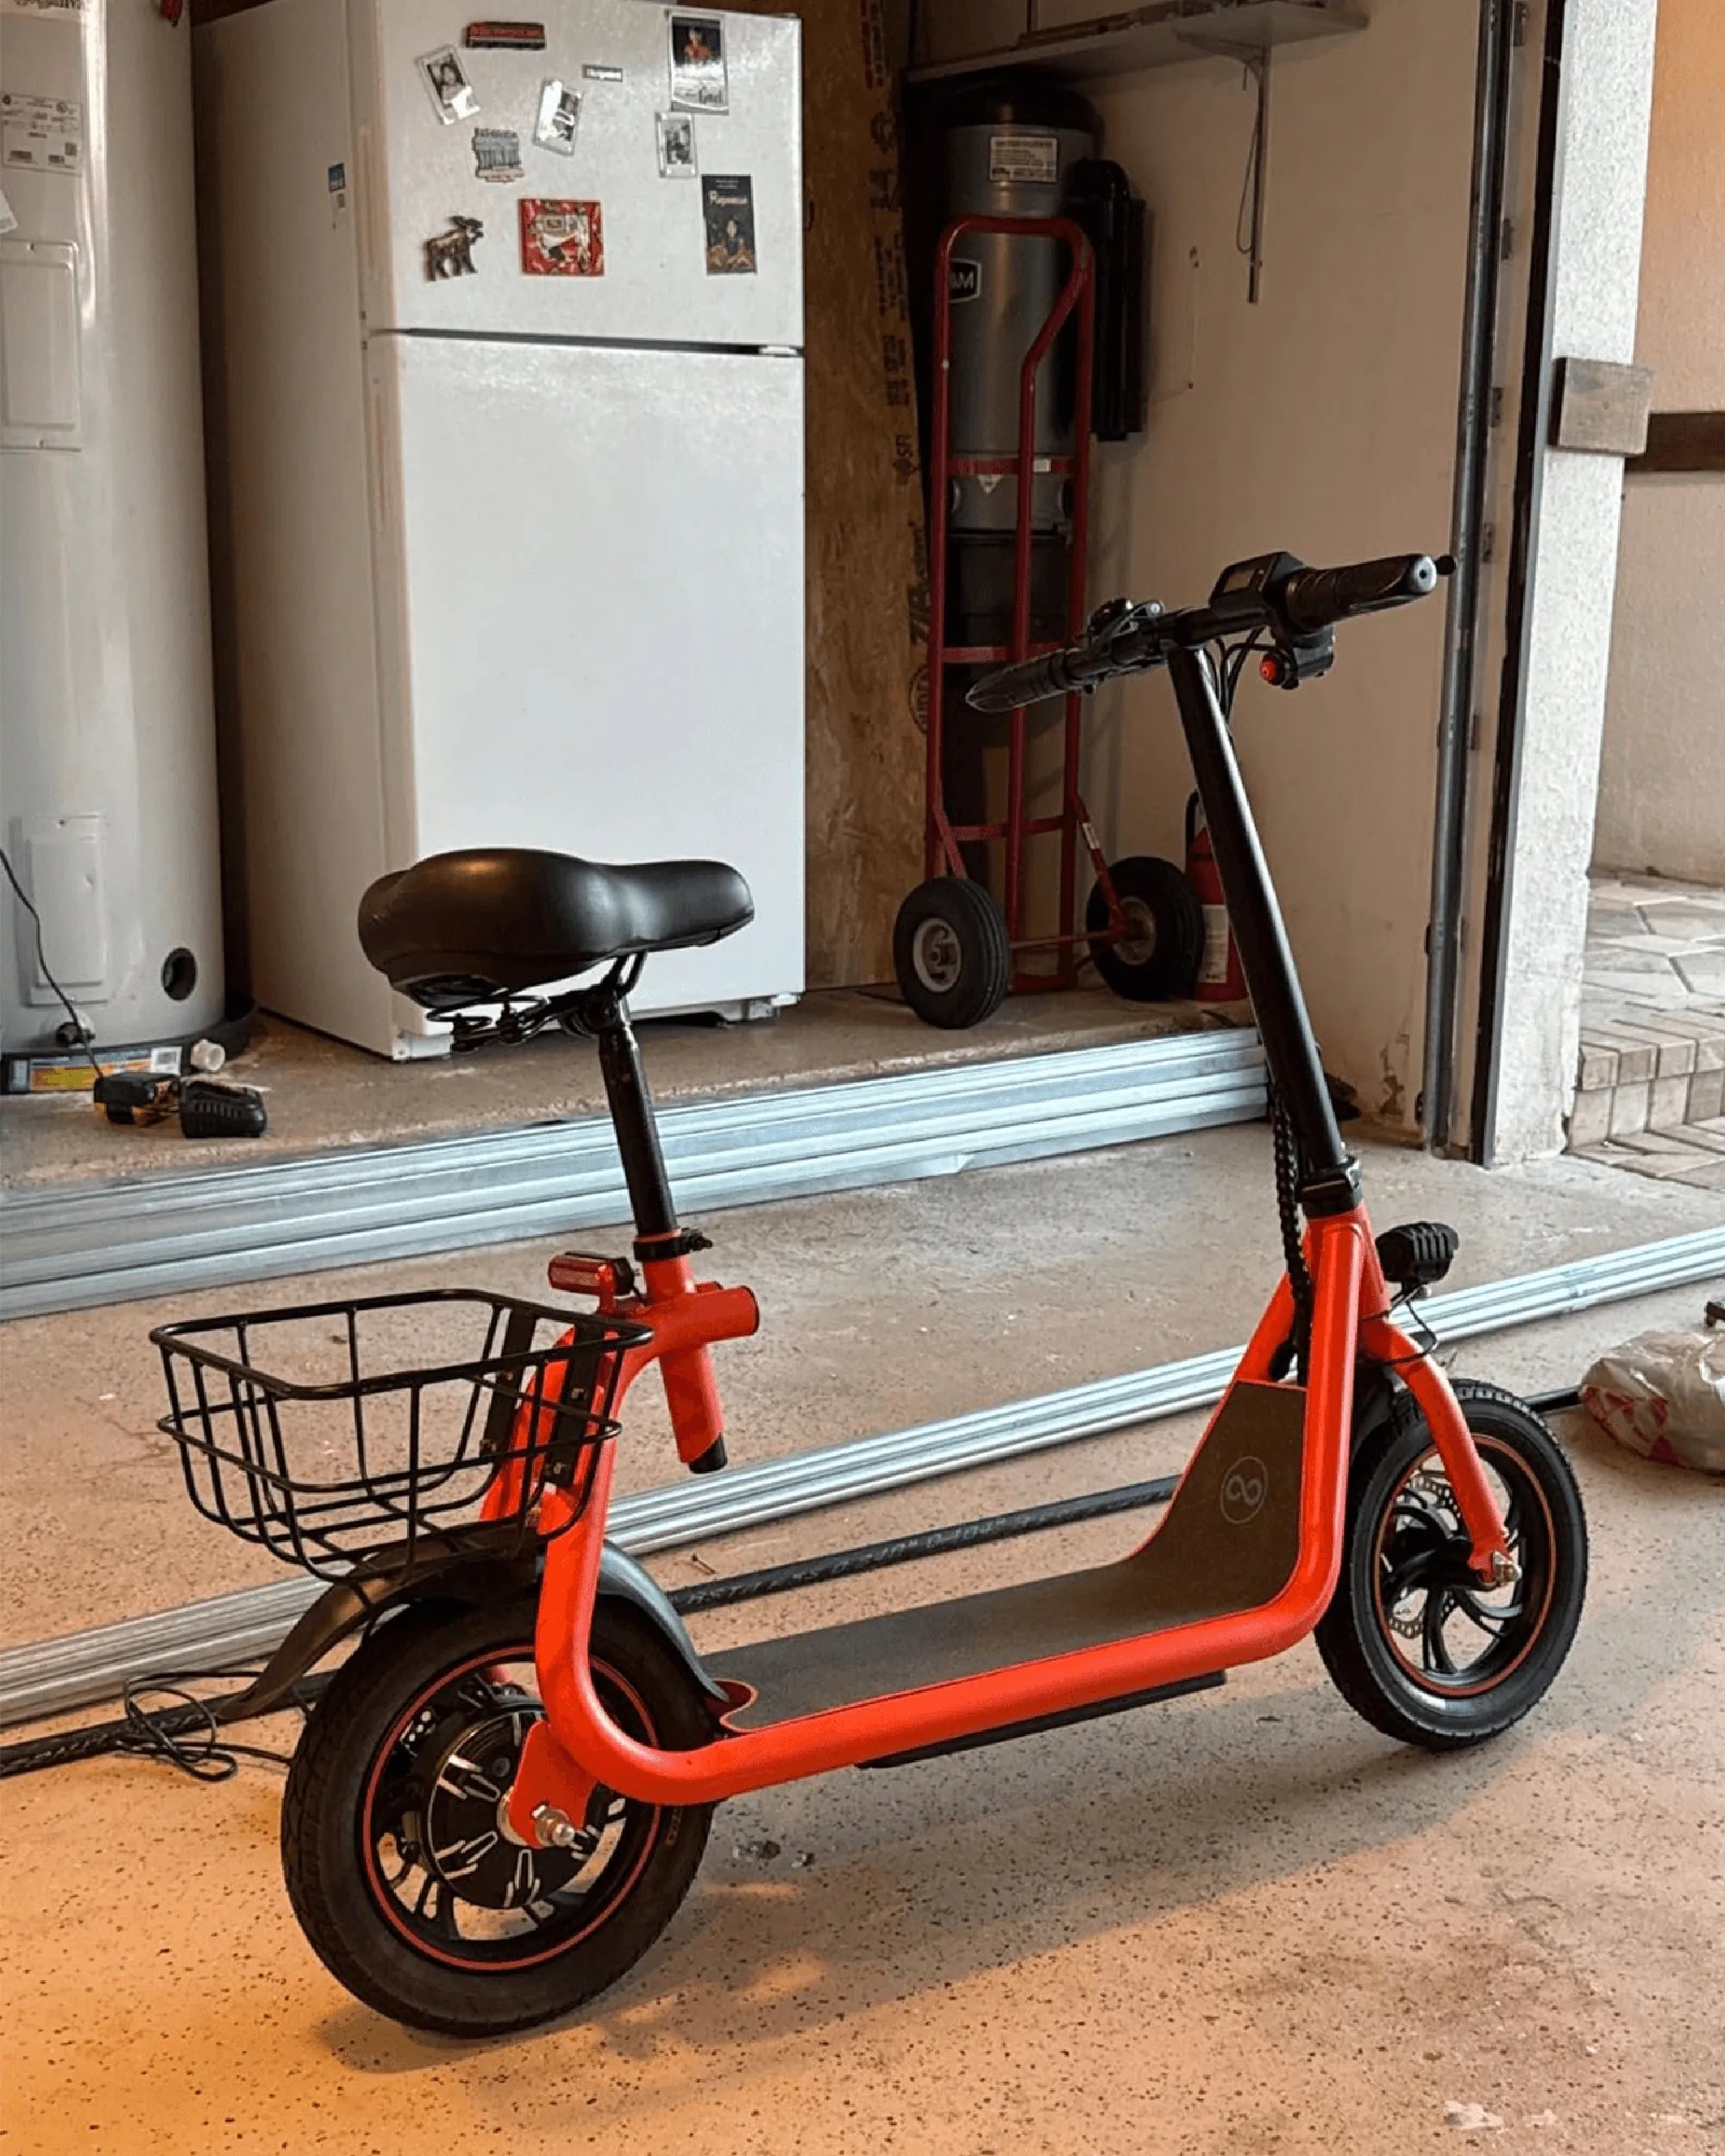
A homemade bicycle trike conversion kit is a collection of parts designed to replace your bike's single rear wheel with a dual-wheel axle assembly. The core function is to widen the rear track for inherent stability. This eliminates the need to balance at stops, opening up cycling to a wider audience.
The standard kit includes several key components. The central piece is the axle assembly itself, which houses the wheel hubs and either a differential or freewheel system. You'll also receive an extended frame mount or torque arms to secure the wider axle to your bicycle's rear dropouts.
Additional hardware is always included. Brake adapters are crucial for connecting your existing brake system to the new wheel configuration. The kit also provides all necessary nuts, bolts, and spacers to complete the installation securely and safely.
Differential vs. Freewheel Axles: Choosing the Right Drive System
The axle type is the most critical choice in your homemade bicycle trike conversion kit. A differential axle allows the two rear wheels to rotate at different speeds during turns. This mimics a car's differential, enabling smooth cornering without tire scrub, which is the dragging and wearing of tires during a turn.
A freewheel axle, often called a "dead axle," is a simpler, more common system. Here, one wheel is driven by the chain while the other freewheels. This design can cause noticeable tire scrub during sharp turns, leading to increased wear on pavement and requiring more rider effort.
For primarily street use and regular commuting, a differential is highly recommended. It provides superior handling and reduces mechanical strain. For light-duty, low-speed applications on private paths, a freewheel system can be a more affordable entry point for your homemade bicycle trike conversion kit project.
Key Compatibility Factors: Frame, Brakes, and Gearing
Not every bicycle is a suitable candidate for a homemade bicycle trike conversion kit. The first checkpoint is the rear dropout width—the distance between the two frame points where the wheel axle sits. Most kits are designed for the standard mountain bike spacing of 135mm or a slightly wider 145mm.
Brake type is the next major compatibility factor. Kits must accommodate either disc brakes or caliper (rim) brakes. You'll need specific adapters for your system. Furthermore, the new axle assembly must provide sufficient clearance for your rear derailleur to shift across the entire gear range without obstruction.
Frame material and geometry are equally important. Steel-frame cruisers, hybrids, and older mountain bikes are ideal due to their strength and straightforward rear triangles. Aluminum or carbon fiber frames, or bikes with highly shaped rear stays, often present significant, sometimes insurmountable, fitting challenges.
The Pros and Cons of a Homemade Trike Conversion
Embarking on a homemade bicycle trike conversion kit project requires a balanced view. Understanding the advantages and inherent challenges is key to setting realistic expectations and achieving a successful outcome that matches your riding goals.
Advantages: Cost, Customization, and Sustainability
The primary benefit of a homemade bicycle trike conversion kit is significant cost savings. A quality new adult trike can easily cost $1,000 to $3,000. A conversion kit typically ranges from $200 to $600, allowing you to repurpose a bicycle you may already own, resulting in potential savings of 50-70%.
Customization is a major draw. You choose the donor bike, which dictates the riding position, initial component quality, and aesthetic. This process creates a unique vehicle tailored to your preferences. It's also a sustainable choice, extending the life of a quality bicycle frame and keeping it out of a landfill.
The project itself offers immense satisfaction. Successfully completing a complex mechanical build provides a sense of accomplishment and a deeper connection to your vehicle. You gain intimate knowledge of its workings, which simplifies future maintenance and troubleshooting.
Challenges and Considerations: Skill, Time, and Performance
The challenges of using a homemade bicycle trike conversion kit are substantial. It demands a solid foundation in bicycle mechanics. You will need specific tools like a crank puller, chain tool, bottom bracket wrench, and quality metric hex keys, which represents an additional investment.
Time commitment is a serious factor. For a novice, the entire process—from disassembly and fitting to drivetrain tuning—can easily take 10 to 15 hours spread over several days. Rushing leads to errors in alignment or safety-critical assembly steps.
Performance trade-offs exist. A converted trike's geometry is not optimized from the ground up like a purpose-built model. The center of gravity and steering geometry will differ, which can affect handling, making it feel less agile than a dedicated trike design. This is a key compromise of the homemade bicycle trike conversion kit approach.
Step-by-Step: What to Expect During the Conversion Process
Installing a homemade bicycle trike conversion kit is a multi-stage process. This overview sets realistic expectations for the journey, highlighting key phases without being a substitute for the specific instructions provided with your kit.
Stage 1: Preparation and Disassembly
Begin by thoroughly cleaning your donor bike and gathering all necessary tools. The first mechanical step is to remove the rear wheel, rear derailleur, and chain. You will also likely need to detach the rear brake caliper or disc rotor.
Organization is critical. Use small containers or bags to group hardware by subsystem (brakes, drivetrain, etc.). Take numerous photos or make sketches of cable routing and component orientation before removal. This visual reference will be invaluable during reassembly of your homemade bicycle trike conversion kit.
Stage 2: Fitting and Aligning the Axle Assembly
This is the most technically crucial stage. You must fit the new axle into the frame's dropouts. It often requires spreading the dropouts slightly to accommodate the wider axle—a task that must be done carefully and evenly to avoid damaging the frame.
Axle alignment is paramount. The axle must be perfectly perpendicular to the frame's centerline. Misalignment, known as "dog tracking," causes the trike to crab down the road, leading to poor handling and rapid, uneven tire wear. Use a long straightedge or string method to verify alignment before final tightening.
Stage 3: Rebuilding the Drivetrain and Brakes
With the axle secured, you must rebuild the drive system. The chain will almost always need several links added to accommodate the wider rear end. Reinstall the derailleur and carefully adjust its limits and indexing to work with the new axle width and chain line.
The brake system requires adaptation. For rim brakes, you'll install long-reach calipers or use provided extension arms. For disc brakes, you may need a disc rotor spacer or a new mounting adapter. Meticulously center the brake pads and test for firm lever feel. A final safety check of all bolts and a low-speed test ride in a safe area are essential.
Why Trust Gyroor for Your E-Mobility Projects & Components
While Gyroor specializes in complete, professionally engineered electric scooters and e-bikes, our core principles directly inform best practices for any mobility project, including those using a homemade bicycle trike conversion kit. Safety, reliability, and quality components are non-negotiable, whether you're building or buying.
As a leader trusted by over 100,000 riders across North America and Europe, Gyroor's commitment to certified safety and robust design sets a benchmark. When undertaking a DIY conversion, seeking components that meet similar standards for build quality and electrical safety (if adding a motor) is the wisest approach to ensure long-term satisfaction and security.
The Importance of Certified Batteries and Robust Builds
If your homemade bicycle trike conversion kit project evolves to include electric assist, the battery choice is the most critical safety decision. Just as a trike needs a solid, reliable axle, an e-conversion demands a safe power source. Gyroor uses exclusively UL-certified battery packs, tested for 500+ charge cycles, in all our models.
This certification is a rigorous third-party validation of safety against overheating, short circuits, and other failures. For any DIY electric project, insisting on a UL-certified or similarly recognized battery is non-negotiable. Furthermore, Gyroor's IPX5 water-resistant designs highlight the importance of environmental protection—a key consideration for a vehicle ridden outdoors.
The Value of Professional Support and Warranty
The DIY approach of a homemade bicycle trike conversion kit embraces a "figure-it-out" mentality. This contrasts sharply with the security of a professionally engineered product. Gyroor backs its electric scooters and e-bikes with a comprehensive 1-year warranty and accessible customer support.
This safety net is something a collection of aftermarket parts cannot provide. It's a crucial factor in assessing risk tolerance. For riders who value time, guaranteed performance, and immediate reliability, a purpose-built vehicle from a reputable brand like Gyroor often represents a better long-term value and peace of mind.
Comparison: DIY Conversion vs. Purpose-Built Electric Trike
Deciding between a homemade project and a commercial product requires clear comparison. The table below contrasts key factors to guide your choice based on priorities like budget, skill, and desired outcome.
| Factor | Homemade Bicycle Trike Conversion Kit | Purpose-Built Electric Trike (e.g., Gyroor) |
|---|---|---|
| Total Project Cost | $$ ($200 - $600 for kit + donor bike) | $$$ ($1,500+) |
| Required Skill Level | High (Advanced Mechanical) | None (Ready-to-Ride) |
| Build Time & Effort | High (10-15+ hours) | Minimal (Unbox & Charge) |
| Handling & Performance | Variable; depends on donor bike & build quality | Optimized, predictable, and tested |
| Safety Certification | None (Depends on component choices) | Full (UL-certified battery, CE/ROHS) |
| Warranty & Support | Limited/None on kit; none on final assembly | Comprehensive (e.g., Gyroor's 1-year warranty) |
| Customization Potential | Very High | Moderate (Accessories & add-ons) |
Frequently Asked Questions (FAQ)
Q: Can I convert any bicycle into a trike with a homemade bicycle trike conversion kit?
A: No. Steel-frame bikes with standard rear dropout spacing (135mm is most common) are the best candidates. Aluminum frames, carbon fiber frames, or bikes with unusual rear geometry (like full-suspension models) are often incompatible and unsafe to modify.
Q: How much does a basic homemade bicycle trike conversion kit cost?
A> The kit itself typically ranges from $200 to $600, with differential axles at the higher end. This cost does not include the donor bicycle, any new tools you may need to purchase, or additional components like a longer chain or brake adapters not included in the kit.
Q: Is it possible to add electric assist after the trike conversion?
A: Yes, a front or rear hub motor kit can be added separately. The critical warning is that the battery must be high-quality and safety-certified, like Gyroor's UL-certified packs. You must also ensure the trike's frame and brakes can handle the added weight, torque, and speed safely.
Q: What is the biggest mistake beginners make with a homemade bicycle trike conversion kit?
A: The most common critical error is failing to properly align the rear axle, leading to dangerous handling and rapid tire wear. Another frequent issue is attempting the project without the proper specialized bicycle tools, which can damage components and compromise the build's integrity.
Q: How does the weight and carrying capacity compare to a regular bike?
A: A converted trike will be significantly heavier due to the extra wheel, axle, and frame reinforcements. While stable, its load capacity is limited by the strength of the original bicycle frame and the kit's axle. It is not inherently a heavy-duty cargo solution unless built from a very robust donor frame and a commercial-grade kit.
Conclusion: Is a DIY Trike Conversion Right for You?
The journey of building with a homemade bicycle trike conversion kit is deeply rewarding for the right person. It is an ideal project for mechanically inclined tinkerers who enjoy problem-solving, seek a highly customized vehicle, and prioritize upfront cost savings over time investment.
For riders who value their time, demand optimized performance and handling from the start, and want the guaranteed safety of certified components and professional support, a purpose-built electric vehicle is the superior choice. Brands like Gyroor offer that turnkey reliability, backed by warranties and engineered for safety.
Your decision hinges on honestly assessing your mechanical skill, available tools, and tolerance for troubleshooting. Whether you choose the hands-on path of a homemade bicycle trike conversion kit or the seamless experience of a pre-built solution, the goal is the same: stable, enjoyable, and personal mobility. For those ready to explore professionally engineered, safe, and reliable electric options, browse the full Gyroor collection at gyroorboard.com.
65 mph Ebike: The Ultimate Guide to Speed, Safety, and Legality
US Ebike Companies - The Complete Guide to American-Made and Designed E-Bikes