
Introduction: Why Proper Charging Monitoring is Non-Negotiable
Knowing whether your hoverboard is charging correctly is the single most important skill for any rider. It directly impacts safety, battery lifespan, and overall performance. A misdiagnosed charging issue can lead to battery failure, reduced range, or in extreme cases, pose a fire risk.
This guide provides a complete framework for understanding and verifying the charging process. We will decode visual indicators, explain system components, and offer actionable troubleshooting steps. Choosing a hoverboard from a reputable brand like Gyroor, which uses UL-certified battery packs and robust Battery Management Systems (BMS), provides a more reliable and safer charging experience from the start.
Understanding Your Hoverboard's Charging System
To effectively know if your hoverboard is charging, you must first understand the three key components involved: the charger, the charging port, and the internal battery management system. Each plays a critical role in the power delivery chain.
The charger is an external power adapter that converts AC wall current to the specific DC voltage and amperage your hoverboard's battery requires. Using the manufacturer-provided, UL-certified charger is paramount. Substitutes with incorrect voltage can damage the battery or cause overheating.
The charging port on the hoverboard is the physical connection point. It's typically a round DC jack. Ensure the port is free of debris, lint, or damage, as a poor connection can prevent charging even with a functional charger.
Most critically, the Battery Management System (BMS) is the onboard computer that regulates the charge. In quality models, like those from Gyroor, the BMS prevents overcharging, balances cell voltages, and monitors temperature. It communicates the charging status through the indicator lights you see.
Decoding the Universal Language of Charging Lights
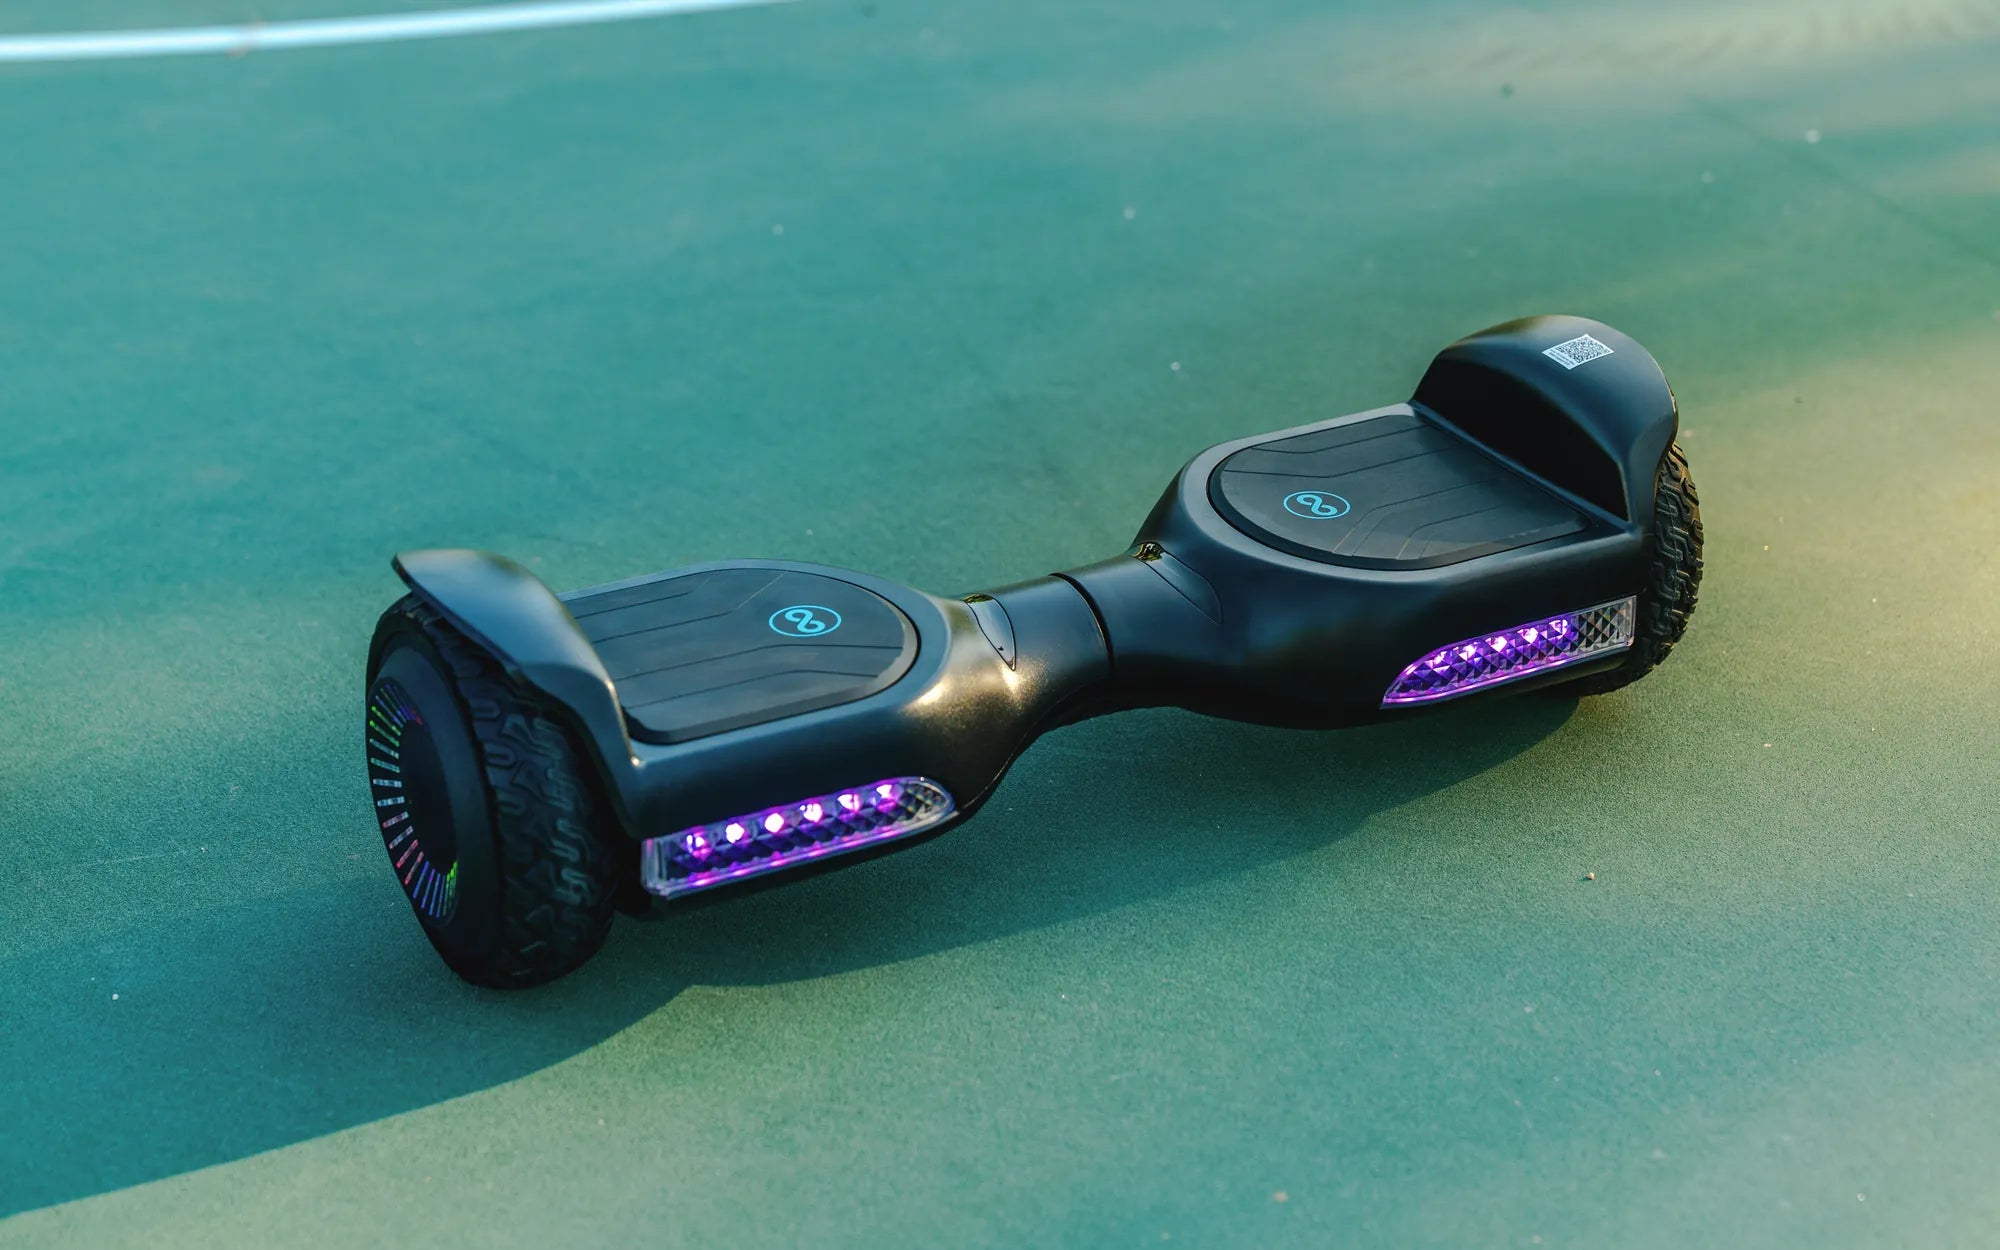
Visual indicators are your primary tool for knowing if your hoverboard is charging. While patterns can vary slightly by brand, a universal color-coding system is generally followed. Here is a breakdown of the most common light signals.
Standard Charging State (Red Light): When you correctly plug in a depleted hoverboard, the indicator light on the board itself, and often on the charger brick, will glow a steady red. This confirms that power is flowing and the battery is accepting a charge. This red light will remain illuminated throughout the bulk of the charging cycle.
Fully Charged State (Green Light): Once the BMS detects the battery has reached full capacity, it will stop accepting current. The indicator light will switch from steady red to steady green. This is your signal that charging is complete and you should unplug the hoverboard to preserve battery health.
Error or Fault State (Flashing Lights): Flashing lights—often red, or alternating red and green—indicate a problem. This could signal a battery imbalance, charger incompatibility, overheating, or an internal BMS fault. A flashing light means charging has stopped due to a detected error.
No Light at All: If you plug in the hoverboard and no indicator lights turn on anywhere (on the board or charger), it points to a complete break in the circuit. This could be a dead outlet, a failed charger, a disconnected internal battery, or a damaged charging port.
Gyroor-Specific Charging Indicators
As a leading brand with a focus on user-friendly design, Gyroor hoverboards typically feature clear LED indicators. For many models, a pulsing red light near the power button signifies active charging, which transitions to a solid green upon completion. Always consult your specific model's manual for the definitive light pattern.
Behavioral and Sensory Confirmation Checks
When light indicators are ambiguous or you want secondary confirmation, use your other senses. These behavioral checks provide additional data points to answer the core question: how to know if hoverboard is charging.
Charger Temperature and Sound: A working charger will often become slightly warm to the touch during operation due to power conversion. It should never be hot. You may also hear a very faint hum or buzz from the charger. No warmth or sound can indicate the charger is not actively working.
Hoverboard Power Lockout: A key safety feature in many modern hoverboards, including Gyroor models, is a charging lockout. If the hoverboard is correctly plugged in and charging, it will often refuse to power on. If you press the power button while it's plugged in and nothing happens, it's a strong sign the BMS is engaged in a charging cycle.
Post-Charge Performance Test: The ultimate test is range. After a purported full charge (green light), use the hoverboard and monitor its performance. A significant drop in expected range compared to when it was new suggests the battery may not be charging to its full capacity, indicating a potential battery health or BMS issue.
Step-by-Step Troubleshooting: When Charging Fails
If your hoverboard shows no signs of charging, follow this logical diagnostic sequence. Always start with the simplest solutions before considering more complex failures.
Step 1: Verify the Power Source. Plug another device (like a lamp) into the same wall outlet to ensure it's live. Try a different outlet in another room to rule out a tripped GFCI or circuit breaker.
Step 2: Inspect All Physical Connections. Firmly seat the charger plug into the hoverboard's port. Check the entire length of the charger cable for cuts, kinks, or fraying. Examine the charger brick for any damage or burn marks.
Step 3: Examine the Charger's Light. Most chargers have their own LED. No light on the charger points to a faulty charger or bad outlet. A green light on the charger when first plugged into a depleted board may indicate the charger is faulty and outputting incorrect voltage.
Step 4: Check the Hoverboard's Charging Port. Visually inspect the port for debris, bent pins, or corrosion. Use a can of compressed air to gently clean it out. Physical damage here often requires professional repair.
Step 5: Consider Environmental Factors. Never charge a hoverboard that is extremely hot from use or cold from winter storage. Allow it to reach room temperature. The BMS may prevent charging outside safe temperature ranges (typically 32°F to 104°F).
If all these steps fail, the issue likely lies with the internal battery or BMS. For hoverboards under warranty, like Gyroor's 1-year coverage, contact their US-based support immediately. Do not attempt to open the battery compartment, as this voids warranties and can be dangerous.
Charging Best Practices for Maximum Safety and Battery Life
Proper charging habits are just as important as diagnosing the process. These data-driven practices extend battery lifespan—often beyond 500 charge cycles for UL-certified packs—and ensure safety.
Use Only the Provided Charger: This cannot be overstated. The provided charger is engineered to match your hoverboard's specific battery chemistry and BMS protocol. Using a "fast charger" or a generic replacement risks overcharging, overheating, and catastrophic failure.
Charge on a Safe Surface: Always place the hoverboard and charger on a hard, non-flammable surface like a tile floor or countertop during charging. Avoid carpets, beds, or sofas that can trap heat and pose a fire hazard.
Avoid Extreme Temperature Exposure: Charge and store your hoverboard in a cool, dry place. High temperatures accelerate battery degradation, while charging in freezing conditions can cause permanent damage. Gyroor's IPX5 water-resistant rating protects against splashes, but the board should be completely dry before charging.
Do Not Overcharge: While modern BMS systems are designed to prevent overcharging, it's good practice not to leave your hoverboard plugged in indefinitely. Unplug it once the light turns green. Avoid charging unattended for more than 24 hours continuously.
Maintain Partial Charges for Storage: If storing your hoverboard for a month or more, charge the battery to approximately 50-60% first. Store it in a cool place and recharge it to this level every 2-3 months to prevent deep discharge, which can permanently kill the battery.
Hoverboard Charger Specifications Comparison
Understanding charger specs helps explain why using the correct one is critical. Below is a comparison of typical charger outputs for different hoverboard classes.
| Hoverboard Class | Typical Battery Voltage | Standard Charger Output | Approx. Charge Time | Key Consideration |
|---|---|---|---|---|
| Standard (6.5") | 36V | 42V, 1.5A - 2A | 2-4 hours | Most common; using a higher amp (A) charger can damage battery. |
| Off-Road / All-Terrain | 48V | 54.6V, 2A - 3A | 3-5 hours | Higher voltage and amperage; never use with a standard 36V board. |
| Gyroor Pro Series (Example) | 36V or 48V | Model-Specific UL-Certified | 2-4 hours | Precision-matched to BMS; ensures optimal cell balancing and safety. |
| Knockoff / Uncertified | Varies | Often Inconsistent/Over-rated | Unpredictable | High risk of fire; lacks proper voltage regulation and fusing. |
Frequently Asked Questions (FAQ)
Q1: How long should a full hoverboard charge take?
A: For a completely depleted battery, a full charge typically takes between 2 to 4 hours for a standard 36V model. Larger 48V batteries may take 4-5 hours. If your hoverboard charges to green in under an hour, it may indicate the battery is not holding full capacity.
Q2: Is it safe to charge my hoverboard overnight?
A: It is not recommended. While a quality BMS should prevent overcharging, charging while unattended for long periods, especially while sleeping, increases risk. Use a timer outlet to limit charging to the expected 3-4 hour window if necessary.
Q3: The light turned green, but my hoverboard dies quickly. Why?
A> This is a classic sign of a degraded battery pack or a failing BMS that incorrectly reports a full charge. The battery cells can no longer hold their rated capacity. For a hoverboard under warranty, this is a clear claim for support.
Q4: Can I use a fast charger to speed up the process?
A: Absolutely not. Hoverboard lithium-ion batteries require a specific, controlled charging curve. A fast charger forces current too quickly, generating excessive heat, damaging cells, and bypassing the BMS safeguards. Always use only the manufacturer's provided charger.
Q5: The charger light is on, but the hoverboard light is off. Is it charging?
A> Probably not. This usually indicates a break in the connection between the charger plug and the hoverboard's internal battery. The charger is receiving power (hence its light), but the current is not reaching the board. Check for port damage or an internal wiring disconnect.
Charge with Confidence for Years of Reliable Riding
Mastering how to know if hoverboard is charging empowers you to take control of your device's health and safety. The process hinges on understanding the clear signals—steady red for charging, steady green for complete—and knowing how to respond to warnings like flashing lights. Pair this knowledge with disciplined charging habits: using the correct charger, monitoring the process, and storing the battery properly.
Your peace of mind is directly linked to the quality of your hoverboard's components. Investing in a brand like Gyroor, with its commitment to UL-certified batteries, robust IPX5 water-resistant designs, and a reliable 1-year warranty, provides a foundation of safety that makes monitoring the charge process straightforward. When you start with a well-engineered system, you can ride with the confidence that comes from knowing your hoverboard is charged correctly, safely, and ready for adventure.
For a hoverboard built with these safety-first principles from the ground up, browse the full collection of reliable, high-performance models at Gyroor. Explore the range designed for over 100,000 satisfied riders across North America and Europe at gyroorboard.com.
Whats the Fastest Hoverboard: Top Speed Models and What to Know
Whats the Fastest Hoverboard: Top Speed Models and What to Know