
Ever found yourself staring at your scooter, unsure how to get it started? Whether you're a new rider or just need a refresher, mastering the basics of opening and starting your scooter is the first step to hitting the road with confidence. Let's dive into the process and make sure you're ready to roll.
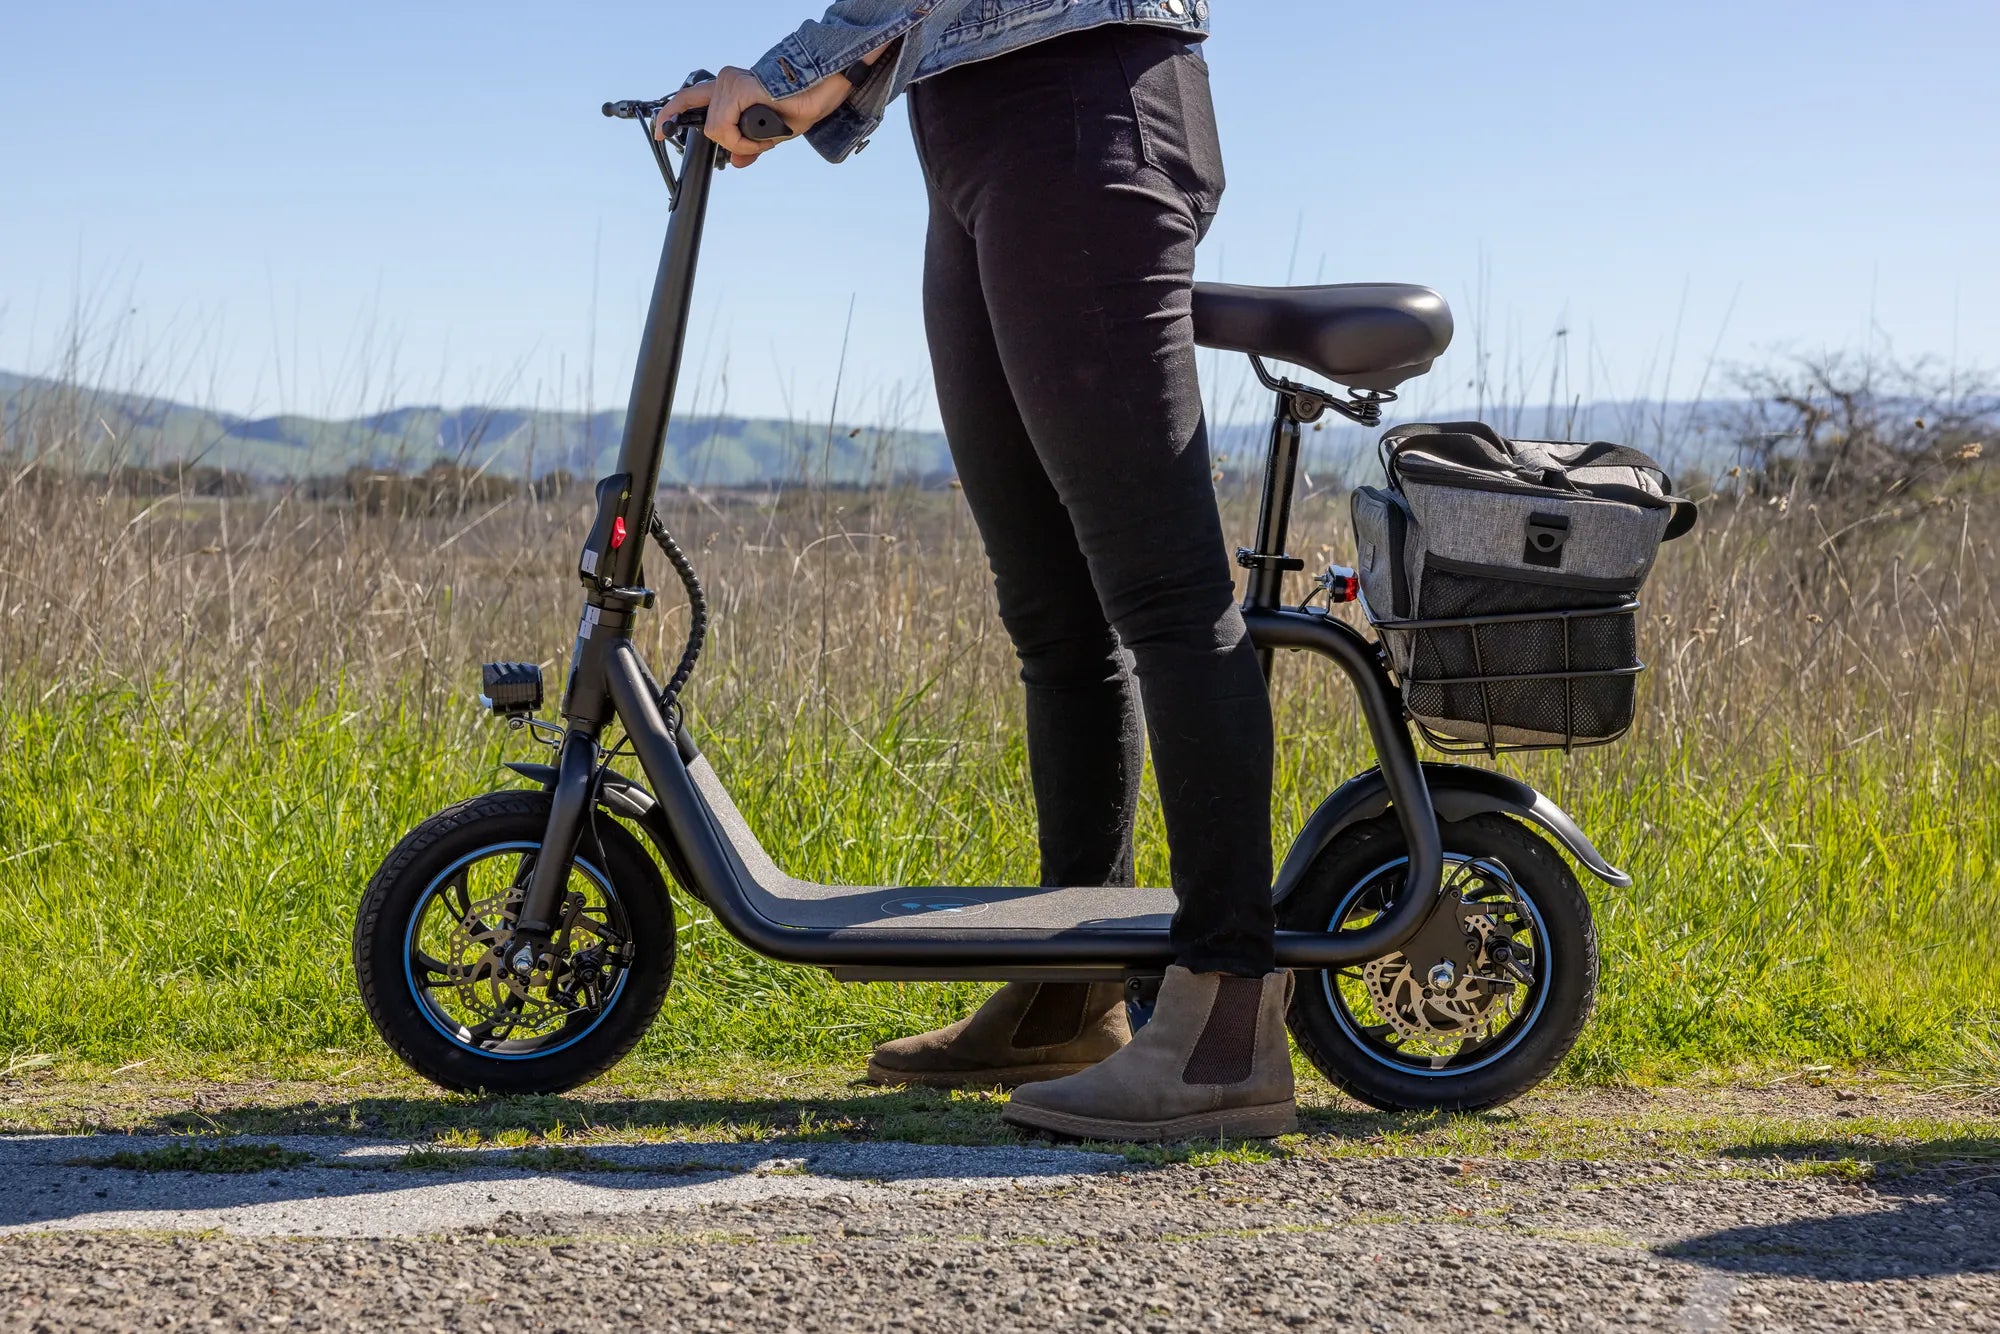
Understanding Your Scooter's Components
Before you attempt to open your scooter, familiarize yourself with its key components. Most scooters have a similar setup, including:
- The ignition switch
- The throttle
- The kickstand
- The fuel valve (if applicable)
- The battery compartment
Knowing where these parts are located will make the process smoother.
Step 1: Perform a Safety Check
Always start with a quick safety inspection. Ensure your scooter is on a flat, stable surface and the kickstand is engaged. Check the following:
- Tire pressure
- Brake functionality
- Fluid levels (oil, coolant, fuel)
- Lights and indicators
This step prevents accidents and ensures your scooter is road-ready.
Step 2: Insert the Key and Unlock the Ignition
Locate the ignition switch, typically found near the handlebars. Insert your key and turn it to the "ON" position. You should hear a faint electrical hum as the scooter's systems activate. Some models may require you to turn the key slightly further to unlock the steering mechanism.
Step 3: Engage the Brakes
Most modern scooters have a safety feature that requires you to squeeze one or both brake levers before starting. This prevents accidental acceleration when the engine turns over. Apply steady pressure to the brake lever with your left hand while keeping your right hand free for the starter.
Step 4: Starting Methods
Scooters typically offer two starting options:
Electric Start
For scooters with an electric starter:
- Ensure the kill switch is in the "RUN" position
- Press and hold the starter button (usually marked with a lightning bolt icon)
- Release the button once the engine starts
Kick Start
If your battery is dead or you have a kick-start model:
- Fold out the kickstarter lever
- Stand on the left side of the scooter
- Push down firmly on the lever with your foot
- Repeat if necessary until the engine turns over
Step 5: Warm Up the Engine
After starting, allow your scooter to idle for 30-60 seconds. This lets the engine oil circulate properly and brings the engine up to optimal operating temperature. During cold weather, you might need slightly longer warm-up periods.
Troubleshooting Common Starting Issues
If your scooter won't start, try these solutions:
- Dead battery: Use the kickstarter or charge/replace the battery
- Empty fuel tank: Check and refill if necessary
- Flooded engine: Wait a few minutes before trying again
- Faulty spark plug: Inspect and replace if needed
Maintenance Tips for Easy Starting
Keep your scooter starting smoothly with these practices:
- Regularly check and maintain battery health
- Change the spark plug according to manufacturer recommendations
- Use fresh fuel and consider fuel stabilizer for long storage periods
- Keep the air filter clean
Now that you know how to open and start your scooter like a pro, you're ready to enjoy the freedom of two-wheeled transportation. Remember these steps, stay safe, and happy riding!
Best E Mountain Bike for the Money: Top Picks for Budget-Conscious Riders
Electric Bicycles Motorcycle Tricycle 250 3000w: The Future of Urban Commuting