
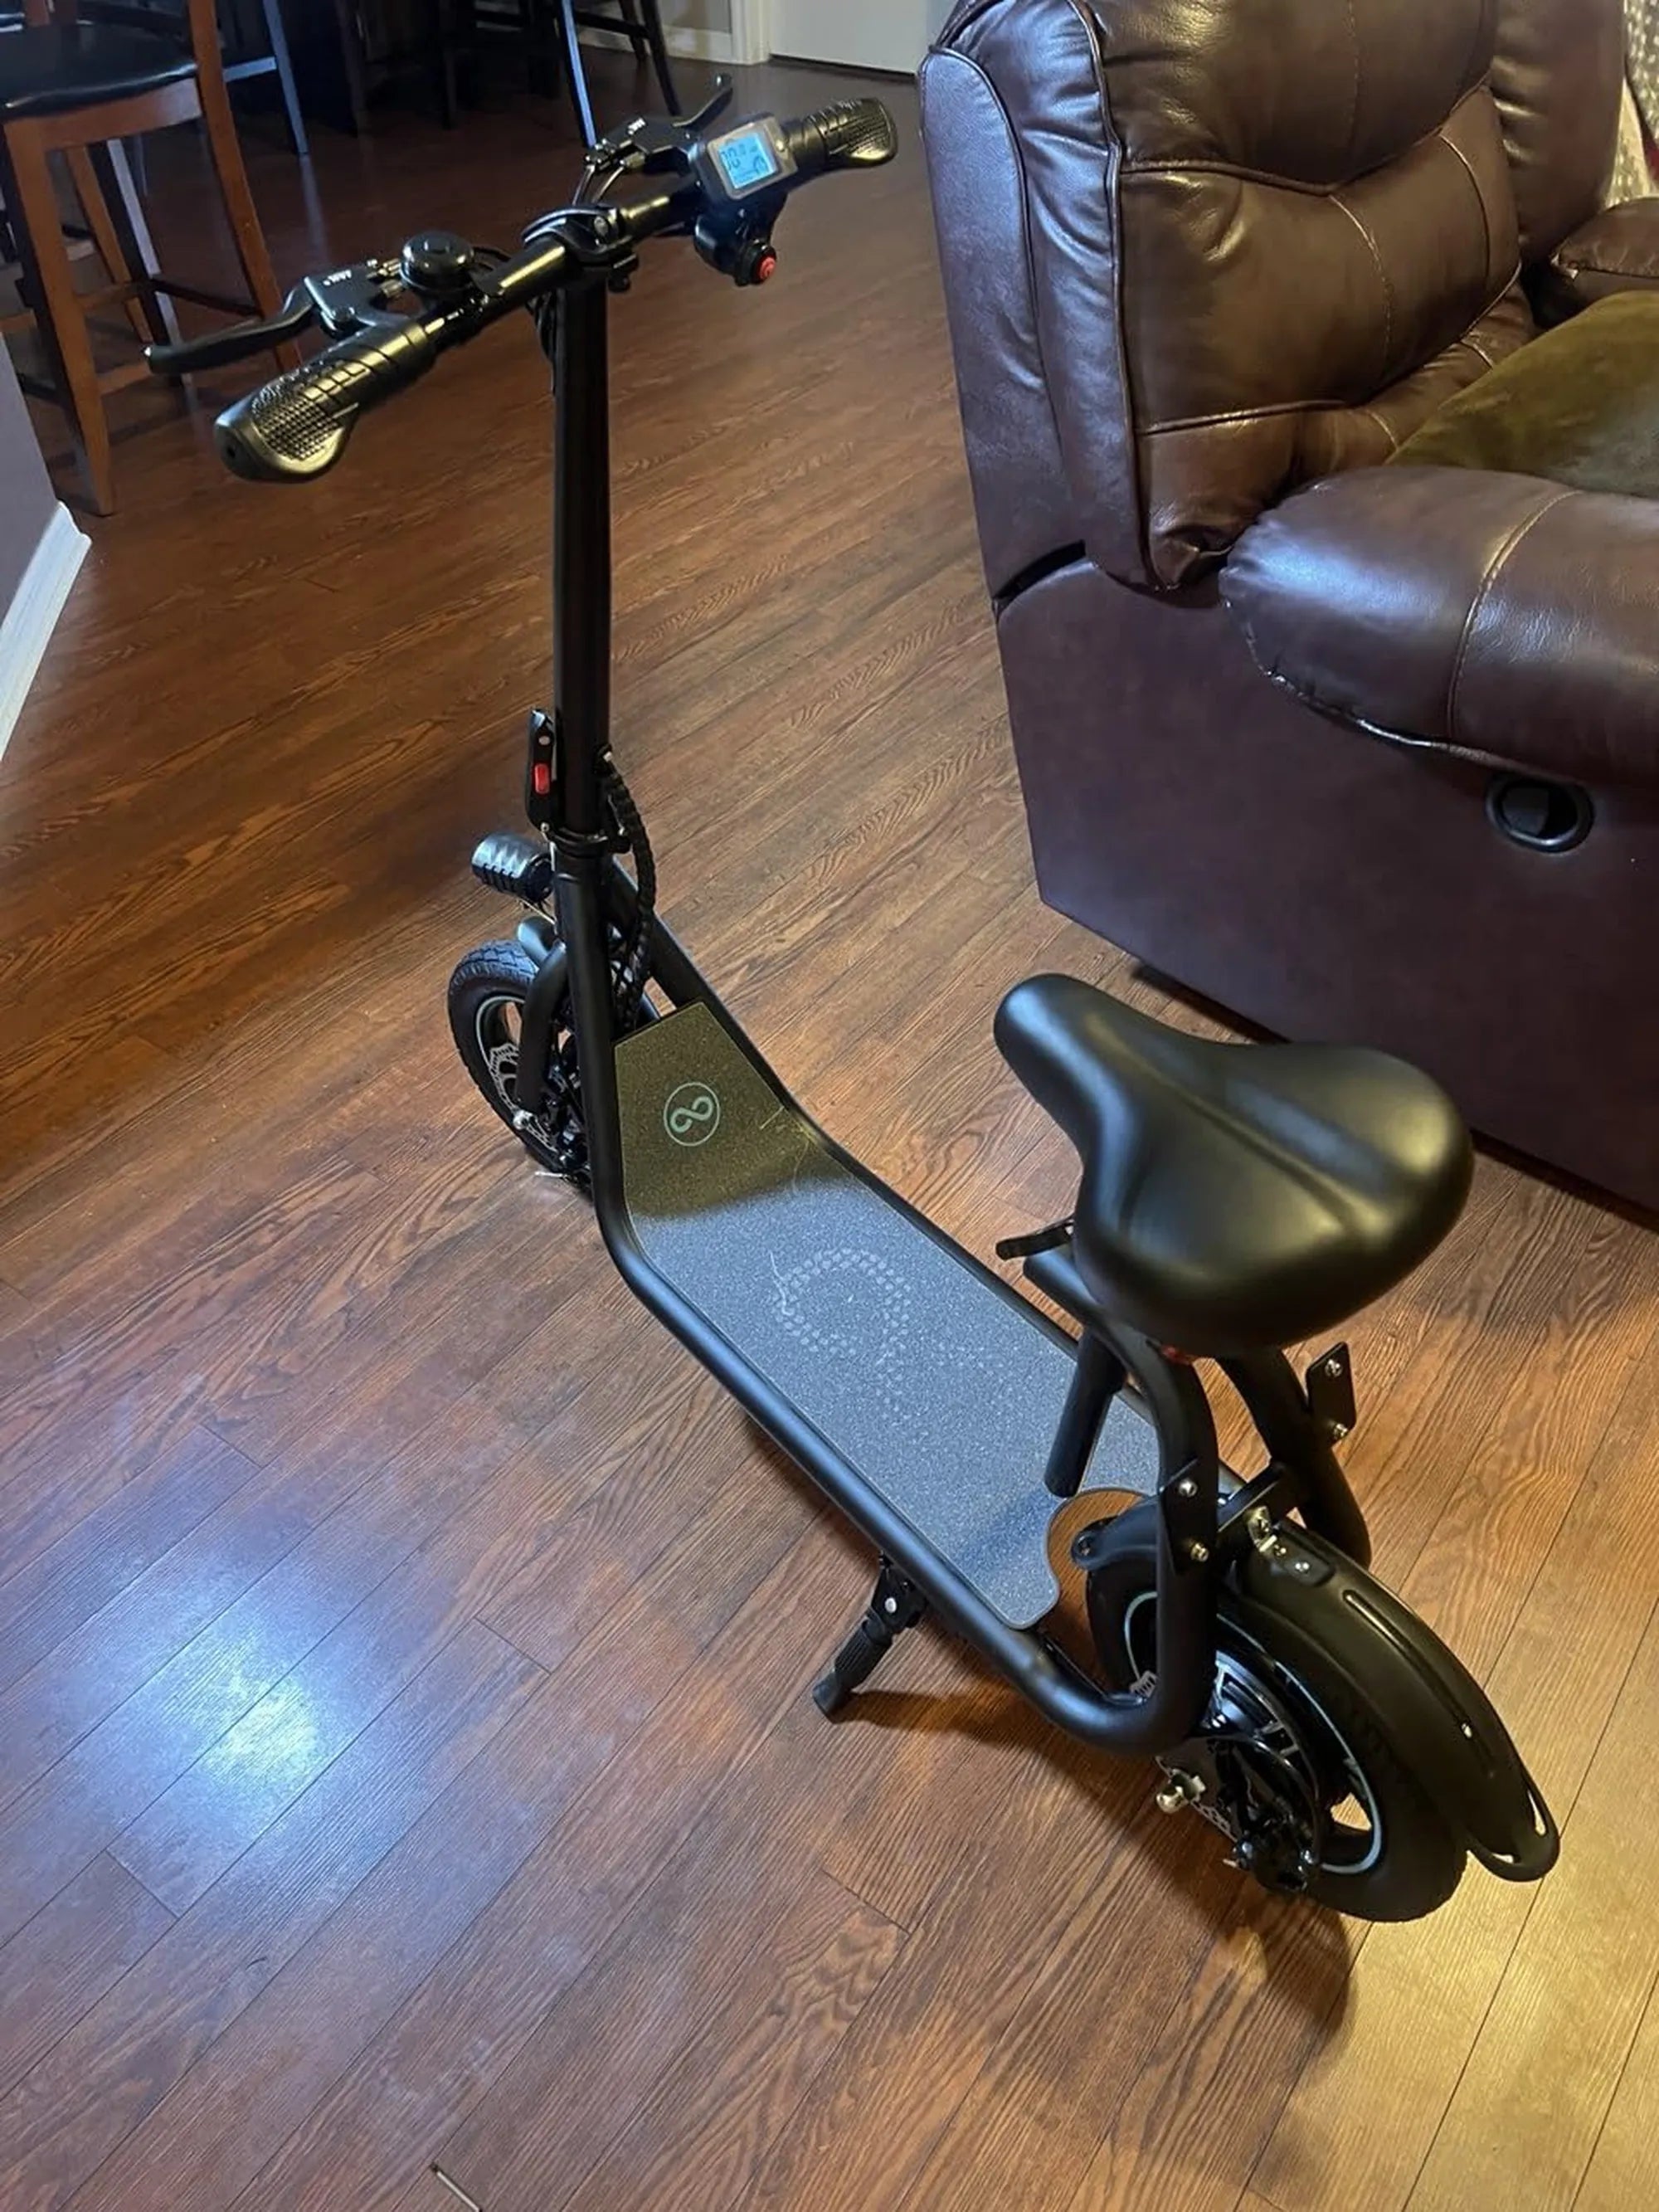
Ever found yourself staring at a flat tire or a malfunctioning wheel on your electric scooter, unsure where to start? Removing the wheel might seem like a job for a professional, but with the right steps, you can tackle it yourself. Whether you're replacing a tire, fixing a puncture, or upgrading components, this guide will help you get the job done without breaking a sweat.
Tools You'll Need
Before diving into the process, gather the necessary tools to ensure a smooth removal:
- Wrench set (adjustable or specific to your scooter's bolts)
- Allen keys or hex wrenches
- Screwdrivers (flathead and Phillips)
- Pliers (optional, for stubborn parts)
- Protective gloves (to avoid cuts or scrapes)
- Clean cloth or towel (to keep parts organized)
Step 1: Power Down and Secure the Scooter
Safety first! Ensure the scooter is turned off and disconnected from any charging source. If possible, place the scooter on a stable surface or use a stand to keep it upright. This prevents accidental movement while you work.
Step 2: Remove the Wheel Cover or Fender
Many electric scooters have a plastic or metal cover over the wheel. Use a screwdriver or Allen key to remove the screws holding it in place. Set the screws aside in a safe spot to avoid losing them.
Step 3: Disconnect the Motor Wires (If Applicable)
If your scooter has a motorized wheel, you'll need to disconnect the wires. Locate the connector near the wheel hub and gently unplug it. Avoid pulling on the wires themselves—use the connector for a clean disconnect.
Step 4: Loosen the Axle Nuts or Bolts
The wheel is typically held in place by axle nuts or bolts on either side. Use a wrench to loosen them, but don't remove them completely yet. If the wheel is stubborn, gently wiggle it to loosen the grip.
Step 5: Remove the Wheel from the Fork or Dropout
Once the nuts or bolts are loose, slide the wheel out of the fork or dropout. Be mindful of any spacers or washers that might fall out—keep them organized for reassembly.
Step 6: Inspect and Clean the Area
With the wheel removed, take a moment to inspect the axle, bearings, and surrounding components. Clean any dirt or debris to ensure smooth reinstallation or maintenance.
Reassembly Tips
When putting the wheel back, reverse the steps carefully. Ensure the motor wires (if applicable) are securely reconnected, and tighten the axle nuts or bolts evenly to avoid misalignment. Double-check that the wheel spins freely before taking your scooter for a test ride.
Now that you've mastered wheel removal, you're one step closer to becoming your scooter's go-to mechanic. No more waiting for repairs—just grab your tools and get rolling!
Electric Bike for Kids Age 8: The Ultimate Guide to Safe and Fun Riding
Top 10 Electric Scooters for Commuting: The Ultimate Guide for Urban Travelers