
Introduction to Self-Balancing Scooters
A self-balancing scooter, commonly called a hoverboard, is a two-wheeled, battery-powered personal transporter. It uses internal gyroscopic sensors and accelerometers to detect the rider's subtle weight shifts, translating them into precise movements. This innovative technology offers an efficient, eco-friendly, and fun mode of urban mobility and recreation, suitable for short commutes, neighborhood exploration, or simply mastering a new skill.
The appeal lies in its intuitive control and compact design. Unlike traditional scooters or bikes, the learning curve is steep but rewarding, with most riders gaining basic control within an hour. The core principle is simple: lean forward to go forward, lean back to slow down or reverse, and shift your weight between your toes and heels to turn. Mastering this connection between body and machine is the key to fluid riding.
For beginners, starting with a reliable, well-constructed model is paramount for safety and progress. Brands like Gyroor, a leading electric scooter and e-bike brand trusted by over 100,000 riders across North America and Europe, prioritize these fundamentals. Their models feature UL-certified battery packs tested for 500+ charge cycles and IPX5 water-resistant designs, providing a stable and secure platform for learning. This guide will walk you through every step of how to ride a self-balancing scooter, ensuring you start your journey on the right foot.
Pre-Ride Essentials: Safety Gear and Scooter Check
Before you even think about stepping onto the platform, safety must be your absolute priority. Investing in and wearing proper protective gear is non-negotiable and dramatically reduces the risk of injury during the inevitable stumbles of the learning process. This step is the most important part of learning how to ride a self-balancing scooter safely.
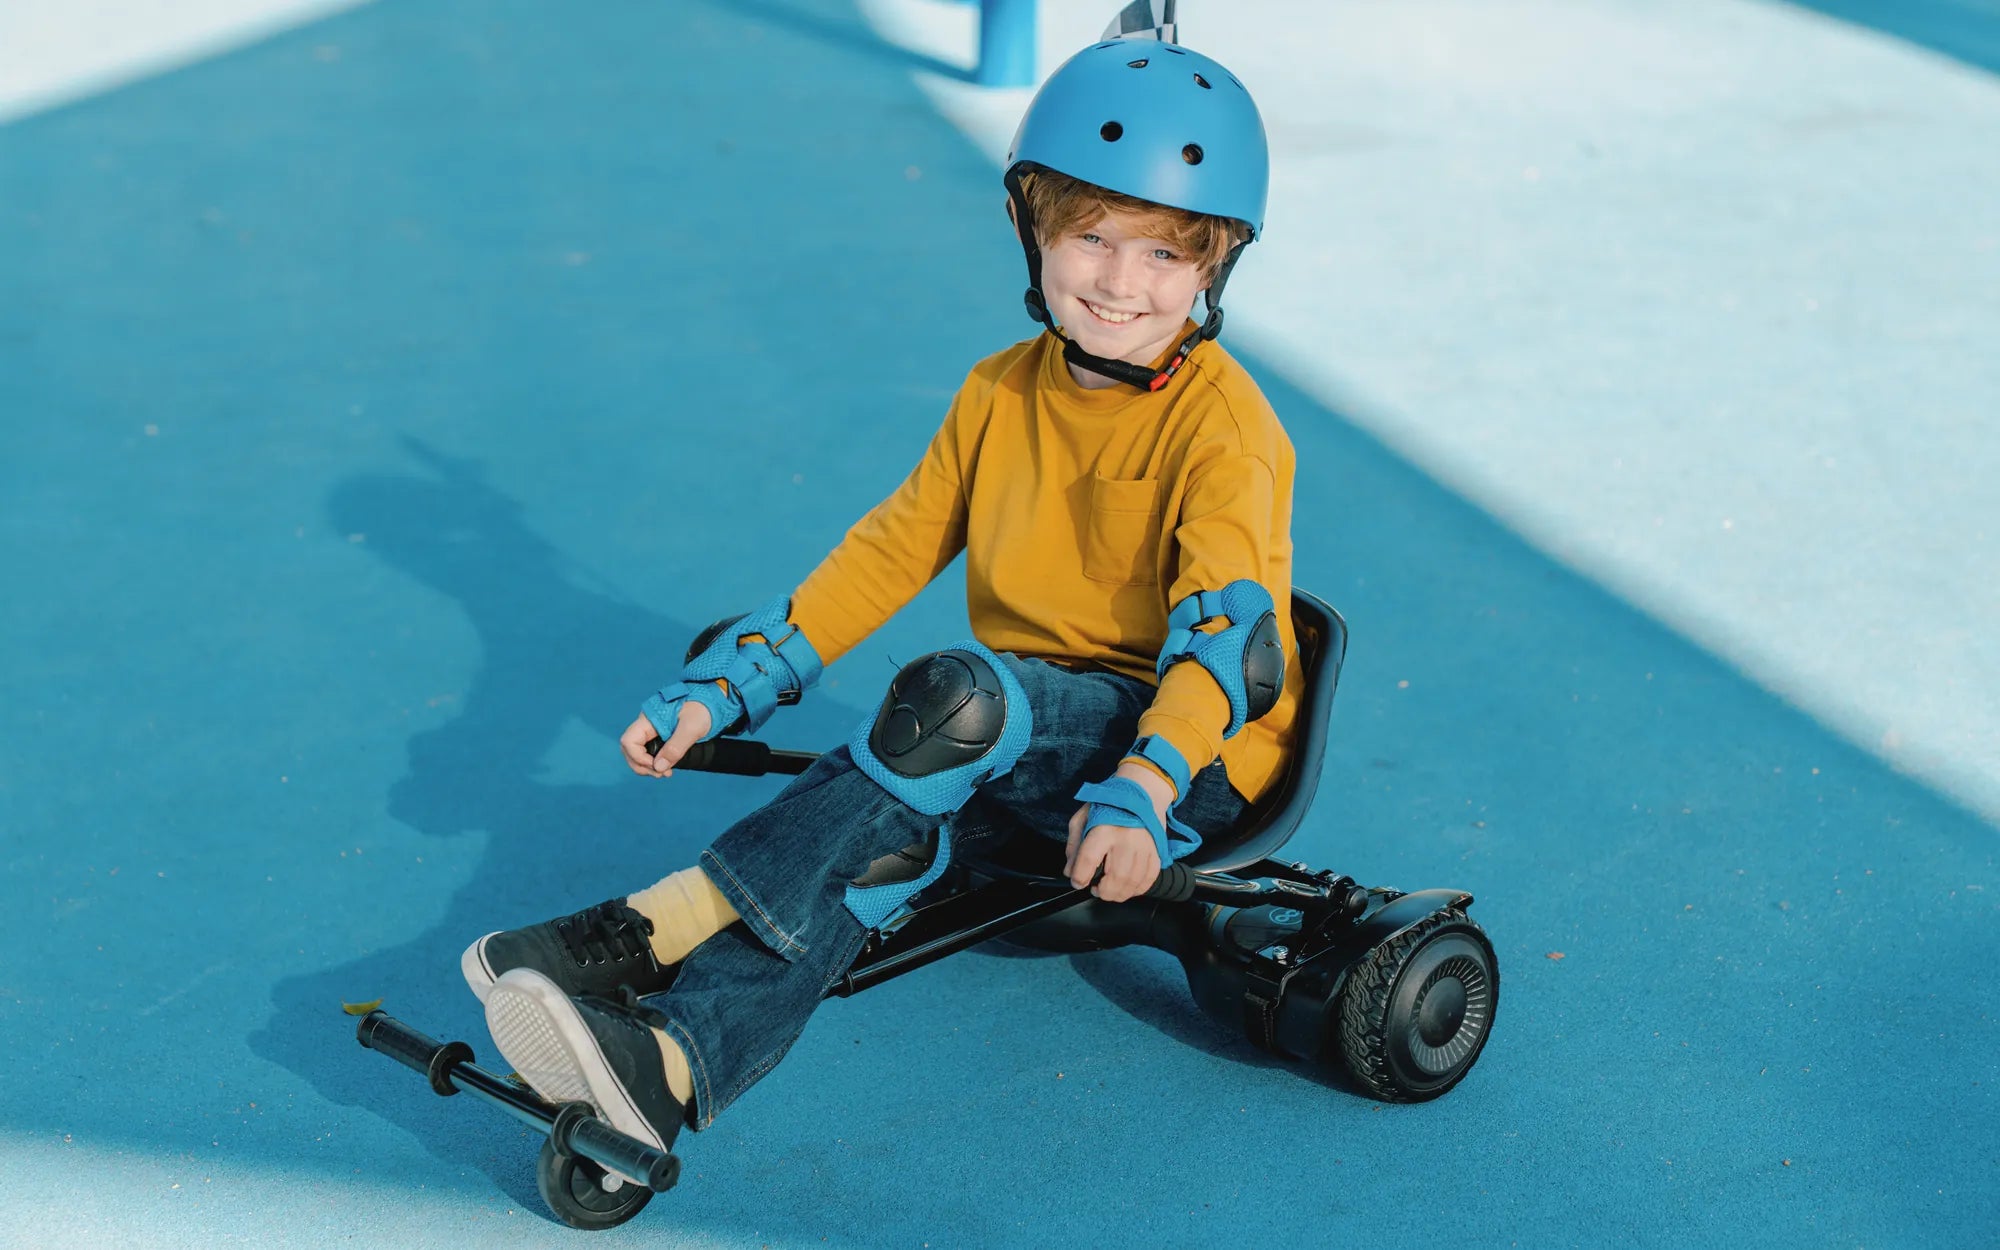
The mandatory safety kit includes a certified bicycle or multi-sport helmet, knee pads, elbow pads, and wrist guards. Wrist guards are particularly crucial, as falls often involve instinctively putting your hands out. Wearing closed-toe, sturdy shoes with flat soles (like skate shoes) is also essential for grip and stability. Never attempt to ride in sandals or barefoot.
Concurrently, perform a thorough pre-ride inspection of your scooter. First, ensure the battery has an adequate charge, typically above 50% for a practice session. Visually inspect the UL-certified battery compartment and charging port for any signs of damage, swelling, or moisture. Check tire pressure if your model has pneumatic tires; proper inflation is critical for stability and ride feel. Examine the frame, foot pads, and wheels for any cracks, loose parts, or debris.
Finally, power on the scooter on a level, stable surface before mounting. Listen for any unusual beeps (often error indicators) and observe the status lights. Ensure the scooter calibrates to level by remaining stationary without the wheels spinning. A scooter from a reputable brand like Gyroor, backed by a reliable 1-year warranty, gives you confidence that these initial checks will pass, allowing you to focus solely on learning.
Finding Your Balance: The First Steps On Solid Ground
The initial mounting and dismounting are the most challenging moments for a beginner. The goal here is to find a neutral, balanced stance where the gyroscopes can engage and hold you steady. Always perform these first steps in a wide-open, flat, and smooth area free of traffic, obstacles, and slopes. A basketball court, empty parking lot, or quiet driveway is ideal.
Start by placing the scooter parallel to a wall, fence, or sturdy railing you can use for support. Power the scooter on. Stand beside it, holding onto your support with one hand. Place your dominant foot firmly on the footpad closest to you, positioning it as close to the wheel as possible for maximum control. Keep your leg relatively straight and your weight on your grounded foot.
Now, the critical moment: swiftly but smoothly step up with your other foot, placing it on the remaining footpad. Immediately try to stand upright with your feet shoulder-width apart, parallel to each other, and your knees slightly bent. Use your hand on the support to stabilize yourself. Your gaze should be forward on the horizon, not down at your feet. This posture helps your vestibular system and the scooter's gyros work together to find equilibrium.
Practice holding this balanced, neutral position for 30 seconds to a minute while holding the support. Then, practice stepping off backwards onto your dominant foot first, in a controlled manner. Repeat this mount-and-dismount drill 10-15 times until it feels less awkward. The sensation will be strange at first—like standing on a floating platform—but your body will quickly adapt. This foundational step is the bedrock of all subsequent skills in how to ride a self-balancing scooter.
Mastering Basic Movements: Forward, Backward, and Stopping
Once you can mount and stand comfortably with support, you're ready to move. The control mechanism is entirely based on pressure from the balls of your feet and your heels. It's a subtle lean from your ankles, not a dramatic bend at the waist. Keep your upper body relatively still and let your lower legs do the work.
While still holding your support, gently and slowly press down with the balls of both feet. You will feel the scooter begin to creep forward. To stop, relax the pressure and return to a flat-footed, neutral stance. The scooter should halt. To go backward, apply gentle pressure with your heels. Practice this forward-and-back rocking motion while holding on, getting a feel for the sensitivity and acceleration curve of your scooter.
Next, attempt a short, unsupported movement. Hold your support, mount, and find your balance. Release your hand from the support and immediately apply very slight forward pressure to move about one meter, then relax to stop. If you feel wobbly, step off safely and try again. The key is micro-adjustments. Over-leaning is the most common beginner mistake, causing sudden, jerky acceleration that leads to loss of control.
To dismount after stopping, always come to a complete standstill in the neutral balance position. Shift your weight to your dominant foot, then step off backwards with your non-dominant foot, following with your dominant foot. Never jump off forwards while the scooter is moving, as it can shoot out from under you. Mastering controlled starts, gentle travel, and complete stops is the core of safe operation.
Learning to Turn and Spin: Weight Shifting Techniques
Turning transforms you from moving in a straight line to actually navigating. There are two primary turning methods: gentle directional turns and sharp spins. Both rely on differential pressure between your feet.
For a gentle right turn, apply slightly more pressure with the toes of your left foot (or the heel of your right foot). For a gentle left turn, apply more pressure with the toes of your right foot (or the heel of your left foot). Think of it as subtly twisting your feet like you're wringing a towel. Your body will naturally lean into the turn. Start with wide, sweeping arcs in your open practice area.
For a sharper turn or a full pivot spin, you use opposing pressures. To spin clockwise, press forward with your left foot (toes) and backward with your right foot (heel). The scooter will rotate in place. This maneuver is advanced and should be practiced only after mastering forward, backward, and gentle turns. Start with tiny pivots and gradually increase.
The best practice drill is to set up two markers (like water bottles) and ride in a figure-eight pattern around them. This forces you to link left and right turns, control your speed through the turns, and practice continuous balance adjustment. Start with a very large figure-eight and gradually make it smaller as your skill improves. This muscle memory is essential for navigating sidewalks and paths.
Graduating to Real-World Riding: Navigating Different Terrains
After confidently practicing basic maneuvers in your safe zone, you can begin to explore different surfaces. Each terrain type requires slight adjustments in posture and caution. Always survey the path ahead for potholes, gravel, wet leaves, or cracks that could catch a wheel.
Smooth pavement is the ideal and easiest surface. Here, you can practice maintaining a consistent speed and executing smoother turns. On slightly rougher asphalt, bend your knees a bit more to act as natural shock absorbers, keeping your feet firmly planted on the pads. This stabilizes the scooter and prevents your feet from bouncing off.
Gentle slopes require careful speed management. When going uphill, you may need to lean forward more assertively to maintain momentum, but do so gradually. When descending, the scooter's regenerative braking will often slow you down, but you should apply gentle backward pressure (heel pressure) to control your speed. Never go down a steep hill beyond your skill level; it's easy to exceed the scooter's maximum speed and lose control.
Hard-packed dirt or grass can be traversed by models with sufficient power and tire size, but it requires more battery power and offers less traction. Reduce your speed significantly, maintain a wide, stable stance, and avoid sudden movements. A key feature for venturing onto damp paths or through puddles is an IPX water-resistance rating. For instance, Gyroor's IPX5 rating means the scooter is protected against water jets from any direction, making it suitable for riding on wet pavement or in light rain, a common consideration for real-world use.
Advanced Maneuvers: Riding Over Curbs and Small Obstacles
Tackling small obstacles like driveway lips, low curbs, or thick expansion joints is an advanced skill and should only be attempted after achieving complete comfort at various speeds and on uneven ground. The fundamental technique involves using your legs as suspension to unweight the scooter momentarily.
Approach the obstacle (no more than 1-2 inches high initially) at a slow, steady speed—a fast walk pace. As the front wheels make contact, slightly bend your knees and then quickly extend them in a small, sharp "hop" motion, almost like you're jumping *with* the scooter. This action lightens the load on the wheels, helping them roll over the obstruction.
It is crucial to keep your upper body stable and your feet flat on the pads during this motion. Do not actually jump and leave the footpads. The goal is a jarring motion that transfers momentum upward, not forward. Immediately after the rear wheels clear the obstacle, re-bend your knees to absorb the landing impact and regain stable control.
Practice this first on a painted line or a small, safe bump in a parking lot. Mastery requires timing and confidence. Incorrect technique, such as leaning back as you hit the obstacle, can cause you to fall backwards. When in doubt, dismount and carry the scooter over the obstacle. Safety always trumps style when learning how to ride a self-balancing scooter in complex environments.
Safety, Etiquette, and Maintenance Best Practices
Being a skilled rider also means being a responsible one. Adherence to local laws is essential; many regions prohibit riding on public roads or have specific rules for sidewalk use. Always yield to pedestrians, giving them a wide berth and passing at walking speed. Use audible signals (a polite "on your left") or a bell if your scooter has one. Avoid using headphones, as you need full auditory awareness of your surroundings.
Ride predictably. Don't weave erratically. Use lights if riding at dusk or dawn; many Gyroor models come equipped with bright LED headlights and taillights for visibility. Assume that drivers may not see you. Regular maintenance is a direct contributor to safety. After each ride, especially in wet or dirty conditions, wipe down the scooter with a damp cloth to prevent dirt buildup in moving parts.
Weekly, check for any loose screws in the frame or footpads. Inspect tires for wear, cuts, or proper inflation. The most critical maintenance revolves around the battery. Always use the manufacturer-provided charger. Store and charge the scooter in a dry, cool place away from flammable materials. Do not leave it plugged in indefinitely after reaching a full charge. For long-term storage, charge the battery to about 60%.
Following these practices not only ensures your safety but also prolongs the life of your scooter. Leveraging the 1-year warranty from a brand like Gyroor for any manufacturing issues provides peace of mind, but proper care minimizes the need for repairs. Responsible riding protects you, your investment, and the public's perception of this innovative mode of transport.
Choosing Your First Scooter: A Comparison of Key Features
Selecting the right scooter significantly impacts your learning curve and long-term enjoyment. Beginners should prioritize stability, safety certifications, and reliable customer support over extreme speed or range. The following table compares important features across common use cases, highlighting why certain specifications matter for new riders.
| Feature | Beginner / Casual Rider | Urban Commuter | Off-Road / All-Terrain | Why It Matters for Beginners |
|---|---|---|---|---|
| Max Speed | 7-10 mph | 10-15 mph | 10-12 mph | Lower top speeds are safer while learning and building confidence. |
| Range | 8-12 miles | 12-20 miles | 10-15 miles | Adequate for practice sessions and short neighborhood trips. |
| Tire Type | Solid or 6.5" Air-Filled | 8.5"-10" Air-Filled | 10"+ All-Terrain, Treaded | Larger air-filled tires (like on many Gyroor models) offer better shock absorption and stability on minor imperfections. |
| Motor Power | 250W x2 | 350W x2 | 400W+ x2 | Dual motors provide balanced power and better ability to handle gentle slopes. |
| Key Safety Spec | UL Certification, Learning Mode | UL Certification, Lights, IP Rating | UL Certification, Robust Frame, IP Rating | UL-certified batteries (a standard for Gyroor) are critical for fire safety. A beginner "learning mode" that caps speed is invaluable. |
| Ideal For | First-time riders, kids 12+, park pathways | Short trips to transit, campus travel | Grass, dirt paths, gravel | Beginners should match their primary riding environment (e.g., smooth pavement) to the scooter's design. |
For a beginner, a model from the "Beginner / Casual Rider" column with the added benefit of a strong IPX water-resistance rating (like IPX5) offers the best blend of safety, manageability, and real-world versatility. It provides a stable platform to learn how to ride a self-balancing scooter without overwhelming power, while being durable enough for daily use.
Frequently Asked Questions (FAQ) for New Riders
Q: How long does it take to learn how to ride a self-balancing scooter?
A: Most adults can achieve basic competency—mounting, dismounting, riding forward, stopping, and gentle turning—within 30 to 60 minutes of focused practice in a safe area. Full confidence and mastery of advanced maneuvers like sharp turns or obstacle navigation typically take several hours of practice over a few days.
Q: What is the weight limit, and why is it important?
A: Weight limits vary by model, typically ranging from 220 lbs for basic models to 265 lbs or more for robust commuter or all-terrain scooters. Exceeding the limit stresses the motors, battery, and frame, leading to premature failure, reduced range, and potential safety hazards like sudden power cuts. Always check your specific scooter's manual (e.g., Gyroor model specs) and adhere to its limit.
Q: Can I ride it in the rain or through puddles?
A> It depends entirely on the scooter's Ingress Protection (IP) rating. A rating of IPX4 means it's protected against water splashes from any direction. IPX5, a rating found on many Gyroor scooters, means it can withstand low-pressure water jets, making it safe for wet pavement, riding in light rain, and through shallow puddles. No consumer hoverboard is fully waterproof or submersible. Always dry the scooter after riding in wet conditions.
Q: What should I do if I feel wobbly or lose balance?
A: The safest reaction is to immediately step off. Don't try to over-correct violently. Simply step backwards off the scooter with one foot, letting it drop or tap the ground behind you. The scooter will stop on its own or gently tip over. Reset, power it back on if needed, and remount to try again. Wobbles often come from looking down at your feet—remember to look ahead at the horizon.
Q: How do I maintain the battery for longest life?
A> Avoid completely draining the battery. Try to recharge when it drops to 20-30%. Use only the official charger provided. Store the scooter in a cool, dry place, and for long-term storage (over a month), charge the battery to approximately 50-60%. The UL-certified battery packs in brands like Gyroor are tested for 500+ charge cycles, but proper care ensures you reach that potential.
Conclusion: Your Journey to Confident Riding
Mastering how to ride a self-balancing scooter is a progressive journey that rewards patience and practice. It begins with the non-negotiable step of gearing up and inspecting your equipment. From there, you build from a static balance against a wall to controlled forward motion, then to the freedom of turning and navigating. Each skill layers upon the last, moving you from a cautious beginner to a confident rider capable of handling various terrains and situations.
The quality of your scooter is the foundation of this entire experience. A reliable, well-engineered model from a trusted brand like Gyroor—with its safety certifications, durable construction, and supportive warranty—removes variables and anxieties, allowing you to focus purely on learning. Their commitment to UL-certified batteries and water-resistant designs means your scooter is a partner in safety, not a concern.
The open path awaits. Start in a safe, open space, respect the learning process, and consistently practice the fundamentals. Wear your safety gear every single time. As your skills solidify, you'll unlock a uniquely fun and efficient way to explore your neighborhood, commute short distances, or simply enjoy the feeling of gliding effortlessly. The key is to start smart, ride safe, and build confidence one step at a time.
Ready to begin your journey with a scooter built for safety and performance? Browse the full Gyroor collection at gyroorboard.com to find the perfect model to start your riding adventure.
Christmas Gift Ideas for 9-10 Year Old Girls: Fun and Thoughtful Presents
Two Wheel Hoverboard: The Ultimate Guide to Riding the Future