

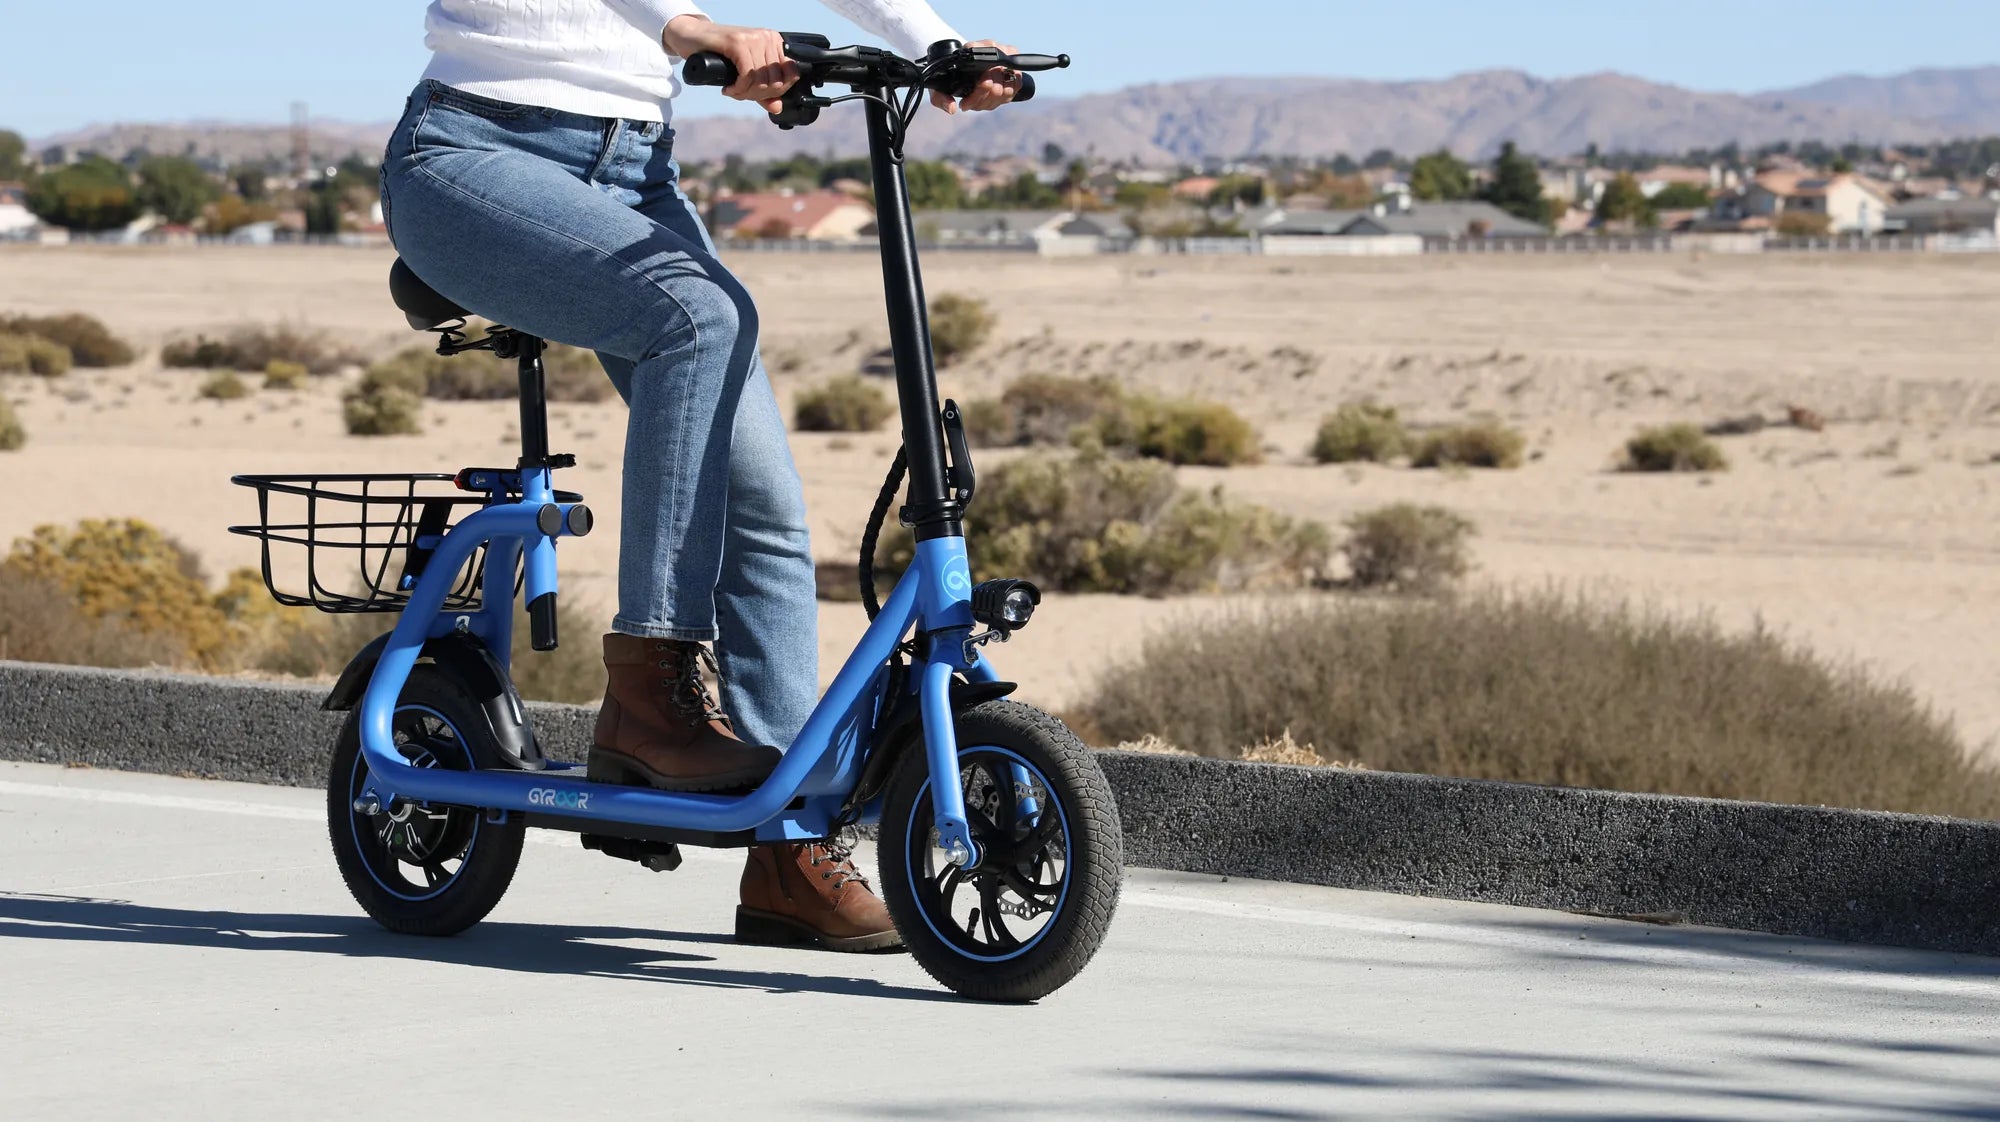
Riding an electric scooter is fun and convenient, but ensuring your brakes are properly tightened is crucial for safety. Loose brakes can lead to accidents, reduced stopping power, and unnecessary wear. If you've noticed your scooter's brakes feeling sluggish or unresponsive, it's time to take action. This guide will walk you through the process of tightening your electric scooter brakes step by step, so you can ride with confidence.
Why Tightening Your Brakes Matters
Brakes are one of the most critical components of any electric scooter. Properly tightened brakes ensure:
- Better stopping power
- Increased rider safety
- Longer brake lifespan
- Smoother and more responsive rides
Ignoring loose brakes can lead to dangerous situations, especially at higher speeds. Regular maintenance is key to keeping your scooter in top condition.
Tools You'll Need
Before you start, gather the following tools:
- Allen wrenches (sizes may vary depending on your scooter)
- Adjustable wrench
- Screwdriver set
- Brake cleaner or rubbing alcohol
- Clean cloth or rag
Having the right tools on hand will make the process smoother and more efficient.
Step 1: Inspect the Brake System
Start by examining your scooter's brake system. Identify whether it uses disc brakes or drum brakes, as the tightening process differs slightly for each. Look for signs of wear, such as frayed cables, uneven brake pads, or loose components. If you notice severe damage, consider replacing the affected parts before proceeding.
Step 2: Adjust the Brake Cable Tension
For scooters with cable-actuated brakes, adjusting the tension is often the solution. Locate the brake cable near the handlebars or the brake caliper. Use an adjustable wrench to loosen the locknut, then turn the barrel adjuster clockwise to increase tension. Test the brake lever to ensure it feels firm but not overly tight. Once satisfied, tighten the locknut to secure the adjustment.
Step 3: Align the Brake Pads
Misaligned brake pads can reduce braking efficiency. Loosen the bolts holding the brake pads in place, then reposition them so they make even contact with the braking surface. Tighten the bolts securely, but avoid over-tightening, which can strip the threads.
Step 4: Test the Brakes
After making adjustments, test your brakes in a safe, open area. Squeeze the brake lever gently to ensure smooth engagement. If the brakes still feel loose, repeat the adjustment process. For disc brakes, check for rotor alignment and clean the rotor with brake cleaner if necessary.
Step 5: Maintain Regular Checks
Brake maintenance shouldn't be a one-time task. Regularly inspect and adjust your brakes to keep them in optimal condition. Pay attention to unusual noises, reduced responsiveness, or changes in braking performance, as these can indicate the need for further adjustments or replacements.
Now that you know how to tighten brakes on your electric scooter, you can enjoy safer and more reliable rides. Regular maintenance not only extends the life of your scooter but also ensures you're always in control. Don't wait until it's too late—take a few minutes today to check your brakes and ride with peace of mind.
Electric Scooter with Speedometer for Sale: The Ultimate Guide to Smart Commuting
Fast Affordable Electric Scooter: The Ultimate Urban Commuting Solution