
Introduction: Diagnosing Your Hoverboard's Charging Woes
Nothing halts the fun faster than plugging in your hoverboard and getting no response. A non-charging hoverboard is a common issue, but it's rarely a death sentence for your ride. In most cases, the problem stems from a few identifiable and often fixable causes. This guide will walk you through a systematic, data-driven diagnostic process to get you rolling again.
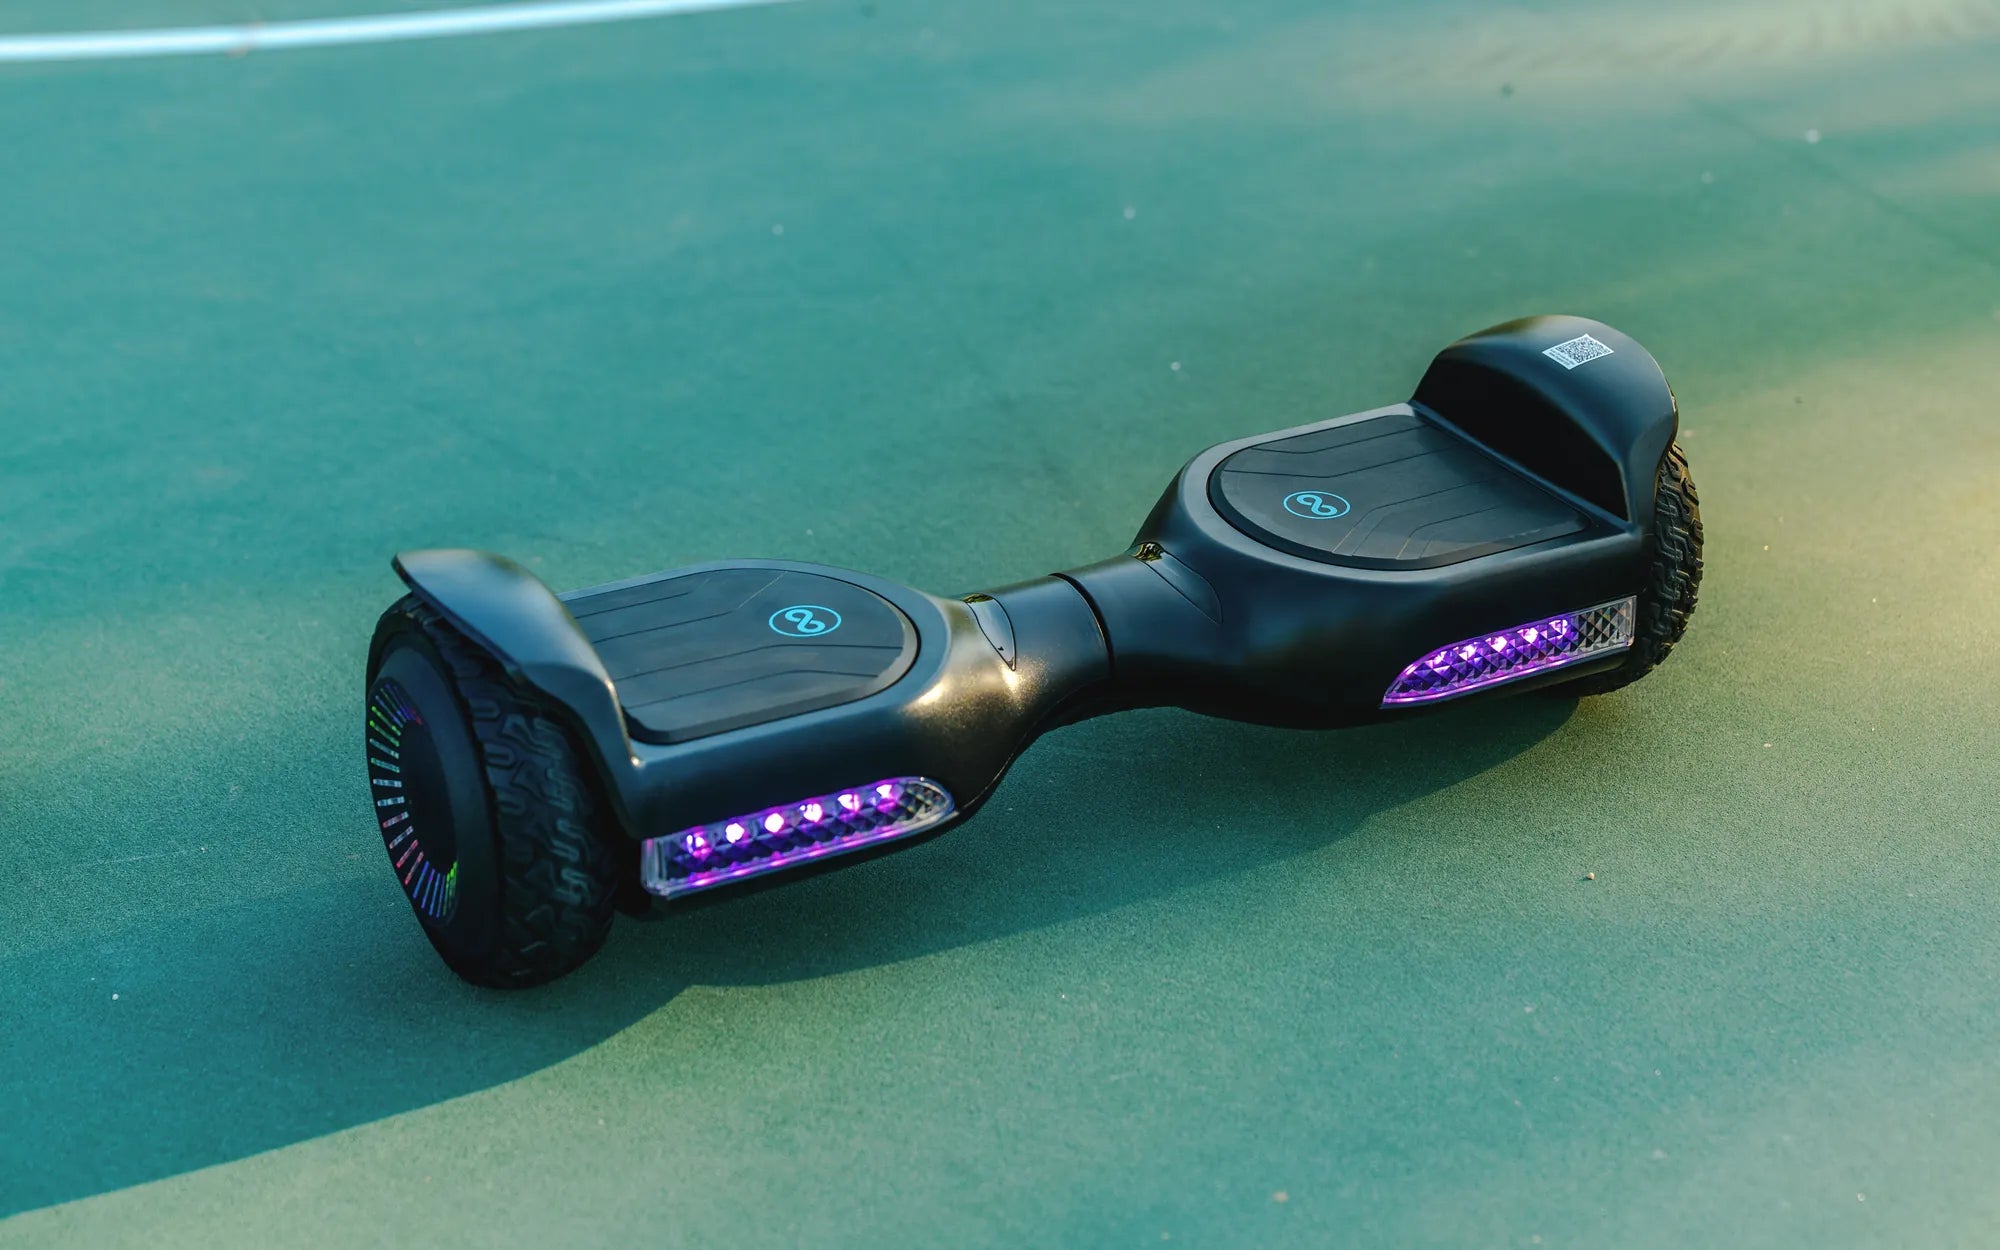
Understanding why your hoverboard isn't charging starts with knowing how its system works. Modern self-balancing scooters rely on sophisticated lithium-ion battery packs and charging circuits. Brands that prioritize safety, like Gyroor, integrate UL-certified battery packs and robust Battery Management Systems (BMS) to prevent many common failures from the outset.
We will explore everything from the wall outlet to the internal battery, providing clear steps for safe troubleshooting. Whether you own a budget model or a premium board, this comprehensive guide covers the essential knowledge to address the question: Why Is My Hoverboard Not Charging? Common Causes and Fixes.
Understanding Hoverboard Charging Systems: The Core Components
A hoverboard's charging system is a chain of components, each critical for delivering power safely to the battery. A failure at any point can stop the process. The primary components are the AC wall adapter (charger), the charging port, the internal wiring, the Battery Management System (BMS), and the lithium-ion battery pack itself.
The charger converts AC household current into the specific DC voltage and current your board's battery requires. Using an incorrect charger can cause severe damage. The charging port is your board's physical connection point, vulnerable to physical damage and debris. Internally, wires carry this power to the BMS.
The BMS is the intelligent guardian of the battery. It monitors cell voltage, temperature, and current. Its functions include preventing overcharging, managing cell balance, and cutting off power in case of a short circuit. A malfunctioning BMS will often refuse to accept a charge, even if the battery and charger are fine.
Finally, the battery pack consists of multiple lithium-ion cells arranged in series. Over time, these cells can degrade or become unbalanced. Premium brands like Gyroor use UL-certified cells and BMS units tested for over 500 charge cycles, significantly reducing the risk of premature failure compared to uncertified, generic models.
Common Cause #1: Issues with the Power Source and Charger
Before suspecting complex internal issues, always start with the power source and charger. These are the most frequent culprits and the easiest to check.
Checking Your Wall Outlet and Power Flow
Your troubleshooting must begin at the wall. Ensure the outlet is live by plugging in another device, like a lamp or phone charger. Check if the outlet is controlled by a light switch that might be off. Try a different outlet in another room to completely rule out a circuit breaker trip or a faulty socket. A simple lack of power is a surprisingly common oversight.
Inspecting the Charger and Cables for Damage
Visually inspect your hoverboard charger from end to end. Look for fraying or cuts in the cable, bent or corroded pins on the connector, and any burn marks or melting on the adapter brick. Gently wiggle the cable where it meets the brick and the connector to check for internal breaks.
Next, observe the charger's LED indicator (if it has one). Consult your manual for its normal behavior. Typically, a red light indicates active charging, green means the battery is full or the connection is made, and no light suggests no power flow. If the light behaves erratically or not at all, the charger is likely faulty.
Critical Safety Note: Only use the manufacturer-provided, UL-certified charger. Third-party or "universal" chargers may have the wrong voltage/amperage, lack proper safety certifications, and can overheat your battery, creating a fire hazard. This also voids warranties from reputable companies like Gyroor.
Common Cause #2: Problems with the Hoverboard's Charging Port
The charging port is a mechanical wear point. It's subjected to repeated plugging and unplugging and is exposed to the environment, making it prone to two main issues.
Physical Obstruction and Debris
Lint, dust, pocket sand, or other small debris can compact inside the port, preventing the charger plug from making full contact. Use a bright flashlight to peer into the port. If you see debris, carefully use a wooden toothpick or a blast of compressed air to dislodge it. Never use metal objects like paperclips, as they can short the pins.
Loose or Damaged Internal Connections
If the charger plug feels wobbly or you must hold it at a specific angle for the charging light to come on, the internal solder joints of the port may be broken. This is often caused by yanking the charger cord out sideways or from the board being dropped on the port.
Fixing a loose port usually requires opening the hoverboard casing, de-soldering the old port, and soldering in a new one. This is not a beginner DIY task due to the risk of damaging other components or the battery. For brands with strong customer support, like Gyroor, this type of repair is typically covered under their 1-year warranty, making professional service the safest and most cost-effective route.
Common Cause #3: Battery and Battery Management System (BMS) Faults
When external components check out, the issue may lie within the hoverboard's core power system: the battery or its managing brain, the BMS.
The Role of the BMS in Charging Safety
The BMS is a critical safety component. If it detects an anomaly—such as a cell voltage outside safe limits, excessive temperature, or an internal short—it will enter a protective "lockout" mode and refuse to accept any charge. This is a safety feature, not a defect. Sometimes, a BMS can trigger a lockout due to a voltage dip from the battery being completely drained for too long.
Signs of Battery Depletion or Failure
A failing battery exhibits clear symptoms. These include a dramatically reduced riding range (e.g., full charge lasting only 5 minutes), the board shutting off suddenly even when the indicator shows high charge, or an inability to hold a charge after being unplugged for a short time.
The most severe sign is a physically swollen or bulging battery pack. This indicates internal gas buildup and is a serious fire and explosion hazard. If you notice swelling, stop using the hoverboard immediately, do not attempt to charge it, and contact the manufacturer or a professional for safe disposal and replacement. Gyroor's use of UL-certified battery packs involves rigorous testing to minimize these failure modes, offering greater long-term peace of mind.
Step-by-Step Troubleshooting Flowchart: Systematic Diagnosis
Follow this logical sequence to methodically isolate the cause of your charging problem. Start at the top and proceed downward until you find the issue.
| Step | Action | Expected Result & Next Step |
|---|---|---|
| 1. Power Source | Plug another device into the wall outlet. |
FAIL: Outlet is dead. Try a different circuit. PASS: Outlet works. Proceed to Step 2. |
| 2. Charger Inspection | Visually inspect charger and cable for damage. Check LED behavior. |
FAIL: Damage found or no LED. Likely faulty charger. PASS: Charger looks good. Proceed to Step 3. |
| 3. Charging Port | Inspect port for debris. Ensure plug fits snugly. |
FAIL: Debris present or port is loose. Clean or seek repair. PASS: Port is clean and secure. Proceed to Step 4. |
| 4. Battery Reset | Leave the hoverboard plugged into a known-good outlet with a known-good charger for 2+ hours. |
PASS: Charging begins. Battery was deeply discharged. FAIL: No change. Likely BMS lockout or battery failure. |
| 5. Professional Diagnosis | Contact manufacturer support (e.g., Gyroor) if under warranty. | Internal issue confirmed (BMS, battery, wiring). Warranty service or professional repair is required. |
When to Seek Professional Repair vs. DIY Fixes
Knowing the boundary between a user-serviceable check and a job for a professional is crucial for your safety and your wallet.
Safe DIY Checks and Basic Maintenance
You can safely and confidently perform these actions: testing wall outlets, inspecting external cables and chargers for damage, cleaning the charging port with non-conductive tools, and verifying the hoverboard has been stored within its rated temperature and humidity range (avoiding extreme heat, cold, or standing water). These steps address the majority of superficial charging issues.
Utilizing Your Gyroor Warranty and Support
You should contact professional support for any issue involving internal components. This includes a physically damaged charging port, suspected BMS failure, a non-responsive or swollen battery, or any internal wiring problem. For Gyroor hoverboards, their 1-year comprehensive warranty covers these critical components.
Attempting to open the sealed battery compartment or solder internal connections yourself will almost certainly void the warranty and can be extremely dangerous due to the risk of short-circuiting the lithium-ion battery. Leveraging professional support is not just convenient; it's the safe choice that protects your investment.
Preventive Care: How to Extend Your Hoverboard Battery Life
Proactive maintenance can prevent most charging issues and significantly extend your battery's lifespan, which is typically rated for 300-500 full charge cycles.
First, always use the official charger. It's engineered to match your battery's specific charging profile. Avoid letting your hoverboard's battery drain to 0% regularly; try to recharge when it hits 20-30%. Conversely, don't leave it plugged in continuously for days after it's fully charged, as this stresses the BMS.
For long-term storage (over a month), charge the battery to approximately 50-60% and store the board in a cool, dry place. Check and top up this storage charge every 2-3 months. This practice keeps the lithium-ion cells in a stable, low-stress state. Following these guidelines maximizes the performance of quality batteries, like the UL-certified packs in Gyroor products, ensuring they last for years of reliable service.
Conclusion: Powering Up Safely for Your Next Ride
Diagnosing a non-charging hoverboard is a process of elimination, starting with the simplest external causes—power, charger, and port—before considering internal faults. Most riders will find their solution in these first checks. For persistent internal issues related to the BMS or battery, professional support is not just recommended; it's essential for safety.
Investing in a hoverboard from a brand that prioritizes component quality and rider support, like Gyroor with its UL-certified batteries and 1-year warranty, provides a foundational layer of protection against many common charging problems. By combining quality hardware with the proactive maintenance tips outlined here, you can ensure your hoverboard remains a reliable source of fun and transportation. Ready to ride with confidence on a scooter built to last? Browse the full Gyroor collection at gyroorboard.com.
FAQ: Quick Answers to Charging Concerns
Q: Can I use a different brand's charger for my hoverboard?
A: Absolutely not. Chargers have specific voltage, amperage, and connector polarity. Using an incorrect charger can permanently damage the battery's BMS, cause overheating, and create a serious fire risk. It will also void your warranty.
Q: The charger light is green as soon as I plug it in, but the board is dead. What's wrong?
A: This usually indicates the charger is not detecting a battery load. Causes include a broken connection in the charging port, a failed BMS in a protective lockout state, or a completely dead battery cell pack. Start with port inspection and try a long (4-6 hour) charge attempt before concluding an internal fault.
Q: My hoverboard was left in a cold garage. Will it not charge now?
A> Lithium-ion batteries cannot accept a charge safely at very low temperatures (typically below 32°F/0°C). The BMS will prevent charging. Bring the hoverboard to room temperature (around 68°F/20°C) for several hours before attempting to charge it again.
Q: How long should a hoverboard battery last before needing replacement?
A> With proper care, a quality lithium-ion battery should provide 2-4 years of regular use or 300-500 full charge cycles before its capacity diminishes noticeably (e.g., range drops by 20-30%). UL-certified packs, like those from Gyroor, are tested to meet these cycle life standards.
Q: Is it safe to leave my hoverboard charging overnight or unattended?
A> It is not recommended. While modern BMS units are designed to stop charging at 100%, malfunctions can occur. The safest practice is to charge your hoverboard in a clear area, away from flammable materials, and to unplug it once the indicator shows a full charge, typically after 2-4 hours.
Self Balancing E Scooter: The Future of Urban Mobility and Fun
Scooter for Kids Ages 8-12: The Ultimate Guide to Fun and Safety