


Introduction to Electric Scooter Charging
Knowing how to charge electric scooters is the simple key to unlocking reliable, daily transportation. A proper charging routine directly impacts your scooter's range, performance, and overall lifespan. This guide provides a complete, step-by-step manual for powering up your ride safely and efficiently.
We'll demystify the entire process, from plugging in to advanced battery care. You'll learn not just the basics, but the science-backed best practices that maximize your investment. For brands like Gyroor, which utilizes UL-certified batteries and robust engineering, correct charging ensures you get the full benefit of their reliable performance and 1-year warranty.
This article is structured to answer every question, from the simple 'how-to' to complex troubleshooting. Whether you're a new rider or a seasoned commuter, you'll find actionable advice to power up with confidence. Let's start with understanding the core components that make charging possible.
The Core Components: Understanding Your Scooter's Power System
Charging an electric scooter isn't magic; it's a controlled process managed by several key components. Understanding these parts helps you appreciate why following proper procedures is crucial for safety and longevity.
The heart of the system is the battery pack, almost always a lithium-ion variant in modern scooters. High-quality brands like Gyroor use UL-certified battery packs, which have undergone rigorous testing for safety and performance over 500+ charge cycles. The battery's capacity, measured in watt-hours (Wh) or amp-hours (Ah), determines your scooter's range and charge time.
Your charger is the dedicated AC adapter that converts wall outlet power (AC) to the direct current (DC) your battery needs. It's specifically calibrated to your scooter's voltage and amperage. Using a non-OEM charger is a major safety risk and can permanently damage the battery.
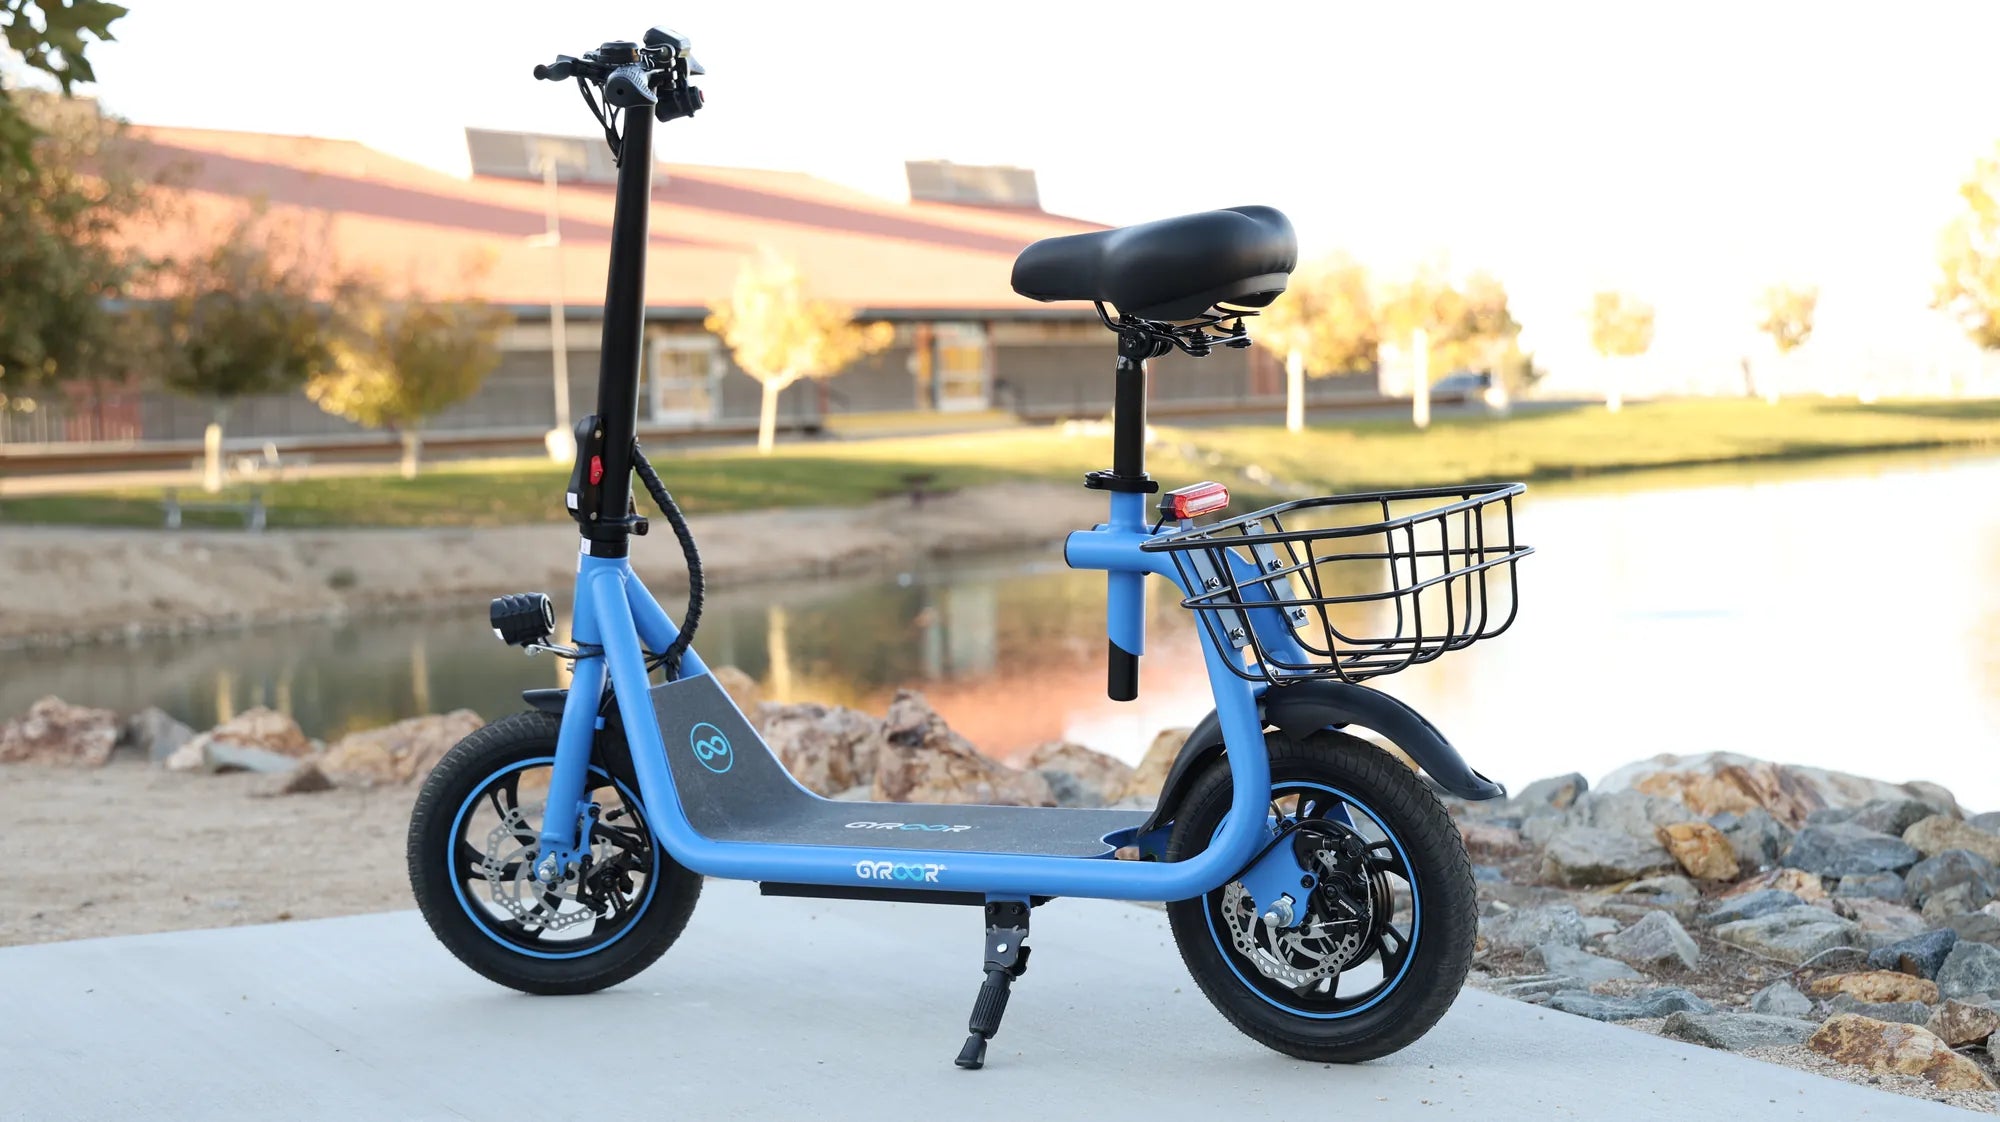
The charging port on your scooter is the physical interface. Many models, including Gyroor's IPX5 water-resistant designs, feature covered ports to protect against dust and light rain. Finally, the Battery Management System (BMS) is the onboard computer that protects the battery. It regulates the charge flow, prevents overcharging, balances cell voltages, and monitors temperature.
The Step-by-Step Charging Process: A Safe Routine
Establishing a consistent, safe routine is essential. Follow these steps every time you charge to ensure safety and battery health.
Step 1: Pre-Charge Inspection. Always allow your scooter to cool down for 15-30 minutes after a ride before charging. Heat is a battery's enemy. Visually inspect the charging port and the charger's connectors for any debris, dirt, or moisture. Ensure both are clean and dry.
Step 2: Connection Order. First, connect the charger's output connector firmly into your scooter's charging port. You should feel a secure click or snug fit. Only after this connection is made should you plug the charger into a working wall outlet. This sequence prevents arcing or sparking at the port.
Step 3: Monitoring the Charge. Most chargers and scooters have indicator lights. A red or orange light typically means charging is in progress. A green light usually signals a full charge or that the unit is plugged in but not connected to the scooter. Refer to your user manual for specific light patterns.
Step 4: Disconnection Order. Once charging is complete, reverse the connection order. First, unplug the charger from the wall outlet. Then, disconnect the charger from your scooter's port. This is the safest sequence to follow.
Critical Safety Don'ts: Never use a damaged charger or cable. Never charge a battery that has been physically damaged or submerged. Avoid charging on flammable surfaces like beds or sofas. Always charge in a well-ventilated area.
Charging Best Practices for Maximum Battery Life & Range
Going beyond the basic plug-in, these practices will optimize your battery's lifespan and maintain your scooter's maximum range over years of use.
The 20-80% Rule: For daily commuting, try to keep your battery between 20% and 80% charge. Frequently draining to 0% or always charging to 100% stresses lithium-ion cells. The BMS helps, but partial charges are gentler. A full cycle (0-100%) once a month helps recalibrate the battery's internal meter.
Ideal Charging Environment: Always charge indoors in a cool, dry place. Extreme temperatures are detrimental. Avoid charging in direct sunlight or a freezing garage. Room temperature (around 68°F / 20°C) is ideal. This practice is essential for preserving Gyroor's warranty coverage.
Long-Term Storage: If storing your scooter for more than a month, charge the battery to about 50-60%. Store it in a cool, dry place. Every 2-3 months, check the charge level and top it up back to 50-60% if needed. Never store a fully depleted battery.
Avoid 'Opportunity Charging': Constantly plugging in for short top-ups throughout the day can lead to minor stress cycles. It's generally better to plan for one longer charging session, adhering to the 20-80% guideline where possible.
Troubleshooting Common Charging Issues
Even with care, you might encounter problems. Here’s a logical approach to diagnosing and resolving common charging issues.
Scooter Won't Charge: First, check the basics. Is the wall outlet working? Try another device. Are all connections (wall-to-charger, charger-to-scooter) fully seated? Is the charger's LED light on? If the charger light is off, the charger or cable may be faulty. If the charger light is on but the scooter shows no sign of charging, the issue could be the port or the BMS.
Charging is Extremely Slow: This can be caused by using an underpowered, non-standard charger. Always use the manufacturer-provided charger. It can also be a sign of a failing battery or BMS, especially in very cold conditions where lithium-ion chemistry slows down.
Charger or Port is Physically Damaged: Do not attempt to charge. Using a damaged charger is a fire risk. A damaged port can cause short circuits. Contact Gyroor's US-based support for genuine replacement parts under the 1-year warranty.
Scooter Shows Full Charge Immediately or Dies Quickly: This often indicates the battery cells are out of balance or the battery's capacity has significantly degraded. The BMS may be cutting off charge prematurely. A diagnostic check by support may be needed.
Charging on the Go: Tips for Commuters & Travelers
For urban riders and adventurers, charging isn't always done at home. Here's how to power up responsibly while out in the world.
Public Charging Points: Many public spaces like coffee shops, libraries, and transit hubs have outlets. Always ask for permission before plugging in. Use a bag or be present to secure your scooter and charger. Never leave your charging setup unattended in a public area.
Charging at Work: This is a fantastic way to ensure a full battery for your evening commute. Clear it with your employer first. Store your scooter and charger in a designated, unobstructed area, not blocking walkways or exits.
Portable Power Banks: Some scooters support charging via high-capacity DC power banks. Check your model's compatibility first. This is a premium solution for long-distance tours or areas without reliable power access.
Traveling with Your Charger: When traveling, pack your charger in your carry-on or a padded bag. Check outlet compatibility for your destination; you may only need a simple plug adapter, not a voltage converter (most scooter chargers are 100-240V AC compatible).
Electric Scooter Charging: Data, Comparisons, and Myths Debunked
Let's ground our knowledge in data and clear up widespread misconceptions.
| Gyroor Model Type | Typical Battery Capacity | Estimated Full Charge Time* | Estimated Cost per Charge** |
|---|---|---|---|
| Compact Commuter | 7.5Ah (36V) | 4-5 hours | $0.10 - $0.15 |
| Standard City Scooter | 10Ah (48V) | 5-7 hours | $0.15 - $0.20 |
| High-Performance / Off-Road | 15Ah+ (52V) | 8-10 hours | $0.25 - $0.35 |
*Using standard OEM charger. **Based on avg. U.S. electricity rate (~$0.15/kWh).
Myth 1: "You must drain the battery to 0% before every charge." Debunked: This was true for old nickel-cadmium batteries but is harmful to modern lithium-ion batteries. Deep discharges accelerate wear.
Myth 2: "Leaving it plugged in overnight always damages the battery." Debunked: Scooters with a smart BMS, like Gyroor models, stop charging when full. However, it's still best practice to unplug once the charge cycle is complete to minimize any standby stress.
Myth 3: "Charging for exactly 8 hours is mandatory." Debunked: Charge time depends on battery capacity and charger output. Rely on the indicator light or your scooter's display, not a fixed timer.
Frequently Asked Questions (FAQ)
Q1: How long does it take to fully charge a Gyroor scooter?
A: Charge time varies by model. A typical 10Ah battery takes 5-7 hours with the standard charger. Always refer to your specific model's manual. The charger's indicator light will signal when the cycle is complete.
Q2: Can I use a fast charger?
A: Only if the manufacturer explicitly provides or recommends one. Using an unauthorized fast charger can overwhelm the BMS, cause excessive heat, and permanently degrade your battery. Stick to the OEM charger for safety.
Q3: Is it safe to charge in the rain?
A: No. Even with an IPX5 water-resistant rating for the scooter body, you should never expose the charging port, plugs, and connections to water. Always charge indoors or in a fully protected, dry area.
Q4: How much does it cost to charge an e-scooter?
A: It's remarkably cheap. As shown in the table above, a full charge for most models costs between $0.10 and $0.35, making it hundreds of times cheaper per mile than fueling a car.
Q5: What does the Gyroor warranty cover for battery issues?
A> Gyroor's 1-year warranty covers defects in materials and workmanship. This includes battery packs that fail under normal use. Damage from using non-OEM chargers, physical abuse, water damage beyond the rated IPX5, or improper storage is not covered.
Q6: My charger feels warm. Is that normal?
A: It is normal for chargers to become mildly warm during operation. However, if it becomes uncomfortably hot to the touch, emits a burning smell, or makes strange noises, unplug it immediately and discontinue use.
Power Up with Confidence
Knowing how to charge electric scooters correctly transforms it from a mundane task into a cornerstone of responsible ownership. By following the step-by-step safety routine, adhering to the 20-80% best practice, and understanding the role of components like the BMS, you directly invest in your scooter's longevity and performance.
This guide has provided the comprehensive knowledge needed to troubleshoot issues, charge on the go, and debunk common myths. The minimal cost and effort of proper charging pay massive dividends in reliable transportation, extended battery life, and sustained riding range. Your electric scooter is a gateway to freedom, and its battery is the key.
With brands like Gyroor, which build reliability into their products through UL-certified batteries and robust engineering, you have a partner in this journey. Proper charging ensures you get every mile of adventure and utility promised by your ride. Now, you're equipped to power up smartly and ride with assurance.
Ready to explore a scooter engineered for reliable performance and easy charging? Browse the full Gyroor collection, featuring models with UL-certified batteries and IPX5 water-resistant designs, at gyroorboard.com.
Electric Scooters for Sale Miami: Your Ultimate Buying Guide
Electric Scooters in Durgapur: A Smart Commuting Revolution