
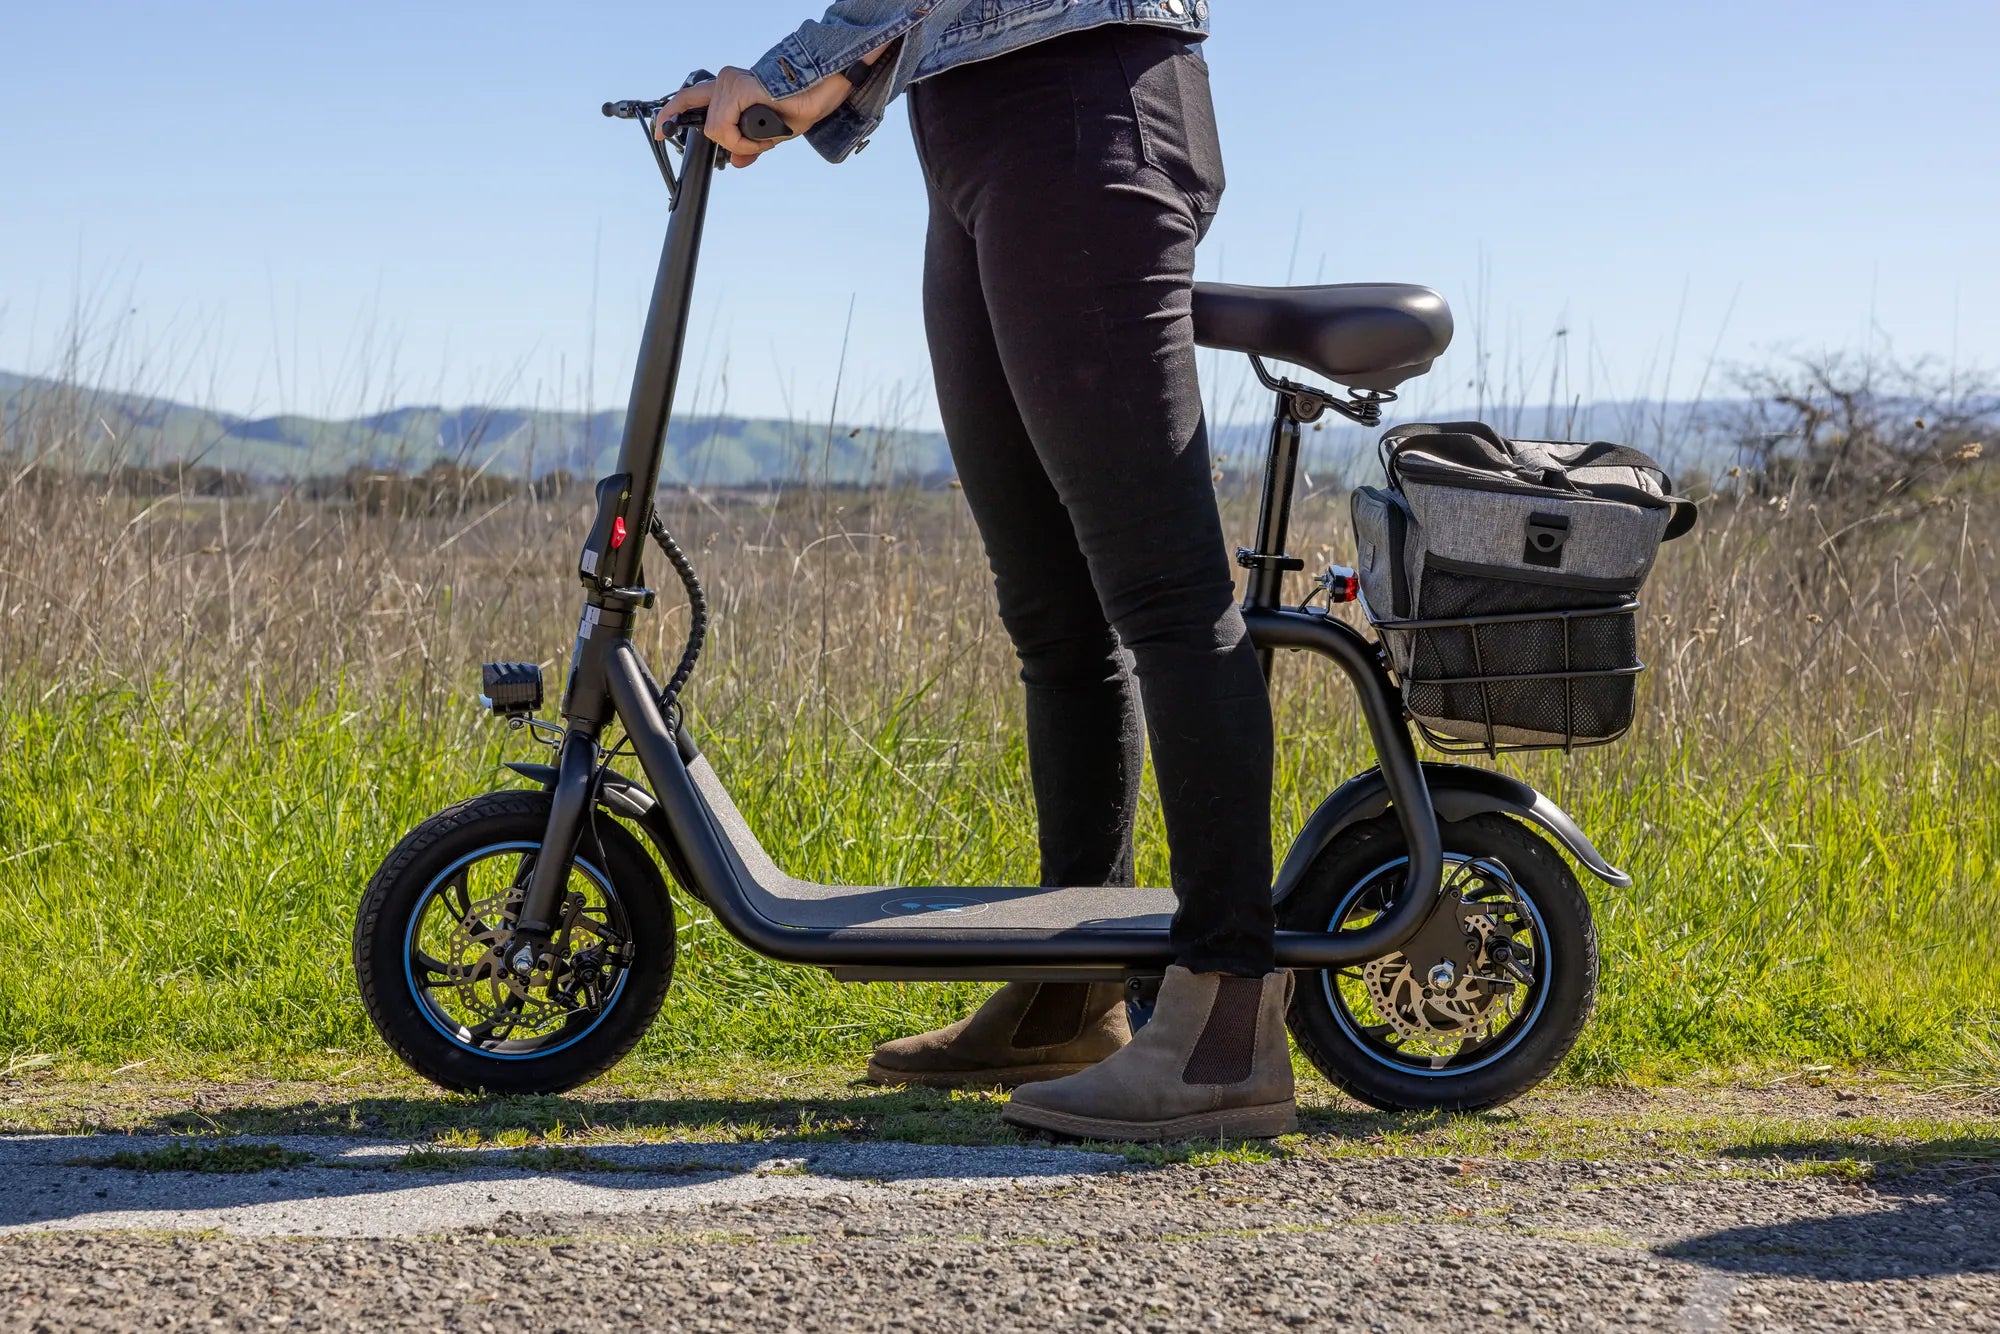
You hop on your electric scooter, ready to zip through traffic, only to find it won’t budge—despite being fully charged. Frustrating, right? Before you give up and call for repairs, let’s dive into the possible reasons and solutions for this common issue.
Common Reasons Why Your Electric Scooter Isn’t Working
When your electric scooter is fully charged but refuses to move, the problem could stem from several underlying issues. Here are the most common culprits:
1. Faulty Battery Connection
Even if the battery is charged, a loose or corroded connection can prevent power from reaching the motor. Check the battery terminals and wiring for any signs of damage or disconnection.
2. Motor Malfunction
The motor is the heart of your electric scooter. If it overheats, burns out, or suffers from internal damage, your scooter won’t move—even with a full battery.
3. Controller Issues
The controller acts as the brain of your scooter, regulating power distribution. A faulty controller can disrupt the connection between the battery and motor, leaving you stranded.
4. Throttle or Brake Sensor Problems
If the throttle isn’t sending signals properly or the brake sensor is stuck, your scooter may refuse to accelerate. Inspect these components for wear or misalignment.
5. Software or Firmware Glitches
Modern electric scooters rely on software to function. A bug or outdated firmware can cause unexpected shutdowns or unresponsiveness.
How to Diagnose and Fix the Problem
Now that you know the potential causes, let’s explore how to troubleshoot and resolve the issue.
Step 1: Inspect the Battery and Connections
Start by ensuring the battery is securely connected. Remove the battery cover and check for loose wires, corrosion, or burnt spots. Clean the terminals with a soft brush if needed.
Step 2: Test the Motor
Listen for unusual noises when you try to accelerate. If the motor hums but doesn’t spin, it might be jammed or damaged. Spin the wheels manually to check for resistance.
Step 3: Examine the Controller
Locate the controller (usually near the battery or under the deck) and look for visible damage. If you’re comfortable with electronics, use a multimeter to test voltage outputs.
Step 4: Check the Throttle and Brake Sensors
Ensure the throttle springs back when released. If it feels sticky, it may need cleaning or replacement. Similarly, test the brake levers to confirm they aren’t stuck in the engaged position.
Step 5: Reset or Update Firmware
Refer to your scooter’s manual for instructions on resetting the system or updating firmware. A simple reboot might resolve software-related issues.
Preventive Measures to Avoid Future Problems
To keep your electric scooter running smoothly, follow these maintenance tips:
- Regularly clean and inspect battery terminals.
- Avoid overcharging the battery.
- Store your scooter in a dry, temperature-controlled environment.
- Lubricate moving parts to reduce wear and tear.
- Update firmware as recommended by the manufacturer.
By staying proactive, you can minimize the chances of your scooter failing unexpectedly.
When to Seek Professional Help
If you’ve tried all the above steps and your scooter still won’t work, it’s time to consult a professional. Electrical components can be tricky, and attempting complex repairs without expertise might cause further damage.
Don’t let a non-working electric scooter ruin your day. With the right troubleshooting steps, you can often identify and fix the problem yourself—or at least know when to call in the experts. Get back on the road with confidence by addressing issues early and maintaining your scooter properly.
What to Consider When Buying Electric Scooter: A Complete Guide
Can I Take an Electric Scooter on a Plane? Everything You Need to Know