
Introduction: The Hoverboard Revolution, Reimagined
Your old hoverboard doesn't have to gather dust in the garage. A hoverboard conversion kit represents the ultimate upgrade, a gateway to transforming its core components into a fully-fledged electric scooter or e-bike. This guide will teach you everything about this innovative DIY solution, from the compelling benefits and necessary tools to a detailed walkthrough of the conversion process. You'll learn how to assess compatibility, ensure safety, and unlock performance that far surpasses the original device, all while embracing a sustainable and cost-effective approach to personal electric mobility.
What is a Hoverboard Conversion Kit?
A hoverboard conversion kit is a collection of specialized parts designed to repurpose the functional core of a standard self-balancing scooter. It provides the new chassis, control systems, and interface needed to create a different, often more practical, electric vehicle. The concept is brilliantly efficient: you supply the donor hoverboard's twin hub motors, battery pack, and gyroscopic sensors, and the kit supplies everything else to build a new ride.
The Core Concept: From Hoverboard to E-Bike/Scooter
The magic lies in integration. These kits bypass the hoverboard's original balancing logic, using a new motor controller to interface with the motors directly via a standard throttle. The hoverboard's lithium-ion battery becomes the power source, and its rugged, sealed hub motors become the drivetrain. The result is a stable, handlebar-controlled vehicle with greater range, speed, and utility than the original hoverboard could ever offer.
Key Components Breakdown
Understanding the kit's parts is crucial for a successful build. A typical hoverboard conversion kit includes several key components.
- Frame/Chassis: The structural backbone, usually made of aluminum or steel, which holds everything together. It defines whether the final product is a standing scooter or a seated e-bike.
- Motor Controller: The electronic brain that replaces the hoverboard's motherboard. It interprets throttle input and regulates power to the motors.
- Throttle & Brake Assembly: Handlebar-mounted controls, typically a thumb or twist-grip throttle and mechanical disc or caliper brake levers.
- Wiring Harness: A pre-assembled set of cables and connectors designed to link the hoverboard's battery and motors to the new controller and throttle safely.
- Front Fork & Wheel: A non-motorized front wheel assembly for steering, often including a suspension fork for improved comfort.
Why Convert? The Compelling Benefits of a DIY Upgrade
Choosing to convert rather than replace offers a suite of advantages that appeal to budget-conscious consumers, eco-advocates, and hobbyists alike. It's more than a project; it's a strategic upgrade with tangible rewards.
Cost-Effectiveness vs. Buying New
The financial argument is powerful. A quality hoverboard conversion kit typically costs between $150 and $300. Even when paired with a used, functional hoverboard (which can often be found for under $100), the total investment is frequently less than half the price of a new, entry-level electric scooter or e-bike of similar capability. This allows you to access features like larger wheels and hand brakes at a fraction of the retail cost.
Sustainability and Reducing E-Waste
In an era of conscious consumption, conversion is a form of high-tech upcycling. It directly combats electronic waste by giving a fully operational device a second, more useful life. The lithium-ion battery, often the most environmentally sensitive component, is kept in service for its full lifespan instead of being discarded prematurely. This sustainable practice aligns with the responsible manufacturing ethos of brands like Gyroor, which designs its UL-certified battery packs for durability and long-term reliability.
Customization and the DIY Satisfaction
This process is the antithesis of buying a generic product off the shelf. Builders can choose kits for different styles—from street scooters to off-road e-bikes—and often customize colors, handlebars, or accessories. The satisfaction of riding a vehicle you built yourself, understanding every connection and component, provides a unique sense of ownership and accomplishment that enhances the riding experience.
What You Need to Get Started: Prerequisites and Tools
Success hinges on proper preparation. Before purchasing a kit, you must ensure you have a suitable donor board, the right tools, and a realistic assessment of your skills.
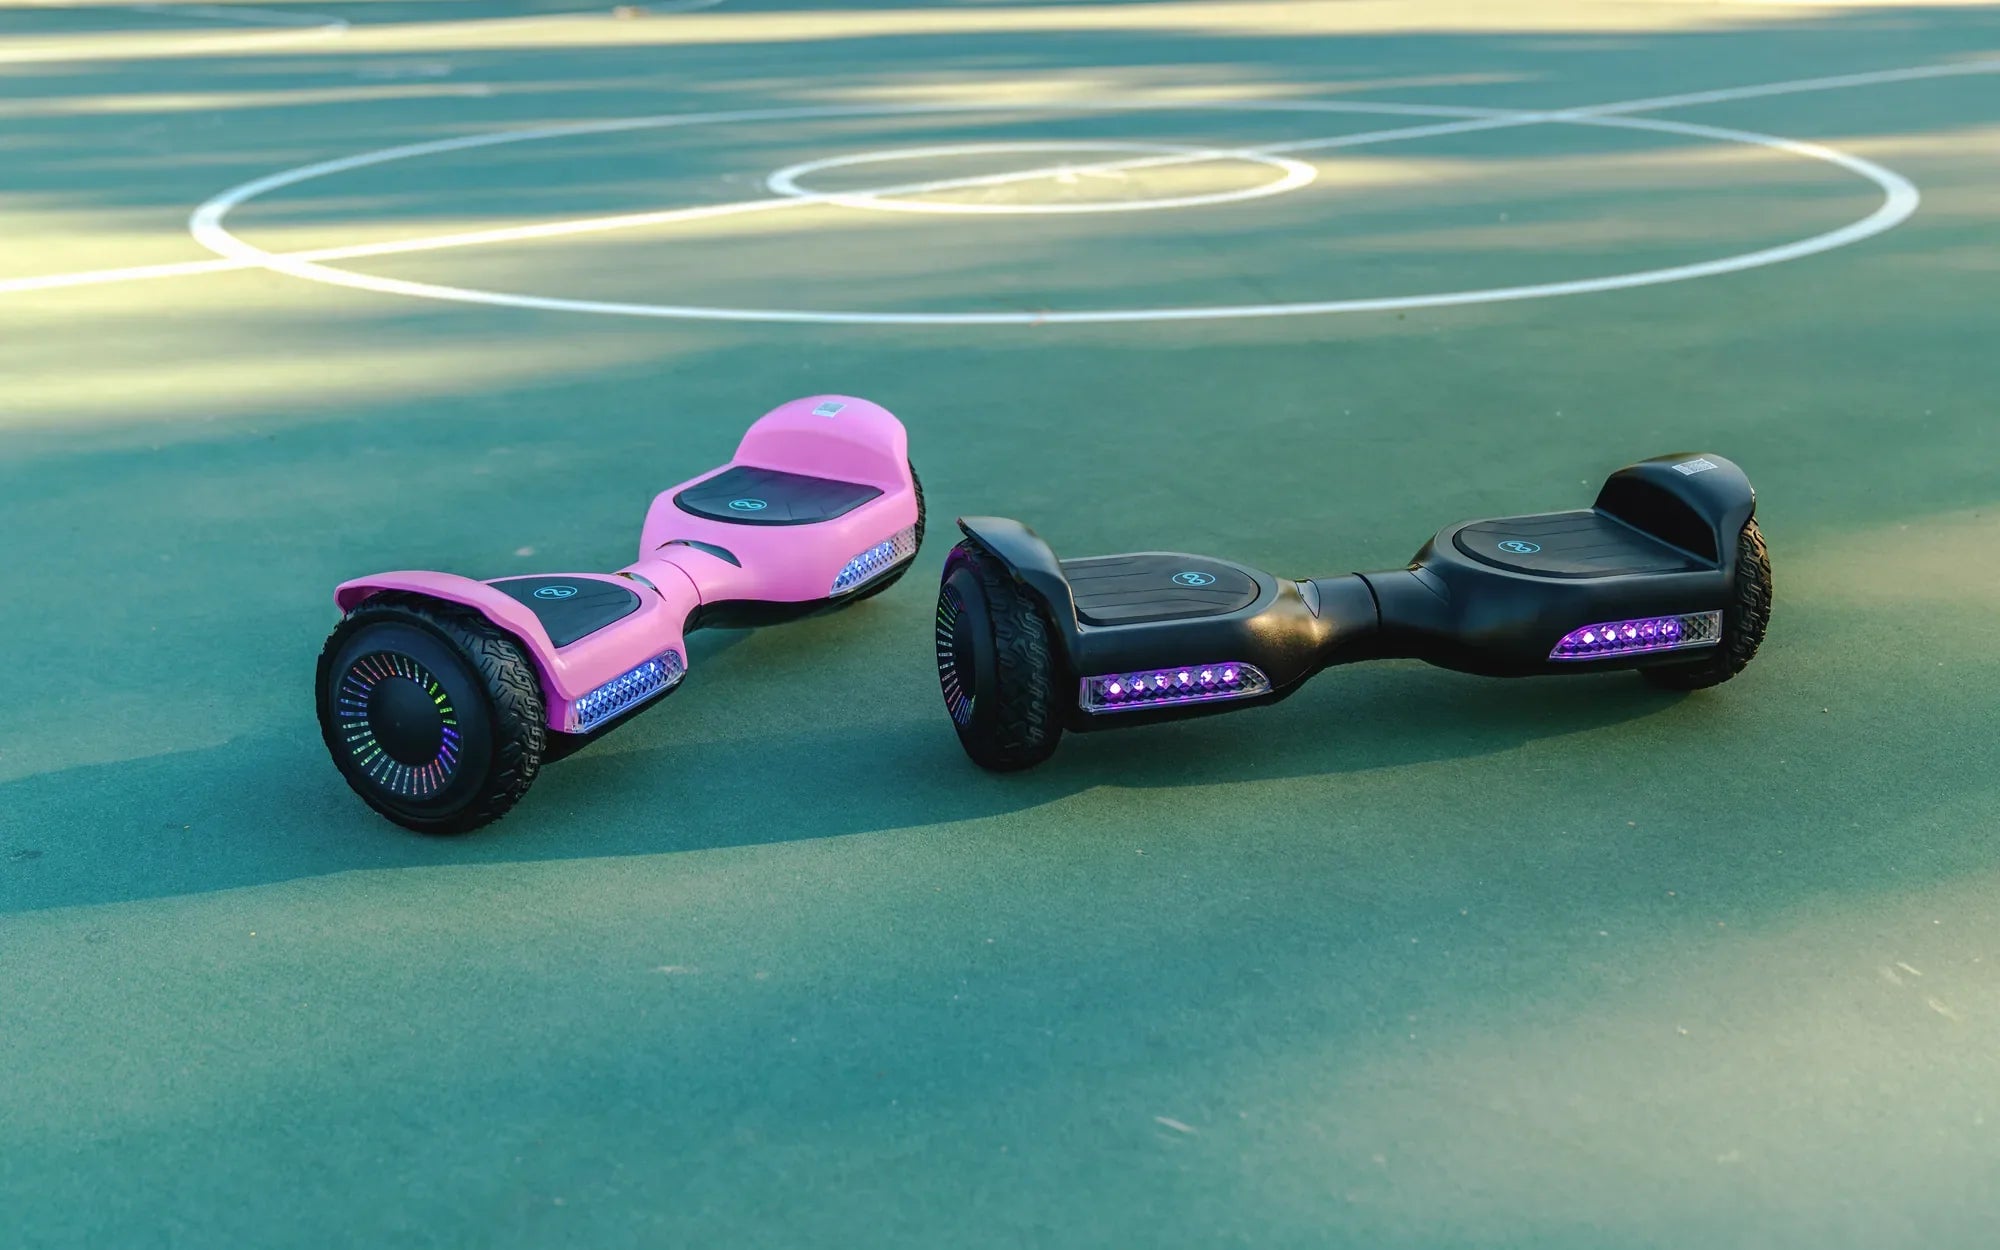
The Donor Hoverboard: What to Look For
Your project's foundation is a functional hoverboard. The most compatible models have 6.5-inch or 8-inch wheels, as most kits are designed for these standard motor sizes. The battery must hold a charge and the motors must turn smoothly. Starting with a reliable brand is a significant advantage; for instance, using a Gyroor hoverboard means beginning with a proven, UL-certified battery pack and IPX5 water-resistant motor units, offering a safer and more robust foundation for your new vehicle.
Essential Tools and Workspace
You don't need a professional mechanic's garage, but a basic toolkit is essential. Gather a set of hex keys (Allen wrenches), Phillips and flat-head screwdrivers, adjustable wrenches, wire strippers/crimpers, electrical tape, and zip ties. Safety glasses and work gloves are highly recommended. A clean, well-lit workspace with a sturdy table is crucial for organizing small parts and performing precise work.
Skill Level Assessment
This project requires an intermediate DIY aptitude. You should be comfortable using hand tools, following detailed diagrams, and making secure electrical connections. It is not recommended for absolute beginners with no mechanical experience. However, for those willing to patiently follow instructions—like the comprehensive guides often provided with quality kits—and consult online video tutorials, it is an entirely achievable and rewarding challenge.
Choosing the Right Conversion Kit: A Buyer's Guide
Not all kits are created equal. Selecting the correct one for your goals and donor board is the most critical purchasing decision you'll make.
Kit Types: Scooter vs. E-Bike vs. Go-Kart
Kits generally fall into three categories, each with distinct use cases. Scooter kits create a stand-up vehicle ideal for urban commuting and last-mile travel. E-bike kits include a seat and larger wheels, offering comfort for longer rides. Go-kart kits are more niche, transforming a hoverboard into a low-seated, recreational vehicle. For most adults, the scooter or e-bike styles offer the best balance of practicality, performance, and stability.
Key Specifications to Compare
When evaluating kits, focus on these critical specs that determine performance and compatibility.
| Specification | What It Means | What to Look For |
|---|---|---|
| Compatible Wheel Size | The hoverboard motor size the kit is designed for. | Must match your donor board (6.5" or 8" most common). |
| Max Speed | Top speed of the converted vehicle. | 15-20 mph is typical, limited by original motor power. |
| Weight Capacity | The maximum rider weight the frame supports. | 220 lbs (100 kg) or higher for adult riders. |
| Frame Material | Construction of the main chassis. | Aluminum alloy for lightness; steel for strength. |
| Included Features | Extra components like lights, display, or suspension. | LED lights for safety; a battery level display is very useful. |
The Importance of Compatibility and Support
Always double-check that the kit explicitly states compatibility with your hoverboard's wheel size. Beyond hardware, consider the "software" of the purchase: clear, well-translated instructions, accessible wiring diagrams, and responsive customer support are invaluable. Opting for a kit from a seller with a reputation for supporting DIY builders can save countless hours of frustration, mirroring the reliable post-purchase experience offered by established brands.
Step-by-Step: The Conversion Process Overview
The actual build can be broken down into four logical phases. Always consult your specific kit's manual first, as procedures can vary.
Phase 1: Disassembling the Hoverboard
Begin by fully charging the hoverboard, then power it off. Remove all the outer shell screws and carefully separate the two halves. Locate the main control board and gently disconnect the wiring connectors for the motors, battery, and gyroscopes. The goal is to cleanly extract the two wheel/motor assemblies and the central battery pack as intact units. Labeling wires with tape as you disconnect them can prevent confusion later.
Phase 2: Assembling the Kit Frame
Lay out all kit parts. Start by assembling the main frame, attaching the front fork and wheel according to instructions. Install the handlebars, ensuring they are straight and all stem bolts are tightened securely. Mount the throttle and brake levers to the handlebars in comfortable positions. This phase is largely mechanical and sets the stage for the electrical work.
Phase 3: Electrical Integration and Wiring
This is the most delicate phase. Mount the kit's new motor controller in a protected location on the frame. Using the provided wiring harness, connect the controller to the throttle and brake cut-off sensors. Then, carefully connect the wires from the hoverboard's battery pack and motors to the corresponding ports on the harness. This step must be done precisely, following color-coding or pin-out diagrams to the letter. Insulate all connections with electrical tape or heat-shrink tubing.
Phase 4: Final Assembly and Safety Check
Attach the hoverboard's motor/wheel units to the rear dropouts of the kit frame and secure them tightly. Mount the battery pack onto the deck or in the designated compartment. Secure all wiring with zip ties to prevent snagging. Before your first ride, perform a thorough safety check: test brake function, ensure the throttle returns to zero, check tire pressure, verify all bolts are tight, and confirm any lights are working.
Performance & Safety: What to Expect from Your New Ride
Your converted vehicle will offer a dramatically different experience from the original hoverboard, with important considerations for performance and safety.
Real-World Performance Metrics
Manage your expectations based on the donor board's specs. A typical conversion using a standard 350W hoverboard will yield a top speed of 15-18 mph and a range of 10-12 miles on a single charge, depending on rider weight, terrain, and battery health. Hill-climbing ability improves due to the mechanical advantage of larger wheels and hand-operated throttle control, but steep inclines may still slow the vehicle considerably.
Critical Safety Upgrades and Gear
The conversion itself is a major safety upgrade. You trade small wheels and balance-based control for larger, more stable wheels, a lower center of gravity, and positive hand-operated braking. However, this increased capability mandates proper safety gear. A certified bicycle or multi-sport helmet is non-negotiable. Knee and elbow pads are strongly recommended, especially during initial test rides as you acclimate to the new handling dynamics.
Maintenance and Care for Your Conversion
Treat your creation like the legitimate electric vehicle it is. Perform regular maintenance: check and inflate tires weekly, periodically inspect and tighten all frame and handlebar bolts, and keep the chain (if an e-bike kit) clean and lubricated. Electrical maintenance involves ensuring battery and controller connections remain clean, dry, and secure. Store the vehicle in a dry place and follow proper lithium-ion battery care—avoiding full discharges and not leaving it plugged in indefinitely.
Frequently Asked Questions (FAQ)
Q: Is a hoverboard-converted vehicle legal to ride on public paths?
A: Legality depends entirely on local regulations for electric bicycles or scooters. In many jurisdictions, if your converted vehicle has functional pedals (e-bike kit), is speed-limited (often to 20 mph), and has a motor under 750W, it may qualify as a Class 2 e-bike, which is permitted on bike paths. Scooter-style conversions often fall under electric scooter laws, which vary widely by city and state. Always check your local laws.
Q: Will converting my hoverboard void its warranty?
A> Yes, disassembling the hoverboard will almost certainly void any remaining manufacturer's warranty. This is why conversion is an ideal project for an older, out-of-warranty hoverboard that is still functionally sound.
Q: Can I use any brand of hoverboard for a conversion kit?
A> Most standard two-wheel, self-balancing scooters with 6.5" or 8" wheels are compatible with universal kits. However, some proprietary designs or unusual shapes may not fit standard kit frames. Always verify kit compatibility before purchasing.
Q: How difficult is the conversion for a complete beginner?
A> It presents a moderate challenge. Success depends less on prior experience and more on patience, ability to follow instructions meticulously, and comfort with basic tools. Many first-time builders complete the project successfully by using detailed video tutorials alongside the written guide.
Q: Can I improve the range or speed after conversion?
A> Significant performance upgrades are limited by the original hoverboard's motors and battery. While you could theoretically connect a higher-voltage external battery, this requires advanced electrical knowledge and risks damaging the motors or controller. The most reliable upgrade is starting with a donor hoverboard that has a larger battery capacity, like some high-end models.
Unleash Your Ride's Hidden Potential
A hoverboard conversion kit is more than just a collection of parts; it's a key to innovation, sustainability, and personalization in micro-mobility. This ultimate upgrade allows you to transcend the limitations of your old device, creating a capable, safe, and thrilling new vehicle that reflects your effort and ingenuity. By choosing a compatible kit, preparing thoroughly, and prioritizing safety, you can transform an outdated gadget into your primary commuter or weekend adventure machine. The journey from disassembly to first ride is a rewarding project that delivers not just a new form of transport, but a deeper understanding of the electric vehicles shaping our cities.
Ready to explore a new world of electric mobility without starting from scratch? For those seeking a premium, ready-to-ride experience with full warranty support and industry-leading safety features from the outset, consider the engineered excellence of a complete Gyroor electric scooter or e-bike. Browse the full Gyroor collection at gyroorboard.com to discover UL-certified, high-performance models designed for reliability and adventure.
Electric Scooter Safety Tips for Kids Every Parent Should Know: A Complete Guide
Two Wheel Hoverboard Market: Trends, Growth, and Future Outlook