


Ever dreamed of turning your hoverboard into a high-speed go kart? With a little creativity and some basic tools, you can transform your hoverboard into a thrilling ride that combines the best of both worlds. Whether you're a DIY enthusiast or just looking for a fun project, this guide will walk you through the process of a hoverboard go kart conversion.
Why Convert a Hoverboard into a Go Kart?
Hoverboards are fun, but they have limitations. A go kart conversion unlocks a whole new level of excitement. You get the stability of a kart with the agility of a hoverboard, making it perfect for racing, off-roading, or just cruising around the neighborhood. Plus, it's a fantastic way to repurpose an old hoverboard gathering dust in your garage.
Tools and Materials You'll Need
Before diving into the build, gather these essentials:
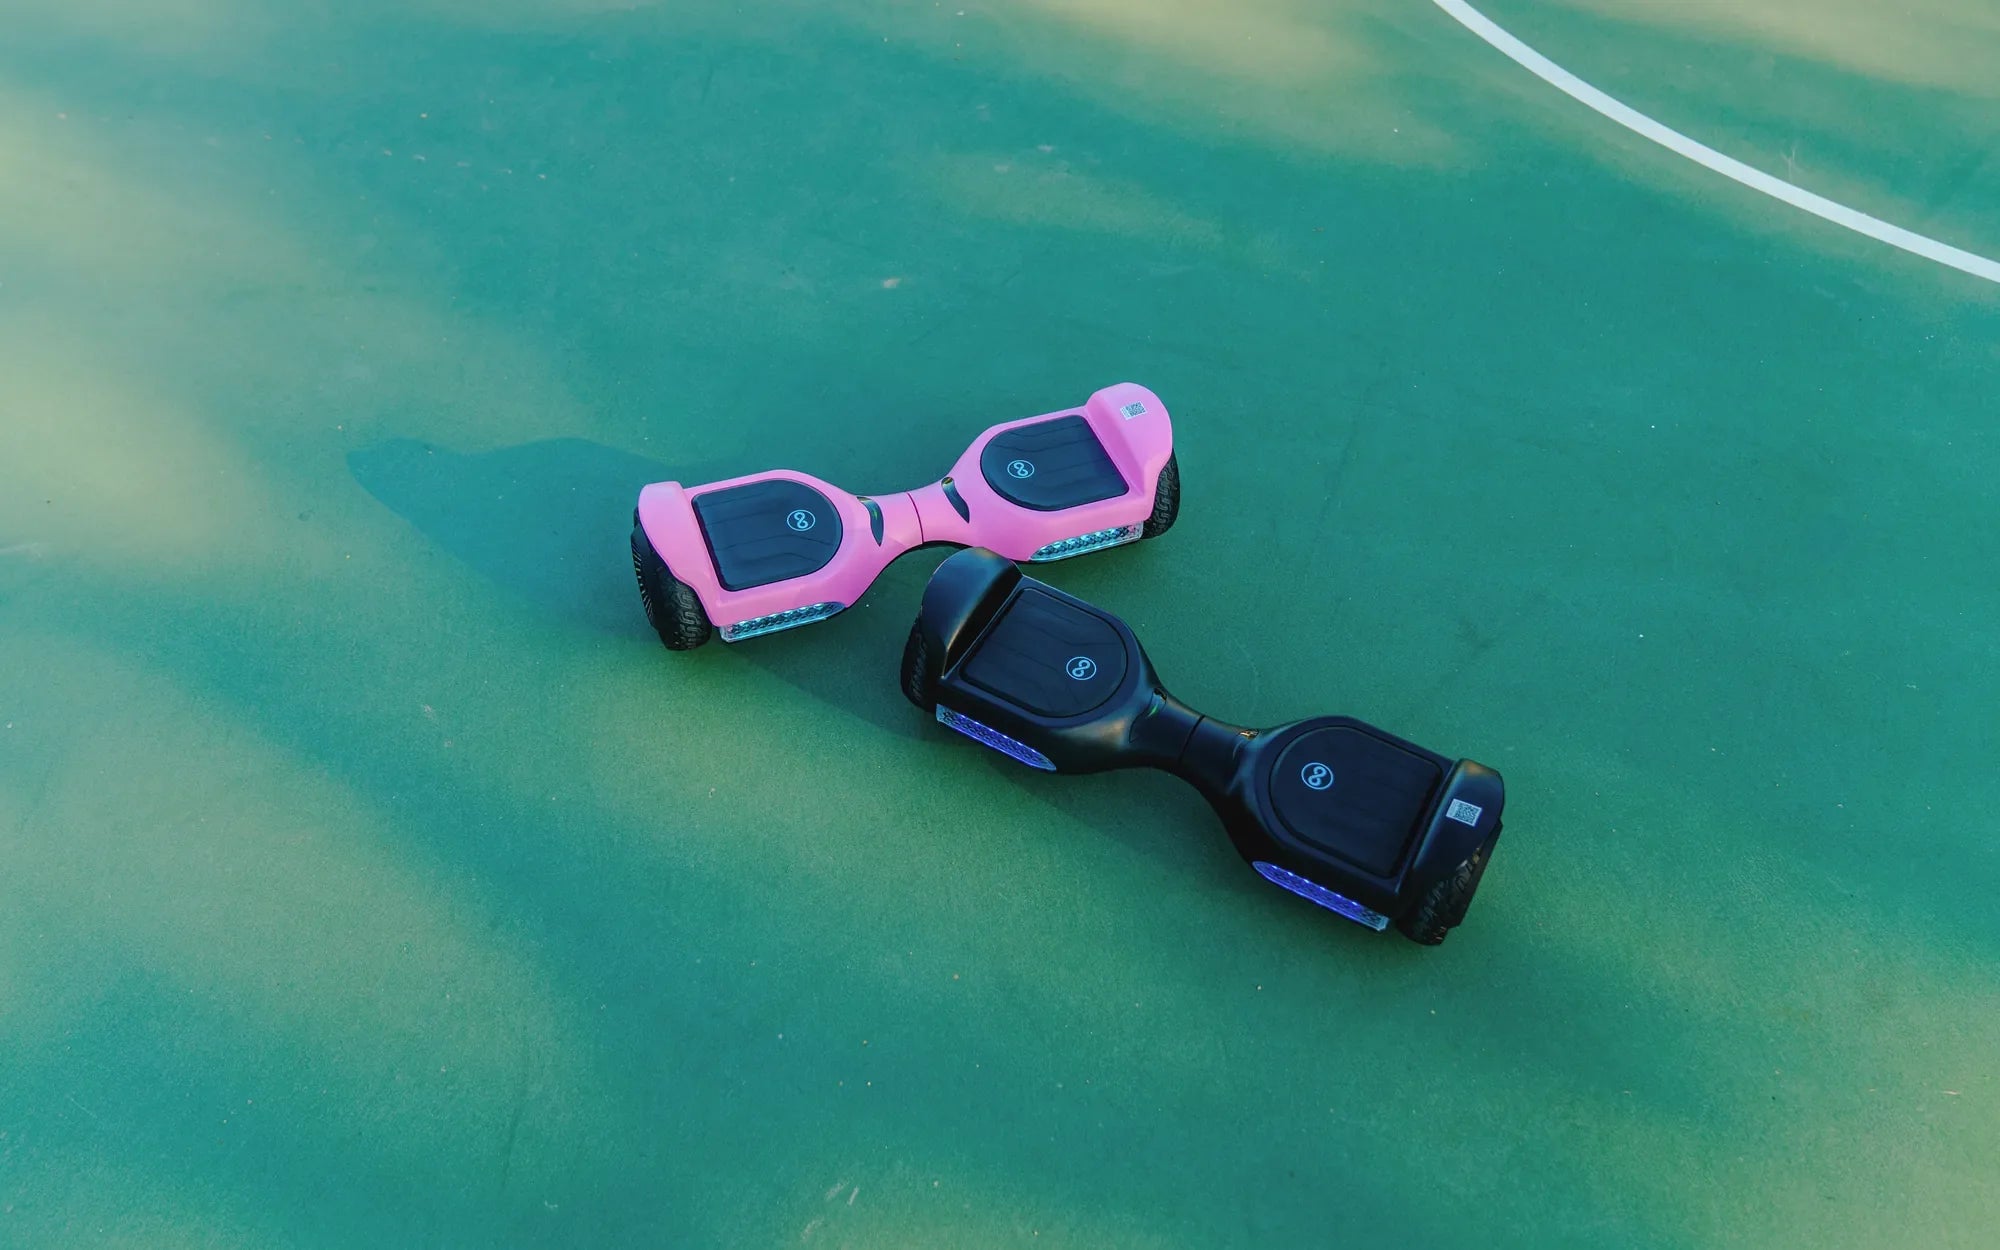
- A hoverboard (preferably with a sturdy frame)
- Metal or wooden frame for the go kart base
- Wheels and axles (compatible with your hoverboard)
- Bolts, nuts, and screws for assembly
- Drill and screwdriver
- Welding equipment (if using a metal frame)
- Seat and steering mechanism
Step-by-Step Conversion Process
Step 1: Disassemble the Hoverboard
Carefully remove the outer casing of the hoverboard to access the internal components. Take note of the wiring and motor connections to avoid damage.
Step 2: Build the Go Kart Frame
Construct a sturdy frame using metal or wood. Ensure it's wide enough to accommodate the hoverboard's wheels and has space for a seat. Weld or bolt the frame securely.
Step 3: Attach the Hoverboard Motors
Mount the hoverboard's motors to the frame, ensuring they align with the wheels. Secure them tightly to prevent wobbling during rides.
Step 4: Install the Steering Mechanism
A simple handlebar or steering wheel can be attached to control the direction. Connect it to the front wheels for smooth maneuvering.
Step 5: Add the Seat and Finishing Touches
Bolt a comfortable seat to the frame and double-check all connections. Test the kart on a flat surface before taking it for a spin.
Safety Tips for Your DIY Hoverboard Go Kart
Safety should always come first. Wear a helmet, knee pads, and elbow pads when riding. Ensure the kart's frame is stable and all bolts are tightened. Avoid steep hills or rough terrain until you're confident in the kart's performance.
Creative Ideas to Customize Your Go Kart
Personalize your hoverboard go kart with LED lights, decals, or a custom paint job. Add a speed controller for adjustable speeds or install a Bluetooth speaker for music on the go.
Ready to hit the road with your homemade hoverboard go kart? This project is not just about building a ride—it's about unleashing your creativity and enjoying the thrill of DIY innovation. Grab your tools and get started today!
Why Is My Hoverboard Taking So Long to Charge? Common Causes and Fixes
Connect Phone to Hoverboard: A Step-by-Step Guide for Seamless Control