


Is your electric scooter refusing to pick up speed? A malfunctioning accelerator can turn your daily commute into a frustrating ordeal. But before you rush to a repair shop, there’s a good chance you can fix the problem yourself. This guide will walk you through the steps to diagnose and repair your electric scooter’s accelerator, saving you time and money.
Understanding the Electric Scooter Accelerator
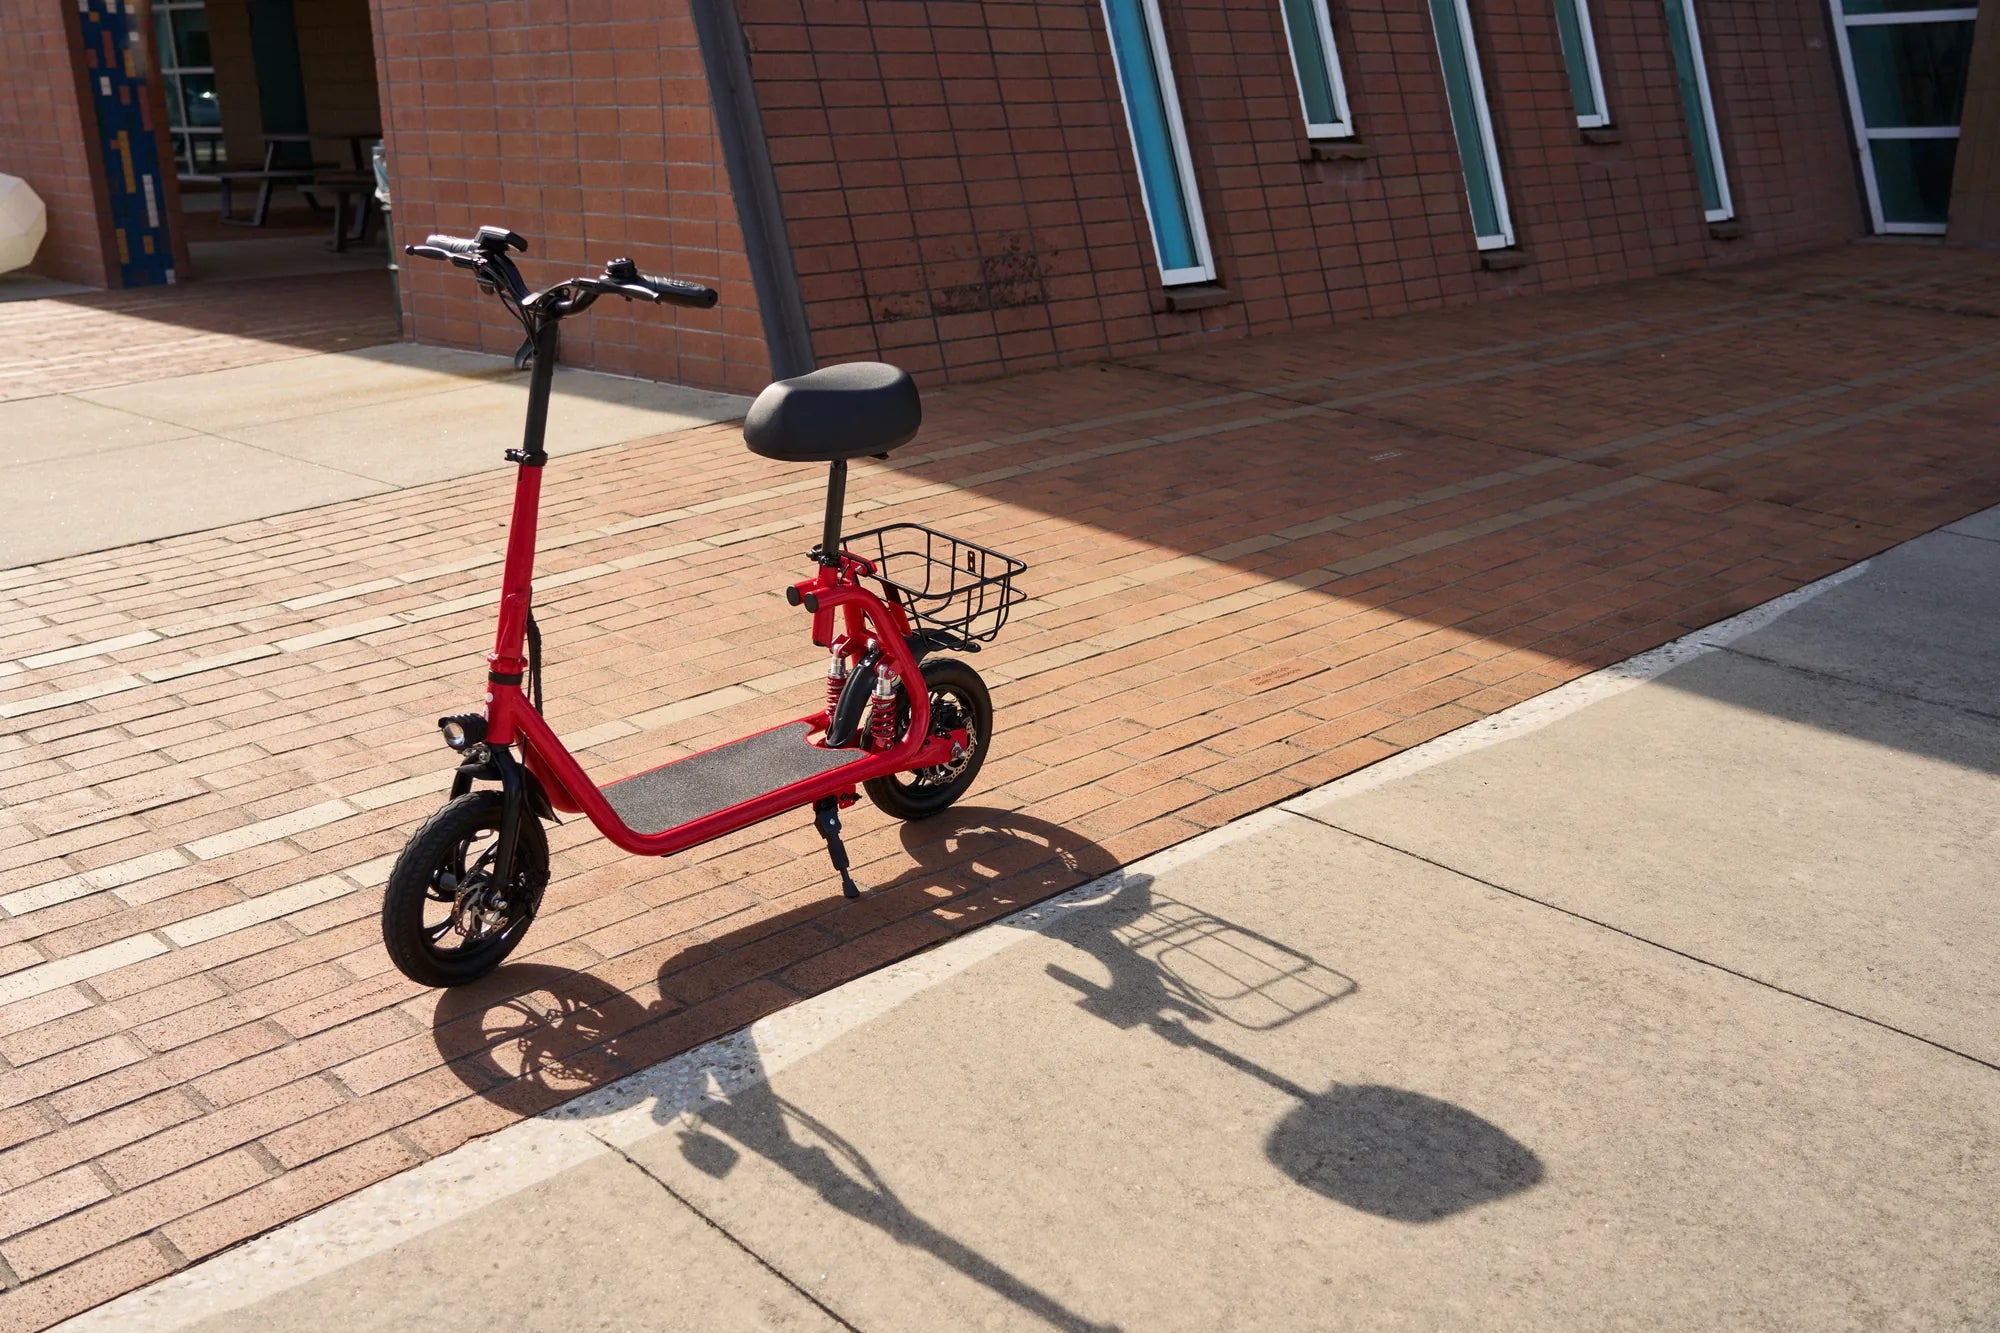
The accelerator, also known as the throttle, is a critical component of your electric scooter. It sends signals to the motor controller, dictating how much power the motor should deliver. When it fails, your scooter may not respond, jerk unexpectedly, or lose power altogether. Common causes include wiring issues, sensor malfunctions, or physical damage.
Tools You’ll Need
Before diving into repairs, gather these essential tools:
- Multimeter
- Screwdrivers (Phillips and flathead)
- Wire strippers
- Electrical tape
- Replacement parts (if necessary)
Step 1: Diagnose the Problem
Start by checking the basics. Ensure the scooter is powered off, then inspect the accelerator for visible damage, loose wires, or corrosion. If everything looks fine, use a multimeter to test the throttle’s voltage output. A reading outside the manufacturer’s specified range indicates a faulty accelerator.
Step 2: Check the Wiring
Loose or frayed wires are a common culprit. Trace the accelerator’s wiring from the handlebar to the controller, looking for breaks or poor connections. If you find damaged wires, strip the ends and reconnect them securely with electrical tape or solder.
Step 3: Test the Throttle Sensor
Most electric scooters use a Hall-effect sensor in the throttle. If the sensor fails, the accelerator won’t function properly. Use your multimeter to check the sensor’s output while gently twisting the throttle. No change in voltage? The sensor may need replacement.
Step 4: Inspect the Motor Controller
If the accelerator and wiring seem fine, the issue might lie with the motor controller. Look for burnt components or loose connections. While replacing a controller is more complex, it’s often necessary if other fixes don’t resolve the problem.
Step 5: Reassemble and Test
Once you’ve addressed the issue, reassemble your scooter and take it for a test ride. Start slowly to ensure the accelerator responds smoothly. If the problem persists, double-check your work or consult a professional.
Preventive Maintenance Tips
To avoid future accelerator issues:
- Keep your scooter clean and dry.
- Regularly inspect wiring for wear and tear.
- Avoid exposing the scooter to extreme temperatures.
Don’t let a faulty accelerator slow you down! With these steps, you can troubleshoot and fix the issue yourself, getting back on the road in no time. Whether it’s a simple wiring fix or a sensor replacement, a little DIY know-how can keep your electric scooter running smoothly for miles.
Gray Electric Scooter: The Ultimate Urban Commuting Solution
Electric Scooter 125cc Equivalent: The Future of Urban Mobility