

Ever dreamed of cruising around on a custom-built electric scooter that you assembled yourself? Building your own electric scooter is not only a rewarding project but also a cost-effective way to get a personalized ride. Whether you're a DIY enthusiast or just looking for a fun challenge, this guide will walk you through everything you need to know to create your very own electric scooter.
Why Build Your Own Electric Scooter?
Building an electric scooter from scratch offers several advantages. You can customize the design, choose high-quality components, and save money compared to buying a pre-built model. Plus, the satisfaction of riding something you built yourself is unbeatable.
Essential Components You'll Need
Before diving into the build, gather all the necessary parts. Here's a list of the key components:
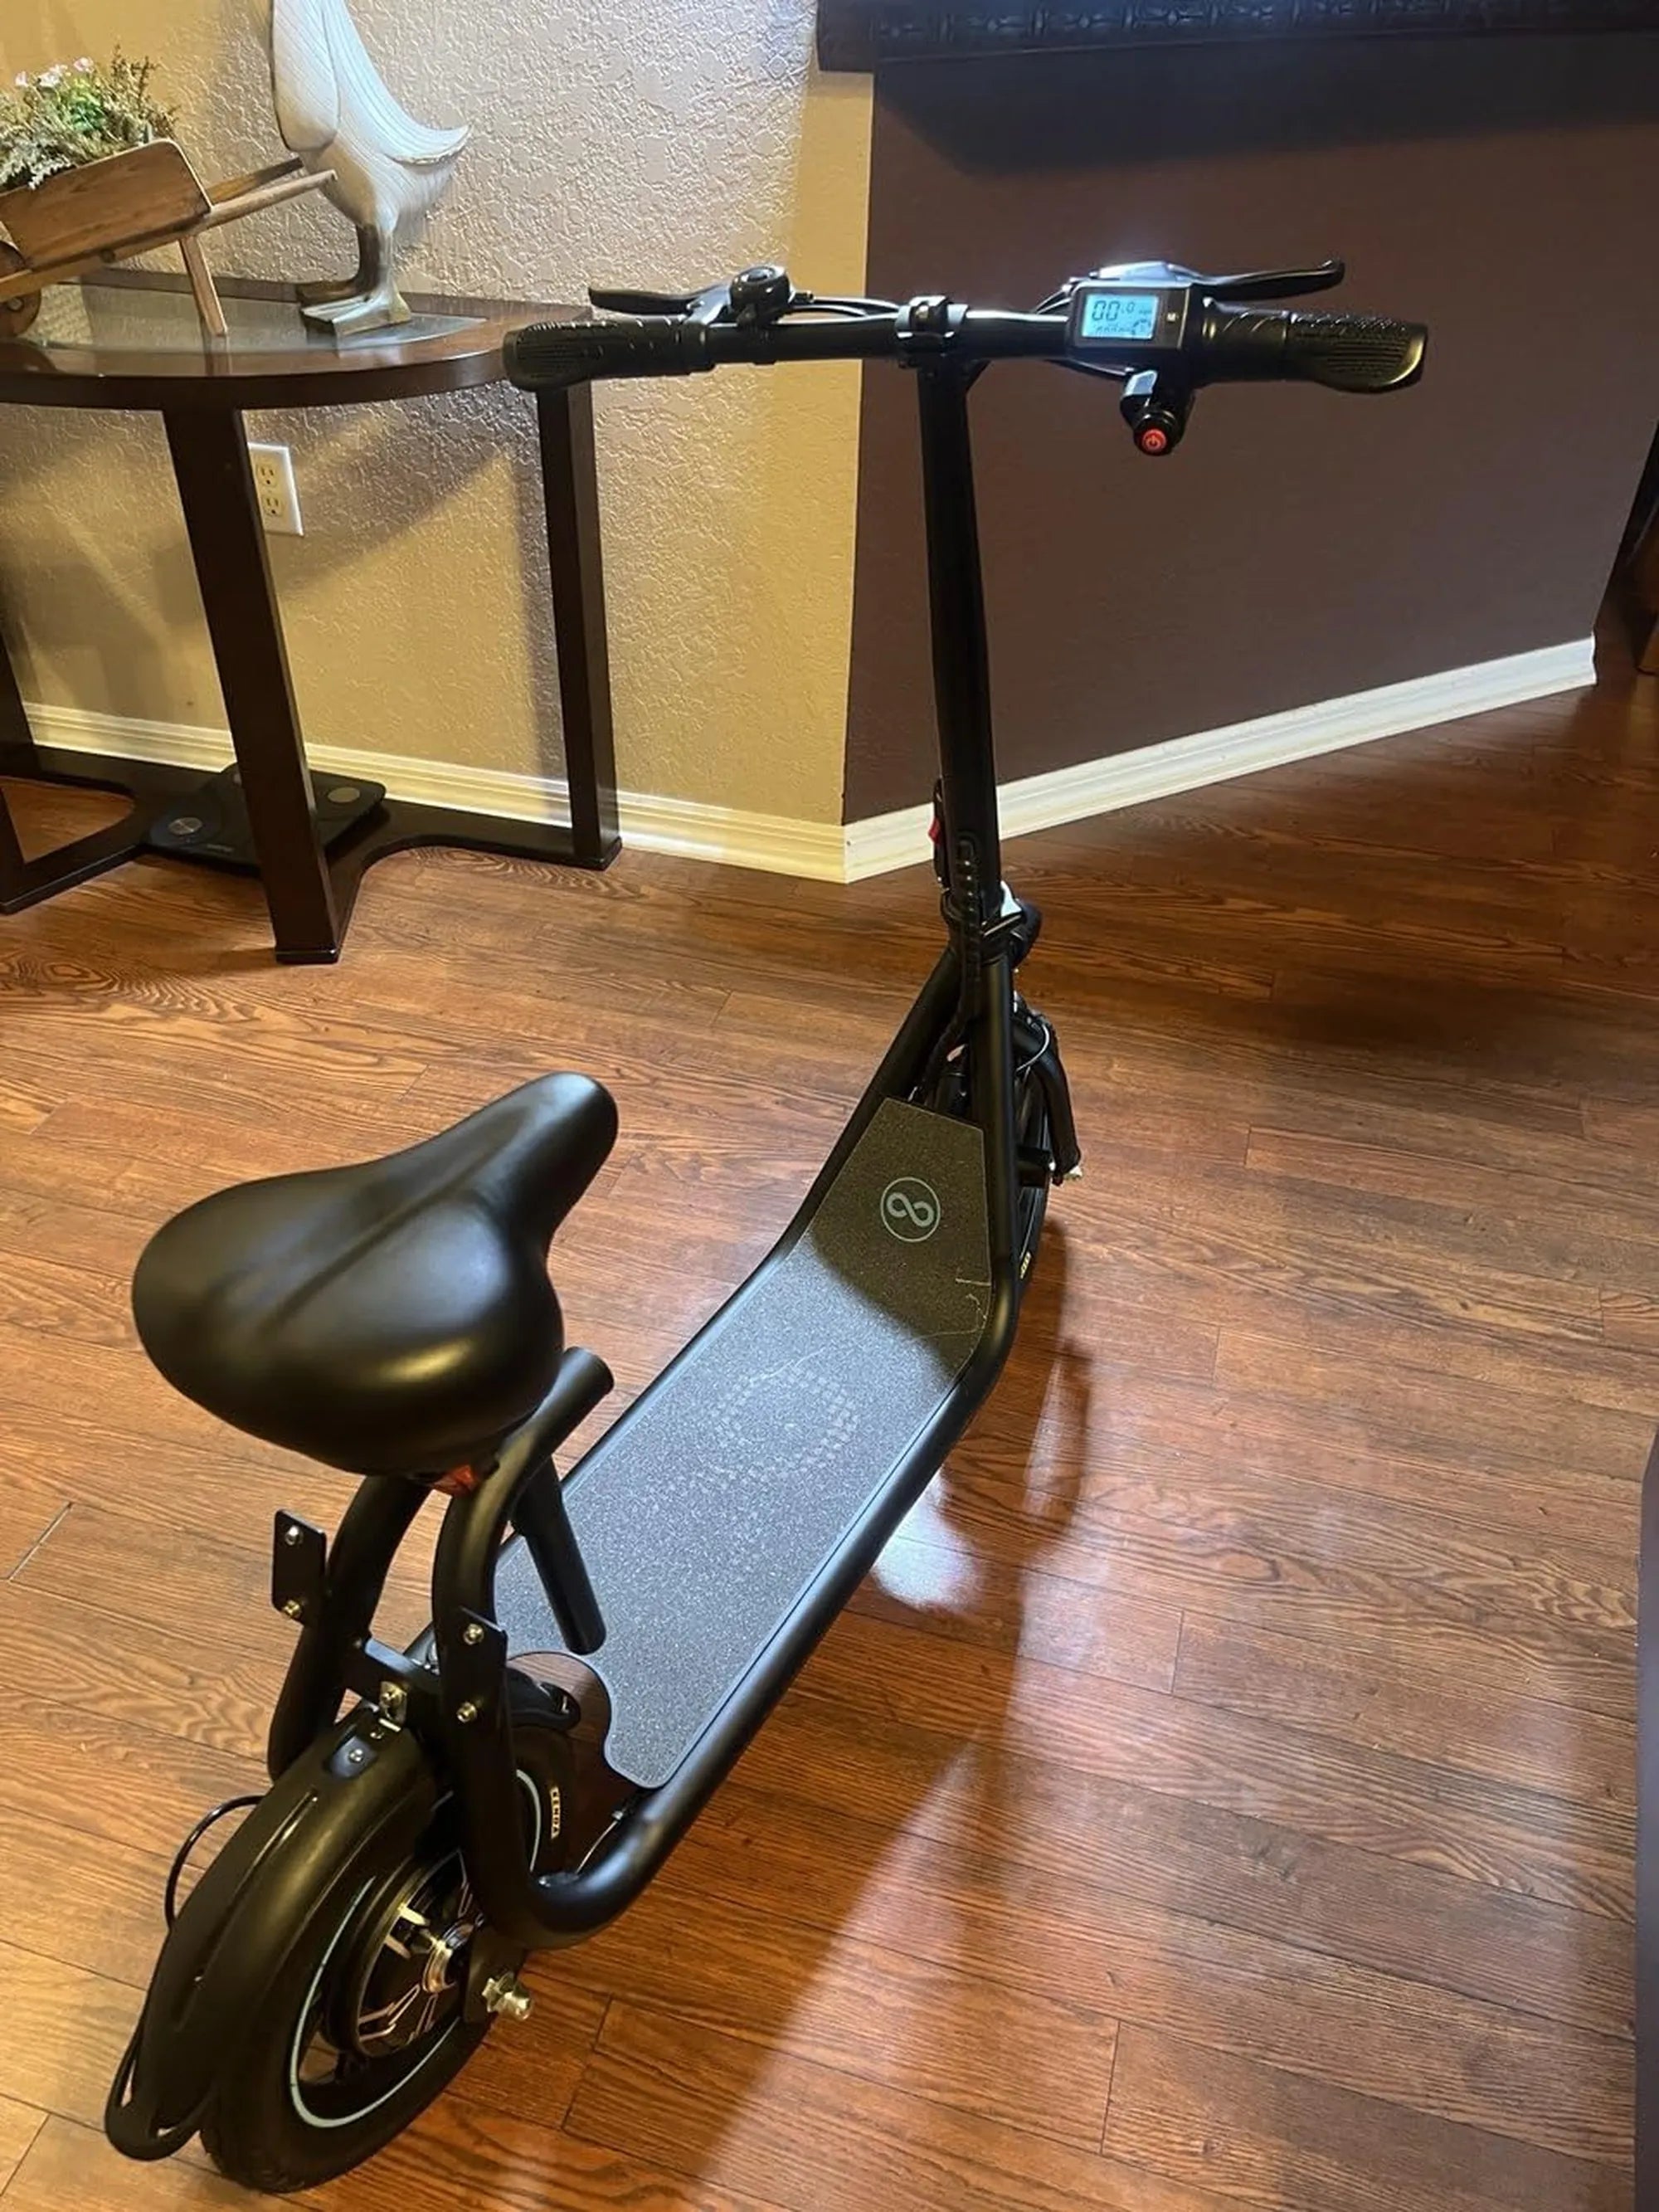
- Frame: The foundation of your scooter. You can repurpose an old scooter or build one from scratch using metal or aluminum.
- Electric Motor: Choose a brushless DC motor for efficiency and durability.
- Battery Pack: Lithium-ion batteries are popular for their high energy density and longevity.
- Controller: This regulates the power flow from the battery to the motor.
- Throttle: A twist-grip or thumb throttle to control speed.
- Wheels and Tires: Opt for durable, air-filled tires for a smoother ride.
- Braking System: Mechanical or electronic brakes for safety.
- Wiring and Connectors: High-quality cables to ensure reliable connections.
Tools Required for the Build
To assemble your scooter, you'll need a set of basic tools:
- Wrenches and screwdrivers
- Drill and drill bits
- Soldering iron (for electrical connections)
- Multimeter (to test circuits)
- Measuring tape and marker
- Safety gear (gloves, goggles)
Step-by-Step Assembly Guide
Step 1: Prepare the Frame
Start by securing the frame. If you're using an existing scooter, remove any unnecessary parts. For a custom frame, weld or bolt the pieces together according to your design.
Step 2: Install the Motor
Mount the electric motor onto the frame, ensuring it aligns with the rear wheel. Use brackets or clamps to secure it firmly.
Step 3: Attach the Battery Pack
Place the battery pack in a central location to maintain balance. Secure it with straps or a mounting plate to prevent movement during rides.
Step 4: Connect the Controller
Wire the controller between the battery and the motor. Follow the manufacturer's instructions for proper connections, and use a multimeter to verify voltage levels.
Step 5: Install the Throttle and Brakes
Mount the throttle on the handlebars and connect it to the controller. Install the braking system, ensuring it engages smoothly for safe stops.
Step 6: Test the Electrical System
Before final assembly, test all electrical components. Check for loose connections, and ensure the motor responds correctly to the throttle.
Step 7: Assemble the Wheels and Tires
Attach the wheels to the frame, ensuring they spin freely. Inflate the tires to the recommended pressure for optimal performance.
Step 8: Final Adjustments
Double-check all bolts, wires, and connections. Take your scooter for a short test ride in a safe area to identify any issues.
Safety Tips for Riding Your DIY Electric Scooter
Once your scooter is ready, follow these safety guidelines:
- Always wear a helmet and protective gear.
- Start at low speeds to get familiar with the controls.
- Regularly inspect the scooter for wear and tear.
- Avoid riding in wet or slippery conditions.
Customization Ideas
Now that your scooter is functional, consider adding personal touches:
- LED lights for visibility and style.
- A custom paint job or decals.
- Upgraded suspension for a smoother ride.
- Additional battery capacity for longer range.
Ready to hit the streets on a one-of-a-kind electric scooter you built yourself? With patience and attention to detail, you can create a reliable, high-performance ride that reflects your unique style. Happy building—and even happier riding!
Balance Scooter for Sale Australia: The Ultimate Guide to Choosing the Right One
Can You Get Fined for Riding an Electric Scooter? Here’s What You Need to Know