



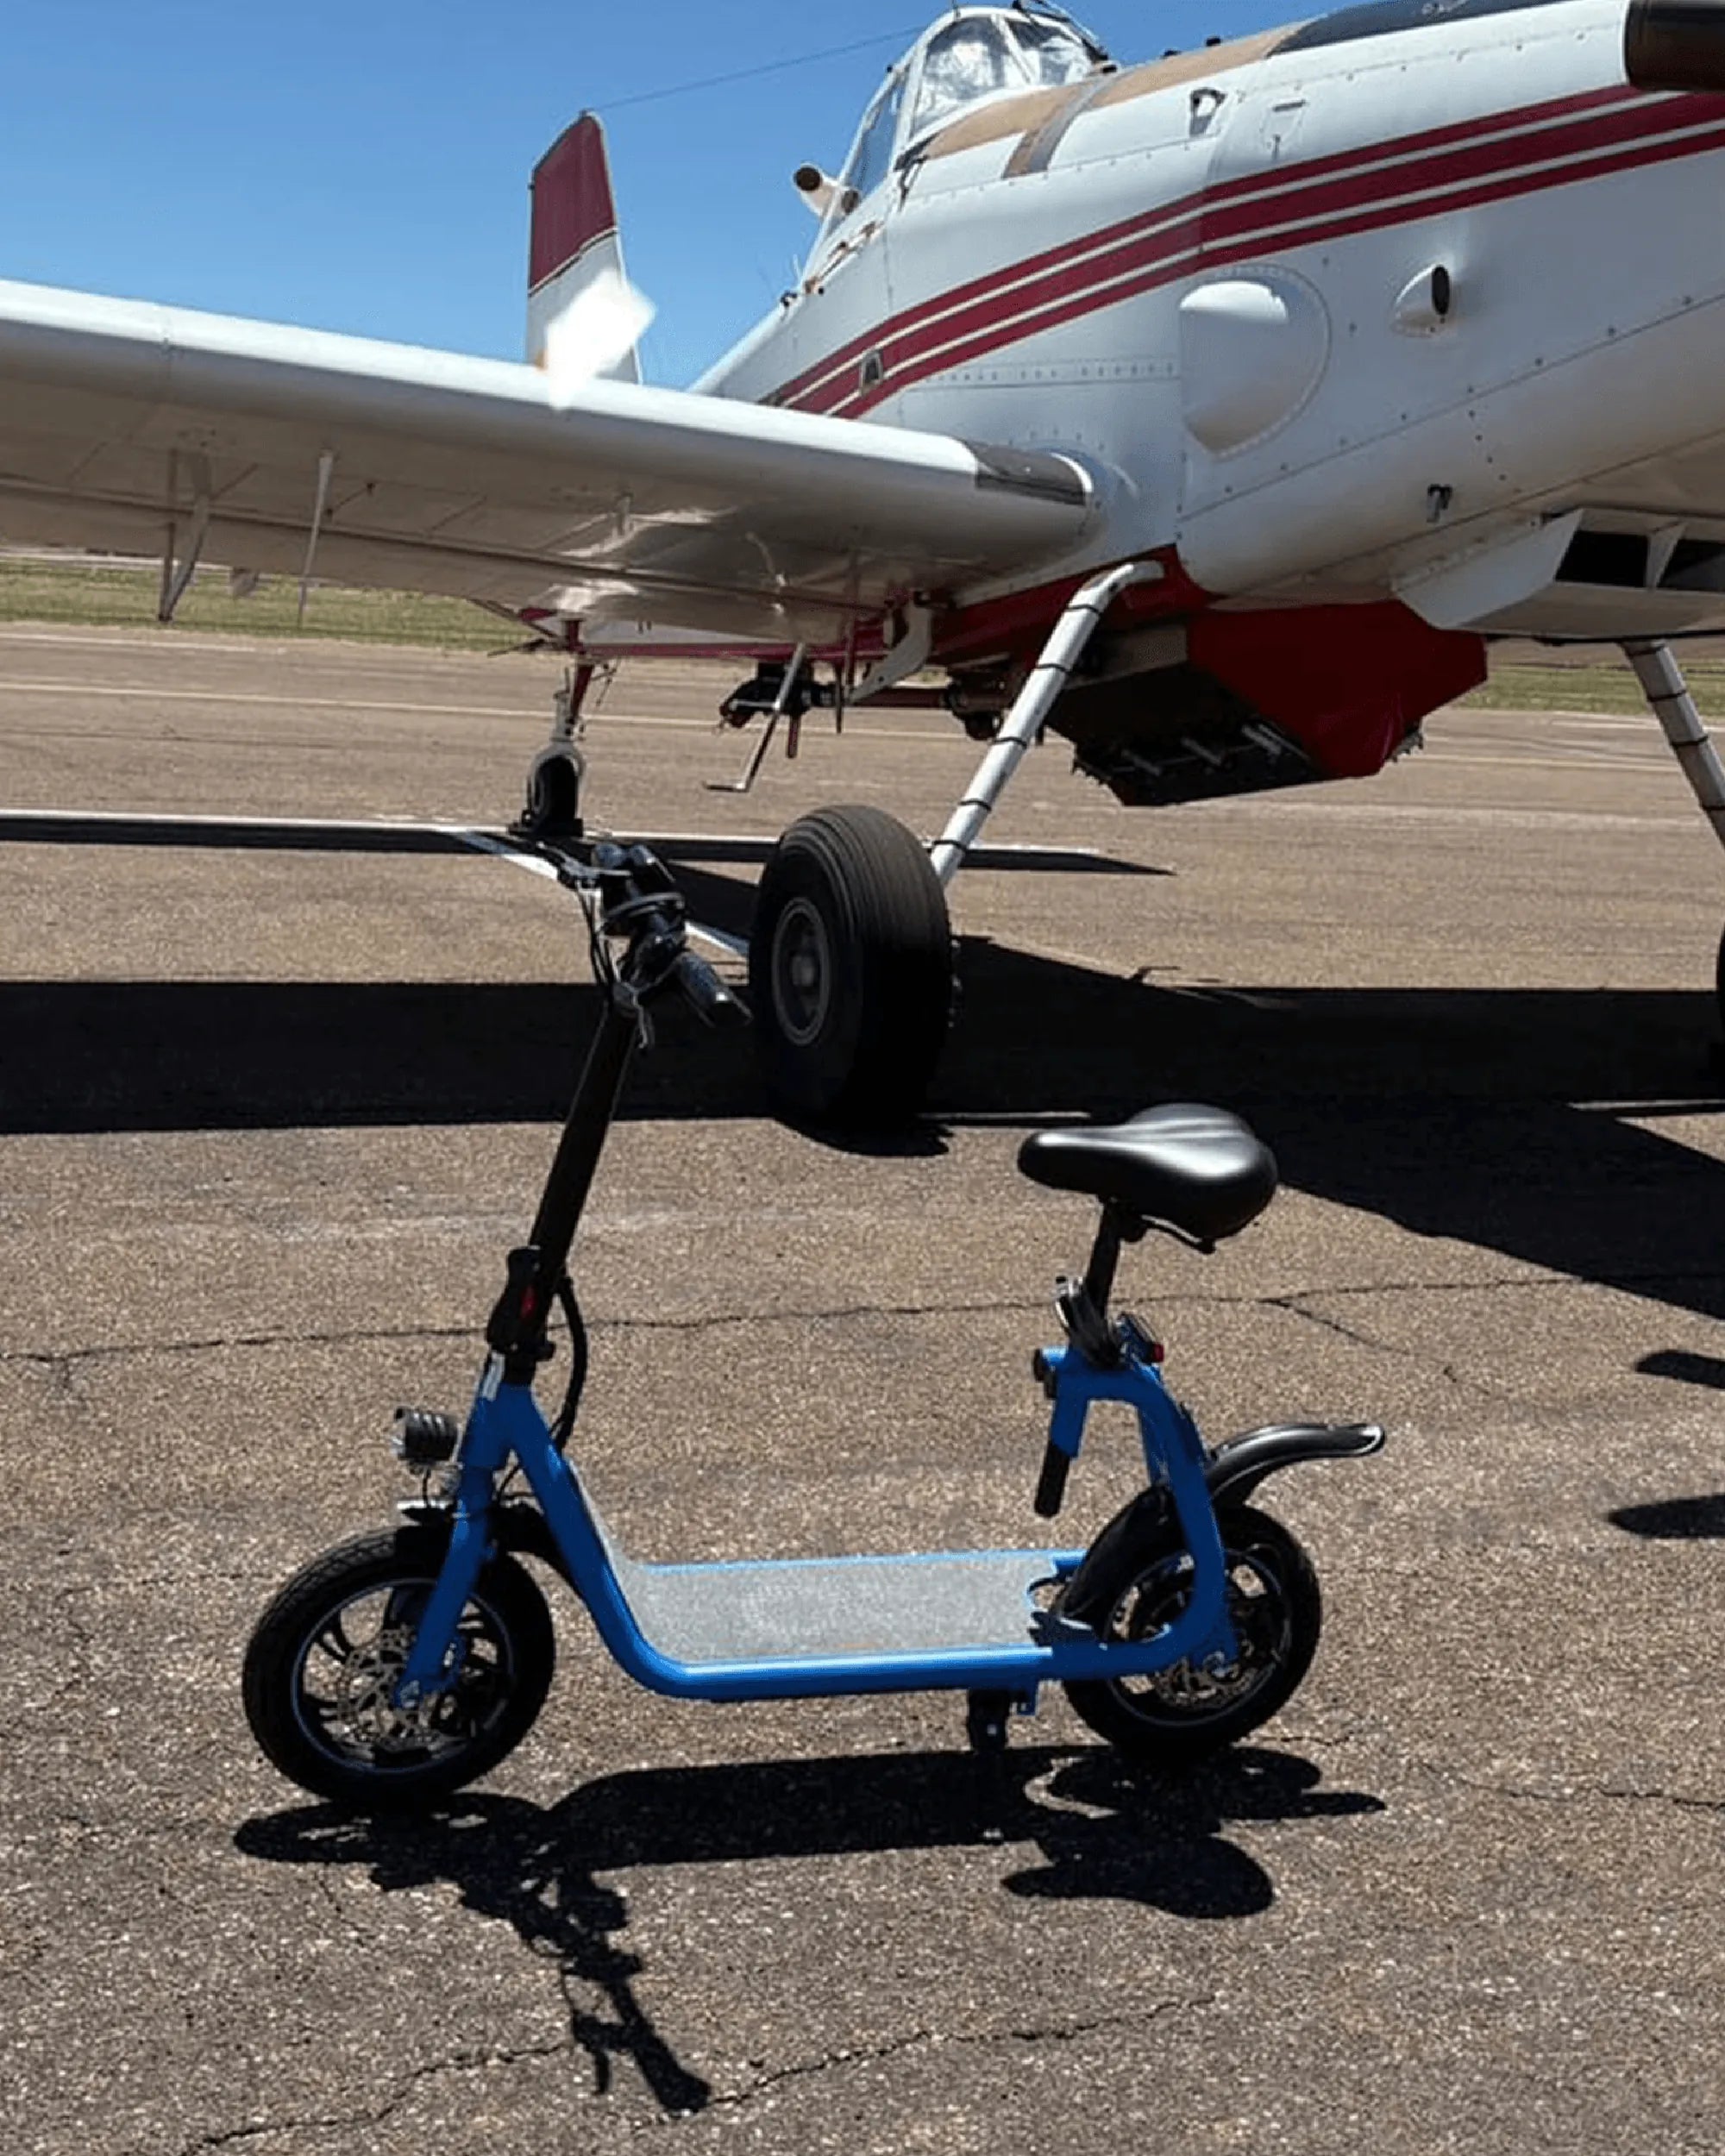
Ever felt like your electric bike is holding you back? The governor on your e-bike might be the culprit, limiting your speed and performance. Removing it can unlock a whole new riding experience—but it’s not as simple as flipping a switch. Here’s everything you need to know about how to take the governor off your electric bike safely and effectively.
What Is a Governor on an Electric Bike?
A governor is a speed-limiting device installed on many electric bikes to comply with local regulations. It caps the top speed, often keeping it within legal limits (usually 20-28 mph depending on the region). While this ensures safety and compliance, some riders prefer to remove it for a faster, more responsive ride.
Why Would You Want to Remove the Governor?
Removing the governor can provide several benefits:
- Higher Top Speed: Unlock your e-bike’s full potential.
- Improved Acceleration: Enjoy quicker throttle response.
- Better Hill Climbing: More power for steep inclines.
However, keep in mind that removing the governor may void warranties and could be illegal in some areas. Always check local laws before proceeding.
Tools You’ll Need
Before starting, gather these essential tools:
- Screwdrivers (Phillips and flathead)
- Allen wrenches
- Wire cutters/strippers
- Multimeter (optional for diagnostics)
- Electrical tape or heat shrink tubing
Step-by-Step Guide to Removing the Governor
Step 1: Locate the Governor
The governor is typically found near the motor controller or throttle assembly. Consult your bike’s manual if unsure.
Step 2: Disconnect the Battery
Safety first! Always disconnect the battery to avoid electrical shocks or short circuits.
Step 3: Access the Controller
Remove any protective covers to expose the controller and wiring. Look for a small, often labeled, wire or module connected to the throttle or speed sensor.
Step 4: Identify the Governor Wire
The governor wire is usually a single wire connected to the controller. It may be color-coded (often white or gray) or labeled as "speed limit" or "governor."
Step 5: Cut or Disconnect the Wire
Carefully cut the governor wire or disconnect it from the controller. If your bike uses a plug, simply unplug it. For hardwired governors, snip the wire and insulate the ends with electrical tape.
Step 6: Reassemble and Test
Reconnect the battery, secure all covers, and take your bike for a test ride. You should notice an immediate increase in speed and responsiveness.
Potential Risks and Considerations
While removing the governor can enhance performance, it comes with risks:
- Voided Warranty: Tampering with factory settings may invalidate your warranty.
- Legal Issues: Some regions prohibit modified e-bikes on public roads.
- Safety Concerns: Higher speeds require better brakes and rider skill.
Alternative Methods to Bypass the Governor
If cutting wires isn’t your style, consider these alternatives:
- Controller Reprogramming: Some controllers allow speed limit adjustments via software.
- Aftermarket Controllers: Upgrading to a high-performance controller can override the governor.
Ready to feel the wind in your hair? Removing the governor from your electric bike can transform your ride—just make sure you do it safely and legally. Whether you’re chasing speed or better performance, this guide has you covered. Now, hit the road and enjoy the thrill of an unrestricted e-bike!
Bass Lake Mountain Biking: Trails, Tips, and Unforgettable Adventures
Bass Lake Mountain Biking: Trails, Tips, and Unforgettable Adventures