

Introduction: Understanding the Frustration of a Non-Charging Hoverboard
You plug in your hoverboard, expecting the familiar indicator light to glow, but nothing happens. A hoverboard that won't charge transforms from a fun mobility device into a frustrating paperweight, disrupting your commute or leisure time. The problem is common, but the causes range from trivial to serious. Before you consider a costly replacement, a methodical approach can often identify and resolve the issue.
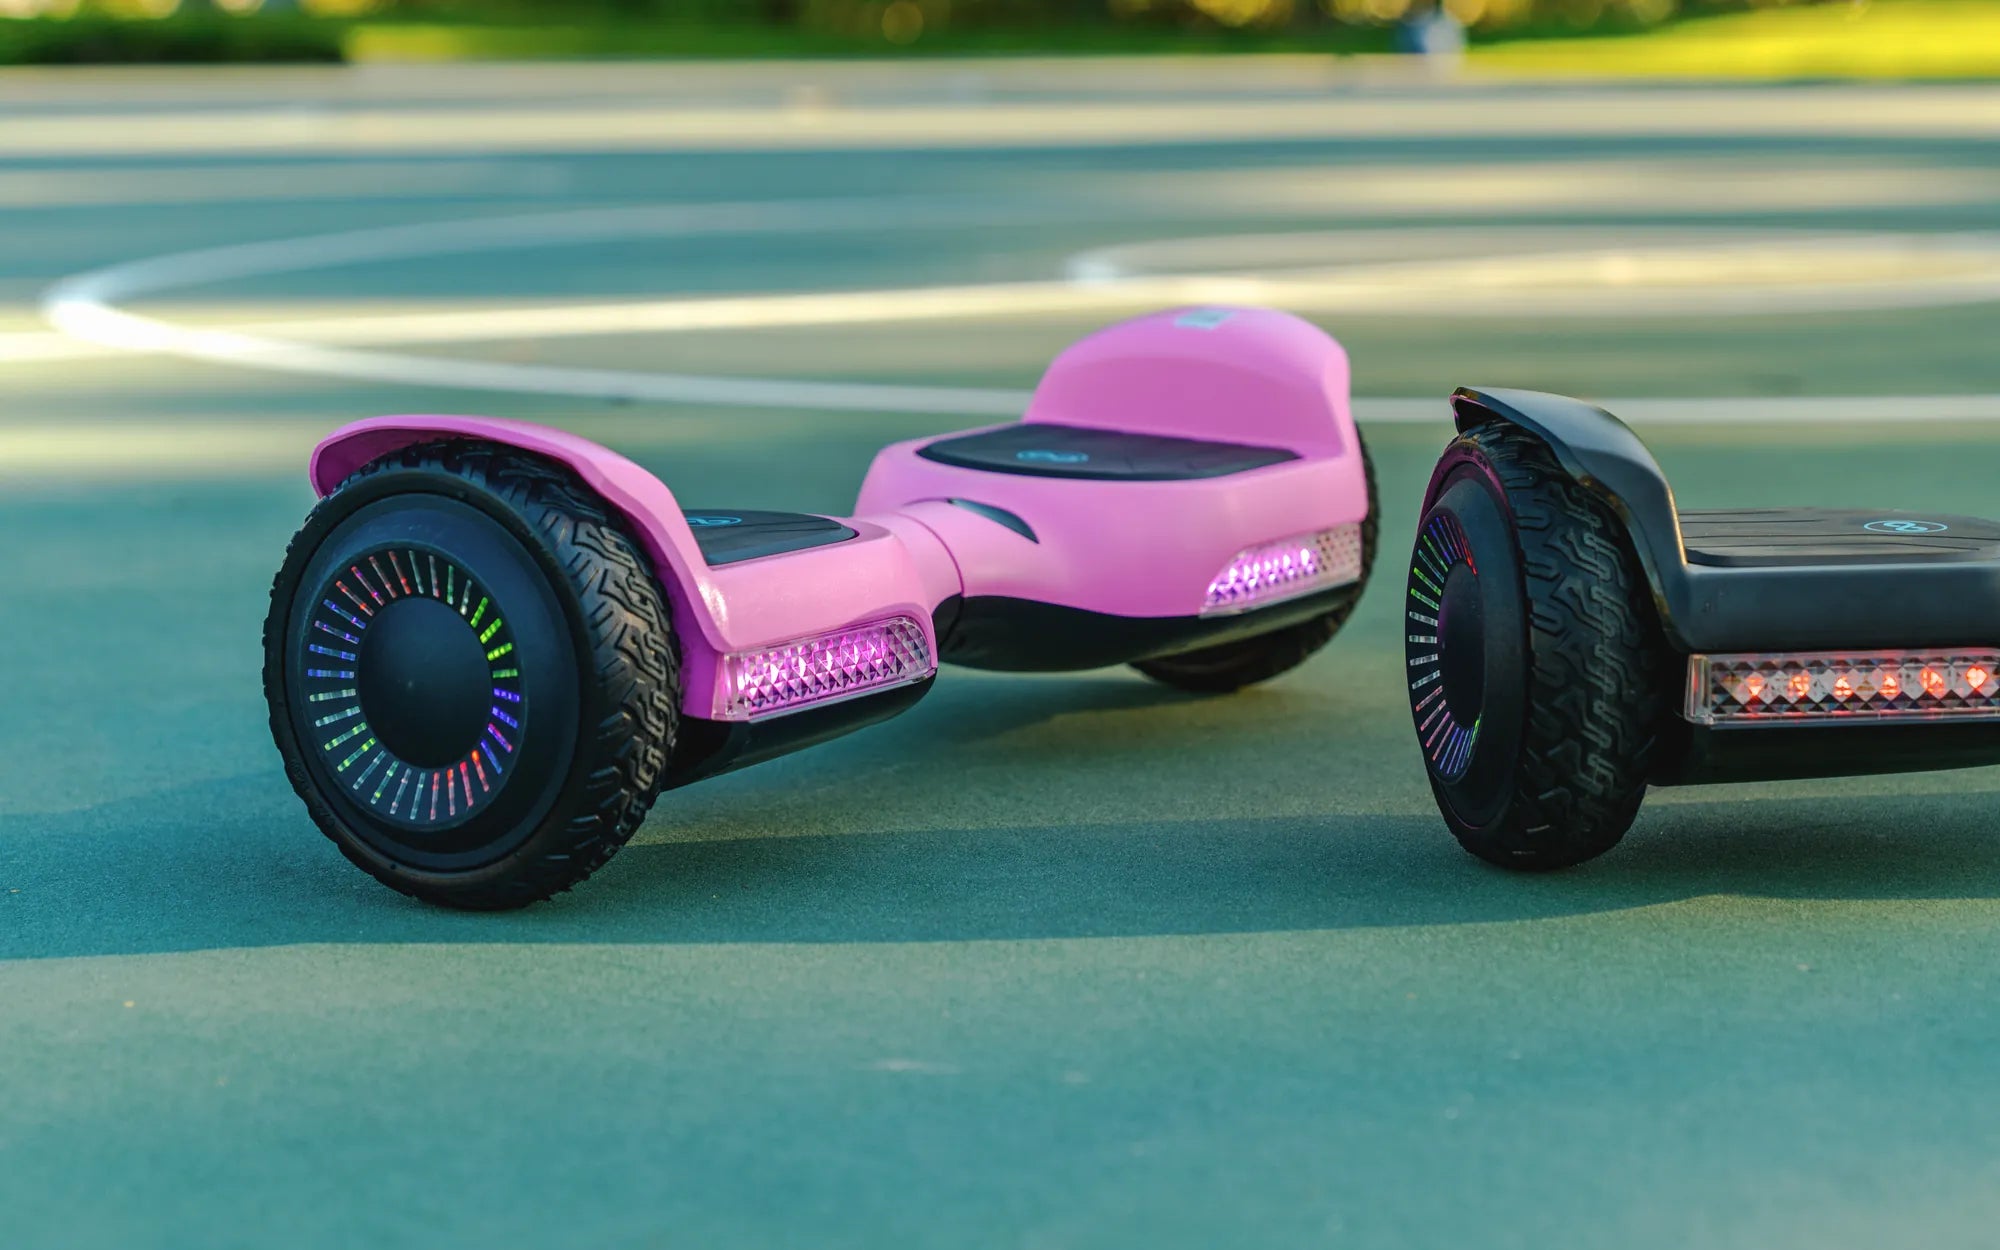
This guide provides a step-by-step troubleshooting manual designed for safety and clarity. We'll start with the simplest checks and progress to more involved diagnostics. As a leader in personal electric transport, Gyroor designs its electric scooters and hoverboards with UL-certified battery packs and robust construction to minimize such issues, backed by a reliable 1-year warranty for added peace of mind.
Understanding why my hoverboard won't charge is the first step to getting back on the road. The solution often lies in the charging ecosystem: the power source, the charger itself, the charging port, or the internal battery system. We will dissect each component, empowering you to diagnose like a pro.
Diagnose the Problem: A Step-by-Step Flowchart
Effective troubleshooting is logical and sequential. Jumping straight to assuming the battery is dead can lead to unnecessary expense or even voiding a valid warranty. Follow this diagnostic flowchart to isolate the problem efficiently. Always prioritize safety by working in a dry area and ensuring the hoverboard is powered off before inspection.
The process begins externally with your wall outlet and charger before moving to the hoverboard's physical ports and, finally, its internal components. This method saves time and helps you communicate clearly with technical support if needed. For owners of brands like Gyroor, starting here ensures you've performed due diligence before invoking your warranty coverage.
Check the Power Source and Charger
This is the most common and easily overlooked step. First, verify your wall outlet is functional by plugging in another device, like a lamp or phone charger. If the outlet is controlled by a light switch, ensure the switch is on. Next, inspect the charger cable thoroughly from end to end.
Look for any visible damage: cuts in the insulation, kinks, fraying near the plugs, or bent pins. A damaged cable is a frequent culprit. When you plug the charger into the working outlet, does its LED indicator light turn on? Most Gyroor chargers have a solid red light when plugged in without the hoverboard, which may change to green or another color when connected to a fully charged device.
If the charger light does not illuminate at all, the charger itself has likely failed. It is critical to use only the official manufacturer-specified charger. Using a third-party or generic charger can deliver incorrect voltage or amperage, which may not charge the battery and could potentially damage the internal Battery Management System (BMS).
Inspect the Charging Port and Connections
With the power source and charger verified, focus on the hoverboard's charging port. Using a flashlight, carefully examine the small DC port on your hoverboard. Look for any obstructions like lint, dirt, or pocket debris that could prevent the charger plug from making full contact.
Check for physical damage: are the metal contacts inside the port bent, pushed in, or corroded? A loose or wobbly port can indicate broken internal solder joints. Ensure the charger plug inserts fully and snugly; a loose connection will not transfer power. For hoverboards with an IPX5 water-resistant rating like many Gyroor models, the port gasket should be intact and clean to maintain its seal.
Gently clean the port if you see debris, using a can of compressed air or a dry, soft-bristled brush. Never insert metal objects like paperclips, as this can short the pins. A clean, secure connection is fundamental. If the port is physically damaged, it will likely require professional repair.
Listen and Look for Signs
Your senses can provide vital diagnostic clues. When you plug in the charger, listen carefully. Do you hear a faint hum from the charger? Does the hoverboard itself emit any soft beeps or clicks? Some models have audible indicators for charging initiation.
Observe the charger light behavior meticulously. Does it stay solid, flicker, or turn off immediately after plugging into the hoverboard? A light that behaves erratically often points to an issue with the battery pack or its connection, not the charger. Also, be alert for any unusual smells, particularly a sharp, chemical odor or the smell of overheating electronics, which is a serious warning sign.
Feel the battery compartment area (if accessible) and the charger brick after it has been plugged in for 10-15 minutes. Is it unusually hot? A charger or battery that becomes excessively hot is malfunctioning and should be unplugged immediately. These sensory observations are critical data points for advanced troubleshooting.
Common Causes and Their Fixes
Once you've gathered information from the diagnostic steps, you can match the symptoms to likely causes. The following sections break down issues from the simplest user-correctable fixes to more complex internal failures. Remember, the core issue of my hoverboard won't charge typically falls into one of these categories.
Simple Fixes: The "Low-Hanging Fruit"
Often, the solution requires no tools or technical skill. First, ensure the hoverboard is completely powered off before attempting to charge. Some models will not initiate a charge cycle if they are in standby or sleep mode. Press and hold the power button for 10 seconds to ensure a full shutdown.
Many hoverboards, including several Gyroor models, feature a small reset button, usually a pinhole located near the charging port or under a rubber flap. Using a paperclip, press and hold this reset button for 5-10 seconds while the hoverboard is off. This can reboot the internal BMS and clear minor electronic glitches that may be preventing charging.
If the battery was fully drained to 0%, it may have entered a deep discharge protection state. Leave the hoverboard plugged into the charger for a full 2-4 hours, even if there are no immediate indicator lights. The BMS might need a sustained trickle charge to reactivate. Also, check that all wheel hub screws are tight, as loose housing can sometimes interrupt internal wiring.
Battery-Related Issues
The lithium-ion battery pack is the heart of your hoverboard. Symptoms of a failing battery include severely reduced run time (e.g., dying after 5 minutes on a full charge), visible swelling or bulging of the battery casing, and the inability to hold a charge. The Battery Management System (BMS) is a circuit board attached to the battery that regulates charging and prevents over-discharge.
A faulty BMS can prevent charging even if the battery cells are healthy. Diagnosing BMS vs. cell failure typically requires a multimeter and should be approached with caution. If individual cells within the battery pack become unbalanced—meaning they charge and discharge at different rates—the BMS will halt charging for safety, leading to the hoverboard won't charge scenario.
Critical Safety Note: Never attempt to open or repair a swollen or damaged lithium-ion battery. It poses a significant fire risk. Replacement is the only safe option. Always use a UL-certified replacement battery, like those used in Gyroor products, which are tested for over 500 charge cycles and include built-in safety protections. DIY battery repair is strongly discouraged.
Charger and Port Failures
If your diagnostic steps point to the charger, you can test its output with a multimeter. Set the multimeter to DC voltage (usually 20V or 200V range). Insert the red probe into the center of the charger's output plug and the black probe to the outer metal sleeve. The reading should match the output rating printed on the charger's label (e.g., 42V 2A). No reading or a significantly lower voltage confirms charger failure.
A faulty charging port requires internal inspection. This involves opening the hoverboard's shell to check if the port's solder joints to the mainboard or power cable have broken. This is a more advanced fix. If the port is loose or the wires are detached, re-soldering by someone with electronics experience can resolve it.
For both charger and port issues, if your hoverboard is under Gyroor's 1-year warranty, contacting support for a replacement charger or repair is the most straightforward path. Using incorrect or poorly manufactured replacements can lead to further damage.
When to Seek Professional Help: Leveraging Your Gyroor Warranty
Knowing when to stop DIY repairs is crucial for safety and preserving your equipment. If you have performed all external checks—verified power, charger, and port—and the problem persists, the issue is likely internal. This is the time to seek professional assistance.
Gyroor offers a 1-year comprehensive warranty covering manufacturing defects in the battery, motor, and core electronic components. If your hoverboard is within this period and exhibits a problem like a non-charging battery (without physical damage from misuse), you are entitled to support. Their US-based customer service team can guide you through warranty claims.
Specific scenarios that mandate professional help include: confirmed battery swelling or failure, suspected BMS malfunction, internal wiring faults (like cut wires from impact), and any issue requiring the main control board to be replaced. Attempting these repairs yourself not only risks personal injury but will almost certainly void any remaining warranty.
Preventive Maintenance: Keeping Your Hoverboard Charging Smoothly
Proactive care is the best way to avoid the my hoverboard won't charge headache. By following a few simple habits, you can significantly extend the lifespan of your hoverboard's battery and charging system, leveraging the built-in durability of brands like Gyroor that feature IPX5 water-resistant designs.
Best Practices for Battery Longevity
Lithium-ion batteries thrive on partial, not full, charge cycles. Avoid regularly draining the battery to 0%. Try to recharge when it drops to 20-30% capacity. Similarly, do not leave the hoverboard plugged in continuously for days after it's fully charged. Modern BMS systems have protection, but prolonged exposure to high voltage stress can degrade cells over time.
For long-term storage (over a month), charge the battery to approximately 50-60% and store the device in a cool, dry place away from direct sunlight. Extreme heat and cold are enemies of battery health. Using the hoverboard regularly, even for short periods, is better for the battery than letting it sit discharged for extended periods.
Physical Care for the Charging System
Treat the charging port with care. Always insert and remove the charger plug straight in and out, avoiding side-to-side wiggling that can loosen the port. Keep the port cover closed when not in use to prevent dust and moisture ingress—this is where an IPX5 rating proves its value by offering protection against low-pressure water jets from any direction.
Store the charger cable properly. Avoid tightly wrapping it around the charger brick; instead, use loose loops to prevent internal wire breakage. Regularly inspect the entire charging setup as part of your routine. A minute of prevention is worth hours of troubleshooting later.
Hoverboard Charging Issue Comparison Table
| Symptom | Likely Cause | DIY Fix Possible? | Recommended Action |
|---|---|---|---|
| Charger light does not turn on when plugged into wall. | Faulty wall outlet or dead charger. | Yes | Test outlet, inspect charger cable for damage, replace charger if needed. |
| Charger light is on, but turns off when connected to hoverboard. | Internal short, severe battery fault, or faulty BMS. | No | Unplug immediately. Seek professional diagnosis; likely battery/BMS replacement. |
| Charger light stays on (red/green) but hoverboard shows no sign of charging. | Loose charging port, broken internal wiring, or failing battery connection. | Advanced | Inspect port, may require internal solder repair by a technician. |
| Hoverboard died completely and won't turn on or charge. | Deeply discharged battery, BMS in protection mode, or main board failure. | Maybe | Try a long (4+ hour) charge. If no response, professional help needed. |
| Battery compartment is swollen or emits odor. | Failed/failing battery pack. SERIOUS SAFETY RISK. | NO | Discontinue use immediately. Do not charge. Contact support for safe disposal/replacement. |
Frequently Asked Questions (FAQ)
Q1: The charger light is on, but my hoverboard won't charge. What does this mean?
This typically indicates that the charger is receiving power and is functional, but the power is not reaching the battery. The fault lies between the charging port and the battery pack. Common culprits are a broken connection at the soldered joints of the charging port, a disconnected internal cable, or a failed Battery Management System (BMS) that is not allowing current to pass to the battery cells. Professional diagnosis is recommended.
Q2: Can I use a different brand's charger for my Gyroor hoverboard?
It is strongly advised against. Chargers are not universally compatible. Using a charger with an incorrect output voltage can permanently damage the battery and BMS, creating a fire hazard. Using one with incorrect amperage may not charge the battery properly or could cause it to overheat. Always use the official Gyroor charger designed for your specific model to ensure safety and maintain your warranty.
Q3: How long should a hoverboard battery last before needing replacement?
With proper care, a quality lithium-ion battery, like the UL-certified packs in Gyroor hoverboards, should provide 300 to 500 full charge cycles while maintaining good capacity. For the average user, this translates to 1 to 3 years of service before you notice a significant decline in run time. Factors like frequency of use, charging habits, and storage conditions greatly impact this lifespan.
Q4: Is it safe to leave my hoverboard charging overnight?
While modern hoverboards from reputable brands have BMS that should prevent overcharging, it is not a best practice. The safest protocol is to charge the device while you are awake and present, and to unplug it once the indicator shows a full charge (often when the charger light turns from red to green). Overnight charging increases the small but present risk of a fault occurring unattended.
Q5: My hoverboard got slightly wet. Now it won't charge. What should I do?
First, do NOT plug it in. Immediately power it off and dry the exterior thoroughly. For hoverboards with an IPX5 rating, the electronics have some protection, but you should place the board in a dry, warm (not hot) area with good airflow for at least 48-72 hours to ensure all internal moisture evaporates. Only attempt to charge it after this thorough drying period. If it still doesn't charge, internal corrosion may have occurred, requiring service.
Conclusion: Ride with Confidence Again
A non-charging hoverboard is a solvable problem. By starting with simple external checks and progressing methodically—power source, charger, port, and finally internal components—you can diagnose most issues safely. Remember that for complex internal faults, especially those involving the battery, professional service is the safest and most effective solution.
Investing in a hoverboard from a brand that prioritizes safety and support, like Gyroor with its UL-certified batteries and comprehensive warranty, provides a crucial safety net. Their commitment to reliability across a range of over 20 models, trusted by more than 100,000 riders, means you're never alone when facing technical challenges.
Don't let charging issues ground you. Use this guide to troubleshoot, maintain your device proactively, and get back to enjoying the ride. For those looking for reliable, well-supported electric mobility solutions, explore the engineering and peace of mind built into every model. Browse the full Gyroor collection at gyroorboard.com.
Hoverboard for Kids Under $70: Smart Shopping & Safety Guide
Hoverboard for Kids Under $70: Smart Shopping & Safety Guide