

Ever wondered how to take your hoverboard experience to the next level? Imagine cruising around like a mini race car driver, all while using the same device you already own. Turning your hoverboard into a go kart is not only possible but also an exciting DIY project that combines creativity and engineering. Whether you're a thrill-seeker or just looking for a fun weekend project, this guide will walk you through everything you need to know.
Why Turn Your Hoverboard into a Go Kart?
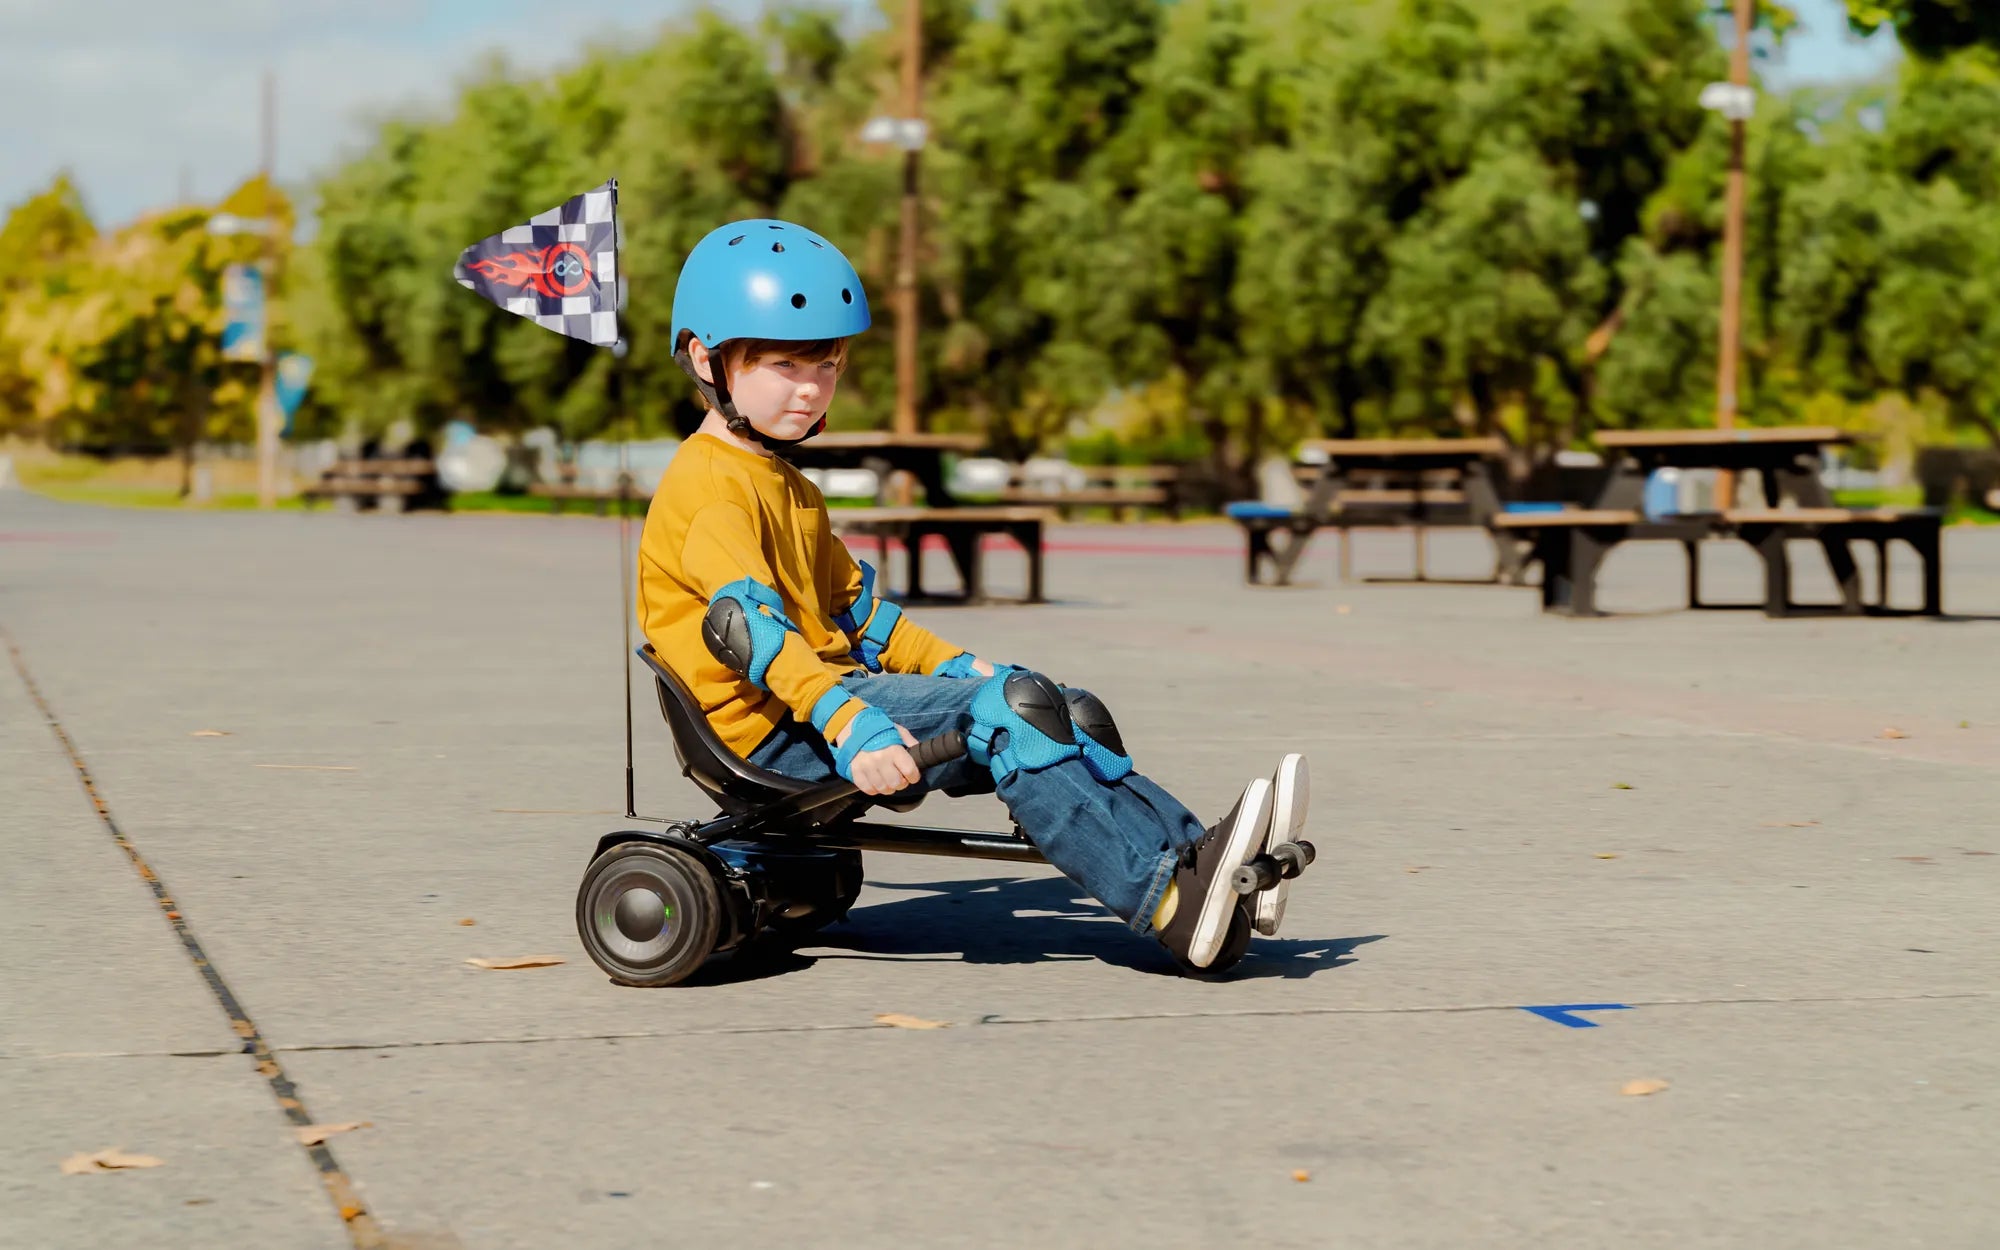
Hoverboards are fun, but they have limitations. Balancing can be tricky, and standing for long periods might not be comfortable for everyone. A hoverboard go kart conversion solves these issues by providing a seated, stable ride. Plus, it’s a fantastic way to repurpose an old or underused hoverboard. The transformation is surprisingly simple and opens up a world of new possibilities for outdoor fun.
Tools and Materials You’ll Need
Before diving into the project, gather the necessary tools and materials. Here’s a basic checklist:
- A hoverboard (obviously!)
- A go kart frame or kit (available online or at hobby stores)
- Basic tools like screwdrivers, wrenches, and pliers
- Zip ties or clamps for securing components
- Optional: Paint or decals for customization
Step-by-Step Conversion Guide
Step 1: Disassemble the Hoverboard
Start by carefully removing the foot pads and casing of your hoverboard to access the internal components. Be gentle to avoid damaging the wiring or sensors. This step is crucial for integrating the hoverboard into the go kart frame.
Step 2: Attach the Hoverboard to the Frame
Most go kart frames come with mounting points for the hoverboard. Secure the hoverboard’s base to the frame using screws or clamps. Ensure it’s firmly attached to prevent wobbling or instability during use.
Step 3: Connect the Steering Mechanism
The steering system is what makes your go kart functional. Depending on your frame, you might need to attach handlebars or a steering wheel that connects to the hoverboard’s sensors. Test the responsiveness to ensure smooth turns.
Step 4: Test and Adjust
Before taking your new creation for a spin, do a thorough safety check. Test the brakes, steering, and acceleration in a controlled environment. Make any necessary adjustments to improve stability or comfort.
Safety Tips to Keep in Mind
While this project is fun, safety should always come first. Here are some key tips:
- Always wear a helmet and protective gear.
- Start slow to get used to the handling of your new go kart.
- Avoid steep hills or uneven terrain until you’re confident in your control.
- Regularly inspect the hoverboard and frame for loose parts or wear.
Creative Customization Ideas
Once your hoverboard go kart is up and running, why not personalize it? Here are some ideas:
- Add LED lights for a cool nighttime effect.
- Paint the frame in your favorite colors or designs.
- Attach a small storage compartment for snacks or gadgets.
Ready to hit the road with your homemade hoverboard go kart? This project is a fantastic way to breathe new life into your hoverboard while enjoying a unique riding experience. Whether you’re racing friends or just cruising the neighborhood, your DIY creation is sure to turn heads and spark conversations. So grab your tools, follow these steps, and get ready for endless fun!
Best Hoverboard Hoverboard for Kids: A Complete Buying Guide
Hoverboard That Goes 15 MPH: The Ultimate Guide to Speed and Safety