
Introduction to E-Bike P-Settings
Unlock the hidden potential of your electric bike by mastering its P-Settings. These programmable parameters, often accessed via a small button sequence on the display, are the command center for your e-bike's motor controller. They dictate how your bike responds to pedal input, how much power it delivers, and where it limits its speed. Understanding and adjusting your e-bike P settings transforms a standard ride into a fully personalized experience, balancing performance, efficiency, and range to match your exact needs.
Think of P-Settings as the advanced tuning menu for your electric assist. While the basic pedal assist levels (PAS 1-5) offer broad strokes, P-Settings allow for fine, granular adjustments within those levels. This guide will demystify every major parameter, providing actionable advice for optimization. Whether you're a daily commuter seeking maximum miles per charge or an off-road enthusiast needing instant torque, the right configuration of your ebike p settings is the key.
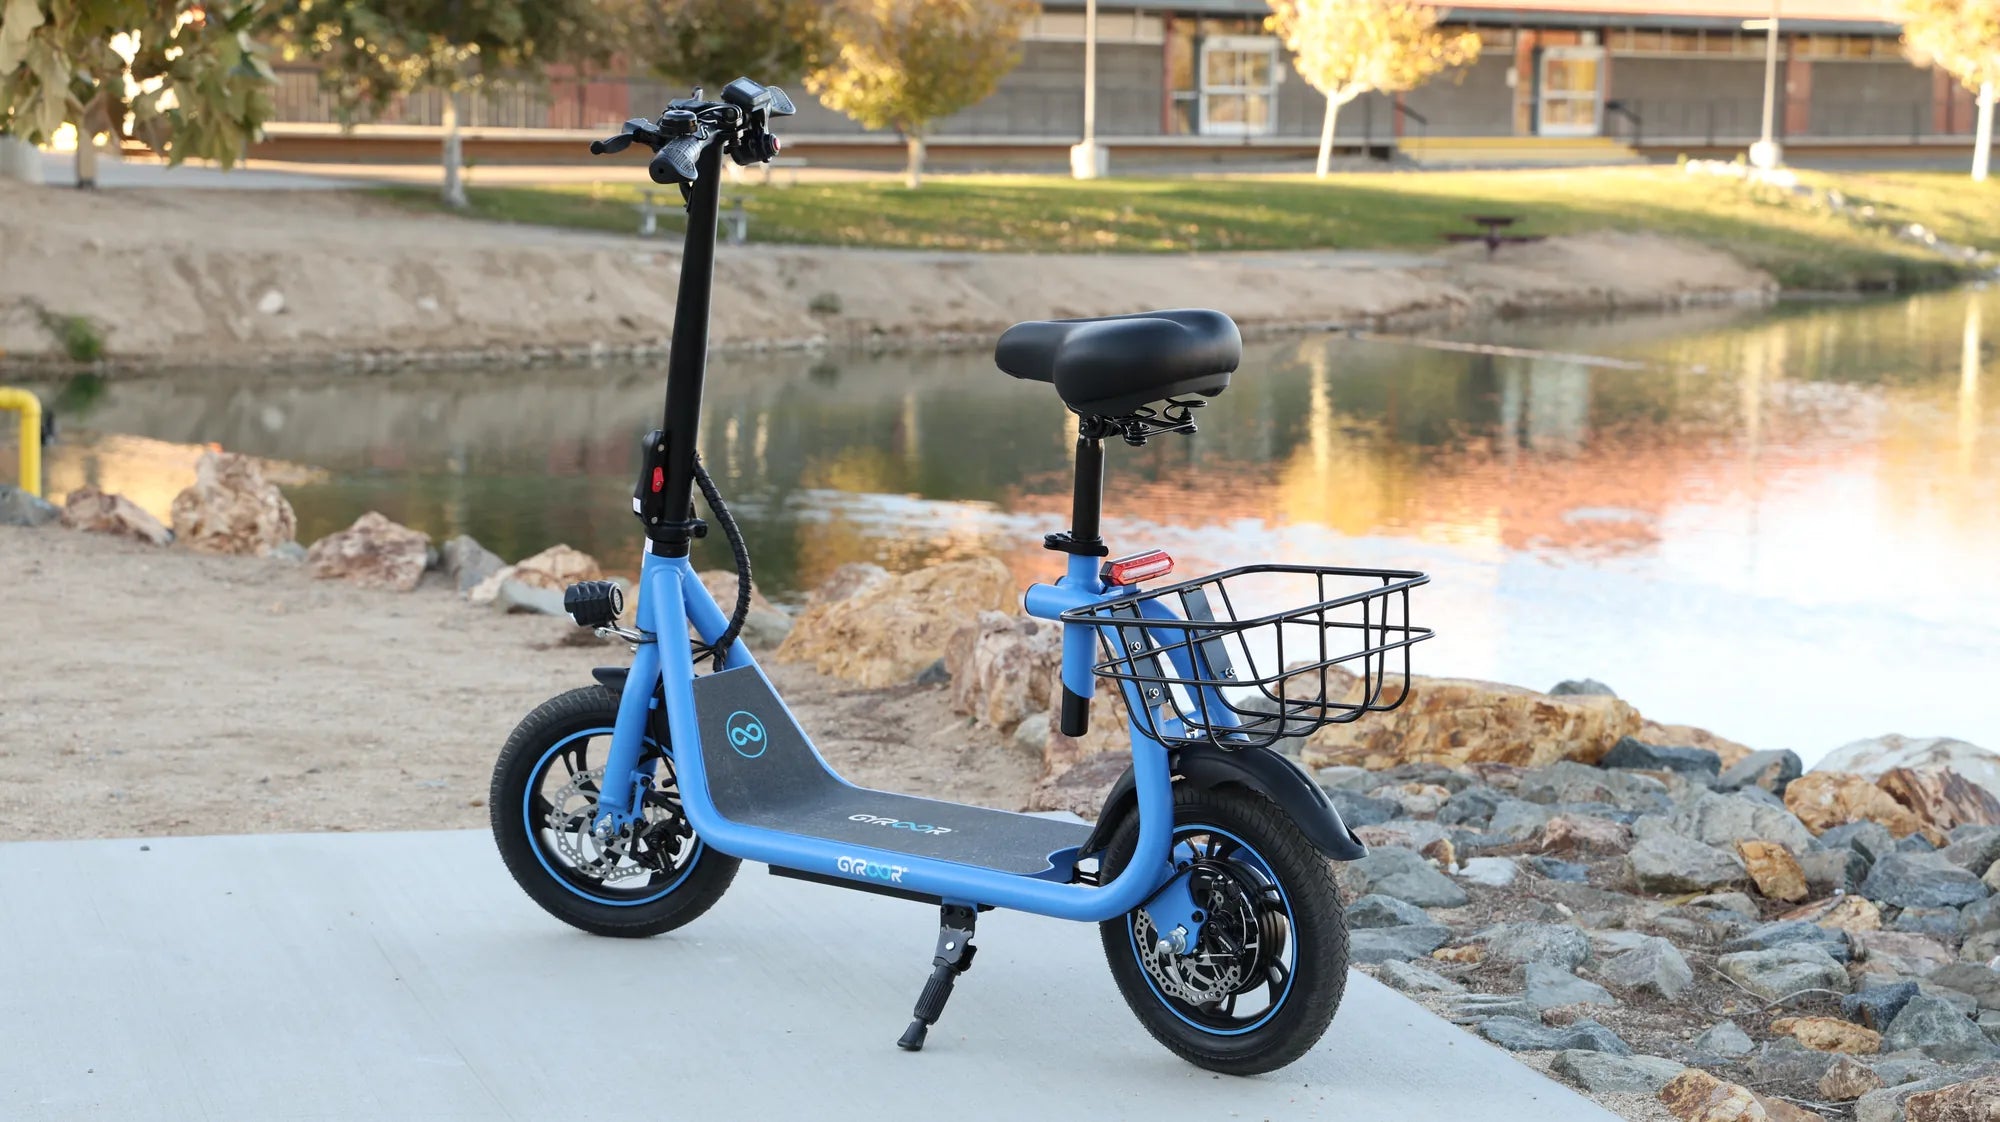
This knowledge is particularly valuable for owners of brands like Gyroor, which build robust programmability into their systems. With over 100,000 riders relying on such technology, learning to configure these settings safely is a crucial skill. We'll cover everything from the fundamental definitions to advanced tuning strategies, ensuring you can ride smarter, not just harder.
Why P-Settings Matter: Unlocking Your E-Bike's True Potential
Adjusting your e-bike's P-Settings is not mere tinkering; it's essential optimization. The factory defaults are a generic compromise, designed to work acceptably for an average rider in average conditions. Your riding style, local terrain, and primary goals are unique. By customizing these parameters, you directly influence the core triad of e-bike performance: range, power, and control.
Maximizing battery range is a top priority for most riders. Strategic adjustments to current limit and assist level strength can dramatically reduce power consumption on flat routes, allowing you to commute further or explore longer without range anxiety. Conversely, for tackling steep hills or carrying heavy cargo, increasing the motor's torque output via the P-Settings ensures you have the power when you need it most, without being forced into the highest assist level all the time.
Ride quality and smoothness are also governed here. The sensitivity setting that determines when the motor engages can be the difference between a jerky, unsettling start and a seamless, natural push-off. Fine-tuning the power curve across assist levels creates a more intuitive and responsive ride, making the bike feel like a natural extension of your effort rather than a separate machine.
Finally, P-Settings are critical for legal compliance. Many regions have strict laws governing the maximum assisted speed and motor power of e-bikes. The speed limit parameter (often P1) allows you to set a hard cap to ensure your Class 1, 2, or 3 e-bike operates within local regulations, a vital step for responsible riding on public paths and roads.
Decoding Common P-Setting Parameters
While naming conventions can vary between manufacturers, a core set of parameters is nearly universal. Understanding each one's function is the first step to mastery. Always refer to your specific user manual for the exact menu structure and value ranges for your model.
P1: Maximum Speed / Speed Limit
This setting places a ceiling on the motor's assistance. Once you reach the set speed (e.g., 20 mph, 25 mph, or 28 mph for Class 3), the motor will cut off, and you will be pedaling on muscle power alone. It is the primary setting for adhering to e-bike classifications. A lower P1 setting is also a proven method for conserving battery on long rides, as it prevents high-speed, high-power drain.
P2: Current Limit / Power Output
Measured in amps (A), this is arguably the most powerful setting. It controls the maximum electrical current delivered from the battery to the motor. A higher amperage means more torque and raw climbing power, but it also consumes energy faster and generates more heat. A lower setting increases efficiency and range at the cost of peak performance. It’s the direct dial for tuning your bike's “muscle.”
P3: Pedal Assist Start Sensitivity
This parameter sets the threshold for motor engagement. It dictates how much rotation of the pedals (or sometimes, how much pressure on the pedals) is required before the motor kicks in. A high sensitivity means the motor engages almost instantly with minimal pedal movement, great for quick starts from traffic lights. A lower sensitivity requires a full crank or more force, which can feel smoother and more natural, preventing unexpected lurches.
P4: Pedal Assist Level Strength (per PAS level)
Here is where you define what each assist level *actually means*. You can assign a percentage of the maximum power (set by P2) to PAS 1, PAS 2, etc. For example, you could set PAS 1 to a gentle 20% of max power for efficient cruising, PAS 3 to 60% for general commuting, and PAS 5 to 100% for full power on demand. This allows for incredible customization of your power band.
P5: Wheel Diameter
This is a critical calibration setting, not a performance tuner. The controller uses the wheel size to calculate speed and distance. If this value is incorrect, your speedometer and odometer will be wildly inaccurate. Always ensure this matches the actual wheel size of your bike (e.g., 20", 26", 27.5", 29") for reliable data.
A Practical Guide: Optimizing P-Settings for Different Rides
Now, let's apply this knowledge with specific, scenario-based tuning recommendations. Remember to make small, incremental changes and test thoroughly after each adjustment.
Scenario 1: The Maximum Range Commute. Your goal is to stretch every watt-hour from your UL-certified battery. Lower the P2 (Current Limit) by 20-30% to reduce peak power draw. Set P1 (Speed Limit) to your local legal limit (often 20 mph) to prevent high-speed drain. Reconfigure P4 so that PAS 1 provides just 15-25% power, PAS 2 around 40%, and keep PAS 3 as your "high power" mode at 70%. This creates very efficient low-power modes for most of your flat commute.
Scenario 2: Off-Road and Hill Climbing. Here, torque and responsiveness are king. Increase P2 (Current Limit) to the maximum safe value specified in your manual for maximum torque. Set a high P3 (Start Sensitivity) so motor engagement is immediate when tackling technical obstacles. Configure P4 to have a more aggressive curve: PAS 1 at 40%, PAS 3 at 80%, and PAS 5 at 100%. This gives you powerful, granular control in steep, variable terrain.
Scenario 3: Casual, Smooth Recreation. For a relaxed ride that feels natural and intuitive, smoothness is key. Set a medium-to-low P3 (Start Sensitivity) to avoid jerky starts. Configure P4 to have a very gentle PAS 1 (10-15%) and a linear increase to about 70% for PAS 5. This makes the lower assist levels truly gentle and promotes light exercise, while higher levels are there for bridges or headwinds without being overwhelming.
Safety, Warranty, and Best Practices for Adjustment
With great programmability comes great responsibility. Modifying core electrical parameters carries inherent risks if done recklessly. Always prioritize safety. Before changing any ebike p settings, document the factory default values in a secure note. This allows you to revert if needed. Make one change at a time and test ride in a safe, open area to understand its effect before proceeding.
It is crucial to understand the impact on your warranty. For Gyroor e-bikes, our 1-year comprehensive warranty covers defects in materials and workmanship. However, unauthorized modifications that exceed the designed operating parameters of the system—such as illegally increasing the voltage or persistently overriding thermal cut-offs—can void warranty coverage. Adjusting the P-Settings within the user-accessible menu as described in this guide is generally acceptable and intended for rider customization.
Stick to the published ranges in your manual. Forcing values beyond these limits can overstress the motor, controller, or battery, potentially leading to premature failure or safety hazards. Gyroor's use of UL-certified battery packs and robust IPX5 water-resistant designs provides a strong safety foundation, but it is not a license to bypass engineering limits. Ride responsibly.
Frequently Asked Questions on E-Bike P-Settings
Q: Will changing my P-Settings damage my e-bike battery?
A: Adjusting settings within the manufacturer's specified menu is safe for the battery. Gyroor batteries are UL-certified and have built-in Battery Management Systems (BMS) that provide critical protections against over-current, over-voltage, and short circuits. However, excessively raising the current limit (P2) for prolonged periods can increase heat and stress, potentially reducing the overall lifespan over hundreds of charge cycles.
Q: What is the single best P-Setting change for hill climbing?
A: Increasing the P2: Current Limit is the most effective change for improving hill-climbing torque. This directly allows the motor to draw more power to overcome gravity. Pair this with a higher P3: Start Sensitivity for immediate engagement when you begin pedaling on an incline.
Q: How do I reset all P-Settings back to factory defaults?
A> Most displays have a "Restore Defaults" option within the P-Setting menu. If not, you can manually re-enter the default values you documented beforehand. As a last resort, disconnecting the main battery for 5-10 minutes can sometimes reset the controller, but this is not guaranteed on all models.
Q: Do P-Settings affect my e-bike's water resistance rating?
A> No. The IPX5 water resistance rating of a Gyroor e-bike refers to the physical sealing of components against water jets. Changing software parameters does not alter this hardware sealing. Your bike will maintain its water resistance regardless of your P-Setting configuration.
Q: Can I use P-Settings to make my e-bike go faster than its legal class?
A> Technically, some settings may allow this, but it is strongly discouraged and often illegal. Doing so may reclassify your e-bike as a motor vehicle, void your warranty, invalidate your insurance, and create significant safety and liability risks. Always set your speed limit (P1) in compliance with local regulations.
Comparison of Common P-Setting Configurations
| Riding Scenario / Goal | Key P-Setting Adjustments | Expected Outcome | Ideal For |
|---|---|---|---|
| Max Range / Commuting | Lower P2 (Current), Set P1 to legal limit, Lower P4 values for PAS 1-3. | Extended battery life, slower but efficient ride, reduced peak power. | Long-distance commuters, eco-conscious riders. |
| Max Power / Off-Road | Increase P2 (Current), High P3 (Sensitivity), Aggressive P4 curve. | High torque for climbs, instant motor response, maximum available power. | Trail riding, hill climbing, cargo hauling. |
| Smooth & Natural Ride | Medium P3 (Sensitivity), Gentle, linear P4 curve, Standard P2. | Seamless pedal assist engagement, intuitive power progression, relaxed feel. | Recreational riders, beginners, mixed-family outings. |
| Legal Compliance (Class 1/3) | Set P1 to 20 mph (Class 1) or 28 mph (Class 3). Adjust other settings to preference. | Motor cuts off at specified speed, ensuring operation within e-bike laws. | All riders using public roads and bike paths. |
Conclusion: Ride Smarter, Not Just Harder
Mastering your e-bike's P-Settings elevates your riding experience from passive consumption to active collaboration with the machine. These parameters are the levers of control, allowing you to fine-tune your electric companion for unparalleled efficiency, tailored power, and perfect ride quality. The journey to your ideal setup is one of experimentation—always within the bounds of safety and legality.
Gyroor designs its e-bikes with this enthusiast spirit in mind, providing reliable, customizable platforms backed by robust UL-certified batteries and durable, IPX5-rated construction. With a community of over 100,000 riders, the focus is on delivering performance you can trust and personalize. Start with small adjustments, learn how each change affects your ride, and transform your e-bike into the perfect tool for your adventures.
Ready to experience a ride tailored to you? Browse the full Gyroor collection at gyroorboard.com to find an e-bike built with the programmability, safety, and reliability that empowers you to unlock every journey's potential.
Travel Tricycle: The Ultimate Guide to Stable and Accessible Exploration
Ebike Helmets for Women: The Ultimate Guide to Safety, Fit, and Style