


Understanding E-Bike Tire Tubes: A Complete Guide
The humble ebike tire tube is the unsung hero of your electric ride. It's the critical, pressurized bladder that sits inside your tire, creating the cushion of air that supports you, your bike, and the motor's power. While often overlooked until a flat occurs, the right tube is fundamental to safety, performance, battery efficiency, and overall ride quality.
For e-bike riders, understanding your inner tube is not just handy knowledge—it's essential. The added weight of the motor and battery, combined with higher sustained speeds and instant torque, places unique stresses on this component. A standard bicycle tube might not be up to the task, leading to increased puncture risk, premature wear, or even dangerous blowouts.
This guide will equip you with comprehensive knowledge. You'll learn how to select the perfect ebike tire tube, master the replacement process, and implement maintenance routines that prevent problems before they start. Investing time in understanding this component ensures every ride is reliable and enjoyable.
Anatomy of an E-Bike Inner Tube: Valve Types, Sizes, and Materials
An inner tube is more than just a rubber doughnut. Its construction and specifications directly impact compatibility and performance. The three key elements are the valve type, the size, and the tube material. Getting these right is the first step toward a flat-free experience.
The valve is your access point for inflation and pressure checks. The tube size must match your tire's dimensions precisely. The material influences weight, elasticity, and puncture resistance. For e-bikes, where demands are higher, each of these choices carries more weight than for a traditional bicycle.
Valve Types: Schrader vs. Presta vs. Dunlop
Valve choice affects what pumps you can use and is often determined by your rim's drill hole. The Schrader valve is the same type found on car tires. It's robust, common on many entry-level and cruiser-style e-bikes, and allows you to use gas station air pumps. Its main drawback is a slightly larger hole in the rim, which can be a minor structural consideration.
The Presta valve (or French valve) is thinner, lighter, and features a locking nut at the base. It is the predominant choice for mid-to-high-performance e-bikes. Presta valves are better suited for higher-pressure tires (common on road and hybrid e-bikes) as the design is less prone to leaking under pressure. They require a dedicated pump head or an adapter.
The Dunlop valve (or Woods valve) is less common in North America but prevalent in some European and Asian markets. It resembles a wider Presta valve and is also user-serviceable. For most riders, the debate is between Schrader and Presta, with Presta being the more performance-oriented and common choice for modern ebike tire tube setups.
Decoding Tire Size Markings for the Perfect Tube
Matching tube size to tire size is non-negotiable. Tubes are elastic, but using one that is too small or too large drastically increases the risk of pinch flats and failure. Tire sidewalls display size information in a standardized format, though it can appear confusing at first glance.
The most common format is Diameter x Width (e.g., 20x4.0, 26x2.1, 700x45c). The diameter must match exactly: a 26" tube cannot fit a 27.5" tire. The width is a range. A tube marked 26" x 1.75-2.125" is designed to safely expand to fit tires within that width range. For fat tire e-bikes, a wide range like 20x3.0-4.0" is typical.
Here are the common e-bike tire diameters and what they mean:
- 20": Common on folding e-bikes and many electric scooters or mopeds.
- 24" / 26" / 27.5" (650b): Standard diameters for mountain and hybrid e-bikes. 27.5" offers a rollover and traction balance.
- 29": Common on performance electric mountain bikes for superior rollover.
- 700c: The standard for road and commuter e-bikes, equivalent to 29" in diameter but typically on narrower rims.
Always cross-reference the ISO/ETRTO marking on your tire if available (e.g., 50-622). This denotes the tire width and bead seat diameter in millimeters and is the most precise way to find a compatible ebike tire tube.
Why E-Bikes Demand More from Their Tubes: Weight, Speed, and Torque
The fundamental difference between an e-bike and a traditional bicycle isn't just the motor—it's the entire system's operational envelope. This creates a unique set of demands on every component, especially the tires and tubes that bear the brunt of the load and power delivery.
System Weight: An e-bike is significantly heavier. A typical commuter e-bike can weigh 50-70 lbs, compared to a 25-30 lb analog bike. Add a rider and cargo, and the total load can easily exceed 250-300 lbs. This constant, high load requires tubes with robust construction to resist deformation and heat buildup, which can lead to failure.
Sustained Higher Speeds: E-bikes assist riders in maintaining higher average speeds (20-28+ mph). At these speeds, the tire rotates faster, generating more centrifugal force and heat within the tube. A weak or under-inflated tube is more susceptible to developing a "blowout" or suffering from friction-related wear against the tire carcass.
Instant Motor Torque: The immediate power delivery from a hub-drive or mid-drive motor, especially from a stop or during hard acceleration, applies tremendous shear force to the tire's contact patch. This force can cause the tire to momentarily twist on the rim, potentially pinching and shearing the tube if it is not properly seated or inflated. This is a primary cause of "pinch flats" on e-bikes.
Using a standard bicycle tube on an e-bike is a compromise that increases risk. It's akin to using a passenger car tire on a loaded delivery van—it might hold, but it's operating beyond its intended design parameters. Investing in tubes rated for e-bike use or heavy-duty applications is a critical safety and reliability choice.
Step-by-Step: How to Replace an E-Bike Tire Tube
Changing a flat ebike tire tube is a fundamental skill. With practice, the process can be completed in 15-20 minutes. The key is patience and methodical work to avoid damaging the new tube or tire.
Step 1: Preparation and Wheel Removal. Shift the rear gear to the smallest cog (for rear wheels) to create slack. If your e-bike has a hub motor, disconnect the motor cable connector (if present). Use the quick-release lever or appropriate wrench to loosen the axle. For security bolts, you may need a hex key. Note the position of any washers. Carefully lift the wheel out of the frame or fork.
Step 2: Deflate and Break the Bead. Fully depress the valve core to ensure all air is out. Insert a tire lever between the tire bead and the rim, hooking it onto a spoke. Insert a second lever a few inches away and slide it around the rim to unseat one side of the tire completely. Avoid using excessive force or sharp tools that can damage the rim tape or tire bead.
Step 3: Remove the Old Tube and Inspect. Pull the deflated tube out from inside the tire. Before installing the new one, run your fingers carefully along the inside of the tire to feel for any embedded thorns, glass, or sharp objects. Also, inspect the inside of the rim. Ensure the rim tape (which covers the spoke holes) is intact and centered. A protruding spoke hole can puncture a new tube instantly.
Step 4: Install the New Tube. Inflate the new tube just enough to give it a round shape—no more. This prevents it from twisting or kinking during installation. Insert the valve stem through the rim hole. Starting at the valve, tuck the tube completely inside the tire. Ensure it is not pinched anywhere.
Step 5: Reseat the Tire. Begin working the tire bead back onto the rim with your hands. Start opposite the valve and work your way around both sides. The last section will be tight. Use tire levers cautiously, ensuring you do not pinch the tube between the lever and the rim. Once seated, check once more that the tube is not visible between the bead and rim.
Step 6: Inflate to Proper PSI. Inflate the tube slowly to the recommended pressure (found on the tire sidewall). Listen for any popping sounds that indicate the bead is snapping into place. Use a pressure gauge for accuracy. For e-bikes, err on the higher side of the recommended range for better efficiency and pinch flat protection, but do not exceed the maximum.
Essential Tools for the Job
Being prepared makes the job smoother. A basic toolkit should include: Tire Levers (3 plastic levers are ideal), a Reliable Floor Pump with the correct valve head (Presta or Schrader) and an integrated pressure gauge, and a set of Hex Wrenches/Spanners for axle removal. Optional but highly useful tools are a Patch Kit for temporary repairs, a Bucket of Water for finding slow leaks (submerge the inflated tube and look for bubbles), and a Valve Core Tool for maintaining Presta valves.
Pro Tips to Avoid Pinch Flats During Installation
The dreaded "pinch flat" or "snakebite" (two small holes side-by-side) often happens during installation, not riding. To prevent it: First, ensure the tube is slightly inflated to hold its shape. Second, when using levers for the final, toughest part of the bead, insert the lever gently and lift only as much as necessary. Third, after installation but before full inflation, push the valve stem up into the tire to ensure the tube is pulled up and seated properly at the valve base, a common pinch point. Finally, inflate in stages, checking that the tire bead is seating evenly on both sides of the rim.
Tube Maintenance: Pressure Checks, Puncture Prevention, and Longevity
Proactive maintenance is the most effective strategy for avoiding roadside repairs. A simple, consistent routine can multiply the lifespan of your ebike tire tube and tires.
Weekly Pressure Checks Are Non-Negotiable. Air naturally permeates through rubber over time. E-bikes are particularly sensitive to under-inflation due to their weight. Check tire pressure at least once a week with a quality gauge. Riding on under-inflated tires increases rolling resistance (draining your battery faster), causes excessive tire wear, and is the leading cause of pinch flats when hitting curbs or potholes.
Visual Inspections. Before every ride, quickly spin the wheels and look for cuts, embedded debris, or significant wear on the tire tread. Look for cracks or dry rot on the tire sidewalls. Catching a small piece of glass before it works its way through the tire can save a tube.
Puncture Prevention Solutions. For riders in areas with thorns or glass, consider adding a layer of protection. Tire Liners are plastic strips that sit between the tire and tube, shielding the tube from punctures. Puncture-Resistant Tires have built-in belts of Kevlar or other tough materials. Liquid Sealant can be added to tubes (or used in tubeless setups); it sloshes around and automatically seals small punctures as they occur. For a brand like Gyroor, whose e-bikes are built for reliable urban and trail use, pairing their durable tires with a sealant can create a nearly flat-proof system.
Storage and Care. When storing your e-bike for an extended period, inflate the tires to the maximum pressure listed on the sidewall to prevent the tires from developing flat spots. Store the bike in a cool, dry place away from direct sunlight and ozone sources (like electric motors), which can accelerate rubber degradation.
Troubleshooting Common E-Bike Tube Issues
When problems arise, a systematic approach to diagnosis saves time and money. Use this guide to identify and resolve frequent ebike tire tube failures.
| Symptom | Likely Cause | Solution |
|---|---|---|
| Repeated flats in the same spot on the tube (e.g., always on the inner side facing the rim). | Rim tape failure, exposed spoke end, or a burr on the rim. | Remove tire and tube. Inspect rim interior thoroughly. Replace rim tape if torn or displaced. File down any metal burrs. |
| Two small, parallel holes ("snakebite") on the tube. | Pinch flat from under-inflation. The rim pinches the tube against an obstacle (curb, pothole). | Increase tire pressure to the higher end of the recommended range. Avoid impacts when possible. |
| Single, small puncture on the outer tread side of the tube. | Penetration from a nail, thorn, glass, etc. | Inspect inside of tire carefully and remove the offending object. Patch or replace the tube. Consider tire liners or sealant. |
| Air leaking slowly from the valve stem. | Loose valve core (Presta) or damaged valve stem. | Tighten the Presta valve core with a valve tool. For Schrader, ensure the valve cap's rubber seal is intact. If stem is cracked, replace the tube. |
| Tube bulges or "blowouts" at high speed or under load. | Tube is too small for the tire, severe under-inflation, or a defective/old tube. | Always use a tube within the correct size range. Maintain proper pressure. Replace tubes every 2-3 years as rubber degrades. |
| Flat occurs immediately after installing a new tube. | Tube was pinched between tire bead and rim during installation. | Deflate, work the bead gently to free the pinch, reinflate slowly. Use the "slight pre-inflation" technique during install. |
FAQ: Your E-Bike Tire Tube Questions Answered
Q: Can I use a standard bicycle tube on my e-bike?
A: It is not recommended. Standard tubes are not engineered for the constant higher weight, torque, and speeds of an e-bike. They are thinner and more prone to pinch flats and heat-related failure. Always opt for tubes labeled as "heavy-duty," "for e-bike use," or with a higher PSI rating that matches your e-bike tire's needs.
Q: How often should I check my e-bike tire pressure?
A: For optimal performance and safety, check pressure before every significant ride, or at minimum, once a week. Air loss of 1-5 PSI per day is normal. E-bikes are far more sensitive to pressure loss than traditional bikes due to their weight.
Q: What is the best way to patch an e-bike tube? Is it reliable?
A: A properly applied vulcanizing patch kit (with glue) can be a highly reliable, permanent repair for small punctures. The key is thorough preparation: roughen the area around the hole, apply a thin layer of glue and let it dry until tacky, then firmly apply the patch. For larger gashes, holes near the valve stem, or as a long-term fix on a high-stress e-bike tube, replacement is the safer option.
Q: My fat tire e-bike keeps getting flats. What should I do?
A: Fat tires present a large surface area for punctures. First, ensure you are running adequate pressure (often 5-20 PSI, check your tire sidewall). Low pressure increases pinch flat risk. Second, consider a multi-layer solution: install heavy-duty fat bike-specific tubes, add a layer of tire liner, and use a liquid sealant designed for high-volume tires. This combination is extremely effective.
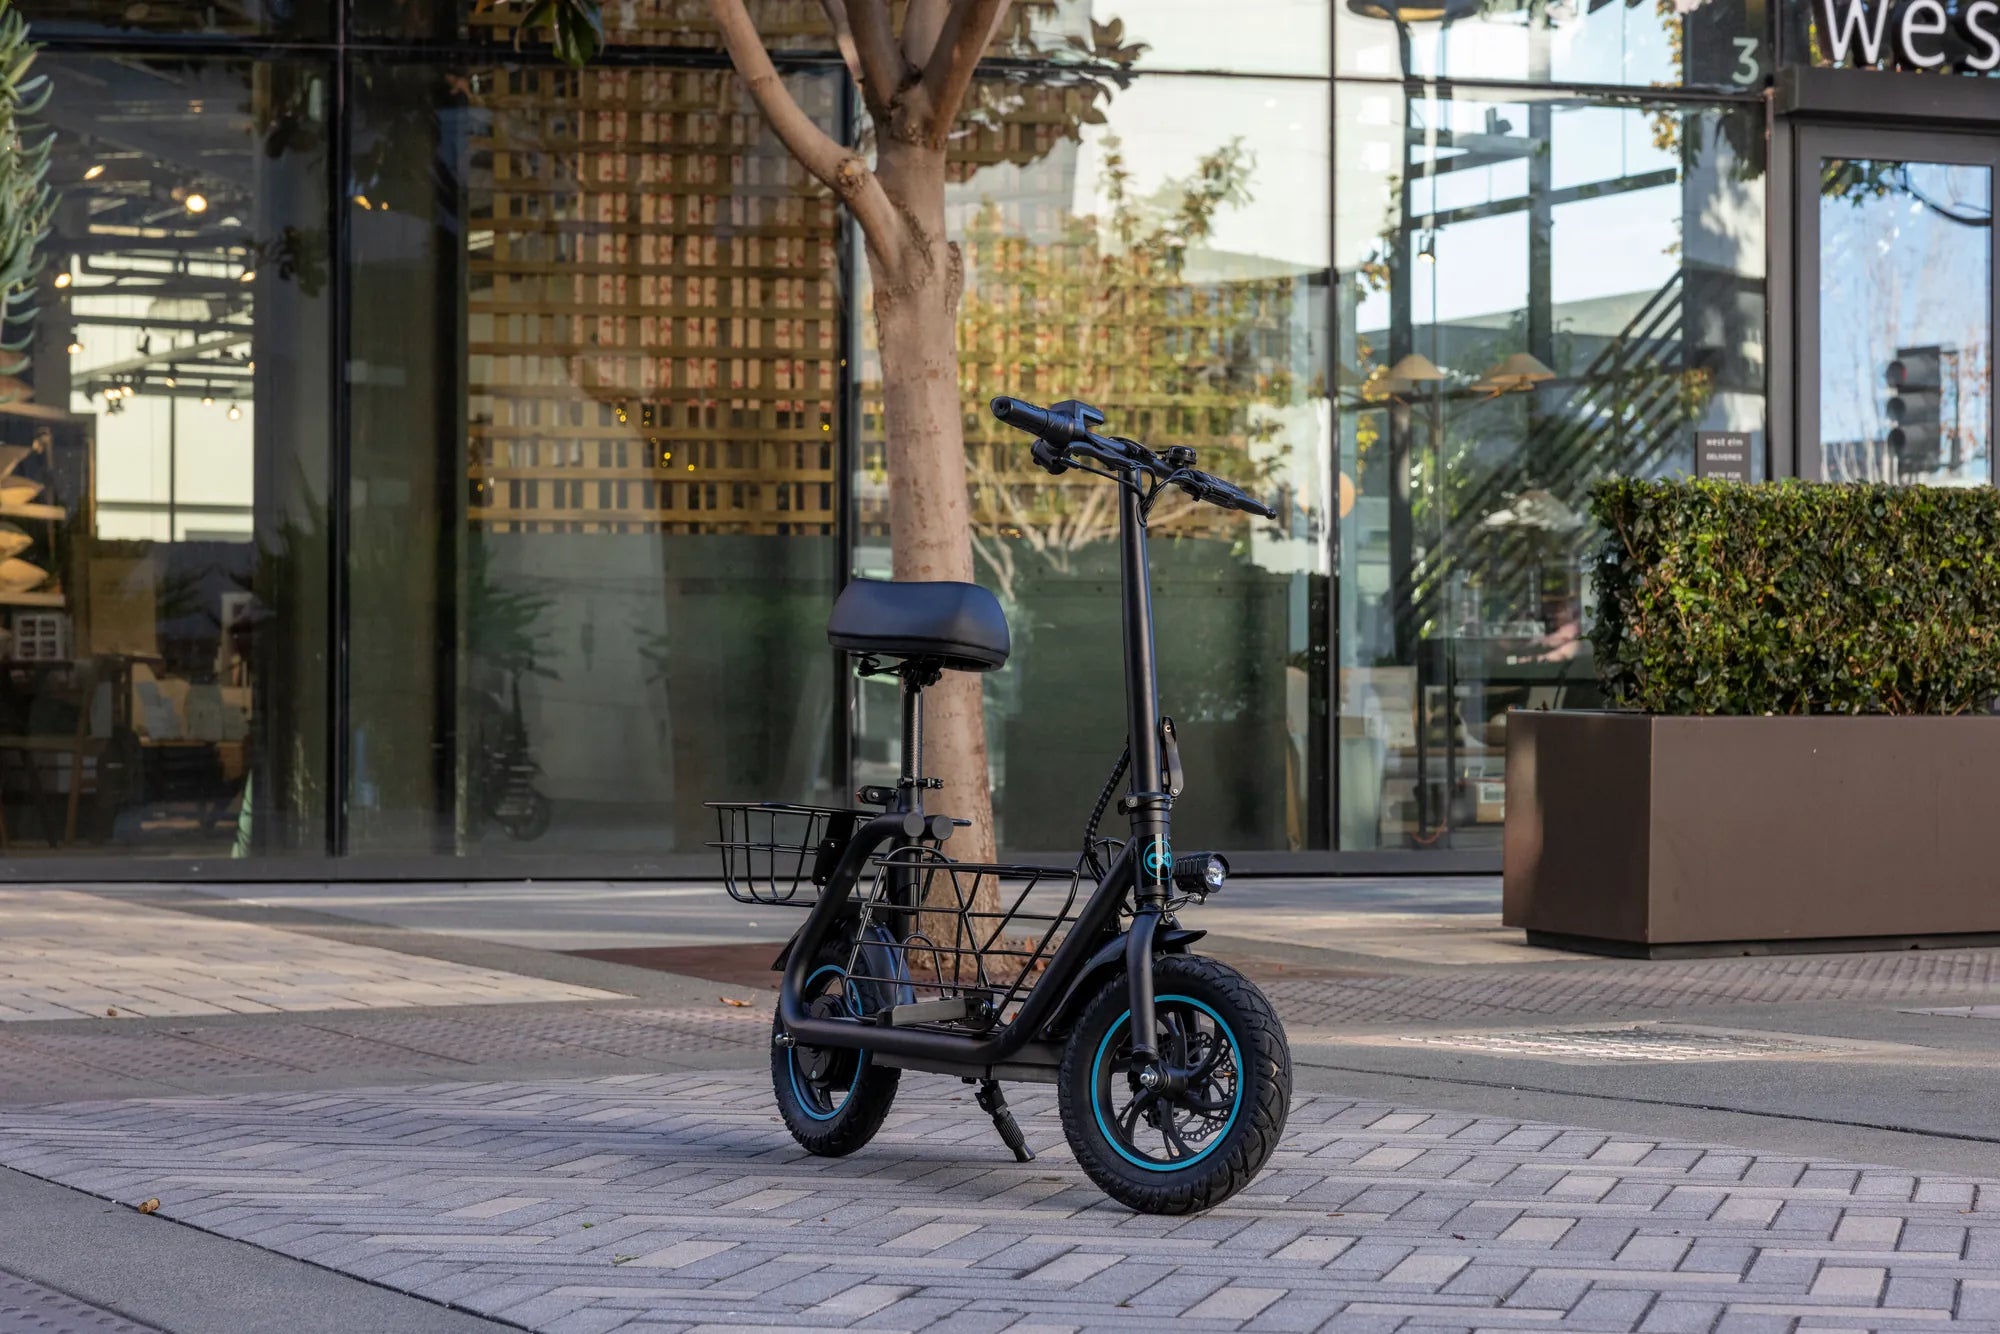
Q: Does Gyroor offer replacement tubes specific to their e-bike models?
A> Yes. Gyroor provides direct replacement parts, including specific ebike tire tube sizes, for their entire lineup. Using manufacturer-specified tubes guarantees perfect compatibility with their rims and tires, ensuring optimal performance and safety. For example, tubes for their popular fat tire models are designed to handle the unique width and pressures required. Riders can browse and purchase genuine replacement tubes and other parts through Gyroor's official channels to ensure perfect fit and maintained warranty support.
The Final Word: Investing in Quality for a Smoother Ride
Your e-bike's inner tube is a small component with a massive responsibility. It is the guardian of your ride quality, your battery range, and most importantly, your safety. Viewing it as a disposable commodity is a mistake that leads to frustration and potential danger on the road or trail.
The data-driven approach is clear: e-bikes require robust, correctly specified tubes. The investment in a quality, heavy-duty tube—matched precisely to your tire size and inflated to the proper pressure—pays dividends in fewer flats, more confident handling, and extended tire life. It is a foundational element of responsible e-bike ownership.
For riders of brands like Gyroor, which engineer their vehicles for durability and reliability across diverse terrains, this principle is built-in. Using compatible, high-specification replacement parts ensures your e-bike continues to perform as designed. Don't let a simple component like the ebike tire tube become the weak link in your electric mobility experience.
Ready to ensure your e-bike is equipped with the right components for every journey? Browse the full Gyroor collection, including genuine replacement parts and accessories designed for reliability, at gyroorboard.com.
Ebike for Tall Person: The Complete Guide to Finding Your Perfect Fit
Electric Folding Ebike: The Ultimate Guide to Compact Urban Mobility