
Electric scooters have become a popular mode of urban transportation, offering convenience and eco-friendly commuting. However, like any vehicle, they require regular maintenance—especially when it comes to brakes. Worn-out brakes can compromise safety, making timely replacement crucial. Whether you're a DIY enthusiast or just want to understand the process, this guide will walk you through everything you need to know about electric scooter brake replacement.
Why Brake Replacement Is Essential
Brakes are one of the most critical safety components of an electric scooter. Over time, brake pads wear down due to friction, reducing stopping power. If you notice squeaking, longer stopping distances, or a spongy brake lever, it's likely time for a replacement. Ignoring these signs can lead to accidents, making proactive maintenance a must.
Types of Electric Scooter Brakes
Most electric scooters use one of three brake systems:
- Mechanical Disc Brakes: These use a cable to engage the brake pads against a rotor. They're affordable and easy to maintain.
- Hydraulic Disc Brakes: These rely on fluid pressure for smoother, more responsive braking but require more expertise to replace.
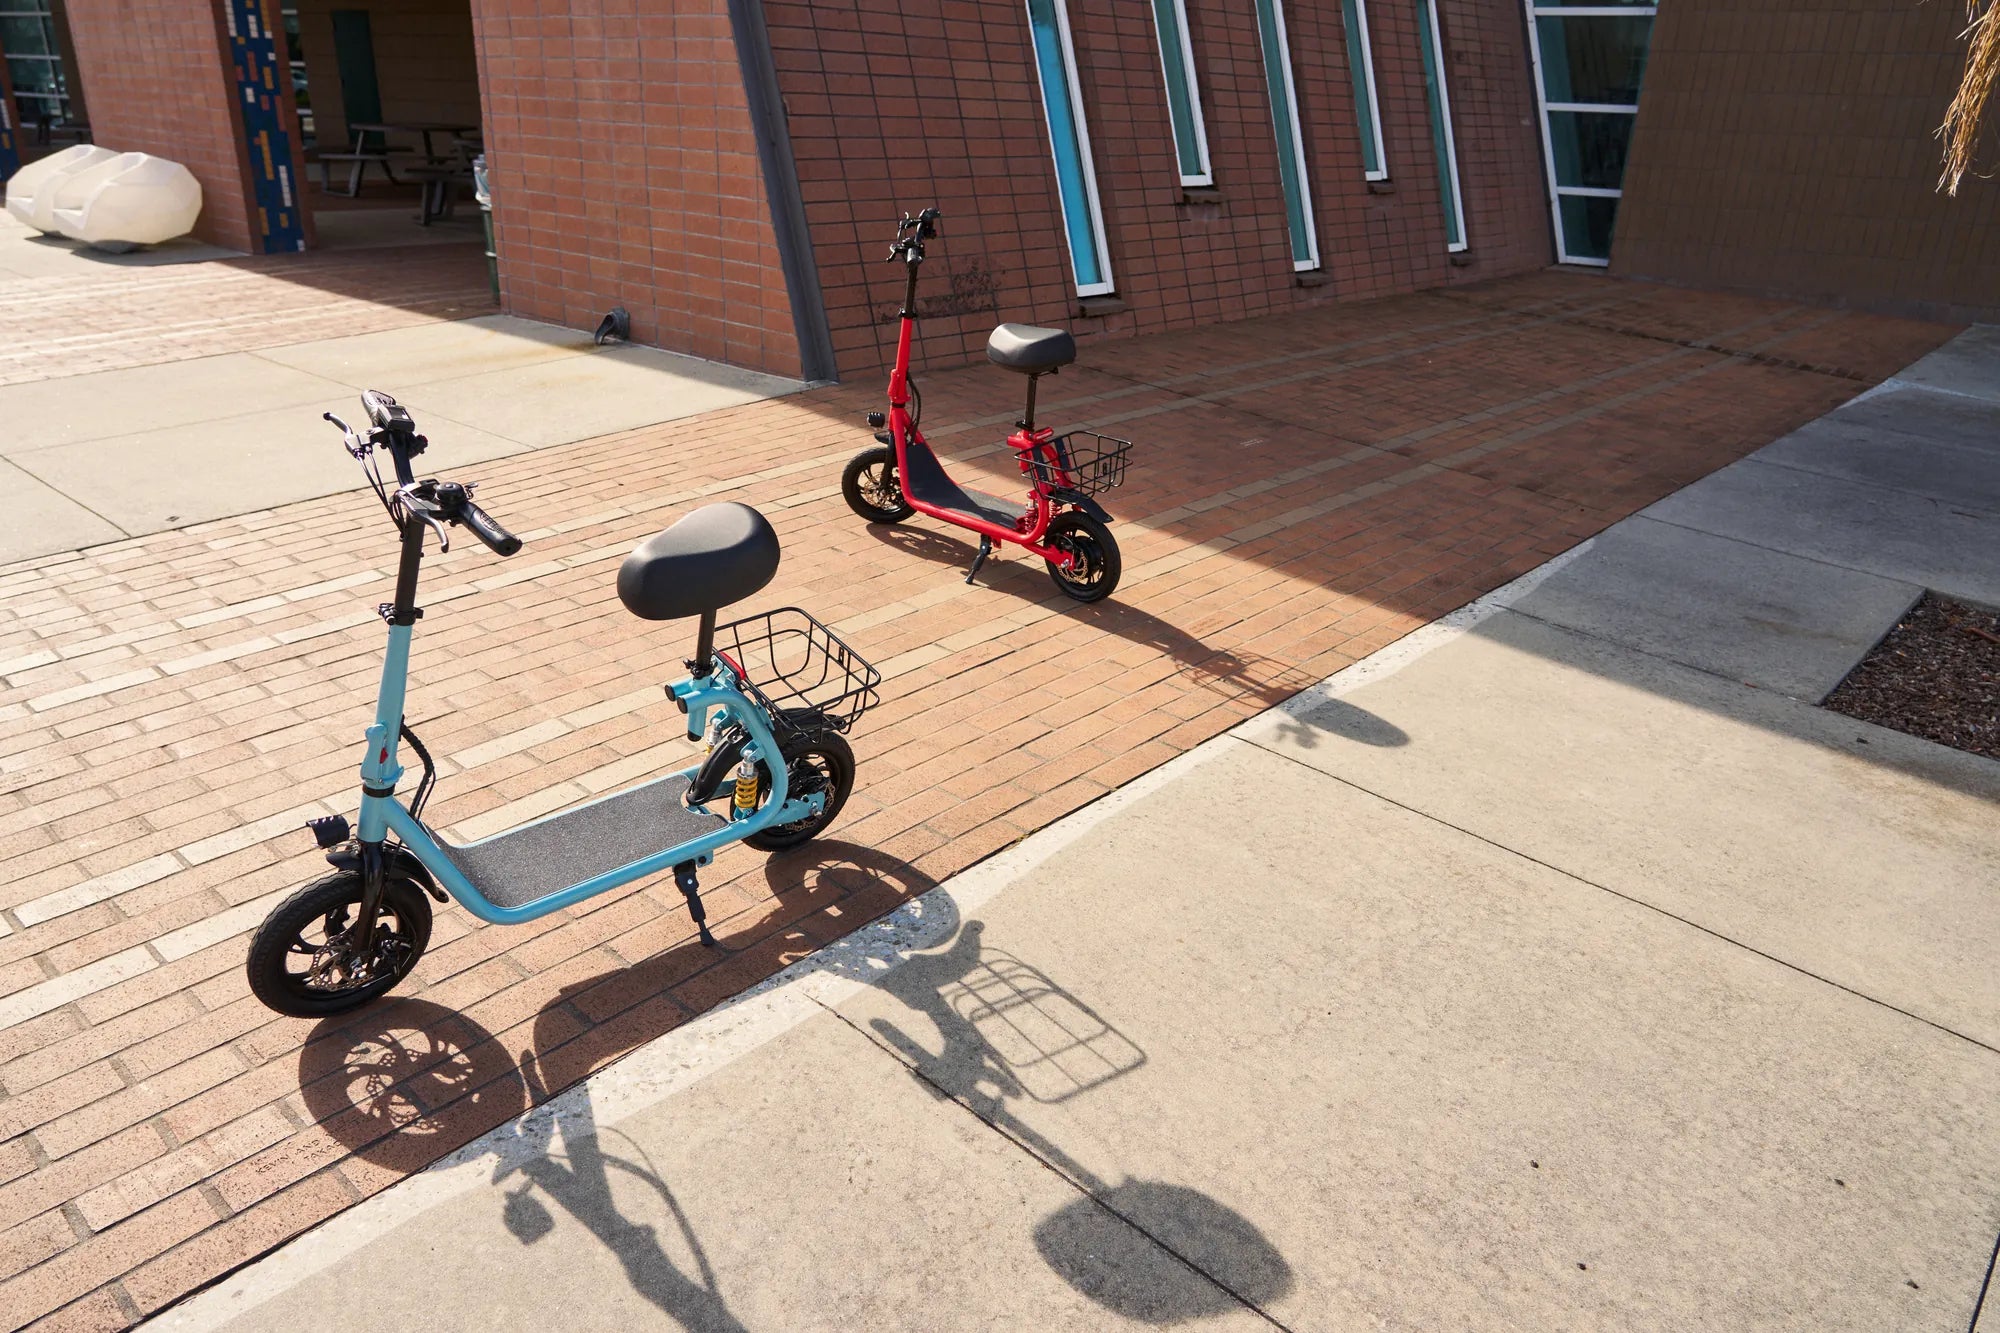
- Drum Brakes: Enclosed within the wheel hub, these are low-maintenance but less efficient than disc brakes.
Tools You'll Need for Brake Replacement
Before starting, gather these essential tools:
- Allen wrenches
- Screwdrivers
- Brake pad spreader (for hydraulic systems)
- New brake pads or rotors (as needed)
- Cleaning supplies (isopropyl alcohol, lint-free cloth)
Step-by-Step Brake Replacement Guide
1. Remove the Old Brake Pads
Start by loosening the bolts holding the brake caliper in place. Slide out the worn brake pads and inspect the rotor for damage. If the rotor is warped or excessively worn, consider replacing it as well.
2. Install the New Brake Pads
Insert the new pads into the caliper, ensuring they're properly aligned. Tighten the bolts securely but avoid over-tightening, which can damage the components.
3. Adjust the Brake Caliper
After installing the pads, realign the caliper so it sits evenly over the rotor. Test the brake lever to ensure smooth engagement without rubbing.
4. Bed In the New Brakes
To optimize performance, ride at a moderate speed and apply the brakes gently several times. This helps the pads and rotor establish proper contact.
When to Seek Professional Help
If you're uncomfortable with any step or notice persistent issues like brake fluid leaks (in hydraulic systems), consult a professional. Proper brake function is non-negotiable for safety.
Maintenance Tips to Extend Brake Life
- Clean the brake system regularly to prevent dirt buildup.
- Avoid harsh braking to reduce wear.
- Check brake fluid levels (for hydraulic systems) periodically.
Replacing your electric scooter's brakes doesn't have to be daunting. With the right tools and knowledge, you can ensure a smooth, safe ride every time. Stay proactive about maintenance, and your scooter will reward you with reliable performance for miles to come.
Performance Products Street Electric Scooter: The Future of Urban Mobility
Electric Scooter Not Accelerating: Common Causes and How to Fix Them