



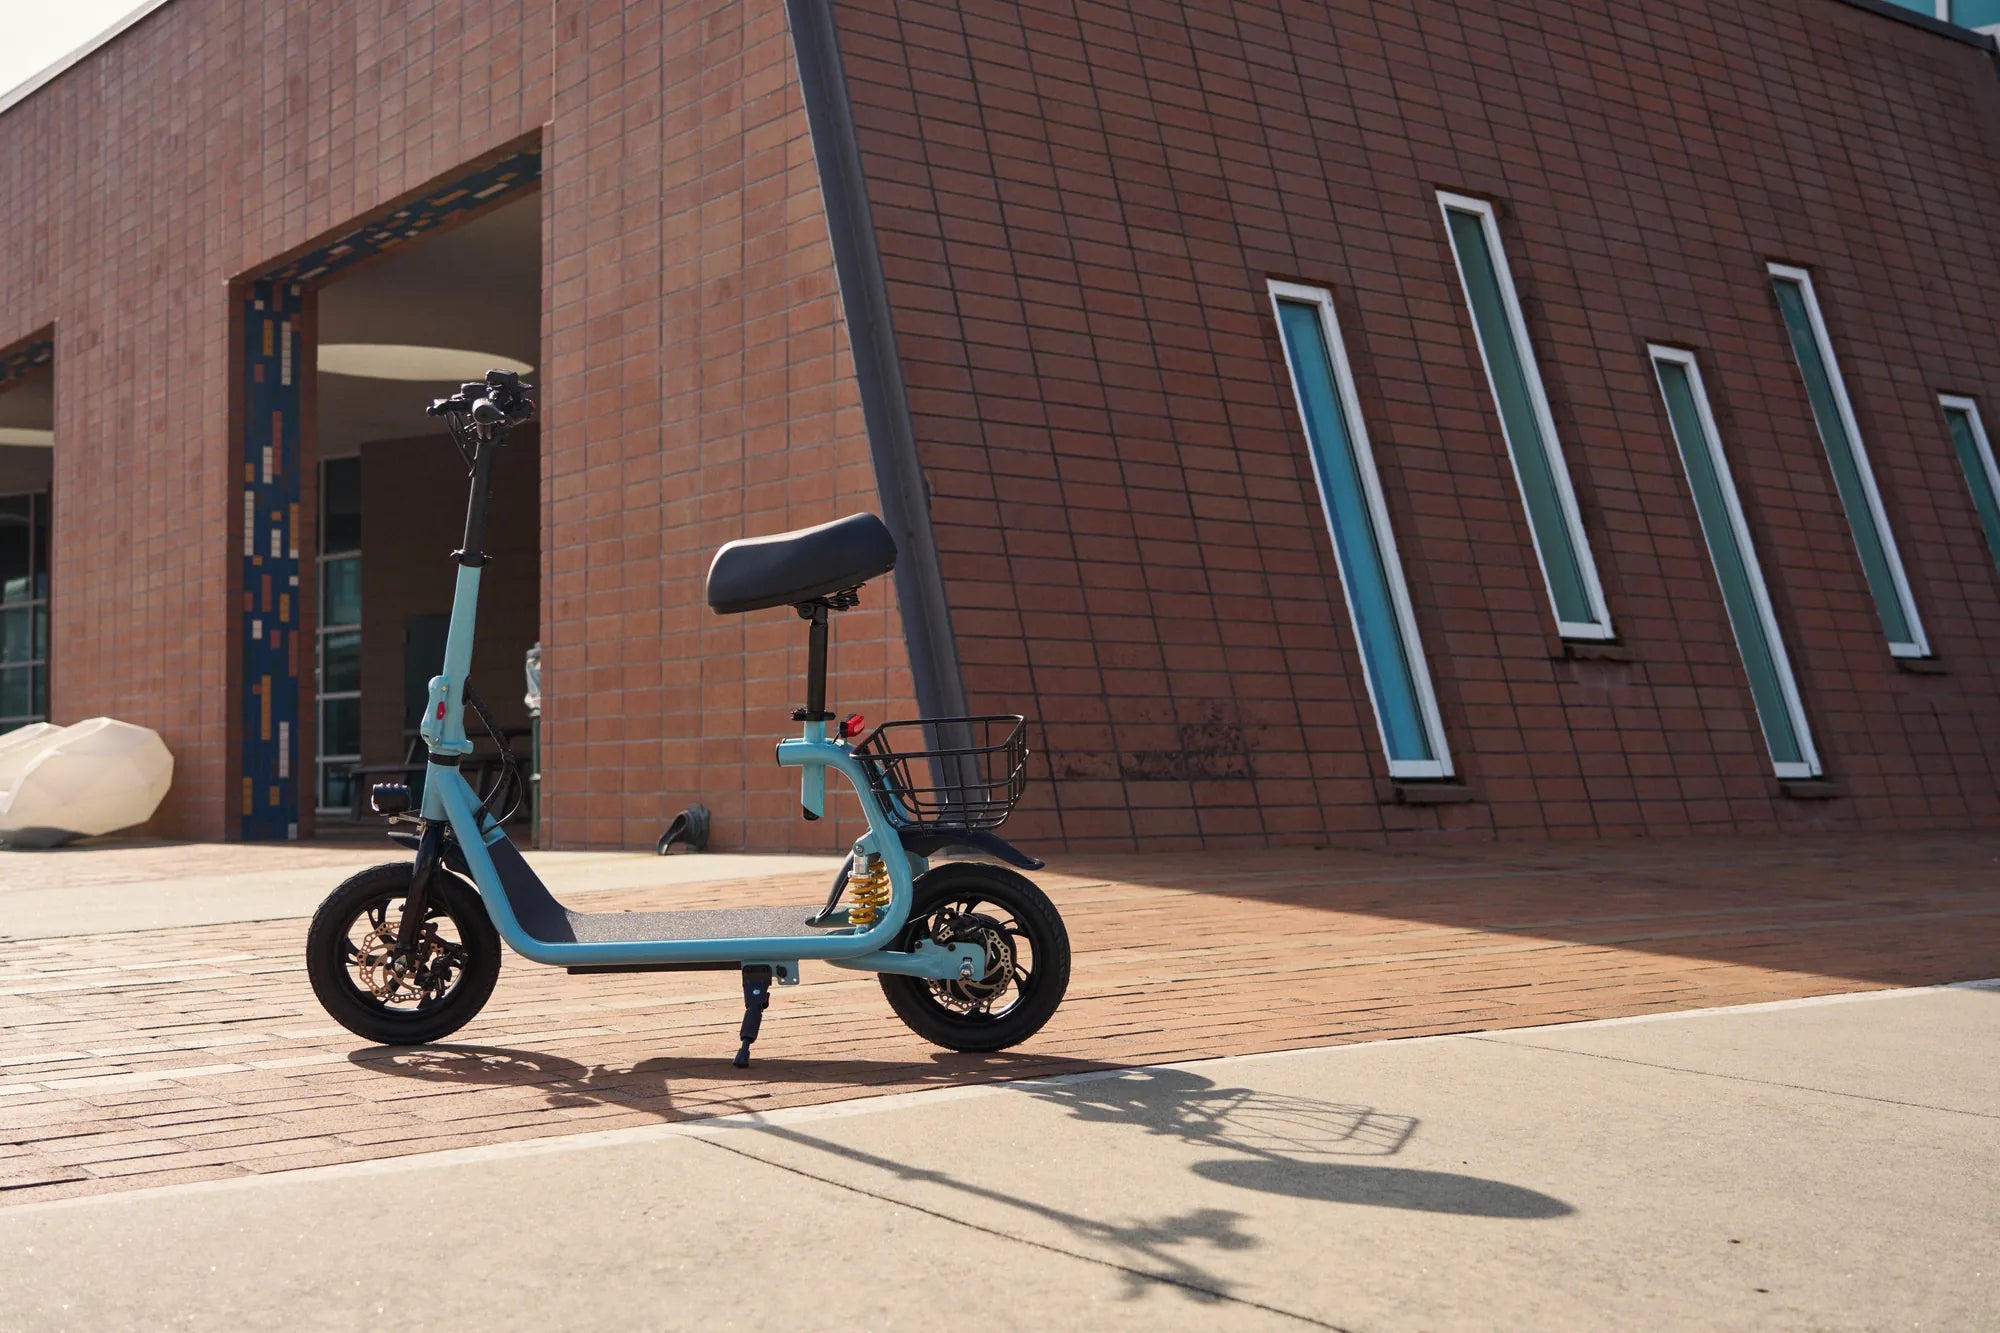
Nothing ruins a nighttime ride faster than realizing your electric scooter lights are not working. Whether you rely on them for visibility or safety, malfunctioning lights can turn a fun trip into a hazardous one. But don’t worry—this guide will help you diagnose the problem and get your scooter back in working order.
Common Reasons Why Electric Scooter Lights Stop Working
Several factors can cause your electric scooter lights to fail. Understanding these issues is the first step toward fixing them.
1. Blown Bulbs or LED Failure
Just like any other light source, scooter bulbs or LEDs can burn out over time. If your lights suddenly stop working, this could be the culprit.
2. Wiring Issues
Loose, frayed, or disconnected wires can interrupt the electrical flow to your lights. Check for visible damage or loose connections.
3. Faulty Switches or Controls
If the switch or control mechanism that turns the lights on and off is damaged, your lights may not receive power.
4. Battery Problems
Low battery voltage or a failing battery can cause lights to dim or stop working entirely.
5. Blown Fuses
Many scooters have fuses that protect the electrical system. A blown fuse can cut power to the lights.
How to Troubleshoot Electric Scooter Lights Not Working
Before attempting any repairs, follow these steps to identify the issue.
Step 1: Check the Power Source
Ensure your scooter’s battery is charged. If the battery is low, recharge it and test the lights again.
Step 2: Inspect the Bulbs or LEDs
If your scooter uses replaceable bulbs, check if they are burnt out. For LED lights, look for signs of damage.
Step 3: Examine the Wiring
Look for loose or damaged wires around the light assembly. Reconnect or replace any faulty wiring.
Step 4: Test the Switch
Use a multimeter to check if the switch is sending power to the lights. If not, the switch may need replacement.
Step 5: Check the Fuse
Locate the fuse box (if your scooter has one) and inspect the fuses. Replace any that are blown.
How to Fix Electric Scooter Lights
Once you’ve identified the problem, follow these steps to repair your scooter’s lights.
Replacing Bulbs or LEDs
If the bulbs or LEDs are faulty, replace them with compatible replacements. Follow the manufacturer’s instructions for installation.
Repairing Wiring
For minor wire damage, use electrical tape to secure the connection. For severe damage, replace the wiring entirely.
Replacing the Switch
If the switch is defective, purchase a new one and install it according to the scooter’s manual.
Replacing the Fuse
Swap out a blown fuse with one of the same rating. Never use a higher-rated fuse, as this can cause electrical damage.
Preventing Future Light Issues
To avoid recurring problems, follow these maintenance tips:
- Regularly inspect wires and connections for wear.
- Keep the battery charged to ensure consistent power.
- Avoid exposing the scooter to extreme weather conditions.
- Use high-quality replacement parts when repairs are needed.
Safety Tips When Riding Without Lights
If your lights fail during a ride, follow these safety precautions:
- Ride in well-lit areas.
- Wear reflective clothing.
- Use a handheld flashlight if necessary.
- Avoid riding at night until the lights are fixed.
Don’t let faulty lights keep you off the road—with the right knowledge, you can diagnose and fix the issue quickly. Stay safe and keep your scooter in top condition for every ride!
Best Mountain Biking Trails in Wyoming: Ride the Wild Frontier
Best Electric Bike for Heavy Adults: A Comprehensive Guide to Finding the Perfect Ride