


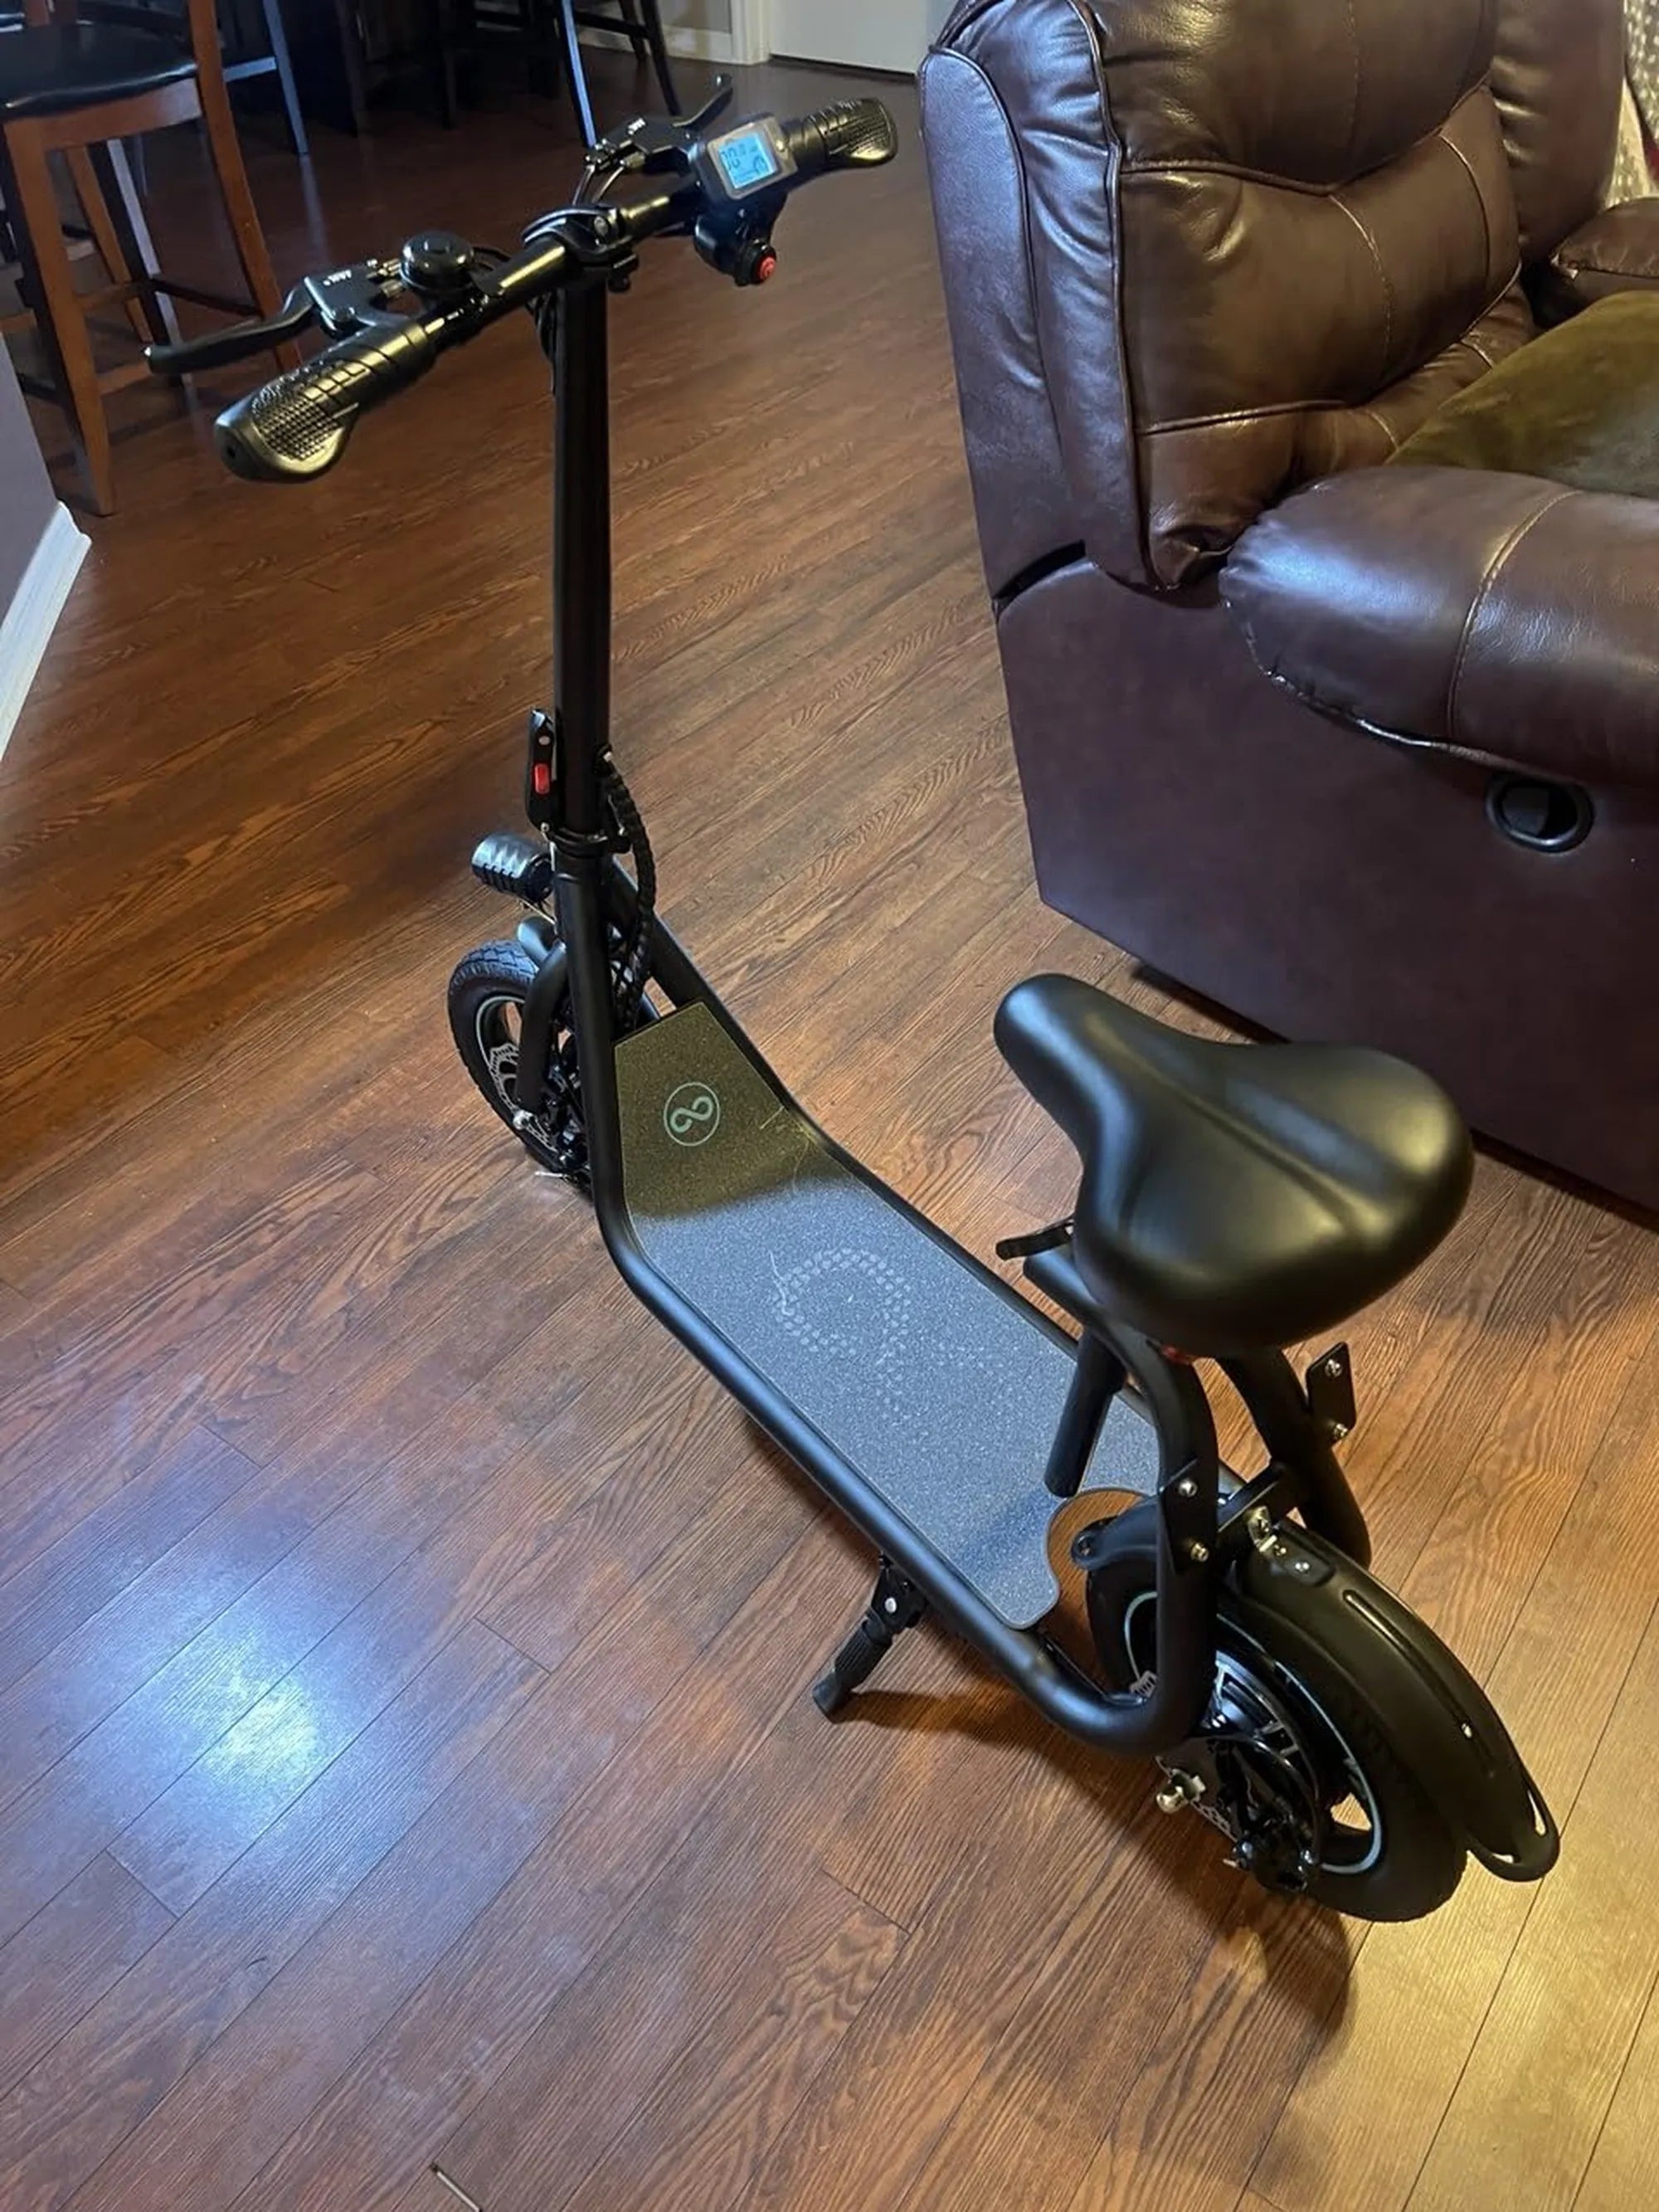
Removing the rear wheel of an electric scooter might seem daunting, but with the right tools and a bit of patience, it’s a task you can tackle yourself. Whether you’re dealing with a flat tire, a faulty motor, or just routine maintenance, this guide will walk you through the process step by step. By the end, you’ll feel confident enough to handle this repair like a pro.
Why Remove the Rear Wheel?
The rear wheel of an electric scooter is often more complex than the front wheel because it houses the motor and sometimes the braking system. Common reasons for removal include:
- Replacing a worn or punctured tire
- Servicing or replacing the motor
- Fixing or adjusting the brakes
- Inspecting or replacing bearings
Tools You’ll Need
Before you start, gather the following tools to ensure a smooth process:
- Hex keys or Allen wrenches
- Wrench set (adjustable or socket)
- Screwdrivers (flathead and Phillips)
- Pliers
- Rubber mallet (optional)
- Work gloves
Step 1: Power Down and Secure the Scooter
Safety first! Turn off the scooter and disconnect the battery if possible. Place the scooter on a stable surface, ideally using a stand or propping it up to prevent it from tipping over during the process.
Step 2: Remove the Brake Assembly (If Applicable)
If your scooter has a rear disc or drum brake, you’ll need to detach it before removing the wheel. Loosen the brake cable or remove the caliper bolts carefully to avoid damaging the brake components.
Step 3: Disconnect the Motor Wires
The rear wheel is typically connected to the motor via wires. Locate the connector near the wheel hub and gently unplug it. Be careful not to pull on the wires themselves—use the connector for a secure disconnect.
Step 4: Loosen the Axle Nuts or Bolts
Using the appropriate wrench, loosen the nuts or bolts securing the wheel axle. You may need to hold the opposite side with another wrench to prevent spinning. Once loose, remove the nuts completely.
Step 5: Remove the Wheel from the Dropouts
Gently slide the wheel out of the fork dropouts. If it’s stuck, a rubber mallet can help tap it free without causing damage. Be mindful of any spacers or washers that might fall out during this step.
Step 6: Inspect and Reassemble
With the wheel removed, take the opportunity to inspect the tire, motor, and bearings for wear or damage. When reassembling, reverse the steps, ensuring all components are securely fastened and aligned.
Now that you’ve mastered the art of electric scooter rear wheel removal, you’re ready to tackle maintenance and repairs with confidence. No more waiting for expensive shop visits—just grab your tools and get to work!
Electric Scooter Pick Up Today: The Ultimate Guide to Fast, Eco-Friendly Commuting
Electric Scooter Service: The Future of Urban Mobility and Convenience