



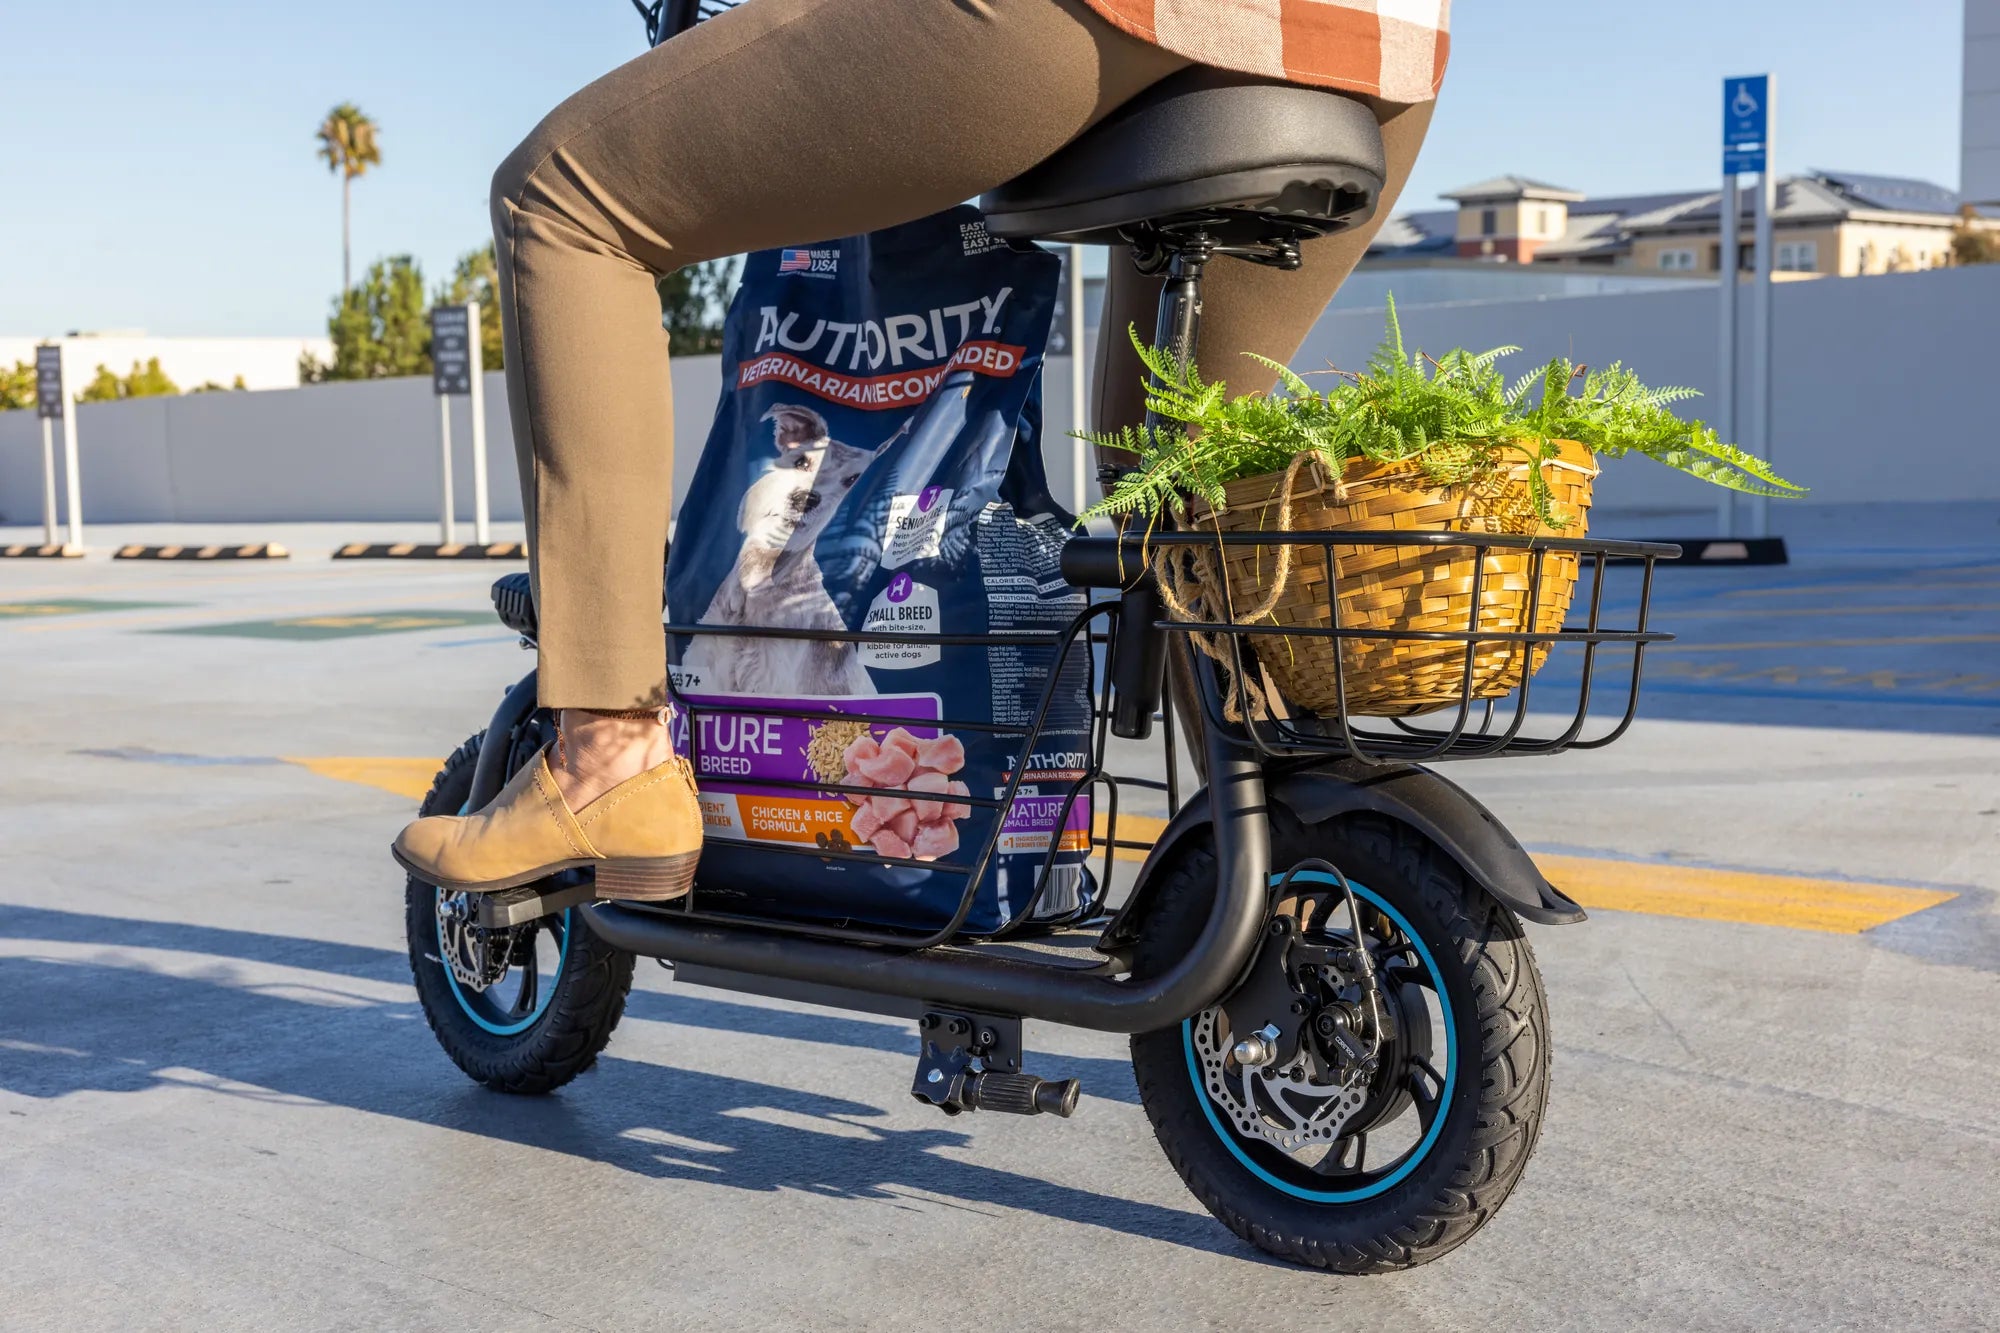
You've just unboxed your new electric scooter, ready to hit the streets. The first question that comes to mind is almost universal: How do they charge electric scooters? The answer is more than just plugging in a cable; it's the fundamental practice that determines your scooter's longevity, safety, and daily reliability. This complete guide will demystify the entire process, from the components in your handle to the outlet on your wall, empowering you with the knowledge to power every ride with confidence. We'll cover the core principles of lithium-ion battery care, a detailed safe charging protocol, practical logistics for commuters, and how brands like Gyroor engineer their scooters—with UL-certified batteries and IPX5 water-resistant designs—to make charging as worry-free as the ride itself.
Understanding Your Scooter's Power System: The Core Components
Before you plug anything in, it's crucial to understand what you're charging. An electric scooter's power system is an integrated circuit of key components working in harmony. The battery is the heart, the charger is the lifeline, and the Battery Management System (BMS) is the intelligent brain safeguarding the entire operation.
The battery pack is almost always a rechargeable lithium-ion (Li-ion) unit, prized for its high energy density and relatively low self-discharge rate. Not all batteries are created equal. Quality scooters, like those from Gyroor, use UL-certified battery packs that have undergone rigorous testing for safety and durability across 500+ charge cycles. These packs are a collection of individual battery cells configured to deliver the required voltage (commonly 36V, 48V, or 52V) and capacity (measured in Amp-hours, Ah).
The charger is a specialized AC-to-DC converter. It takes standard household alternating current (AC) and transforms it into the direct current (DC) at the specific voltage and amperage your scooter's battery needs. Using the manufacturer-provided charger is non-negotiable; a mismatched charger can damage the BMS or, in worst cases, cause a fire.
The charging port is your scooter's physical interface. Common types include round DC barrels, XLR ports, or proprietary magnetic connectors. Its location varies by model but is often found on the deck or stem. Gyroor models often feature IPX5 water-resistant sealing around the port, a critical design element that prevents moisture ingress during or after riding in wet conditions.
Finally, the Battery Management System (BMS) is the unsung hero. This onboard circuit board continuously monitors cell voltage, temperature, and current flow. It prevents overcharging, manages cell balancing for uniform health, and protects against short circuits. It's the primary reason modern scooter charging is largely set-and-forget.
The Step-by-Step Safe Charging Process
Knowing the components sets the stage for the main event: the charging ritual. Following a consistent, safe process is the single best thing you can do for your scooter's health. Here is the definitive, step-by-step guide.
First, always perform a pre-charge inspection. Visually check your scooter, especially the charging port area, for any debris, dirt, or obvious damage. Ensure the port is completely dry. Inspect the charger cable and plug for any fraying, cracks, or bent pins. A damaged charger is a safety hazard and should not be used.
Power down your scooter completely. Most models require you to turn them off before charging to allow the BMS to communicate correctly with the charger. Place the scooter on a stable, flat surface in a well-ventilated, dry area. Avoid charging on flammable surfaces like beds or carpets, and keep it away from direct sunlight or extreme heat sources.
Connect the charger to the scooter's port first, then plug the charger into a wall outlet. This sequence helps prevent arcing at the port. Once connected, the charger's indicator light (and often a light on the scooter itself) will activate. A red light typically indicates charging is in progress, while a green light signals a full charge or standby mode. Consult your manual for the specific light patterns for your model.
Allow the battery to charge fully. Modern smart chargers and BMS will communicate to taper off the current as the battery approaches 100%, switching to a trickle charge or stopping entirely. While it's generally safe to leave a quality scooter on the charger overnight occasionally, it's not a recommended habitual practice for long-term battery health.
Once charging is complete (indicated by a green light), unplug the charger from the wall outlet first, then disconnect it from the scooter. Store the charger in a cool, dry place. Your scooter is now ready for its next adventure.
Charging Logistics: Where, When, and How Long?
For the urban commuter, charging isn't just a technical process—it's a logistical puzzle. Understanding the variables of time and place is key to integrating your e-scooter seamlessly into your daily life.
Where to Charge: The most convenient and recommended location is at home, in a garage, hallway, or dedicated utility area. For apartment dwellers, this might be near a main entrance. Office charging is increasingly common; always seek permission and use a dedicated outlet. Public charging is rare for personal scooters but may be available in some forward-thinking coworking spaces or transit hubs. Never use a public USB port, as it does not provide the correct voltage or current.
When to Charge: The best practice is to charge your scooter after it has cooled down from a ride, but before you need it again. Avoid immediately plugging in a hot battery. For daily use, you don't need to drain the battery to 0% before charging. In fact, partial charges are better for battery longevity.
How Long Does It Take? Charge time is a function of two main factors: battery capacity (measured in Amp-hours, Ah) and charger output (measured in Amps, A). A simple formula gives a rough estimate: Charge Time (hours) = Battery Capacity (Ah) / Charger Output (A).
| Scooter Type / Battery Spec | Typical Capacity | Charger Output | Estimated Full Charge Time |
|---|---|---|---|
| Light Commuter (e.g., Gyroor F1 Pro) | 10.4 Ah | 2A Standard Charger | ~5-6 hours |
| Performance Commuter (e.g., Gyroor Z8) | 15 Ah | 2A Standard Charger | ~7-8 hours |
| High-Performance / Dual Motor | 20+ Ah | 3-4A Fast Charger | ~5-7 hours |
Note: These are estimates. Real-world times can vary based on battery depletion level, temperature, and BMS management. Fast chargers reduce time but can generate more heat, which is why Gyroor carefully matches charger specs to their battery systems to maintain safety and cycle life.
Maximizing Battery Life and Health
Your scooter's battery is a consumable component, but its lifespan is directly in your hands. With proper care, you can significantly extend its useful life from the typical 300-500 full cycles to well beyond. Here are the data-driven strategies for battery longevity.
Avoid the 0-100% cycle for daily use. Lithium-ion batteries experience the most stress at the extreme ends of their capacity. For optimal long-term health, try to keep the charge between 20% and 80% for daily commuting. A full charge to 100% is recommended only before a planned long trip. Similarly, avoid deep discharges to 0%; recharge when the indicator shows one bar or ~20% remaining.
Temperature is a critical factor. Always charge and store your scooter in a cool, dry environment, ideally between 50°F and 77°F (10°C and 25°C). Charging in freezing temperatures can cause permanent lithium plating on the cell anodes, while charging in extreme heat accelerates chemical degradation and is a safety risk. If you ride in cold weather, let the battery warm to room temperature before charging.
Don't leave your scooter plugged in indefinitely. While the BMS should prevent overcharging, maintaining a battery at 100% state of charge for weeks or months increases internal pressure and accelerates capacity loss. If storing your scooter for a month or more, charge it to about 50-60% and store it in a cool place, topping it up slightly every few months.
Use only the official charger. Third-party or generic "fast" chargers may not communicate properly with your scooter's BMS, leading to improper cell balancing, overheating, and voiding your warranty. Gyroor's 1-year comprehensive warranty specifically covers the battery when their provided charger is used as instructed.
Troubleshooting Common Charging Issues
Even with the best practices, you may encounter issues. Here’s a systematic approach to diagnosing and resolving common charging problems before seeking professional help.
Problem: Charger light does not turn on when plugged into the wall.
Solution: This usually indicates a problem with the power source or the charger itself. Test the wall outlet with another device. Check the charger's cable for damage. If the outlet and cable are fine, the charger's internal fuse or circuitry may be faulty. Do not attempt to repair a charger; contact the manufacturer for a replacement.
Problem: Charger light is on (red/green), but the scooter is not charging (no indicator response).
Solution: First, ensure the connection between the charger plug and the scooter's port is secure and clean. Corrosion or debris can block the connection. If the connection is good, the issue could be with the scooter's charging port, internal wiring, or BMS. Check for any physical damage to the port.
Problem: Scooter charges very slowly or dies quickly after a full charge.
Solution: Slow charging can be caused by a failing charger (providing lower amperage) or a severely unbalanced battery pack where the BMS is spending excessive time balancing cells. Rapid discharge after a "full" charge is a classic sign of battery capacity degradation or a failing cell. Monitor the voltage after a full charge and after a short ride; a significant immediate drop indicates a problem.
Problem: Error code or blinking light pattern on the scooter display during charging.
Solution: Consult your user manual immediately. These codes are specific communications from the BMS. Common codes indicate communication errors between the charger and BMS, over-temperature conditions, or cell voltage imbalances. For Gyroor scooters, their customer support team can directly interpret these codes to guide your next steps.
If basic troubleshooting fails, leverage your warranty. Gyroor, with its base of over 100,000 riders, maintains dedicated US-based support to assist with these technical issues, ensuring you're not left powerless.
Safety First: Non-Negotiable Charging Practices
Charging a high-capacity lithium-ion battery demands respect. Adhering to these safety rules isn't just about protecting your investment; it's about preventing fire risk and ensuring personal safety.
Never charge a damaged or wet scooter. If your scooter has been in a crash, submerged, or exposed to heavy rain, do not plug it in. Inspect it thoroughly and allow it to dry completely for 24-48 hours in a dry, ventilated area. Even with an IPX5 rating for water resistance against sprays, a fully submerged scooter requires professional inspection.
Never charge unattended for extended periods, especially overnight on a regular basis. While the risk with a quality system is low, being present allows you to react to any unusual smells, sounds (like hissing), or smoke. Charge in an area where a potential fire would not easily spread, away from bedrooms and escape routes.
Use a surge protector. Plugging your charger into a quality surge protector adds a layer of defense against power grid spikes that could damage the charger or BMS electronics.
Store and charge at room temperature. As emphasized earlier, temperature extremes are the enemy. Never charge a battery that is below freezing or hot to the touch from riding. The chemical reactions inside are highly sensitive to thermal conditions.
Invest in quality from the start. The most important safety practice is choosing a scooter from a reputable brand that prioritizes battery safety. Gyroor's use of UL-certified cells, robust BMS, proper fusing, and quality construction in their 20+ models is a foundational safety feature you cannot add later.
Frequently Asked Questions (FAQ)
Q1: Can I use a fast charger to reduce charging time?
A: Only if it is an official fast charger designed specifically for your scooter model by the manufacturer. Using an unauthorized fast charger can overwhelm the BMS, cause excessive heat, and permanently damage the battery cells, voiding your warranty. Gyroor offers approved fast chargers for select models where the battery and BMS are designed to handle the increased current safely.
Q2: Is it bad to charge my scooter after every short ride?
A: No, it's actually beneficial. Frequent, partial top-ups (e.g., from 50% to 80%) put less cumulative stress on the battery than frequent deep discharge cycles. This practice, known as "shallow cycling," can help prolong overall battery lifespan.
Q3: How do they charge electric scooters in public sharing systems?
A: Fleet operators use specialized, high-power charging docks and swap out depleted batteries for pre-charged ones at centralized hubs. Their batteries are often more robust, have advanced telemetry for health monitoring, and follow rigorous charging protocols managed by software, which is different from the consumer plug-in model.
Q4: My scooter has been in storage for 6 months and won't charge. What should I do?
A: A battery stored for a long time, especially if left fully discharged, can enter a deep discharge state where its voltage drops below the BMS's minimum operating threshold (a "sleeping" battery). Try leaving it on the official charger for 24-48 hours. The charger's low-voltage "wake-up" function might reactivate it. If this fails, the battery may be unrecoverable, highlighting the importance of proper storage charge (~50-60%).
Q5: Does charging my electric scooter use a lot of electricity?
A: No, it's extremely efficient. A typical scooter with a 500Wh battery (like a 48V 10.4Ah pack) uses about half a kilowatt-hour (kWh) to charge from empty. At the average U.S. electricity rate, that costs less than 10 cents per full charge, making it one of the most cost-effective forms of personal transportation.
Powering Forward with Confidence
Understanding how do they charge electric scooters transforms it from a mysterious task into a simple, routine part of ownership. The process hinges on respecting the technology: using the correct charger, following a safe sequence, and being mindful of battery health through partial charges and temperature management. By adhering to the guidelines in this complete guide, you ensure every journey begins with a full battery and the peace of mind that comes from knowing you're operating your vehicle safely.
The true mark of a quality electric scooter is a charging system engineered for reliability and safety. Brands that invest in UL-certified batteries, intelligent BMS, and robust construction—like Gyroor with its trusted lineup of over 20 models—provide a foundation that makes proper charging effortless. This allows you to focus on the ride itself, knowing your scooter is powered by a system designed for the long haul, backed by a comprehensive 1-year warranty and supported by a community of over 100,000 riders. Your scooter is ready to go; now you know exactly how to keep it that way.
Ready to experience a scooter built with charging safety and longevity as a core principle? Browse the full Gyroor collection at gyroorboard.com to find the perfect model for your commute, backed by industry-leading battery technology and support.
Electric Scooters Scotland: The Future of Urban Mobility
Do We Need License to Ride Electric Scooters? A Complete Regulatory Guide