

Introduction: The Allure and Challenge of Building Your Own Hoverboard
The fascination with building a personal hoverboard, or self-balancing scooter, is powerful. It represents the pinnacle of modern personal mobility—a sleek, two-wheeled device that seems to defy physics. However, the reality of creating one from scratch is a complex engineering project fraught with technical and safety challenges. This guide serves as a transparent, step-by-step manual for serious hobbyists, detailing the required expertise, critical components, inherent risks, and legal considerations. You will learn exactly what it takes to undertake this ambitious build.
Our goal is not to oversimplify. Constructing a safe, functional hoverboard demands intermediate-to-advanced skills in electronics, mechanics, and software. We will walk you through the entire process, from sourcing parts to final calibration, while consistently highlighting the safety protocols you cannot ignore. This is an educational deep dive into the mechanics of self-balancing transportation.
Understanding What You're Really Building: Core Components & Principles
A hoverboard is an integrated system of hardware and software that creates stable, rider-responsive motion. At its heart are gyroscopic sensors and an inertial measurement unit (IMU) that detect the board's tilt angle hundreds of times per second. This data is processed by a central control board, which then commands two independent hub motors embedded in the wheels to spin at precise speeds to maintain balance or propel the rider forward or backward.
The power source is a high-discharge lithium-ion battery pack, managed by a Battery Management System (BMS) to prevent overcharging, over-discharging, and overheating. The rider's input is communicated through pressure-sensitive footpads on the deck. The entire assembly is housed within a robust, often aluminum-alloy, frame that pivots in the center. Understanding this synergy is crucial before you purchase a single component.
Key Subsystems Explained
Control System: The brain. It includes the mainboard, gyroscopes, and accelerometers. It runs complex algorithms to maintain balance.
Drive System: Two brushless DC hub motors, one in each wheel. They provide torque and are controlled independently for turning.
Power System: A battery pack of 36V or 42V configuration, its BMS, and the charging port. This is the most safety-critical component.
Mechanical Frame: The chassis, footpads, wheel rims, and central pivot that houses all electronics and bears the rider's weight.
Essential Tools, Skills, and Safety Warnings
Attempting this project without the proper tools and foundational skills is dangerous and will likely result in failure. You must have a well-ventilated workspace and personal protective equipment, including safety glasses and heat-resistant gloves.
Mandatory Tool List
- Electronics: Quality soldering iron with fine tips, multimeter, wire strippers/cutters, heat shrink tubing, electrical tape, helping hands.
- Mechanical: Hex key set, screwdrivers (Phillips and flathead), needle-nose pliers, adjustable wrench, torque driver (for motor bolts).
- Specialized: Spot welder (for battery assembly), battery cell charger/analyzer, plastic pry tools for casing.
Required Skillset
Intermediate Electronics Soldering: You must be proficient in creating strong, reliable connections for high-current applications. Cold solder joints can lead to failure and fire.
Basic Mechanical Assembly: Understanding torque specs, thread locking, and proper alignment is key to structural integrity.
Circuit Troubleshooting: Ability to use a multimeter to check for continuity, voltage, and short circuits is non-negotiable.
Critical Safety Warnings
Battery Fire Risk: Lithium-ion batteries are volatile if mishandled. An incorrectly assembled pack, a missing or faulty BMS, or physical damage can lead to thermal runaway—an intense, difficult-to-extinguish fire. This is the single greatest risk in a DIY hoverboard project.
Mechanical/Software Failure: A software glitch during calibration or a loose motor bolt can cause the board to suddenly lose balance or power, throwing the rider. Never test a new build at high speed or near obstacles initially.
Step-by-Step Assembly Guide: From Frame to Function
This sequential guide assumes you have sourced all compatible components. Double-check every connection before proceeding to the next step.
Step 1 – Preparing the Chassis and Installing the Main Frame
Begin by laying out the two halves of the hoverboard's main frame. Identify the central pivot mechanism—this is the metal hinge that allows the two foot platforms to tilt independently. Secure the pivot with its provided bolts, applying thread-locker to prevent loosening from vibration.
Next, mount the motor housings (the compartments that will hold the wheel hubs) to each side of the frame. Ensure they are perfectly aligned and square to the frame. Any misalignment here will cause the wheels to fight each other, draining the battery and causing unstable riding. Install the rubber footpad grippers onto the deck surface at this stage.
Step 2 – Wiring the Brain: Control Board, Gyros, and Sensors
This is the most delicate electronic step. Mount the main control board in the central cavity of the frame, using the provided standoffs to prevent short circuits. Connect the Inertial Measurement Unit (IMU) sensor to the designated port on the control board. The IMU must be mounted perfectly level for accurate calibration later.
Connect the ribbon cables from the pressure-sensitive footpad sensors to the control board. Route all wiring neatly along channels in the frame, using zip ties to secure them away from moving parts. A tangled wire can be pinched and severed when the casing is closed.
Step 3 – The Power Core: Battery Pack Assembly & BMS Integration
Warning: This step carries the highest risk. We strongly advise purchasing a pre-assembled, UL-certified battery pack from a reputable supplier. If proceeding, you will need 18650 or similar lithium-ion cells with a high discharge rate (e.g., 20A continuous).
Configure the cells into a 10S2P (36V) or 12S2P (42V) arrangement using a spot welder to connect them with nickel strips—never solder directly to cells, as excess heat damages them. Integrate a compatible BMS by soldering its leads to the positive and negative terminals of each cell group. The BMS is your protection against overcharge, over-discharge, and short circuits. Insulate the entire pack with Kapton tape and a protective shrink wrap.
Step 4 – Mounting Motors, Wheels, and Final Connections
Insert the pre-assembled hub motors into the wheel rims. Carefully feed the motor's power and hall sensor cables through the axle and into the motor housing on the frame. Bolt the motor assembly securely into place, following the manufacturer's torque specifications.
Now, make the final connections. Plug the motor cables into the outputs on the control board. Connect the main positive and negative leads from your battery pack to the power input terminals on the control board. Double-check polarity—reversing it will instantly destroy the board. Finally, mount the charging port to the frame and connect it to the BMS's charge port.
Step 5 – Initial Power-Up, Calibration, and Software Setup
Do not stand on the board. Place it on a perfectly level, non-slip surface with the wheels unobstructed. Connect the charger briefly to ensure the BMS activates. Press the power button. The control board LEDs should light up, and the board may make a series of beeps.
Most boards require a calibration sequence, often involving holding the power button for 10 seconds until the LEDs flash. The board will use its now-level IMU to set its "zero" balance point. Finally, download the manufacturer's app for your specific control board (if available) to update firmware, check battery status, and adjust riding modes. Perform initial tests with the board tethered or while holding onto a support.
The DIY Reality Check: Cost, Time, and Challenges vs. Buying
Before committing to this project, a pragmatic comparison is essential. The following table outlines the realistic investment for a functional DIY hoverboard versus purchasing a commercial model with safety certifications.
| Factor | DIY Hoverboard Build | Commercial Hoverboard (e.g., Gyroor) |
|---|---|---|
| Total Estimated Cost | $250 - $500+ (for quality components) | $300 - $600 |
| Time Investment | 20-40+ hours (sourcing, assembly, troubleshooting) | 0 hours (Ready-to-Ride) |
| Safety Certifications | None (self-assembled, uncertified parts) | UL 2272, UL 2271 (Electrical & Battery System) |
| Battery Safety | Depends on builder skill; high risk if flawed | UL-certified battery pack; 500+ cycle tested |
| Weather Resistance | Minimal unless explicitly sealed | IPX5 water-resistant design standard |
| Warranty & Support | None; you are the technical support | Comprehensive 1-year warranty |
| Likelihood of Success | Moderate for skilled builders; high chance of bugs | Guaranteed functionality out of the box |
The DIY path is a significant project with hidden costs in tools and time. Common challenges include firmware compatibility issues, persistent calibration errors, and sourcing reliable components. For a guaranteed, safe, and immediately enjoyable riding experience, a professionally engineered solution is overwhelmingly the practical choice.
Frequently Asked Questions (FAQ)
Q: Is it legal to ride a homemade hoverboard in public?
A: Legality varies by jurisdiction, but a homemade board likely lacks the mandatory safety certifications (like UL 2272) required by many cities, insurers, and property owners. You assume full liability for any damage or injury caused by the device. Riding on public roads is generally not advised and may be prohibited.
Q: Can I use any lithium-ion battery, like an old laptop battery pack?
A: Absolutely not. Hoverboard motors require high-discharge (high-amp) cells. Standard laptop cells are not designed for this load and will overheat, degrade rapidly, or fail dangerously. You must use cells rated for high continuous discharge (e.g., Samsung 25R, LG HG2) and pair them with a BMS rated for the same current.
Q: What's the most common point of failure in a DIY build?
A: The battery pack assembly is the most critical failure point, followed by sensor calibration. A poor spot weld or a misconfigured BMS can lead to catastrophic failure. Secondly, an improperly calibrated IMU will make the board uncontrollable or cause it to "run away" from the rider.
Q: Is this project suitable for beginners in electronics?
A: No. This is not a beginner project. The combination of high-power electronics, lithium-ion battery handling, and complex sensor integration requires prior experience. We recommend starting with simpler projects like building a basic battery pack or assembling a kit with pre-soldered components.
Q: How do I know if my motors and control board are compatible?
A: They must match in voltage (e.g., both 36V) and communication protocol. The motor's hall sensor connector must physically and electrically match the port on the control board. Always purchase them as a matched set from a single supplier when possible to avoid compatibility headaches.
Conclusion: A Rewarding Project for Experts, a Ready-Made Solution for Riders
Building a hoverboard from scratch is a demanding and educational engineering challenge that can be deeply rewarding for those with the requisite skills, patience, and respect for safety. It provides unparalleled insight into the integration of mechanics, electronics, and software that defines modern personal electric vehicles. However, the risks—particularly concerning lithium-ion battery safety—are substantial and real.
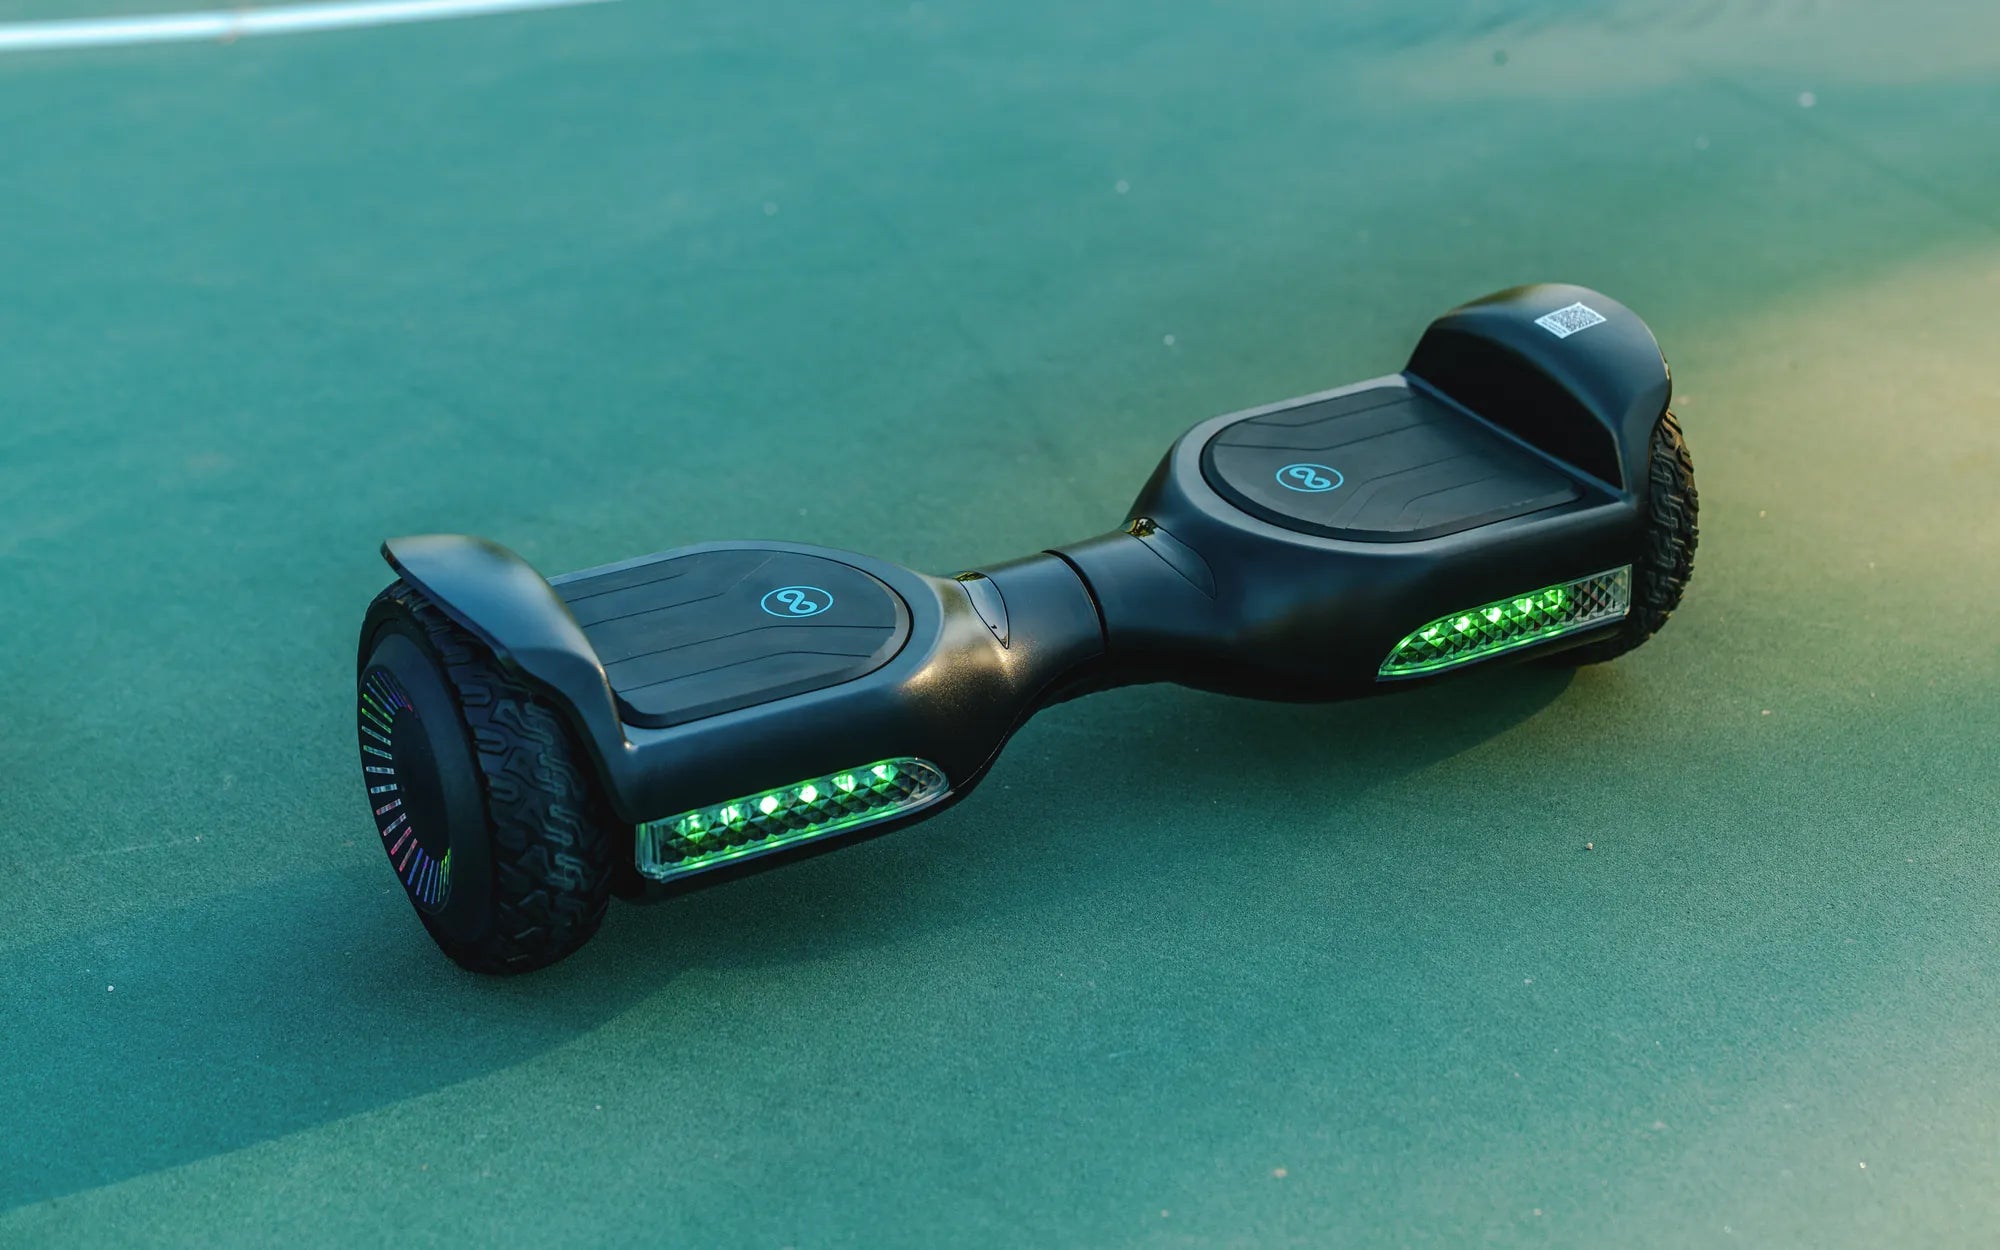
For the vast majority seeking fun, reliable, and safe personal transportation without the months of research and potential frustration, purchasing a professionally engineered hoverboard is the unequivocally smarter choice. Brands like Gyroor invest heavily in safety testing, durable design, and quality control, offering riders immediate enjoyment and peace of mind. With UL-certified batteries, IPX5 water resistance, and a reliable 1-year warranty, a commercial model delivers guaranteed performance where a DIY project offers only potential.
If you're inspired by personal mobility but value safety and convenience, explore the professionally crafted alternatives. Browse the full Gyroor collection, trusted by over 100,000 riders, at gyroorboard.com to find a model that's ready for adventure right out of the box.
How to Reset a Hoverboard: A Step-by-Step Troubleshooting Guide
Best Hoverboard Brands for Kids: Top Picks for Safety and Fun