


Introduction to DIY Scooter Building: A Rewarding Project for Enthusiasts
Learning how to make a scooter is a hands-on project that blends practical engineering, customization, and the deep satisfaction of riding something you built. Whether you're aiming for a simple kick scooter or a powered commuter vehicle, this guide provides the foundational knowledge. Building your own scooter can be a cost-effective solution for specific needs and offers unparalleled personalization, from deck material to motor power.
This project appeals to hobbyists, urban commuters seeking a tailored ride, and anyone interested in light vehicle mechanics. It's important to understand that while a DIY approach offers freedom, it also requires careful attention to safety and durability. Professionally built scooters, like those from Gyroor, benefit from integrated engineering, rigorous testing, and certified components, offering a reliable benchmark for quality.
Our guide will systematically cover two primary paths: constructing a basic, non-motorized kick scooter and the more complex process of building an electric scooter. We'll detail every stage, from sourcing parts to final safety checks, empowering you with the information needed to succeed. Remember, the core principle of learning how to make a scooter is understanding how each component interacts to create a safe, functional vehicle.
Before turning a single wrench, it's crucial to assess your skill level, budget, and intended use. A child's sidewalk cruiser has different requirements than a 20 mph electric commuter. This initial planning phase will save time, money, and ensure your finished project meets your expectations for performance and safety.
Essential Tools and Materials for Your Scooter Project
A successful build starts with the right equipment. Gathering tools and materials beforehand prevents frustrating mid-project delays. The required inventory differs significantly between a mechanical kick scooter and an electric model, which adds electrical and powertrain components.
For both project types, you will need a basic mechanical toolkit. This includes a set of Allen wrenches (metric and standard), combination wrenches, screwdrivers, a rubber mallet, a vise or clamps, a tape measure, and a drill with assorted bits. A torque wrench is highly recommended for critical fasteners like the stem and fork bolts. Safety gear—gloves and safety glasses—is non-negotiable.
For the fabrication of a custom deck or frame, access to more specialized tools may be necessary. A jigsaw or circular saw is needed for cutting deck material, while a file and sandpaper are essential for finishing edges. If working with metal tubing for a frame, a pipe cutter, grinder, and welding equipment become necessary, dramatically increasing the project's complexity.
The electrical scooter build adds another layer. You will need a soldering iron, heat shrink tubing, a multimeter for testing circuits, wire strippers, and high-quality electrical tape. Proper wire management and connection integrity are paramount for safety and reliability. Having a clean, organized workspace is equally important for managing these numerous parts.
Core Components for a Basic Kick Scooter
The anatomy of a kick scooter is relatively simple. The primary components are the deck, the fork, the steering assembly, wheels, and a braking system. Each part's quality directly impacts the ride's feel, durability, and safety.
Deck: This is the standing platform. Common materials include plywood (for a classic look), aluminum (for lightness and weather resistance), or even reinforced plastic. The deck must be strong enough to support the rider's weight without flexing unduly. Thickness typically ranges from 12mm to 20mm.
Fork and Steering Column: The fork holds the front wheel. You can repurpose one from a bicycle or scooter, or fabricate your own from steel plate. The steering column (or stem) connects the fork to the handlebars via a headset bearing system, allowing smooth rotation. This is a critical stress point.
Wheels and Bearings: Scooter wheels are typically small, ranging from 100mm to 200mm in diameter. Urethane wheels are low-maintenance but offer a harsh ride on rough surfaces. Pneumatic (air-filled) tires provide better shock absorption and traction. Bearings, rated by the ABEC scale (e.g., ABEC-7 or ABEC-9), determine wheel spin smoothness and speed.
Braking System: The most common type is a rear fender brake, where stepping on the rear fender presses a brake pad against the tire. More advanced builds might use a disc brake or a caliper brake mounted on the fork for the front wheel, offering superior stopping power.
Additional Components for an Electric Scooter Build
Transforming a kick scooter frame into an electric vehicle requires integrating a powertrain. This system consists of a motor, battery, controller, and user interface. Sourcing compatible, high-quality components here is the most significant factor in your build's performance and safety.
Motor: The two main types are hub motors and chain-drive motors. A hub motor is built directly into the wheel (front or rear), offering a clean, direct-drive installation. A chain-drive motor mounts to the deck or frame and transfers power via a chain to the wheel, allowing for gear reduction and potentially higher torque.
Battery Pack: This is the heart of the e-scooter and the single most important safety component. It is specified by voltage (e.g., 36V, 48V) and capacity (Amp-hours, Ah). For safety, it is strongly advised to purchase a pre-assembled, UL-certified battery pack from a reputable supplier. DIY battery assembly from individual cells is hazardous and requires expert knowledge in battery management systems (BMS).
Electronic Speed Controller (ESC): This unit acts as the brain, regulating power from the battery to the motor based on input from the throttle. It must be rated for your motor's voltage and current (amp) draw. A quality controller ensures smooth acceleration and can include safety features like low-voltage cutoff.
Throttle, Wiring, and Display: The throttle (thumb-wheel or twist-grip) sends signals to the controller. A wiring harness connects all components. A display panel can show speed, battery level, and allow mode selection. All electrical connections must be insulated and, for outdoor use, protected from water—commercial standards like IPX5, used by brands such as Gyroor, are a good benchmark to strive for.
Step-by-Step Assembly Guide: From Frame to Finish
With all components and tools ready, the assembly process begins. Follow these stages in order, double-checking each step before proceeding. Rushing or skipping steps can lead to mechanical failure or unsafe operation. This guide outlines the process for a generic scooter; always defer to the specific instructions provided with your components.
Begin by laying out all parts in your workspace. For an electric build, keep the battery in a safe, non-conductive location until it is time for final connection. Organize fasteners by size and type. Having a reference diagram or photograph of a completed scooter can be immensely helpful during assembly.
The golden rule throughout assembly is secure fastening. Every bolt that holds a load-bearing or steering component must be tightened to the manufacturer's specified torque. Use thread-locking compound on critical fasteners to prevent them from vibrating loose over time. This is especially vital for the stem, fork, and motor mounts.
Before the first test ride, perform a thorough static inspection. Check for any visible cracks in the deck or frame, ensure wheels spin freely without wobble, and verify that the steering turns smoothly without binding. For electric builds, do not connect the battery until the very end, after all wiring is confirmed.
Stage 1: Constructing the Deck and Chassis
If you are building a custom deck, start by cutting your chosen material to size. A common deck shape is a elongated rectangle with a slightly tapered tail. The length should accommodate a comfortable stance, typically between 18 and 22 inches. Sand all edges smooth to prevent splinters or sharp edges.
Reinforcement is key. For wooden decks, consider adding a layer of fiberglass or carbon fiber sheet on the underside for increased strength and stiffness. For any deck, the points where the fork and rear wheel axle mount must be heavily reinforced with metal plates or additional layers of material to prevent splitting.
Attach the fork assembly. This involves installing the headset bearings into the deck's neck (the front, upward-angled portion), inserting the fork's steerer tube, and securing it with the stem and top cap. Proper adjustment of the headset bearing preload is critical—it should be tight enough to eliminate play but loose enough to allow the fork to turn freely.
Finally, establish the scooter's geometry. The deck's angle (relative to the ground) and the fork's rake angle determine handling. A steeper head tube angle (closer to vertical) makes the scooter more responsive but less stable at speed. Most scooters have a head tube angle between 75 and 85 degrees.
Stage 2: Installing the Drivetrain and Wheels
For a kick scooter, this stage is straightforward. Press the bearings into the wheels, insert the axle, and mount the wheels to the fork and rear deck dropouts. Use axle nuts or quick-release skewers to secure them. Ensure the wheels are aligned and spin without rubbing against the fork or deck.
For an electric scooter, you are typically installing a motorized wheel. This is often a hub motor. The process is similar to installing a standard wheel, but the motor's axle will have electrical phase wires exiting from it. Route these wires carefully along the fork or swingarm, using zip ties to secure them, leaving enough slack for steering movement.
Next, install the braking system. For a disc brake, mount the rotor to the wheel hub and attach the caliper to the fork or frame. Align the caliper so the brake pads contact the rotor evenly without rubbing. For a foot brake, attach the brake arm to the rear axle and ensure the friction pad contacts the tire squarely when engaged.
If using a chain-drive system, mount the motor to the deck, align the motor sprocket with the wheel sprocket, and install the chain. Proper tension is vital—the chain should have about half an inch of up-and-down play. Use a tensioner if necessary. Finally, install the handlebars and grips onto the stem.
Stage 3: Wiring the Electrical System (E-Scooters Only)
This is the most delicate and safety-sensitive phase. Begin by mounting the controller in a central, well-ventilated location, often under the deck. Secure it with zip ties or brackets. Mount the throttle and display to the handlebars. Plan the wire routing paths to avoid pinching, especially near moving parts like the steering column.
Connect the wires step-by-step, following the color-coding or pinout diagram provided with your components. Common connections are: throttle to controller, display to controller, motor phase wires to controller, and brake cut-off sensors (if used) to controller. Use solder and heat shrink tubing for permanent, reliable connections. Never use simple twist-on wire connectors.
The battery connection is always last. First, use a multimeter to double-check that the voltage output from the battery matches the controller's input rating. Then, make the final connection, often via a high-current connector like an XT-90. Ensure this connection is secure and insulated. Consider adding an inline fuse for an extra layer of protection.
Before sealing everything up, perform a preliminary power-on test. With the scooter elevated so the wheels are off the ground, turn on the system. Test the throttle gently to see if the motor engages. Check the display functions. Listen for any unusual sounds from the motor or controller. If anything seems wrong, disconnect power immediately and troubleshoot.
Critical Safety Checks and First Ride Protocol
Your scooter is assembled, but it is not yet ready for the road. A comprehensive series of safety checks is mandatory to prevent accidents caused by assembly errors or component failure. Treat this process with the utmost seriousness, as your physical safety depends on it.
Conduct a bolt torque inspection. Go over every single fastener, especially those on the stem, fork, wheels, motor mounts, and brake calipers. Use your torque wrench to ensure they meet specifications. Vibration from riding can loosen bolts quickly in the initial miles, so re-check them after the first few rides.
Test the braking system comprehensively. Squeeze the brake lever (or press the foot brake) firmly while trying to push the scooter forward. The wheel should lock and skid, indicating sufficient braking force. For disc brakes, check pad alignment and rotor trueness. Ensure the brake lever has a firm feel and does not travel all the way to the handlebar.
For electric scooters, perform an electrical safety audit. Inspect all wire connections for secureness and insulation. Ensure no wires are frayed or pinched. Verify that the battery is securely mounted and cannot shift or fall out during a bump. Check that all protective covers are in place.
The first ride must be a controlled test. Choose a flat, smooth, open, and car-free area like an empty parking lot. Wear a helmet, knee pads, and elbow pads. Start at a very low speed, testing acceleration, braking, and steering responsiveness. Gradually increase speed as you gain confidence in the scooter's stability and control. Listen and feel for any vibrations, wobbles, or strange noises, and stop immediately if any occur.
DIY vs. Pre-Built: Analyzing the Trade-Offs
After understanding the effort involved in learning how to make a scooter, it's valuable to compare the DIY route to purchasing a pre-assembled model. The right choice depends entirely on your priorities: cost, time, customization, safety, and desired reliability.
A DIY project can be a deeply rewarding educational experience and allows for a truly unique vehicle. You control every specification, from motor power to deck graphics. However, it requires a significant investment of time, a broad set of skills, and assumes all risk for the final product's safety and performance.
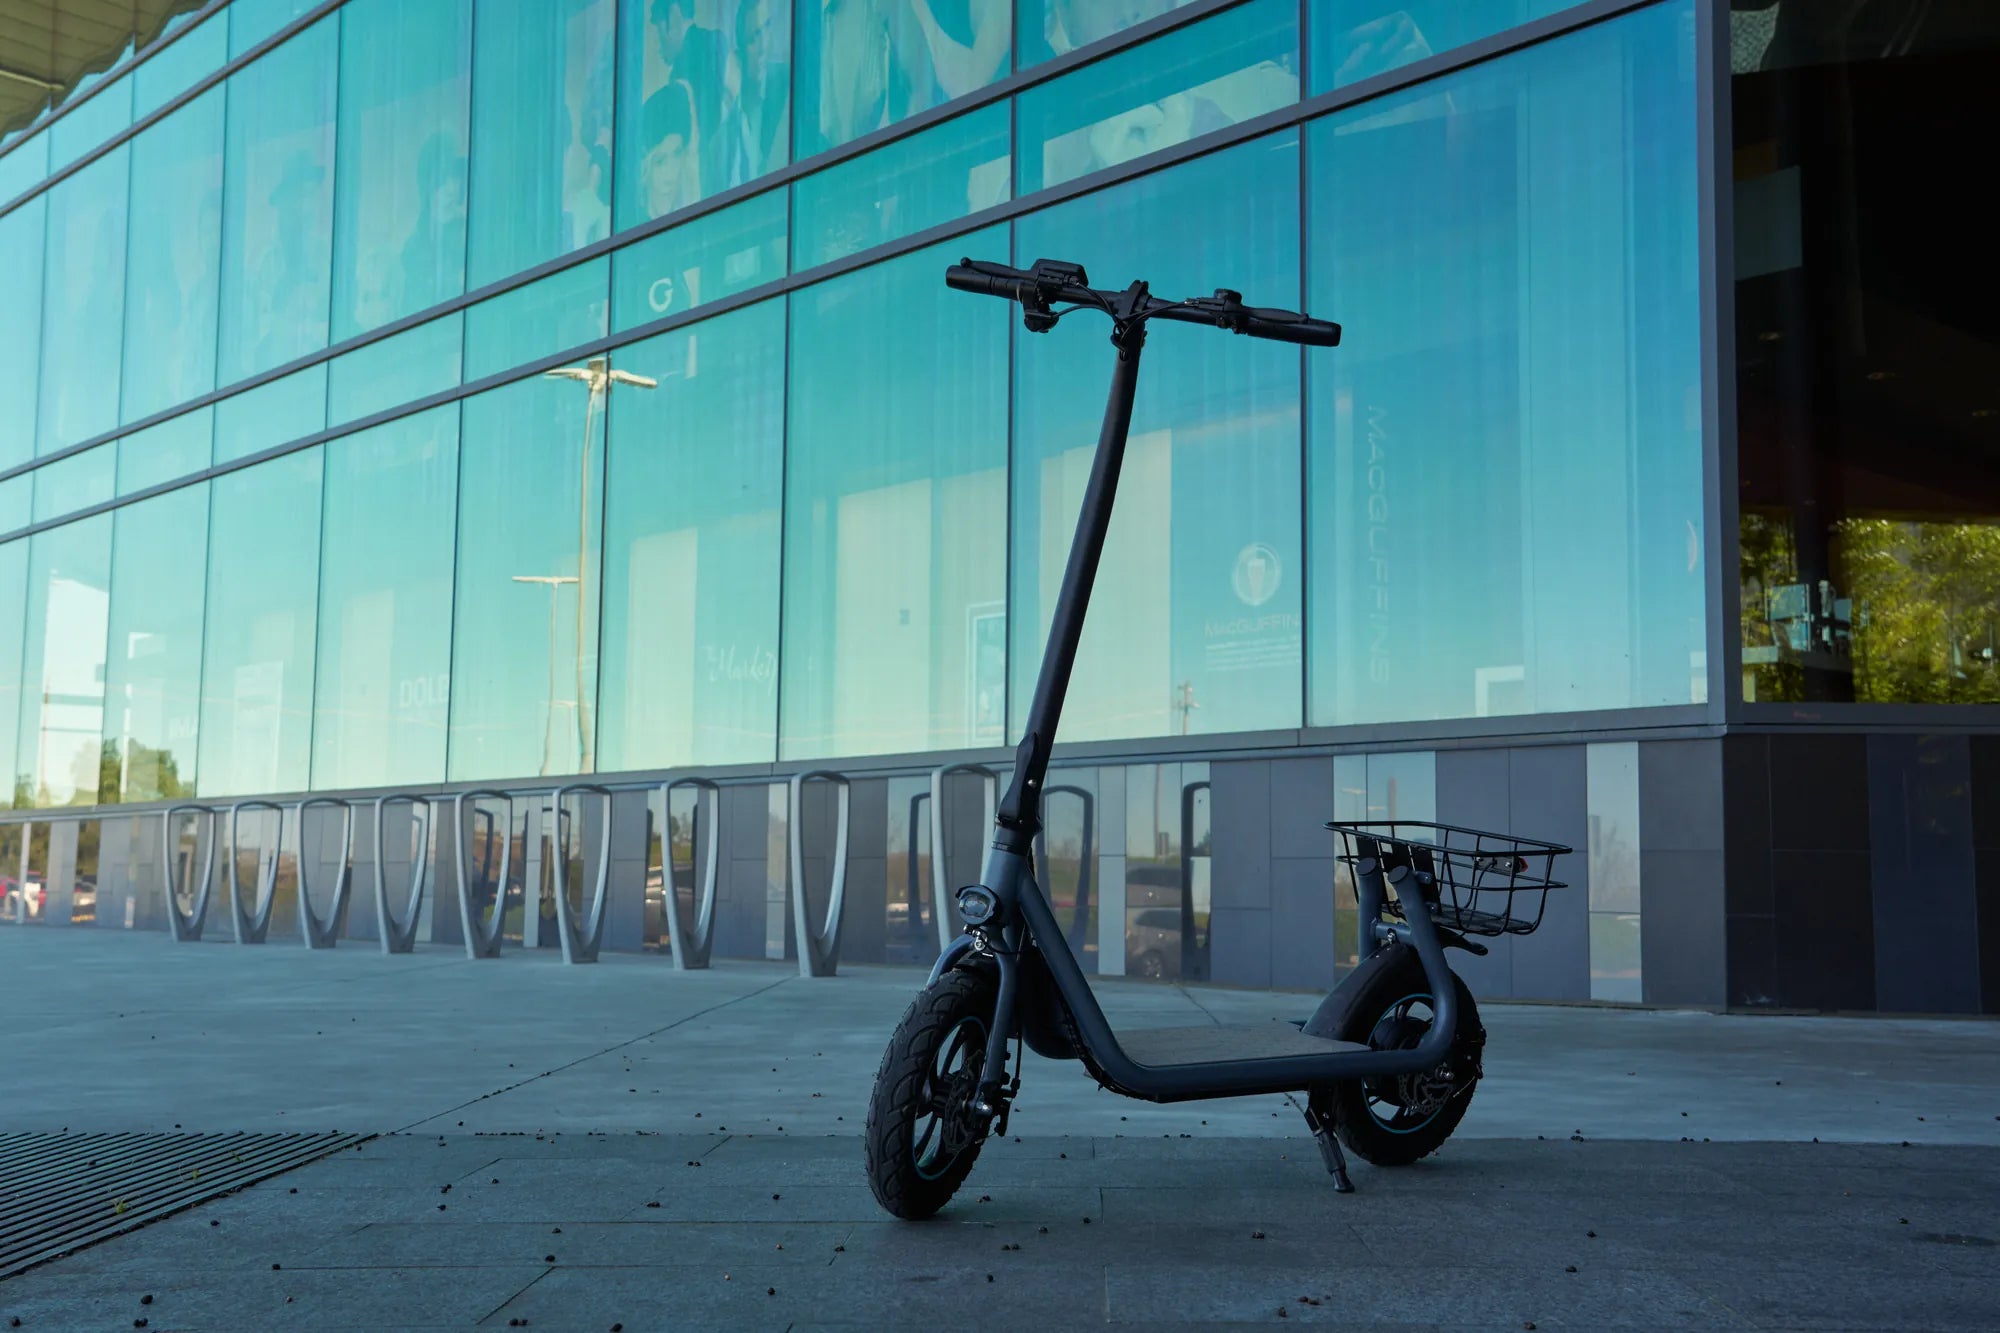
Pre-built scooters from established brands offer a turnkey solution. They come with the assurance of professional engineering, integrated design, comprehensive safety testing, and customer support. For example, Gyroor scooters feature UL-certified battery packs, IPX5 water-resistant designs, and are backed by a 1-year warranty—benefits nearly impossible to replicate in a home workshop.
The table below provides a direct comparison of key factors:
| Factor | DIY Scooter Build | Pre-Built Scooter (e.g., Gyroor) |
|---|---|---|
| Cost | Variable. Can be lower for basic models but often matches or exceeds budget pre-builts when using quality parts. | Fixed MSRP. Includes cost of R&D, assembly, testing, and support. |
| Time Investment | High. Dozens of hours for sourcing, assembly, and troubleshooting. | Low. Ready to ride out of the box in minutes. |
| Performance & Reliability | Unpredictable. Depends entirely on builder skill and part quality. | Tested and predictable. Engineered for specific performance metrics and durability. |
| Safety | Builder's responsibility. Risk of improper assembly or substandard parts (especially batteries). | Professionally validated. Features like UL-certified batteries, integrated BMS, and robust frames. |
| Customization | Maximum. Complete control over every component and aesthetic. | Limited. Typically to accessories like bags, phone mounts, or lights. |
| Warranty & Support | None. Each component may have its own separate warranty. | Comprehensive. Gyroor offers a 1-year warranty on the entire vehicle with customer service support. |
Maintenance and Long-Term Care for Your Homemade Scooter
Whether DIY or store-bought, regular maintenance is essential for safety and longevity. A homemade scooter may require more vigilant upkeep, as its components may not have the same integrated durability as a commercial product. Establishing a maintenance routine from day one will keep your creation running smoothly.
Perform a visual inspection before every ride. Quickly check tire pressure (for pneumatics), look for loose bolts, ensure brakes are functioning, and verify that no new cracks have appeared in the frame or deck. For e-scooters, glance at electrical connections and battery security. This 30-second check can prevent most accidents.
Adhere to a periodic maintenance schedule. Every month or after 100 miles, conduct a more thorough check: re-torque all critical fasteners, inspect brake pads for wear, clean and re-lubricate the headset and wheel bearings, and check tire tread. For chain-drive systems, clean and lubricate the chain regularly.
Battery care is paramount for electric builds. Follow the specific guidelines for your battery pack. Generally, avoid completely draining the battery; try to recharge before it drops below 20%. Store the scooter and battery in a cool, dry place. Never charge a battery unattended for extended periods, especially overnight. The UL-certified packs used in brands like Gyroor have built-in protection circuits, but caution is still advised.
Winterize your scooter if you live in a harsh climate. For extended storage, partially charge the battery (to around 60-80%) and store it separately in a temperature-controlled environment. Inflate tires to maximum pressure to prevent flat spots. Cover the scooter to protect it from dust and moisture.
Frequently Asked Questions (FAQ)
Is it cheaper to build an electric scooter than to buy one?
The answer is nuanced. If your goal is to replicate the performance and reliability of a mid-tier commercial scooter, the cost of quality components (motor, UL-certified battery, controller, name-brand wheels) often equals or exceeds the price of a complete model. The DIY advantage is not necessarily lower cost, but the ability to allocate budget toward specific high-performance components you value most, which might be unavailable in pre-built options at a given price point.
What is the most challenging part of building an e-scooter?
For most builders, the electrical system integration presents the greatest challenge. Ensuring compatibility between the motor, controller, and battery requires research. Properly sizing wires, soldering reliable connections, programming the controller (if needed), and implementing robust safety measures like fuses and waterproofing demand technical skill. A close second is fabricating a strong, aligned frame and steering assembly that handles safely at speed.
Can I legally ride a homemade electric scooter on public roads?
Local laws vary widely. In many jurisdictions, electric scooters are subject to regulations concerning maximum speed (often 15-20 mph), motor wattage, and required equipment like lights and bells. A homemade scooter may not have a manufacturer's certification, which could be an issue. It is your responsibility to research and comply with all local vehicle codes, which may classify your creation as a motorized scooter, bicycle, or something else entirely.
What is the most common mistake first-time builders make?
The most frequent mistake is underestimating the importance of geometry and component alignment. A crooked fork, misaligned wheel, or poorly balanced deck can make a scooter unstable and dangerous at any speed. Another common error is using inadequate fasteners or failing to properly torque them, leading to catastrophic failure. For e-scooters, neglecting proper wire management and insulation is a major source of later electrical faults.
Can I upgrade my existing Gyroor scooter with DIY parts?
Proceed with extreme caution. Swapping out non-critical accessories like handlebar grips, deck tape, or adding aftermarket lights is generally safe. However, modifying core electrical components (battery, controller, motor) or the frame/forks will almost certainly void the manufacturer's warranty. More importantly, Gyroor's systems are engineered as integrated units; altering them can disrupt carefully calibrated safety features, such as the battery management system, potentially creating a fire or failure risk.
Conclusion: The Satisfaction of the Ride, Built by You
Mastering how to make a scooter is an accomplishment that delivers a unique blend of practical skill and creative expression. The finished product, whether a simple kick scooter or a custom electric commuter, carries the imprint of your effort and vision. The knowledge gained about mechanics, electrical systems, and material properties is invaluable and transferable to countless other projects.
This journey highlights the intricate balance between customization and reliability. While a DIY build offers ultimate personalization, it also places the full burden of safety, durability, and performance on the builder. For many, this trade-off is part of the appeal—the challenge and the learning process are the primary rewards.
For riders whose top priorities are guaranteed safety, immediate reliability, and the peace of mind that comes with professional engineering and support, the choice is clear. Trusted brands exist for this very reason. Gyroor, for instance, serves over 100,000 riders by delivering UL-certified safety, IPX5 water resistance, and robust warranties—features that are difficult and risky to engineer independently.
Your path depends on your goals. If you seek the project itself, roll up your sleeves and start planning. If you seek a dependable, high-performance ride for daily use, explore the professionally engineered options available. Whichever route you choose, the world of personal mobility is richer for your engagement. For those ready to experience a professionally built, safety-certified electric scooter, browse the full Gyroor collection at gyroorboard.com.
150cc Dirt Bike for Sale Under $1000: A Realistic Buyer's Guide
Front Wheel Trike Motorcycle: The Ultimate Guide to Reverse Trikes