
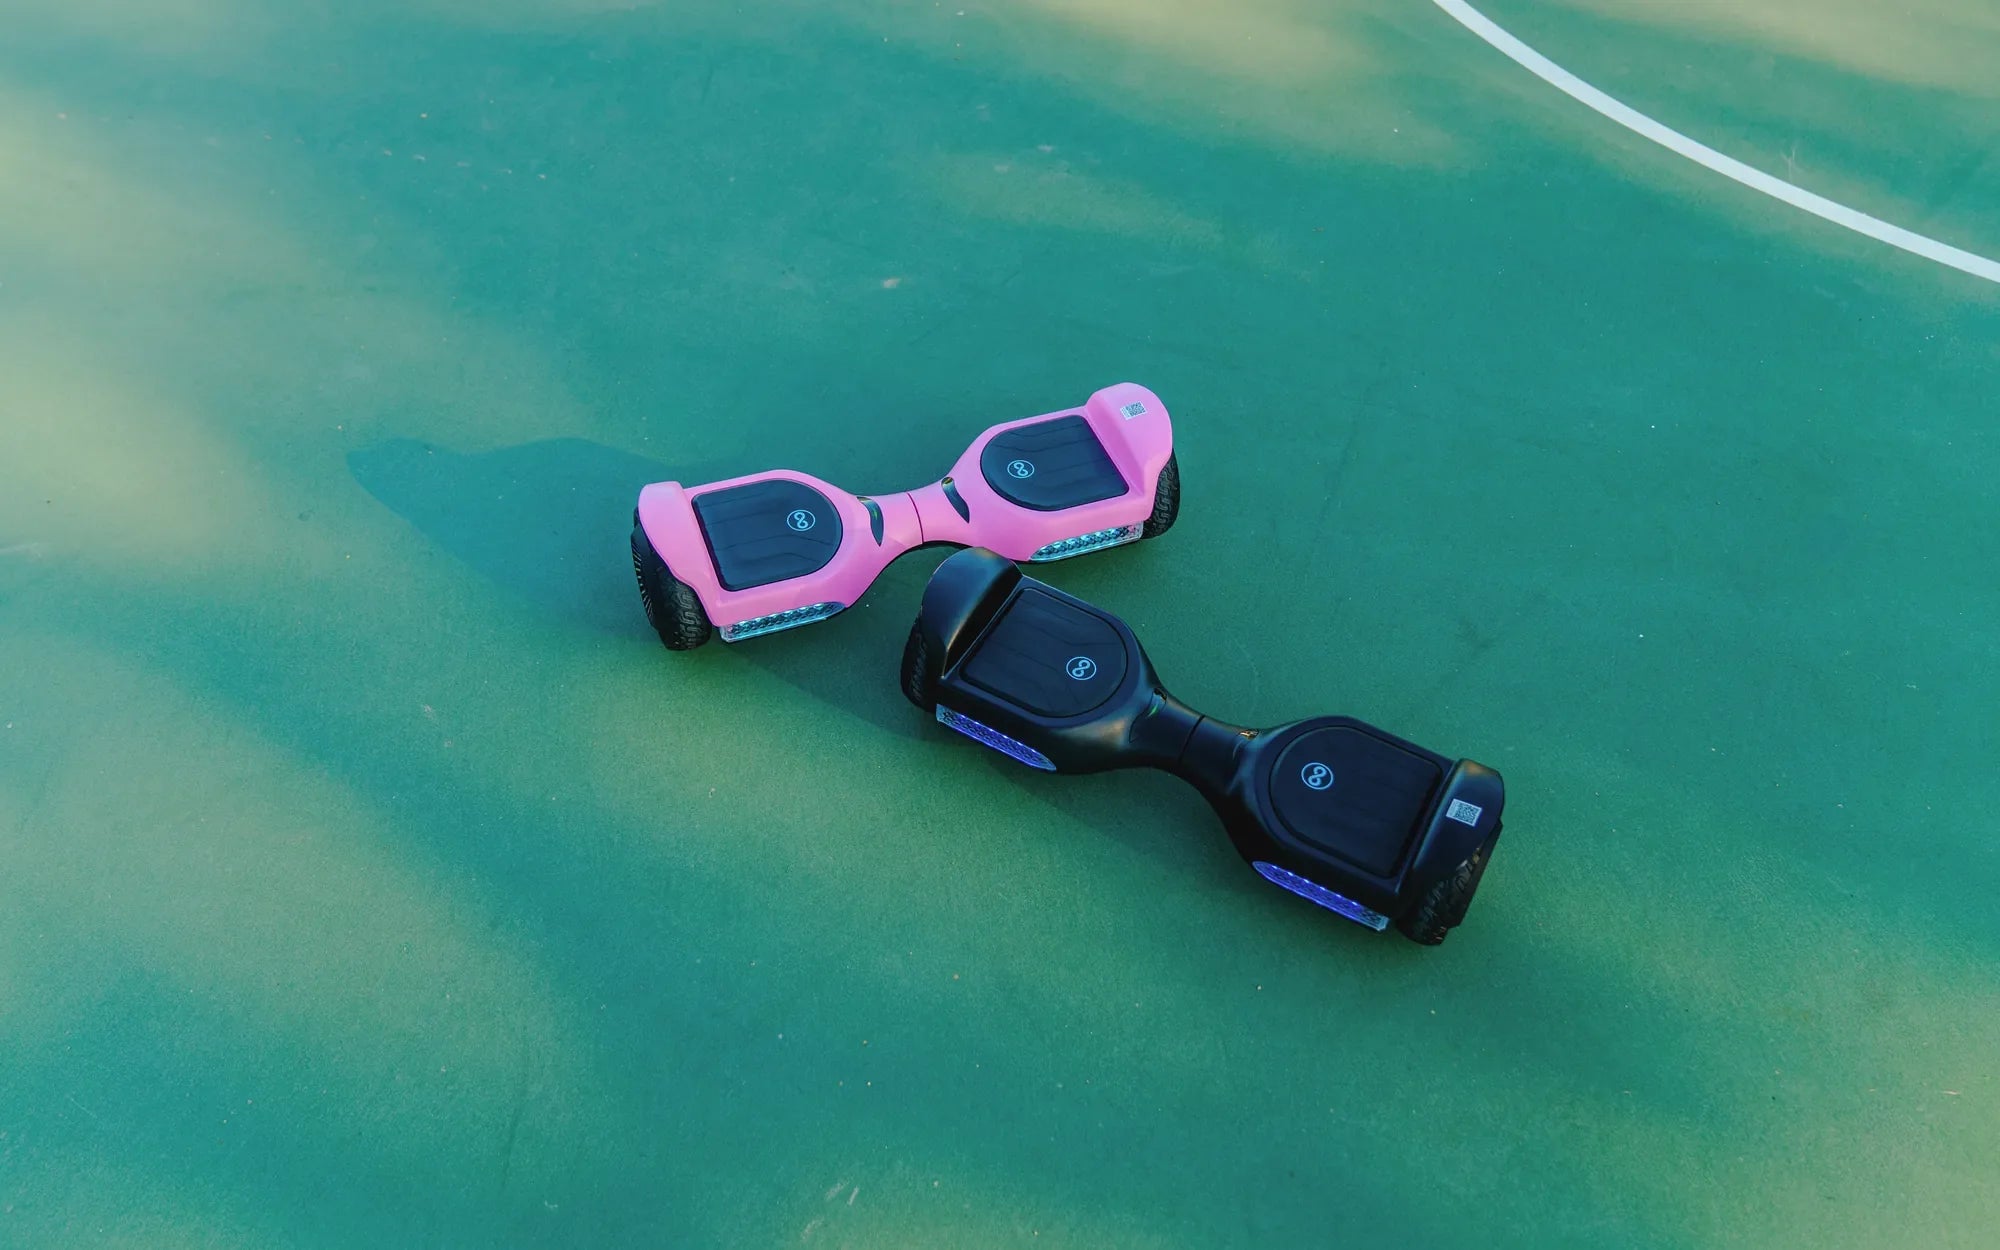
So, your hoverboard charger has finally given up, and you're staring at a dead battery with no clue where to start. Don't worry—replacing your first hoverboard charger isn't as complicated as it seems. Whether you're a tech newbie or just looking for a refresher, this guide will walk you through everything you need to know to get back on the move safely and efficiently.
Why You Might Need a Hoverboard Charger Replacement
Hoverboard chargers don't last forever. Over time, wear and tear, power surges, or even accidental damage can render them useless. If your hoverboard isn't charging, the issue might not always be the battery—sometimes, it's the charger itself. Common signs of a faulty charger include:
- No LED light when plugged in
- Intermittent charging
- A frayed or damaged cable
- Overheating during use
Before jumping into a replacement, double-check that the problem is indeed the charger. Try using a different outlet or inspecting the charging port on your hoverboard for debris.
Choosing the Right Replacement Charger
Not all chargers are created equal. Picking the wrong one can damage your hoverboard or even pose a safety risk. Here's what to look for:
- Voltage and Amperage: Match the specifications listed on your original charger.
- Connector Type: Ensure the plug fits snugly into your hoverboard's charging port.
- Safety Certifications: Look for UL or CE marks to avoid cheap, unsafe alternatives.
If you're unsure, consult your hoverboard's manual or reach out to the manufacturer for guidance.
Step-by-Step Guide to Replacing Your Hoverboard Charger
Once you've got the right replacement, follow these steps to ensure a smooth transition:
- Unplug the Old Charger: Always disconnect from the power source first.
- Inspect the New Charger: Verify it matches the specs and is free of defects.
- Plug In the New Charger: Connect it to your hoverboard before plugging it into the outlet.
- Monitor the Charging Process: Check for a steady LED light and ensure the hoverboard isn't overheating.
If everything looks good, you're all set! If not, double-check connections or consult a professional.
Safety Tips for Hoverboard Charging
Charging mishaps can lead to fires or battery damage. Keep these safety practices in mind:
- Avoid charging overnight or unattended.
- Keep the charger away from water and extreme temperatures.
- Never use a damaged charger or cable.
A little caution goes a long way in extending the life of your hoverboard and charger.
Troubleshooting Common Charger Issues
Even with a new charger, problems can arise. Here's how to tackle them:
- Charger Not Working: Test the outlet with another device to rule out power issues.
- Slow Charging: Ensure the charger's output matches your hoverboard's requirements.
- Overheating: Disconnect immediately and check for compatibility or defects.
When in doubt, seek professional help to avoid further damage.
Replacing your first hoverboard charger might seem intimidating, but with the right knowledge, it's a breeze. Now that you're equipped with the essentials, you can confidently keep your hoverboard running smoothly—no more waiting around for a dead battery to come back to life!
New Battery for Hoverboard: The Future of Longer Rides and Enhanced Performance
Why Is My Hoverboard Charger Blinking Red and Green? Troubleshooting Guide