
Introduction: Unleash Your Hoverboard's Hidden Potential
Your old hoverboard doesn't have to collect dust. It can become the heart of a thrilling, custom-built electric go-kart. This project transforms a common self-balancing scooter into a seated, steerable vehicle, offering a unique blend of DIY satisfaction and practical personal transport.
Learning how to turn a hoverboard into a go kart is a fantastic way to upcycle electronics, understand basic electric vehicle principles, and create a fun machine for controlled environments. The process repurposes the hoverboard's robust dual hub motors, gyroscopic sensors, and battery pack into a new chassis.
This guide is designed for hobbyists with basic mechanical skills. We emphasize safety, realistic performance outcomes, and the importance of starting with a reliable donor board. The goal is a functional, low-speed kart for backyard tracks or private property, not street-legal transportation.
By the end, you'll have a clear roadmap for this conversion. We'll detail why a Gyroor hoverboard provides a superior foundation, list every tool and part required, and walk you through assembly from disassembly to final wiring.
Why a Gyroor Hoverboard is the Ideal Donor Platform
Not all hoverboards are created equal, especially for a demanding project like a go-kart conversion. The donor board's quality dictates your kart's safety, reliability, and performance. Gyroor hoverboards are engineered with features that translate directly into a better, safer build.
The cornerstone is the UL-certified lithium-ion battery pack. These batteries undergo rigorous testing for stability, charge cycles (rated for 500+), and short-circuit protection. In a go-kart, where the battery may experience more vibration, this certified safety is non-negotiable.
Durability is another key factor. Gyroor's IPX5 water-resistant rating means the core electronics are protected against low-pressure water jets from any direction. This built-in resilience is crucial for a kart that might encounter dust, dirt, or the occasional puddle on a driveway.
Starting with a platform backed by a 1-year comprehensive warranty and trusted by over 100,000 riders indicates proven build quality and component reliability. While the act of modification voids the warranty, beginning with robust, well-manufactured parts significantly reduces the risk of mid-build failures or poor performance.
Furthermore, Gyroor's consistent motor specifications and wiring layouts make following a universal guide easier. You're working with known quantities—typically 350W dual motors—which allows for accurate performance predictions for your finished kart.
Essential Tools and Materials Checklist
Success hinges on preparation. Gather all these items before starting your project to turn a hoverboard into a go kart. This list separates universal tools from project-specific components.
Tools for Assembly
You will need a set of basic mechanical tools. A cordless drill with assorted bits, a set of hex keys (Allen wrenches), screwdrivers (Phillips and flathead), and adjustable wrenches are essential. A socket set is highly recommended for frame assembly.
For measurement and marking, have a tape measure, a speed square, and a marker. Safety equipment is mandatory: wear safety glasses during all cutting, drilling, or grinding operations, and durable work gloves.
If you are fabricating a custom frame, access to an angle grinder (with cutting and grinding discs) and a welder (MIG or ARC) is necessary. For most builders, we strongly recommend a pre-fabricated kit to avoid the complexities of welding and precise geometry.
Materials and Components
The core components define your kart. You must source a go-kart frame kit or materials to build one. A bolt-together steel frame kit is the safest and easiest choice for most DIYers.
You need a steering system: a steering column, wheel, and tie-rod linkage kit. For wheels, the front typically uses 10-inch pneumatic go-kart or lawnmower wheels with bearings. The rear will use the hoverboard's original 6.5-inch or 8-inch wheels attached to your axle.
A simple go-kart seat and mounting bracket are required. For control conversion, you'll need linkage rods or cables to connect the steering to the hoverboard's footpad sensors, and a thumb throttle (commonly used on e-bikes) to control acceleration.
Don't forget hardware: various bolts, nuts, lock washers, and zip ties. Electrical supplies like heat-shrink tubing, electrical tape, and wire connectors are vital for secure, safe wiring.
Step-by-Step Assembly Guide
This section breaks the complex build into manageable, sequential phases. Work methodically, double-checking each step before proceeding. Patience and precision here are the keys to a safe, functional vehicle.
Step 1: Disassembling the Hoverboard & Harvesting the Drive System
Begin by fully charging the Gyroor hoverboard, then power it off. Remove all casing screws to open the main body. Carefully locate and disconnect the battery connector first to eliminate power to the control board.
Identify the two main wire harnesses connecting the motor wheels to the central control board. Label these connections (Left Motor/Right Motor) before disconnecting them. Remove the wheels by unscrewing them from the motor axles.
Gently extract the entire internal assembly: the control board, battery pack, and gyro sensor platform. Keep all screws and components organized. The goal is to harvest the two motorized wheels, the battery, and the control board intact with their wires.
Step 2: Building or Preparing the Kart Frame
If using a pre-fabricated bolt-together kart frame kit, follow the manufacturer's instructions precisely. Ensure all bolts are tightened to specification with lock washers. The frame must be rigid and square.
If fabricating from scratch, design a simple rectangular chassis from 1-inch square steel tubing. Critical dimensions include a wheelbase of 36-42 inches and a track width of 30-36 inches. Weld all joints securely and grind down any sharp edges.
Mount the rear axle and bearing hangers according to your frame design. The axle must rotate freely. Install the front wheel spindles and steering linkage points. This stage creates the foundation for everything else, so take your time to get it right.
Step 3: Mounting the Hoverboard Drive Wheels & Motors
This is the core of the powertrain integration. You need to securely attach the hoverboard's motorized wheels to the rear axle of your kart frame. This often requires fabricating or sourcing custom mounting brackets.
The bracket must clamp firmly to the kart's rear axle and provide a solid platform to bolt the hoverboard motor housing onto. Alignment is critical; both wheels must be perfectly parallel to each other and perpendicular to the axle to ensure straight-line travel and prevent motor strain.
Once physically mounted, route the motor wires forward along the frame toward where the control board will be located. Use zip ties or conduit to secure them away from moving parts and the ground.
Step 4: Integrating Steering and Control Systems
The hoverboard's original gyroscopic sensors, which detected lean for turning, will now be actuated mechanically by your steering wheel. Connect your steering column's tie-rod linkage to a horizontal bar that pushes or pulls on small levers attached to the hoverboard's left and right footpad sensors.
When you turn the wheel left, the linkage should press the left sensor, making the kart believe you're leaning left, and thus turn the left wheel slower than the right. This mechanical-to-digital interface requires careful calibration for responsive, proportional steering.
For acceleration, disconnect the hoverboard's forward-lean sensor. In its place, wire in a hand-operated thumb throttle. This throttle sends a variable signal to the control board, mimicking the lean sensor and giving you precise speed control from the driver's seat.
Step 5: Final Assembly: Seat, Battery, and Wiring
Mount the seat in a central position for good weight distribution. Securely fasten the Gyroor battery pack to the frame in a location that is protected but allows for ventilation and potential removal for charging.
Mount the control board in a dry, central location. Reconnect all wiring: battery to control board, control board to both motors, and the new thumb throttle to the appropriate sensor inputs on the control board. Insulate every connection with heat-shrink tubing.
Perform a meticulous final check. Ensure all frame bolts are tight, wheels spin freely, steering moves smoothly, and all wires are secure. Before the first test ride, do a static power-on test to verify the motors engage correctly with the throttle and steering inputs.
Performance & Safety: Realistic Expectations and Protocols
Your converted kart's performance is a function of its donor hoverboard's specs and the added weight of the frame and rider. A kart built from a Gyroor board with 350W dual motors will have different capabilities than a toy-grade model.
| Performance Metric | Original Gyroor Hoverboard | Converted Go-Kart (Estimate) | Primary Reason for Change |
|---|---|---|---|
| Top Speed | 10-12 mph | 8-10 mph | Increased weight & rolling resistance |
| Range | 12-15 miles | 8-12 miles | Increased load on motors & battery |
| Max Incline | 15-18 degrees | 10-12 degrees | Same torque moving greater mass |
| Weight Capacity | ~220 lbs | ~200 lbs (Frame dependent) | Structural limits of DIY frame |
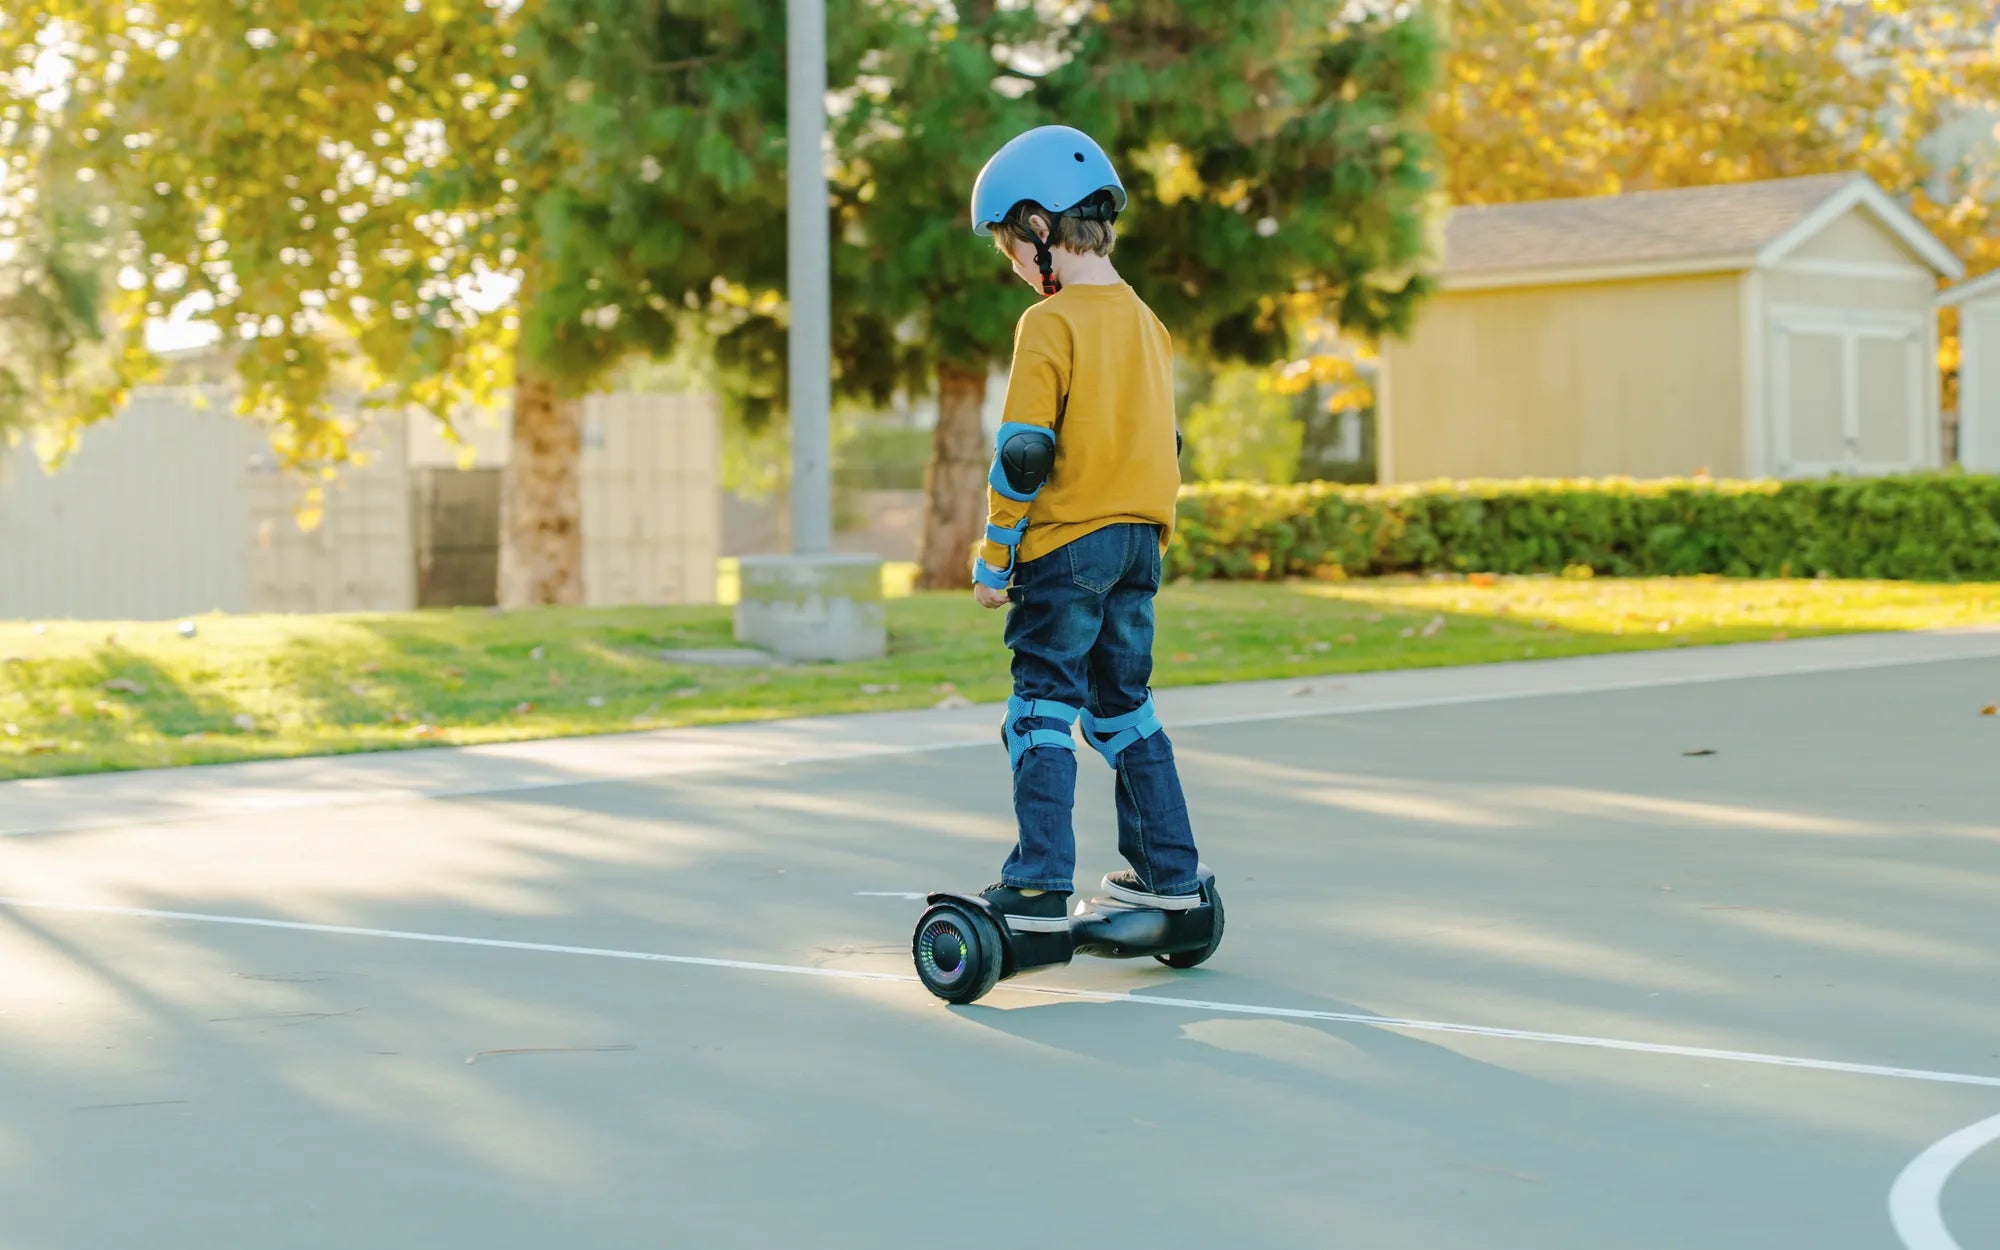
Safety is the paramount concern. This DIY creation is not street-legal and should only be operated on private property. Always wear a DOT-certified helmet, closed-toe shoes, and protective gloves.
Conduct initial tests at very low speeds in a wide-open, obstacle-free area. Gradually increase speed only after you are confident in the kart's stability, braking (by releasing the throttle), and steering response. Never carry passengers.
Implement a strict pre-ride checklist: inspect all bolts for tightness, check tire pressure, examine wiring for damage, and verify that the steering linkage is secure. The electrical system, while from a UL-certified pack, is now in a modified environment—regular inspection is crucial.
Frequently Asked Questions (FAQ)
Q1: Is this modification safe?
A: Any DIY vehicle project carries inherent risks. Safety depends entirely on the builder's skill, the quality of parts used (like starting with a Gyroor hoverboard), and adherence to strict safety protocols during both construction and operation. It is not a toy for unsupervised children.
Q2: What's the top speed and range I can expect?
A: As shown in the performance table, expect a moderate decrease from the hoverboard's original specs. A kart using a Gyroor board will typically achieve 8-10 mph with a range of 8-12 miles, depending on rider weight, terrain, and battery health.
Q3: Will this void my Gyroor warranty?
A> Yes, disassembling and modifying the hoverboard will void its manufacturer's warranty. However, starting with a high-quality, warrantied product like Gyroor means you begin with components that have passed stringent factory tests for reliability and safety.
Q4: Can I use any hoverboard for this project?
A> Technically, yes, but we strongly advise against using unknown or low-quality brands. Boards without UL-certified batteries pose a fire risk, and poor-quality motors may fail under the increased load. Gyroor's IPX5 rating and proven build quality make it a purpose-built donor platform.
Q5: Do I need to know how to weld?
A> No. While welding allows for a fully custom frame, bolt-together go-kart frame kits are widely available online and are the recommended route for the vast majority of builders. They provide a safe, proven geometry without requiring metal fabrication skills.
Conclusion: From Concept to Custom Creation
Transforming a hoverboard into a go-kart is a rewarding project that blends electronics, mechanics, and hands-on creativity. You've learned that the journey from disassembly to final wiring requires careful planning, the right tools, and a priority on safety at every step.
The choice of donor board is the most critical decision. By using a Gyroor hoverboard with its UL-certified battery, water-resistant design, and robust motors, you build on a foundation engineered for performance and durability. This project exemplifies the innovative spirit within the personal electric vehicle community, pushing devices beyond their original design.
Enjoy your custom ride responsibly. Use it as a platform to learn, tinker, and have fun in a safe environment. The skills and understanding gained extend far beyond this single build. For those inspired by this fusion of electric mobility and DIY ingenuity, Gyroor offers a full range of reliable, innovative electric transporters ready to ride right out of the box.
Ready for your next electrified adventure? Browse the full Gyroor collection of UL-certified electric scooters, e-bikes, and more at gyroorboard.com.
Foldable Kids Scooter for Travel: The Ultimate Guide for Parents on the Go
Foldable Kids Scooter for Travel: The Ultimate Guide for Parents on the Go